
ORIA Reasoner
ORIA Reasoner Overview
What is ORIA Reasoner?
The ORIA Reasoner is one of the tools available from My Tools on the ARPIA Home screen. It lets you explore your organization's knowledge nodes with Oria — short for Ontology Reasoning Interactive Agent — an agentic assistant that can answer questions, run semantic and ontology queries, draw on your organization's institutional memory, and build visualizations and applications directly from your data.
ORIA Reasoner is designed as a full tool for end business users, not just technical or admin staff — no query language or ontology expertise required to ask a question and get a grounded answer.
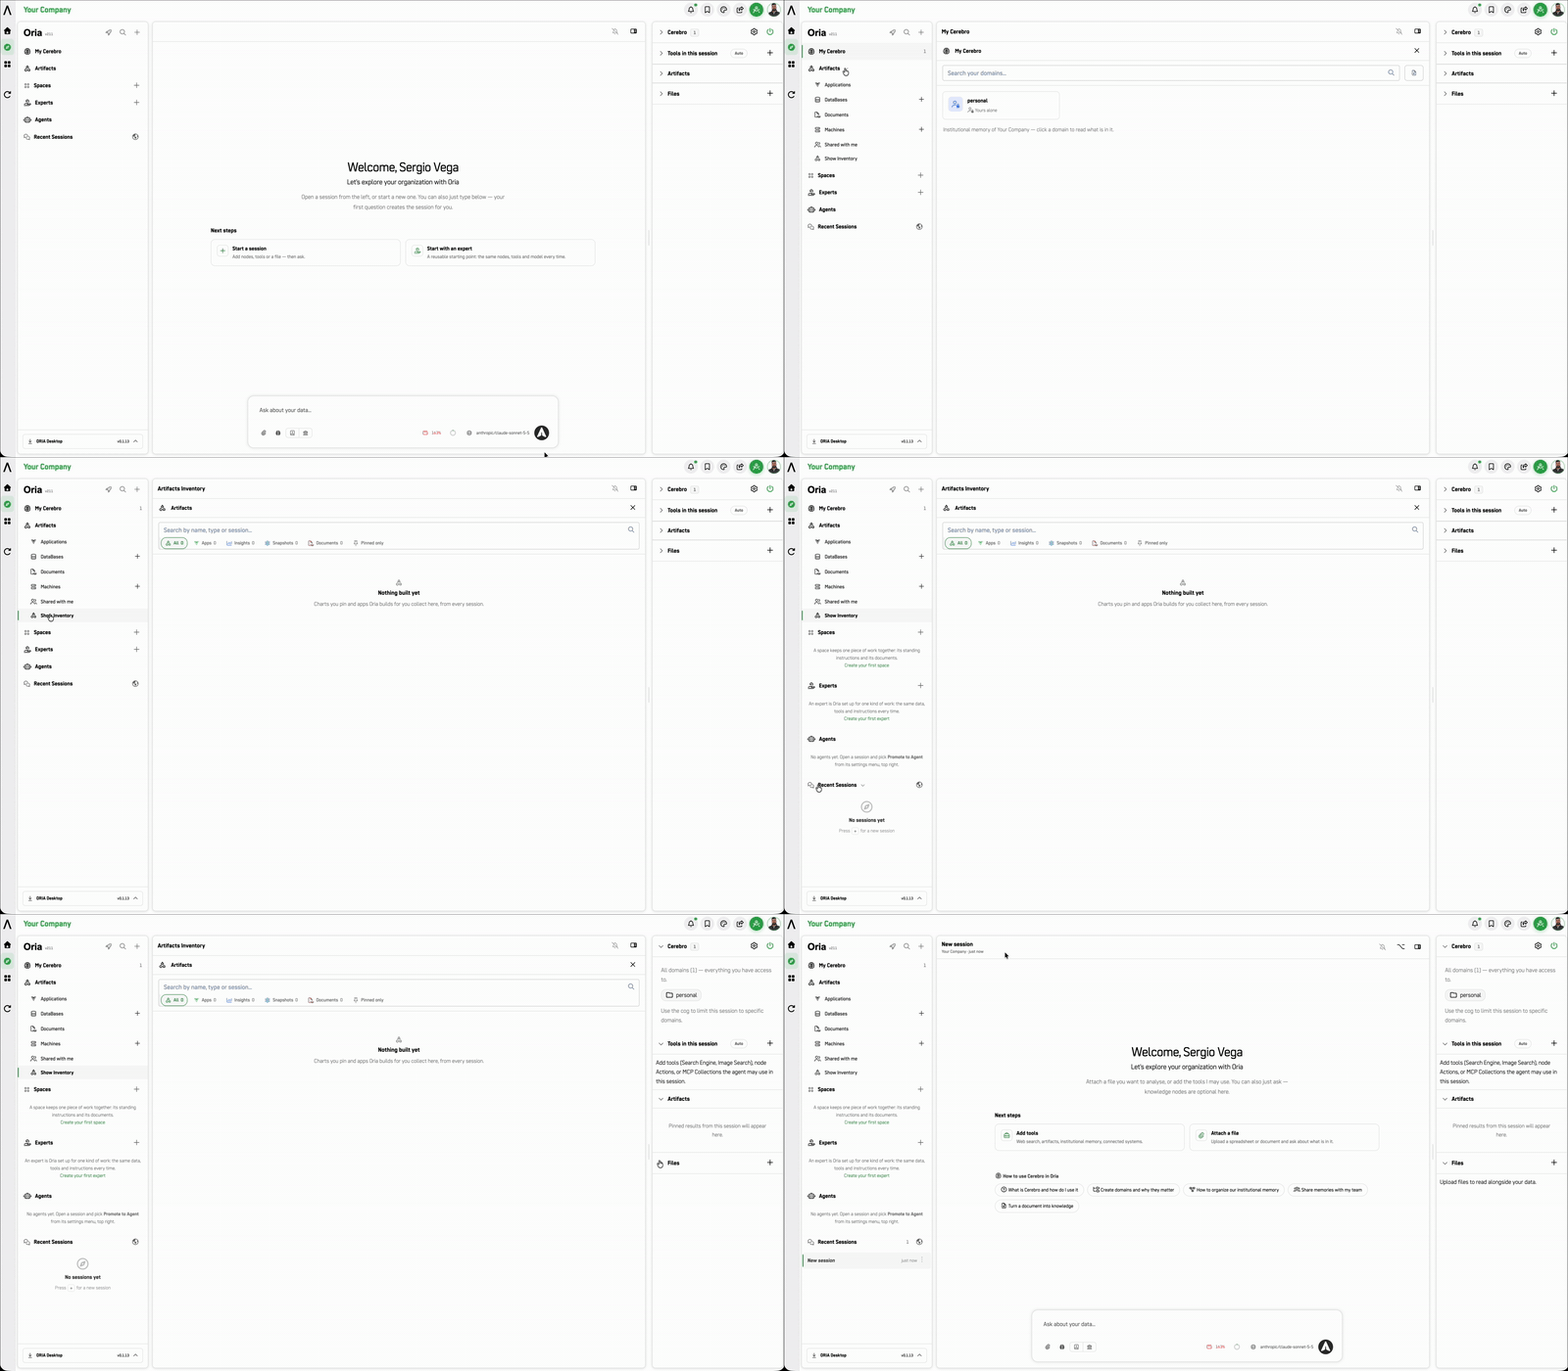
| Tool name | ORIA Reasoner |
| Assistant | Oria (Ontology Reasoning Interactive Agent) |
| Intended users | Business users / end users — not technical-only |
| Access from | ARPIA Home → My Tools → ORIA Reasoner, or ARPIA Home → Side Menu (left) → ORIA Reasoner |
| Landing page | Optional — you can set ORIA Reasoner to open directly after sign-in, instead of the home page |
| Core capability | Ask questions, query ontology nodes, draw on Institutional Memory, and build visualizations and apps over your data |
| Work unit | A session — a scoped workspace with its own nodes, tools, memory settings, files, and artifacts |
| Reusable setup | An Expert — a saved starting point (nodes, tools, files, instructions) that every session in it inherits |
Use Cases
ORIA Reasoner is built for exploring relationships in your data, not just retrieving records — so it's most valuable in situations where the connections between things matter as much as the things themselves.
- Knowledge discovery for new team members. Instead of asking a colleague "how does X relate to Y" or hunting through scattered docs, a new hire can ask Oria directly (e.g., "what data nodes feed into the executive dashboard?") and get an answer grounded in the actual ontology.
- Governance and compliance mapping. Before changing an access policy or data flow, ask Oria to trace dependencies (e.g., "what systems or reports depend on this node?") to understand blast radius before making the change.
- Cross-domain analysis. When a question spans multiple areas (CX, security, operations, finance), Oria can query across the ontology nodes you have access to and surface connections a single-domain search wouldn't reveal.
- Pre-change impact checks. Before deprecating a doc, table, or workflow, ask what's connected to it — this surfaces hidden dependents before you break something downstream.
- Answers grounded in prior decisions. Because Institutional Memory is on by default, Oria answers from your organization's recorded decisions, rules, and procedures — not only from what's in the data or from general knowledge.
- Building visual artifacts for stakeholders. Use a session to generate a dashboard, relationship analysis, or timeline you can pin as an Artifact and share in a meeting or report.
- Ad-hoc investigation. During an incident or audit, spin up a session scoped to just the relevant nodes and ask targeted questions instead of manually piecing together context from multiple tools.
- Operational tooling without a development cycle. Use Live Apps and Repository Storage to stand up a working lookup, reconciliation view, or query builder over your session data without waiting on a build request.
Before You Start
ORIA Reasoner requires a one-time setup by an ARPIA administrator at the work-area level. You don't configure this yourself.
If the tool is greyed out, or the model picker inside a session is disabled, a Model Group hasn't been set for the Reasoner. Ask your ARPIA administrator to configure it.
Three things you may find switched off or empty are also administrator-controlled, and are not errors:
| What you see | What to ask your administrator for |
|---|---|
| Reasoner disabled, or no models available in a session | A Model Group for the ORIA Reasoner |
| Can't upload files to a session | A file object store for the ORIA Reasoner |
| Ontology Actions shows "No actions granted" | Action permissions on the nodes you need to write to |
| MCP Collections shows "No MCP Collections granted" | Access to an MCP / API Collection |
| Connected Apps shows "No external MCP connectors" | An external MCP connector, plus access for your profile |
| Oria Machine not available in Artifact Tools | An Oria Pro seat plan or above |
Plan Requirements
The Reasoner is available on every Oria seat plan, but what you can do in it differs:
| Plan | What you get in the Reasoner |
|---|---|
| Oria Basic | Run and use existing applications; multi-model access, internet search, artifacts, and governed Cerebro access. Cannot build applications. |
| Oria Pro | Everything in Basic, plus a more capable Reasoner powered by Oria Machine, and personal SPA building scoped to your own workspace. |
| ARPIA Builder | Platform-level building and governance. |
AI usage is billed separately. Every plan requires an active AI Wallet balance — a shared, company-wide prepaid pool metered by consumption, not included in the seat price.
Next Steps
Pick a sub-doc to get started:
- Getting Started — How to start a session and navigate the workspace
- The Session Workspace — Understanding the left, center, and right panels
- Institutional Memory (Cerebro) — How to use and scope your organization's recorded decisions
- Spaces — Save recurring setups with standing instructions
- Experts — Create pre-configured starting points for sessions
- Adding Ontology Nodes — Query your organization's data nodes
- Session Tools — Enable capabilities (Internet, Artifacts, MCP, Connected Apps, Actions)
- Typical Workflow — Step-by-step how to work in ORIA
- Known Limitations — Reference for what's not yet available
Updated about 12 hours ago