
How to add a user
Before you begin
Assign a Security Profile to the user during this flow to ensure they have the correct access from their first login. If no profiles exist yet, see How to create a Security Profile first.
Adding a user to a Workarea works differently depending on whether the person already has an ARPIA account. The platform detects this automatically when you enter their email — the form adapts accordingly.
Step 1: Navigate to Users
Go to AI Orchestrator → Users & Security → Users.
Step 2: Open the Add User form
Click the + button in the top-right corner of the Users list.

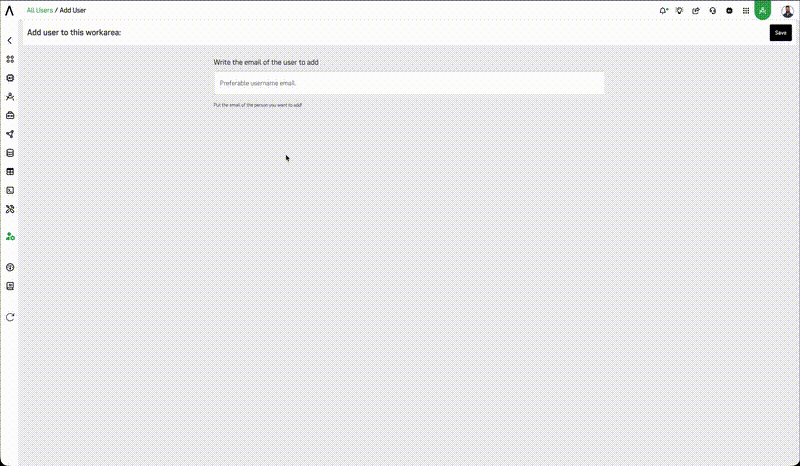
Step 3: Enter the email address
Type the email address of the person you want to add. The platform will validate the email and determine which flow applies.
Step 4: Complete the form
The form adapts based on whether the email is new to ARPIA or already registered.
New to ARPIA
If the email is not yet registered on the platform, fill in the following fields:
| Field | Description |
|---|---|
| Full Name | The user's display name |
| Phone | Optional contact number |
| Language | Sets the user's preferred interface language |
| Security Profile | The profile that defines their Workarea access — select from existing profiles |
| Login method | Password, Google, or Microsoft |
SSO options
If the user will authenticate via Google or Microsoft, select the corresponding option. No password is required or created for SSO accounts. An administrator can switch a user's login method at any time from their user record — no need to delete and recreate the account.
ARPIA Academy
Check Register in ARPIA Academy to automatically enroll the user in the Academy at no cost — the recommended starting point for all new platform users.
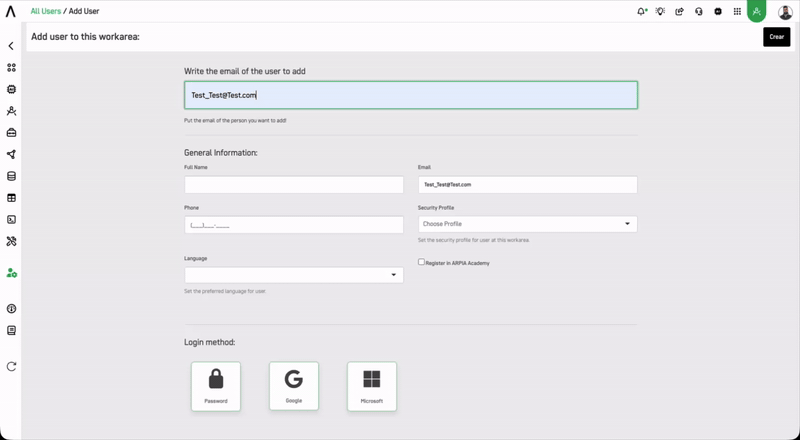
Click Create to add the user. They will receive an email invitation to set up their account.
Existing ARPIA user
If the email is already registered in ARPIA (the person belongs to another Workarea), the platform detects this and switches to an invite flow. Their account details are pre-filled — you only need to select a Security Profile.
| Field | Description |
|---|---|
| Workarea | The current Workarea they are being invited to |
| Username | Pre-filled from their existing account |
| Security Profile | The profile that defines their access in this Workarea |
Workarea-scoped access
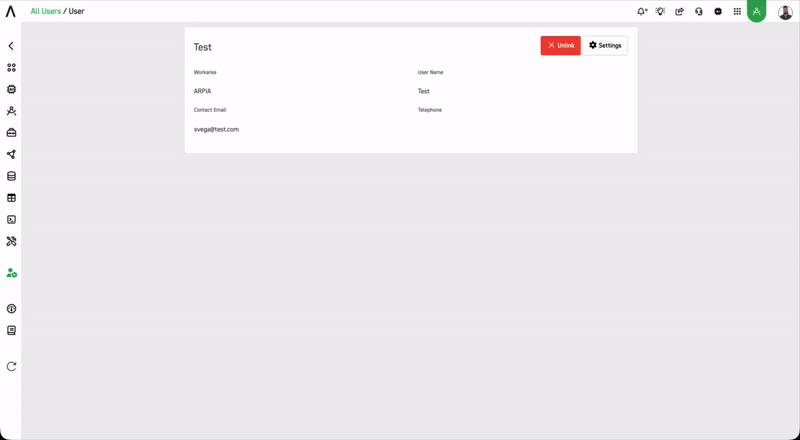
Inviting an existing user gives them access to this Workarea only. Their account, permissions in other Workareas, and login method remain unchanged.
Click Invite to send the invitation.
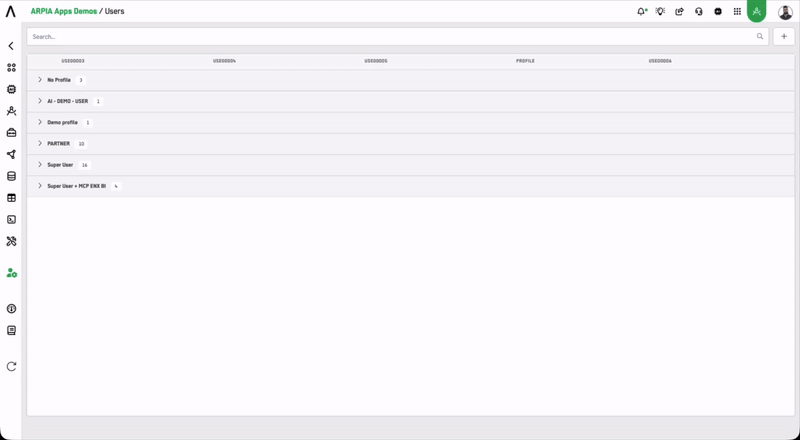
Step 5: Confirm the user appears in the list
After creation or invitation, the user will appear in the Users list grouped under their assigned Security Profile. Their status will show as Invited until they complete their first login.
Next steps
Updated 22 days ago