How to add new screens to your Data App?
Step-by-Step Guide: Adding Screens
After creating your app, it's time to add screens. There are different types of screens you can add. Follow these steps to add a screen:
Step 1: Create a New App Screen
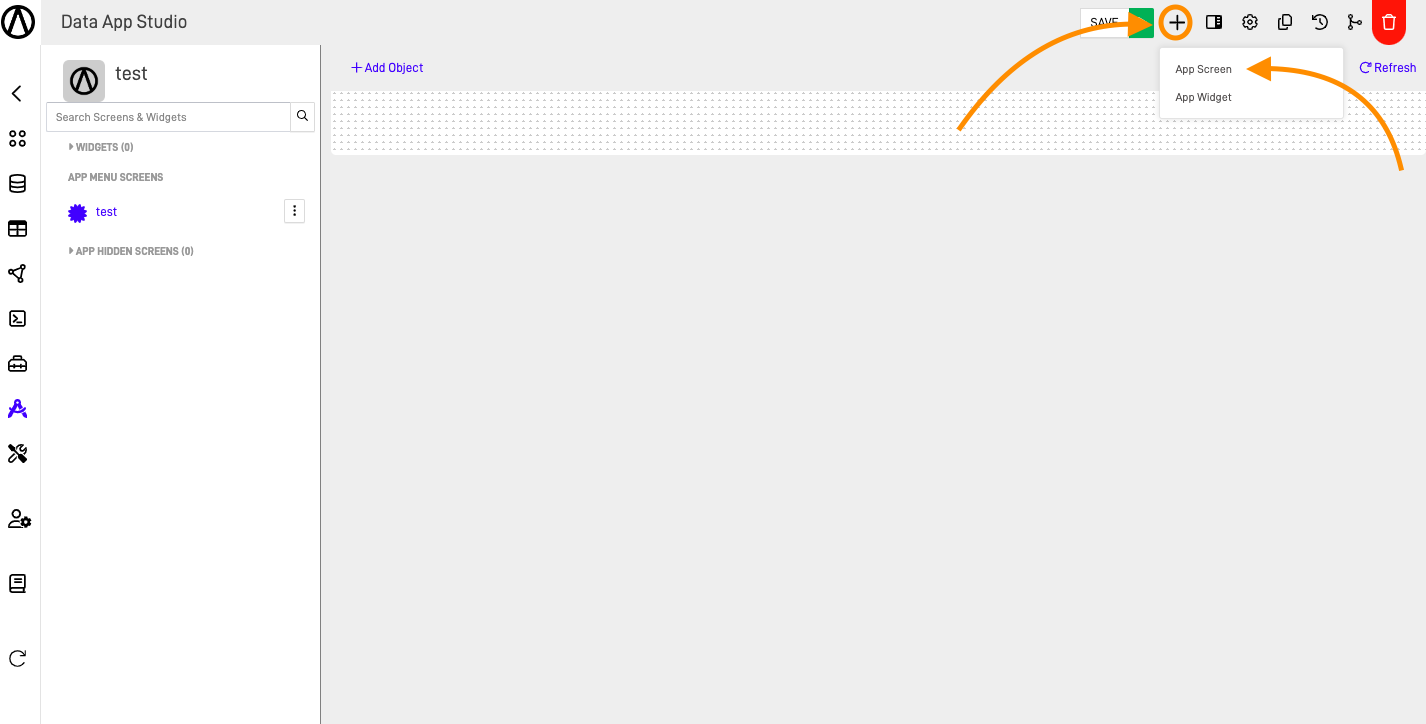
Click on the + button and select App Screen.
Step 2: Fill Out the Add Screen Form
Select the type of screen you want to add. Enter a name, choose whether the screen should be hidden or not, and pick an icon for your screen.
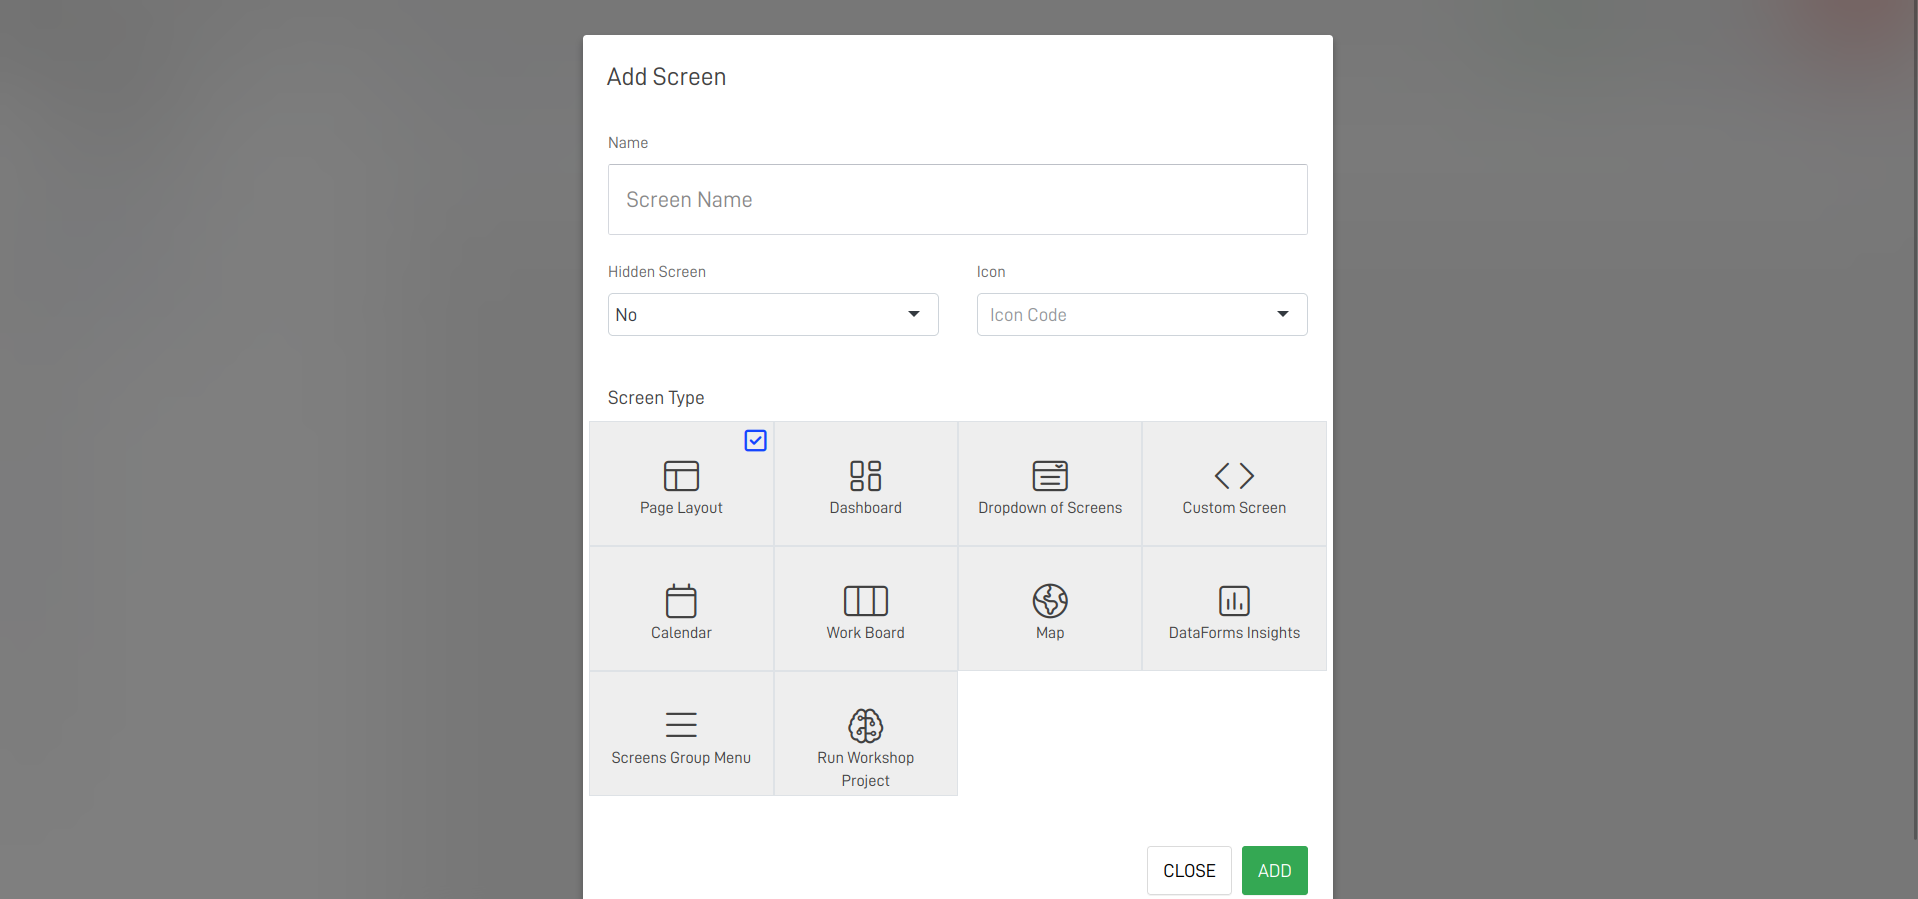
Hidden screen: A hidden screen is one that cannot be directly viewed from the menu of your app.
Types of Screens
Page Layout
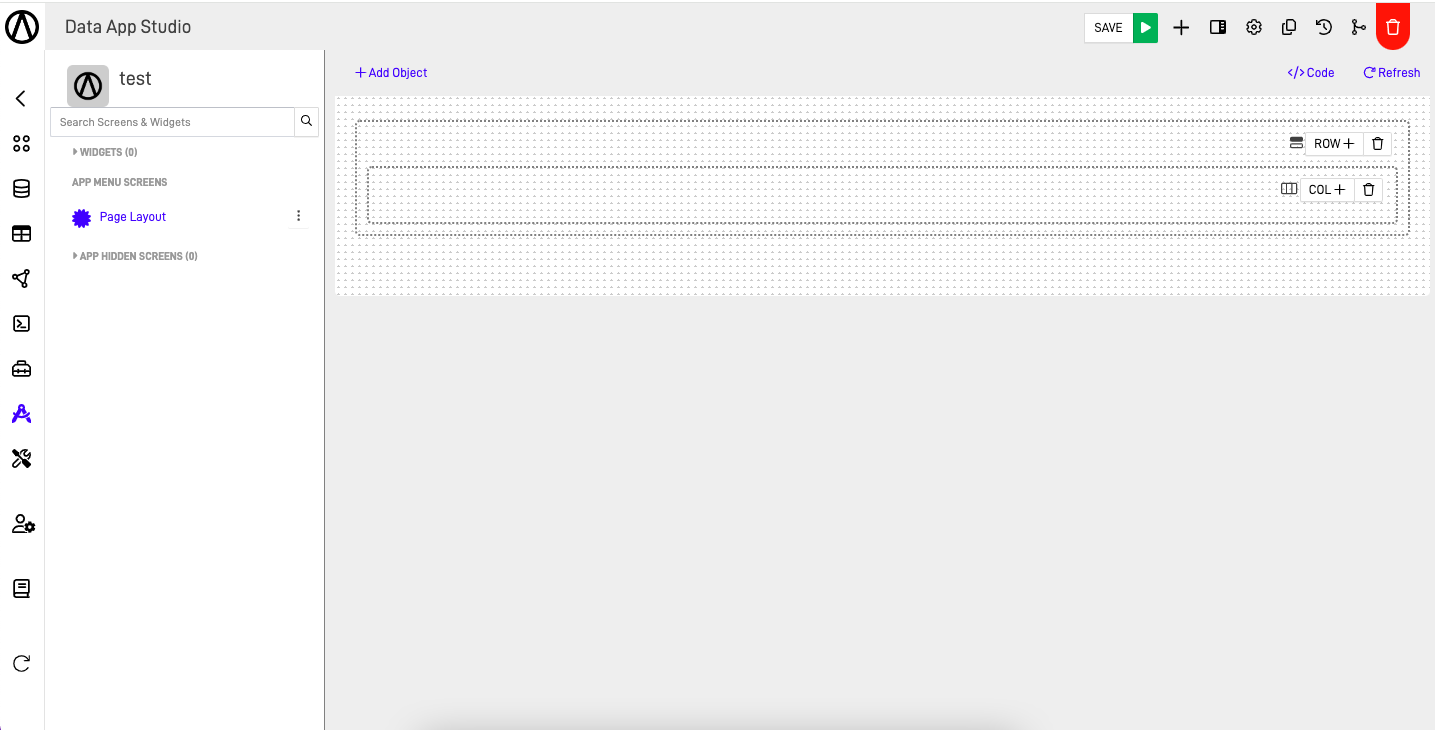
The Page Layout screen allows you to create a custom page layout with the ability to add rows, dividing the screen into 12 columns. This interactive process lets you define the structure of your layout, providing high flexibility to organize elements in a format that suits your needs.
Dashboard
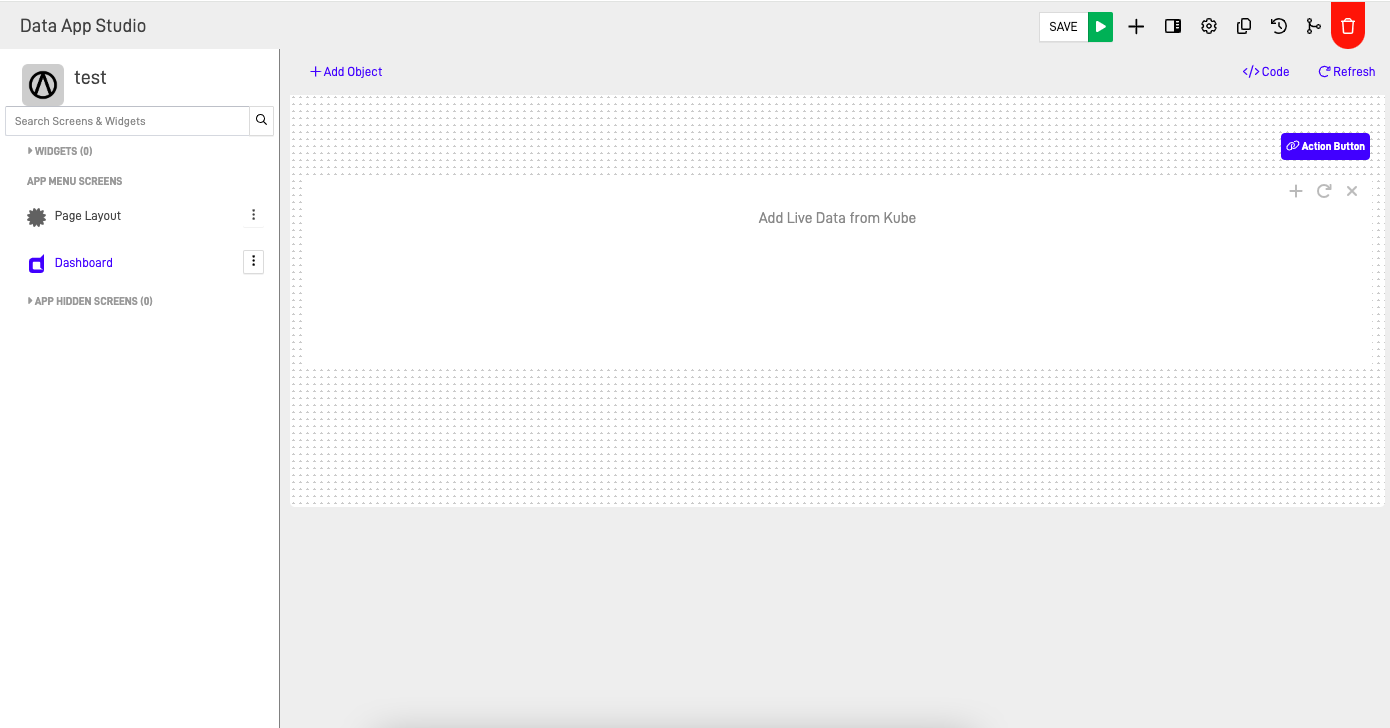
The Dashboard screen creates customizable dashboards using pre-configured Kubes in the Data App Studio. These dashboards offer a summarized representation of data, allowing quick access to key information and facilitating decision-making.
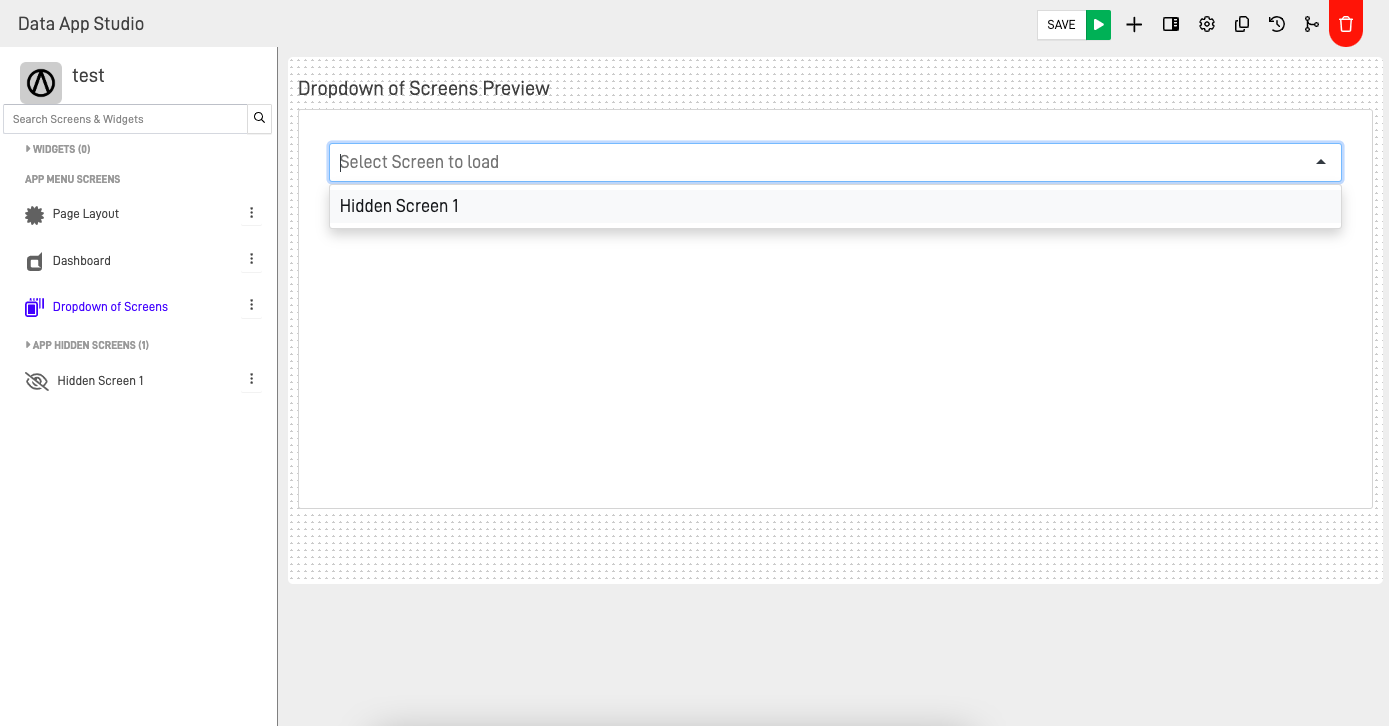
Dropdown of Screens
The Dropdown of Screens tool groups hidden screens into a dropdown menu. It also allows you to add buttons that connect to other screens or external URLs, enhancing user navigation and interaction.
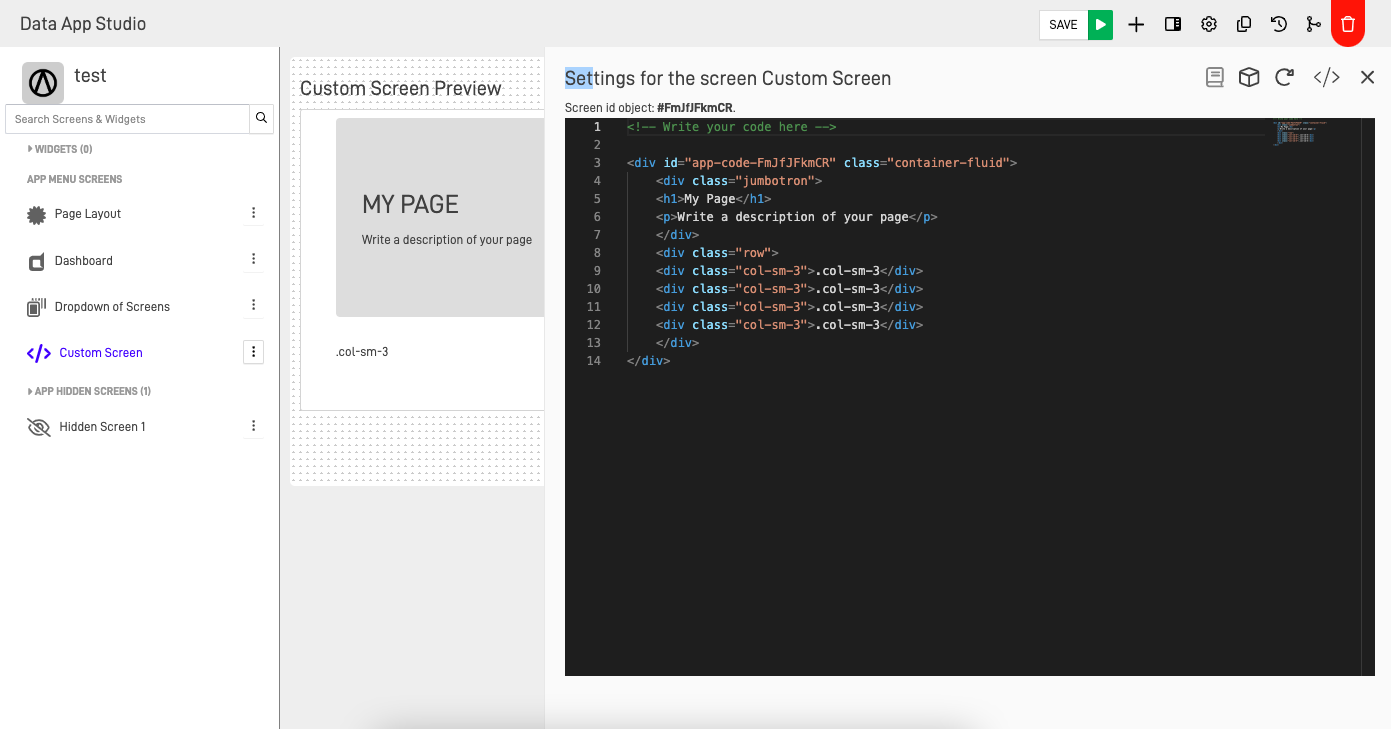
Custom Screen
The Custom Screen gives you complete control to design and customize a screen using HTML tags and CSS properties. You can adjust the layout, colors, fonts, and other visual aspects according to your preferences.
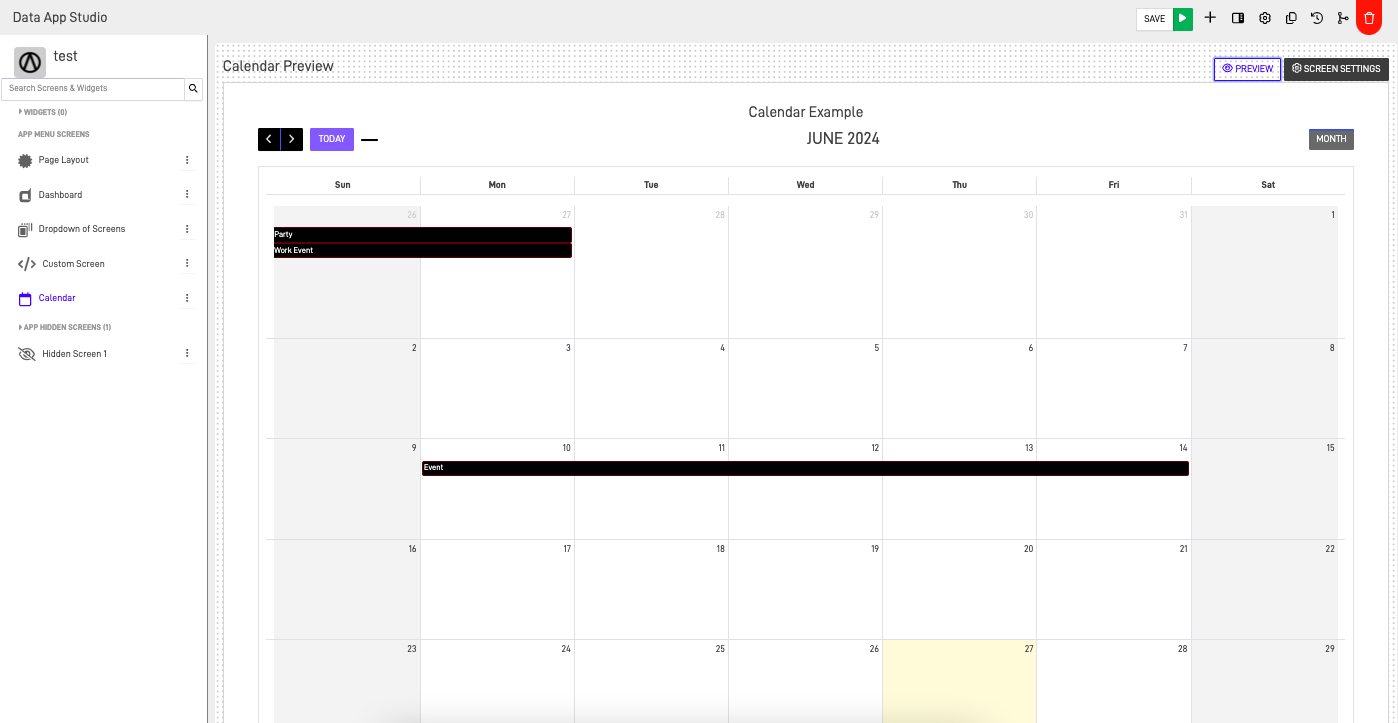
Calendar
The Calendar screen lets you create and customize calendars. You can select data from a repository, adjust visualization, configure event options, and define subsequent actions for efficient calendar management.
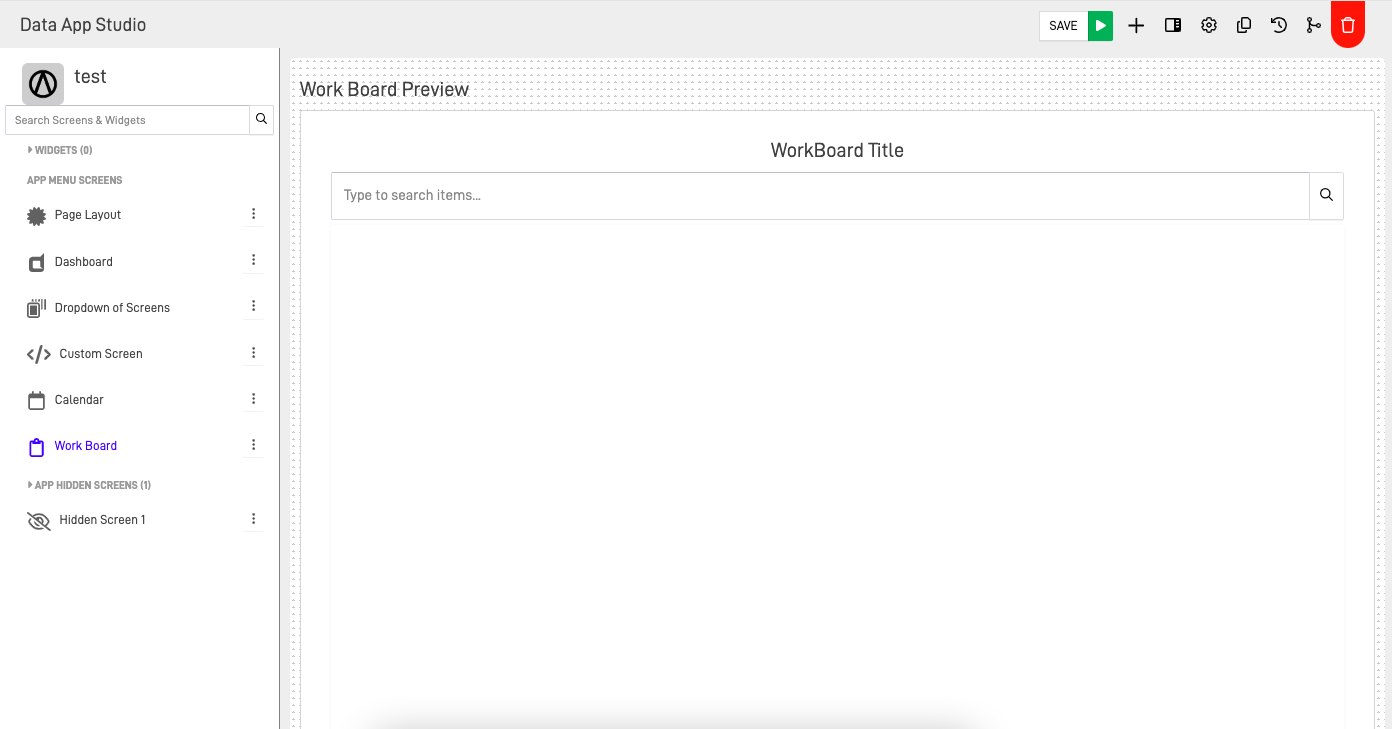
Work Board
The Work Board screen helps visualize and manage workflows in a Kanban-style format. Customize settings, select repositories and tables, define task columns, enable drag-and-drop and search, and configure action buttons for efficient project management.
Map
The Map screen is designed for geographic data visualization and manipulation. Add layers from your data, apply filters, and modify the map presentation to meet your requirements.
DataForms Insights
The DataForms Insights screen organizes various perspectives of the DataForms created in the repository. Visualize responses to enhance understanding and management of data capture processes.
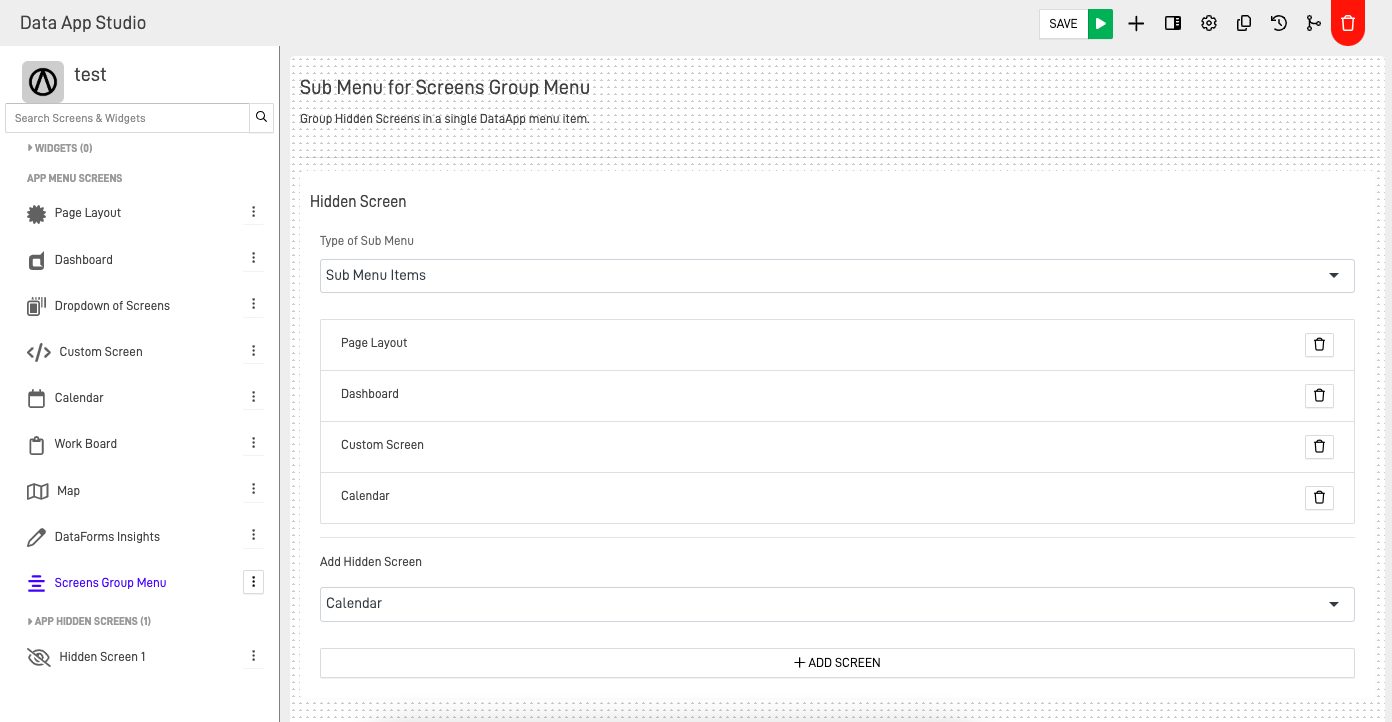
Screen Group Menu
The Screen Group Menu screen groups hidden screens into a single menu item, improving navigation and the overall user experience.
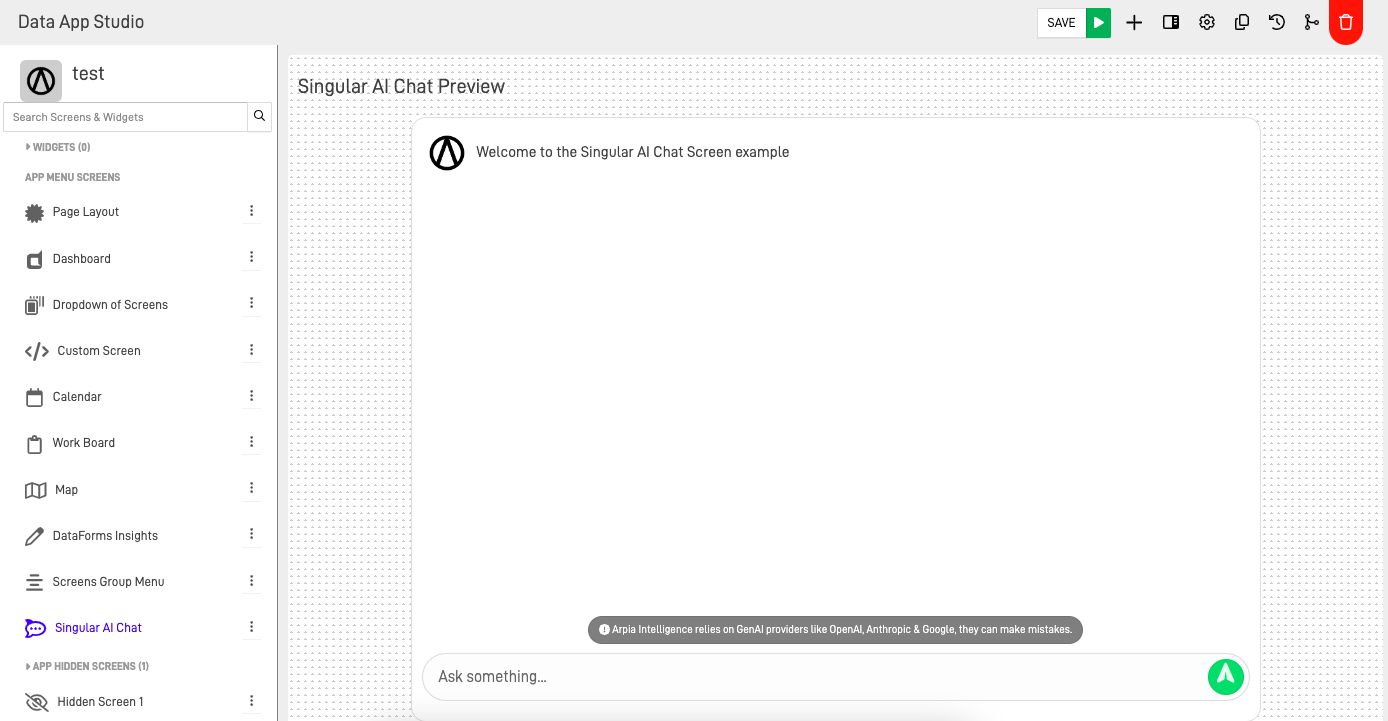
Singular AI Chat
Implement an AI Chat in your DataApp to analyze the data of your Knowledge objects and provide context and information to users.
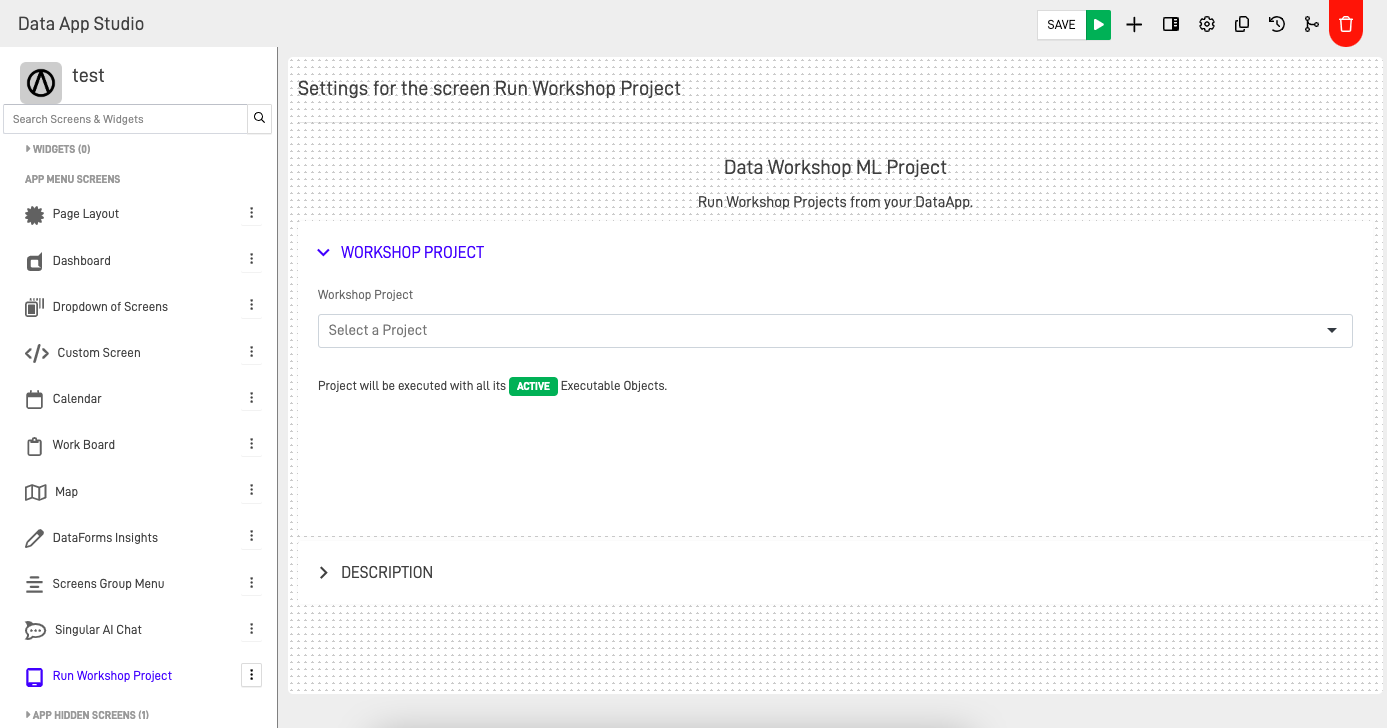
Run Workshop Project
Initiate the execution of projects hosted in the Workshop. Access an interface displaying the active project objects that can be executed.
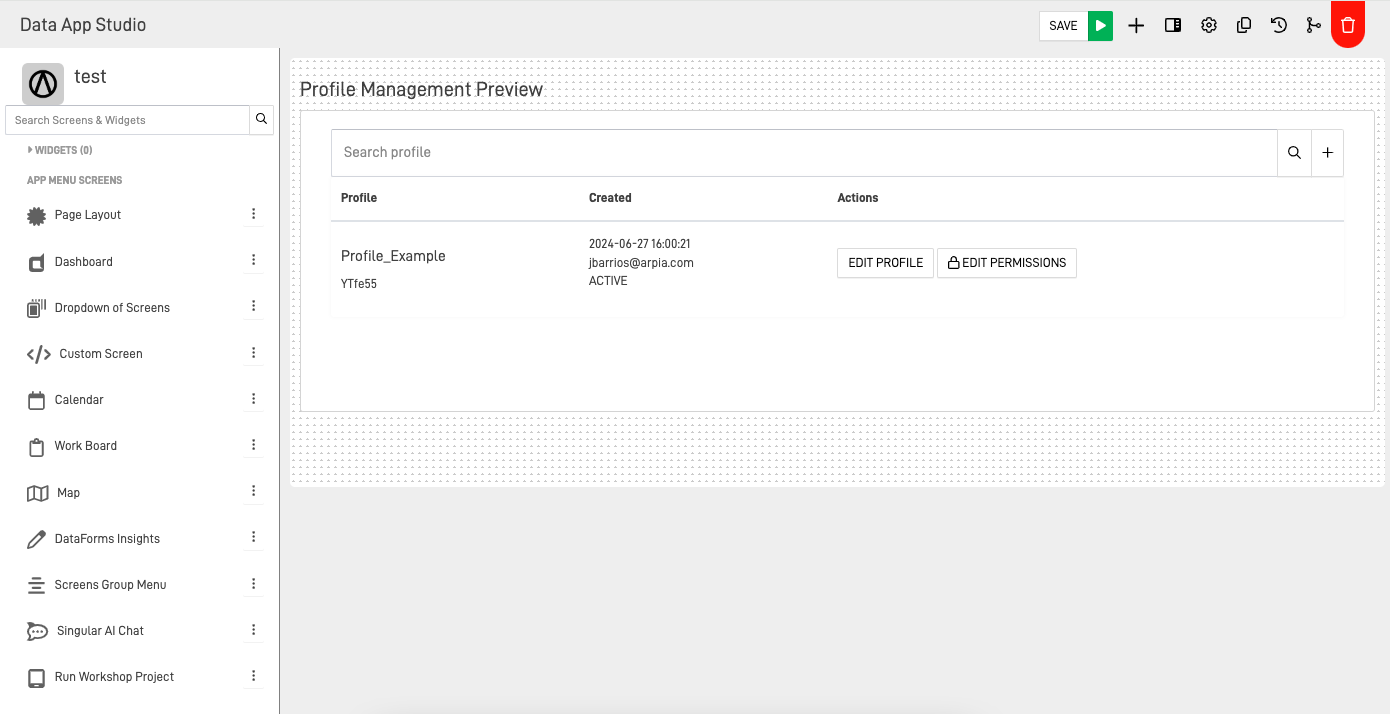
Profile Management
Manage the profile of your Workarea with this screen.
Updated 12 months ago
