
Step-by-Step Guide to Creating a Reasoning Flow
Creating a Reasoning Flow
A step-by-step guide to creating your first Reasoning Flow and adding objects.
Prerequisites
Before starting, ensure you have:
- Access to the ARPIA platform
- A Repository created (see How to Create a Data Repository)
Step 1: Create a Reasoning Flow
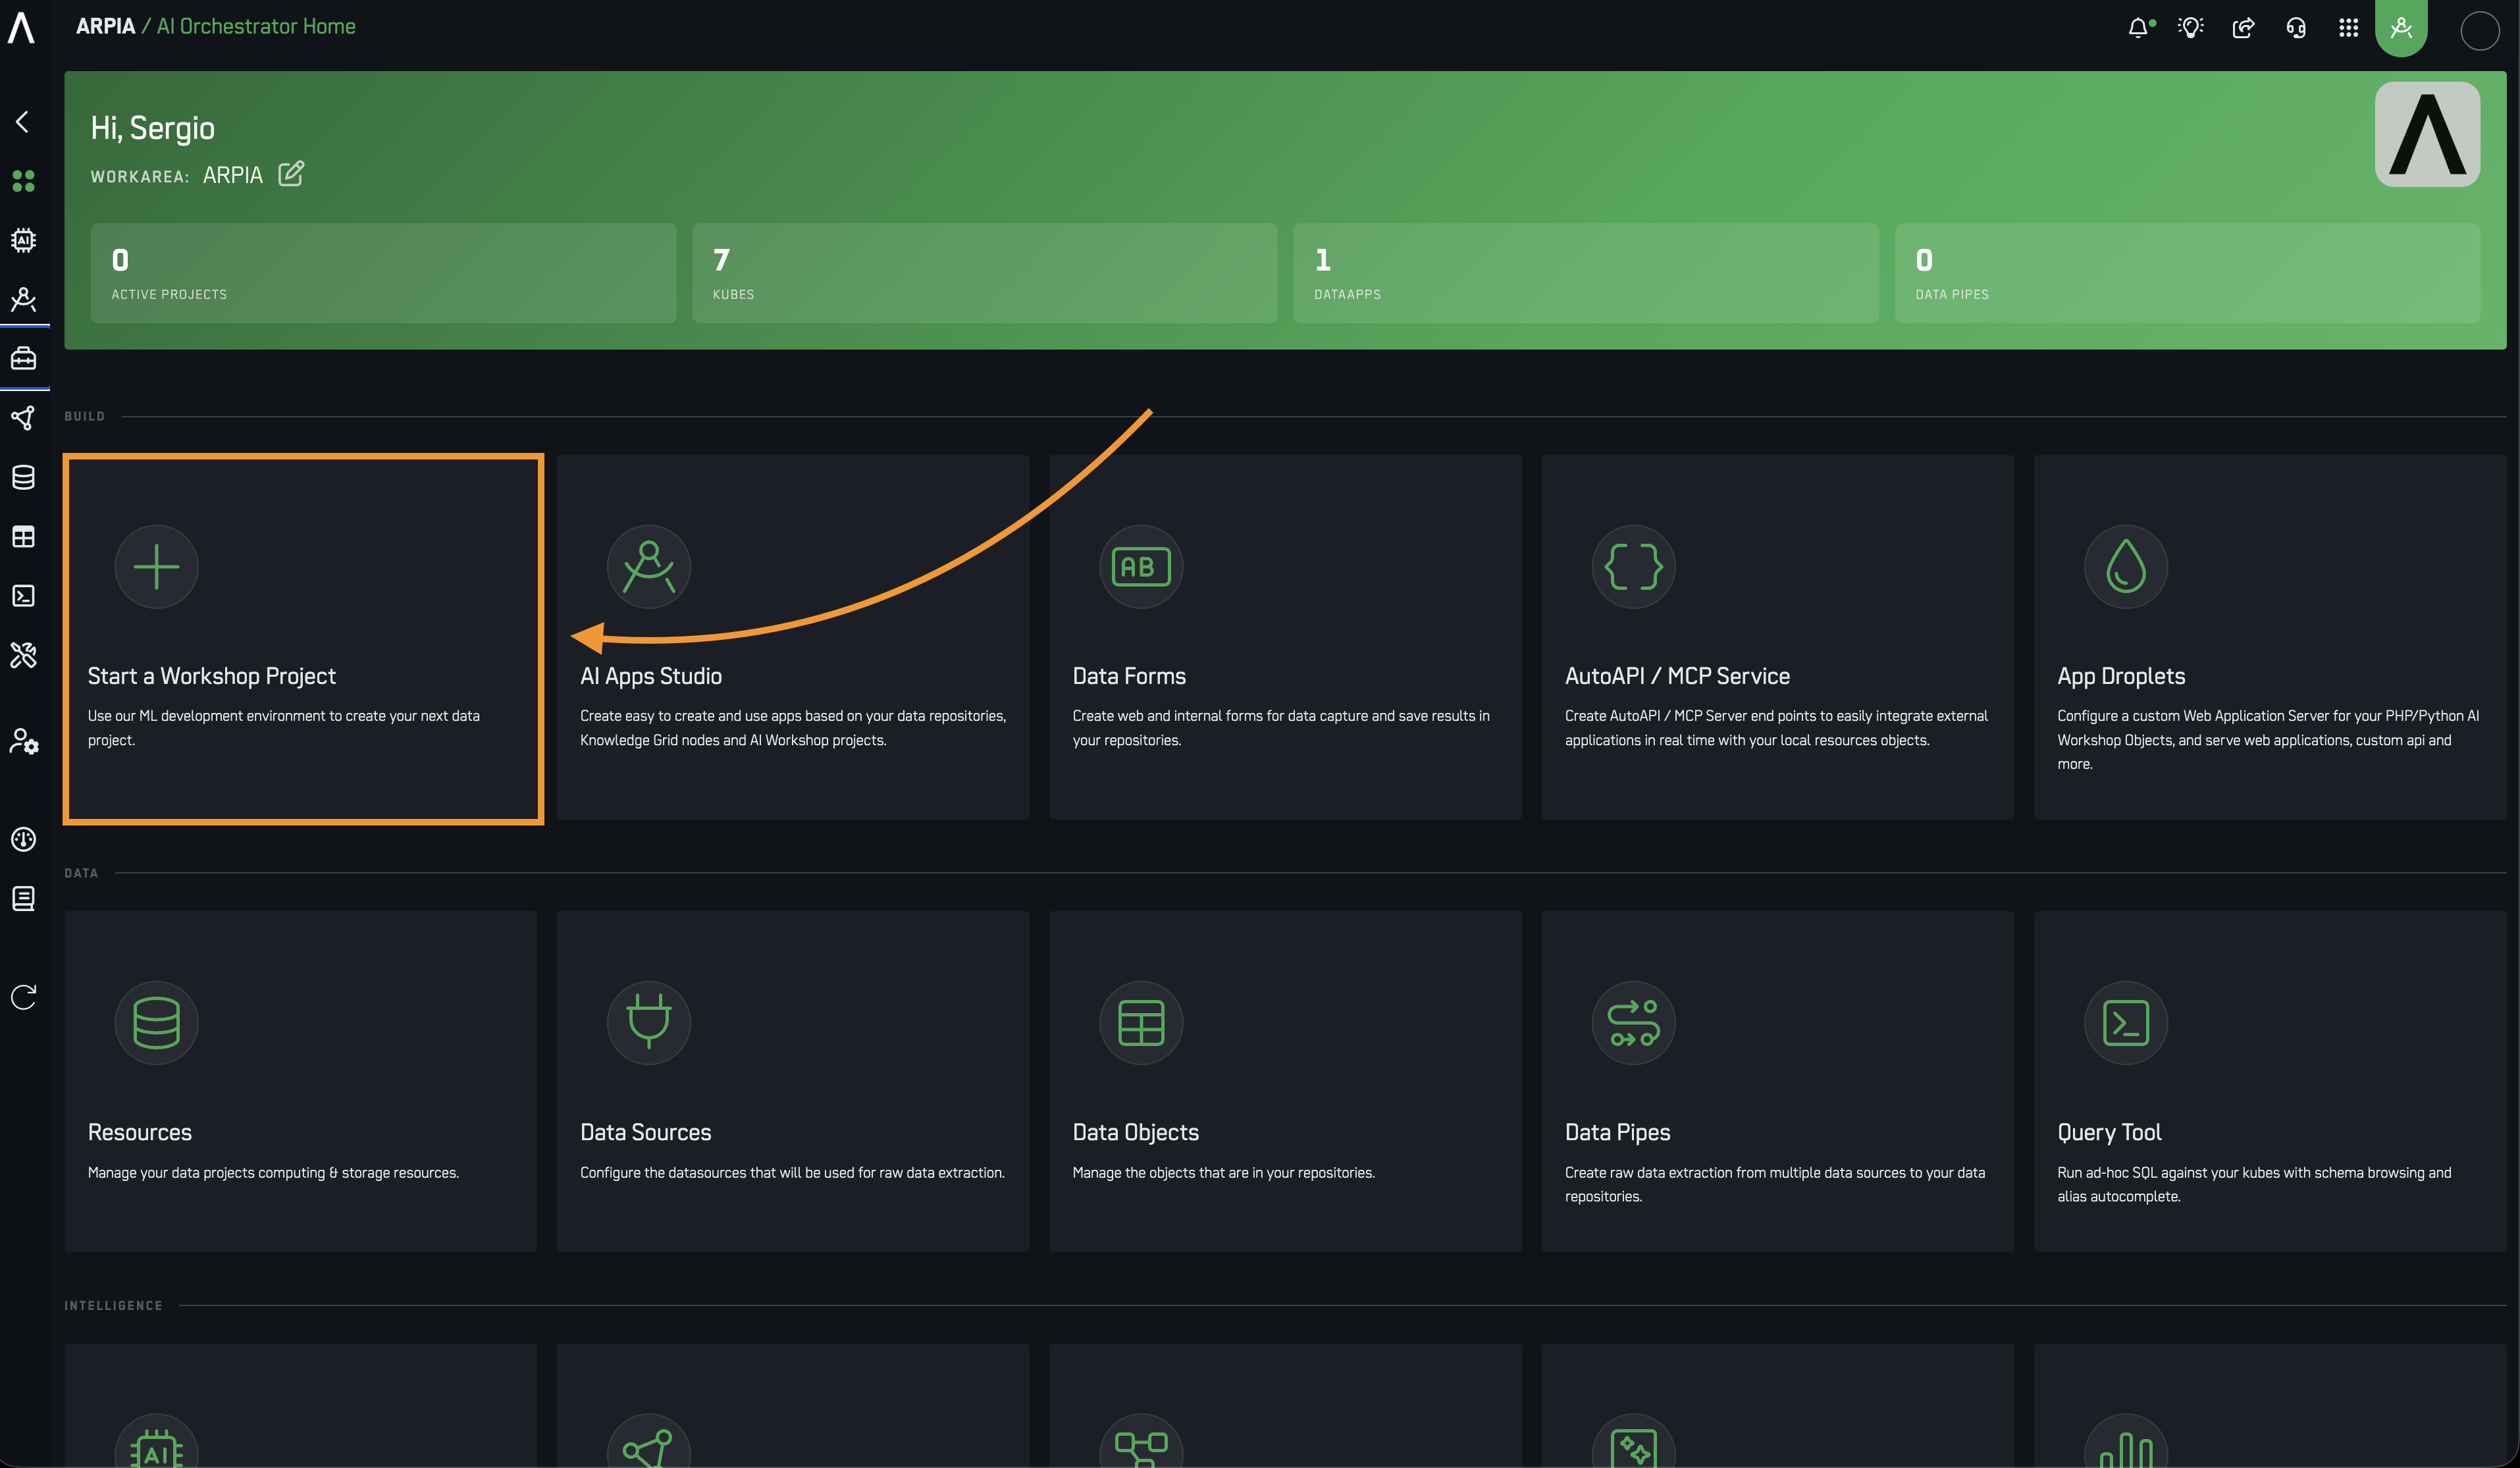
- Navigate to Reasoning Flows from the main menu.
-
Click the + button to create a new Flow.
-
Fill in the New Flow form:
| Field | Description |
|---|---|
| Name | A descriptive name for your Flow (e.g., "Sales_Data_Pipeline") |
| Project Type | How the Flow will be executed (see below) |
| Project Category | Organizational label for filtering (see below) |
| Repository | The data repository this Flow will use |
| Description | Optional description of the Flow's purpose |
Project Types
| Type | Description | Best For |
|---|---|---|
| Batch Process | Runs manually or on a schedule | ETL pipelines, model training, reporting |
| Interactive Process | Runs on demand via UI with user parameters | Parameterized analytics, experiment triggers |
| API Calls | Exposed as REST endpoint | Prediction APIs, webhook-triggered tasks |
| AI Tools Collection | Each child object is an independently-callable tool | AI agent/assistant tools, MCP servers, API Collections |
| WARP | Persistent HTTP service (FastAPI), long-running | Custom APIs, daemons, persistent microservices |
Project Categories
| Category | Description |
|---|---|
| Data Pipeline | Ingestion and extraction workflows |
| Data Preparation & Transform | Data cleaning, formatting, preprocessing |
| AI/ML Workflow | Training, deploying, or predicting with ML models |
| Processes Workflow | Orchestrating multiple logic layers or dependencies |
| Big Data Process | Distributed or parallel data tasks |
| Notifications | Automated alert or messaging workflows |
| Sequential Code Process | Chained execution or custom scripts |
| API | Services exposed to external systems |
| KOEL | Orchestrates multi-step workflows |
| WARP Service | Groups WARP projects: persistent HTTP services and daemons (e.g. FastAPI apps) exposed via the /warp/ gateway |
Note: Project categories are organizational labels — they don't affect runtime behavior.
- Click Create.

- Click OK on the confirmation popup.

Checkpoint: Your new Flow should now appear in the Reasoning Flows list.
Step 2: Create an Object
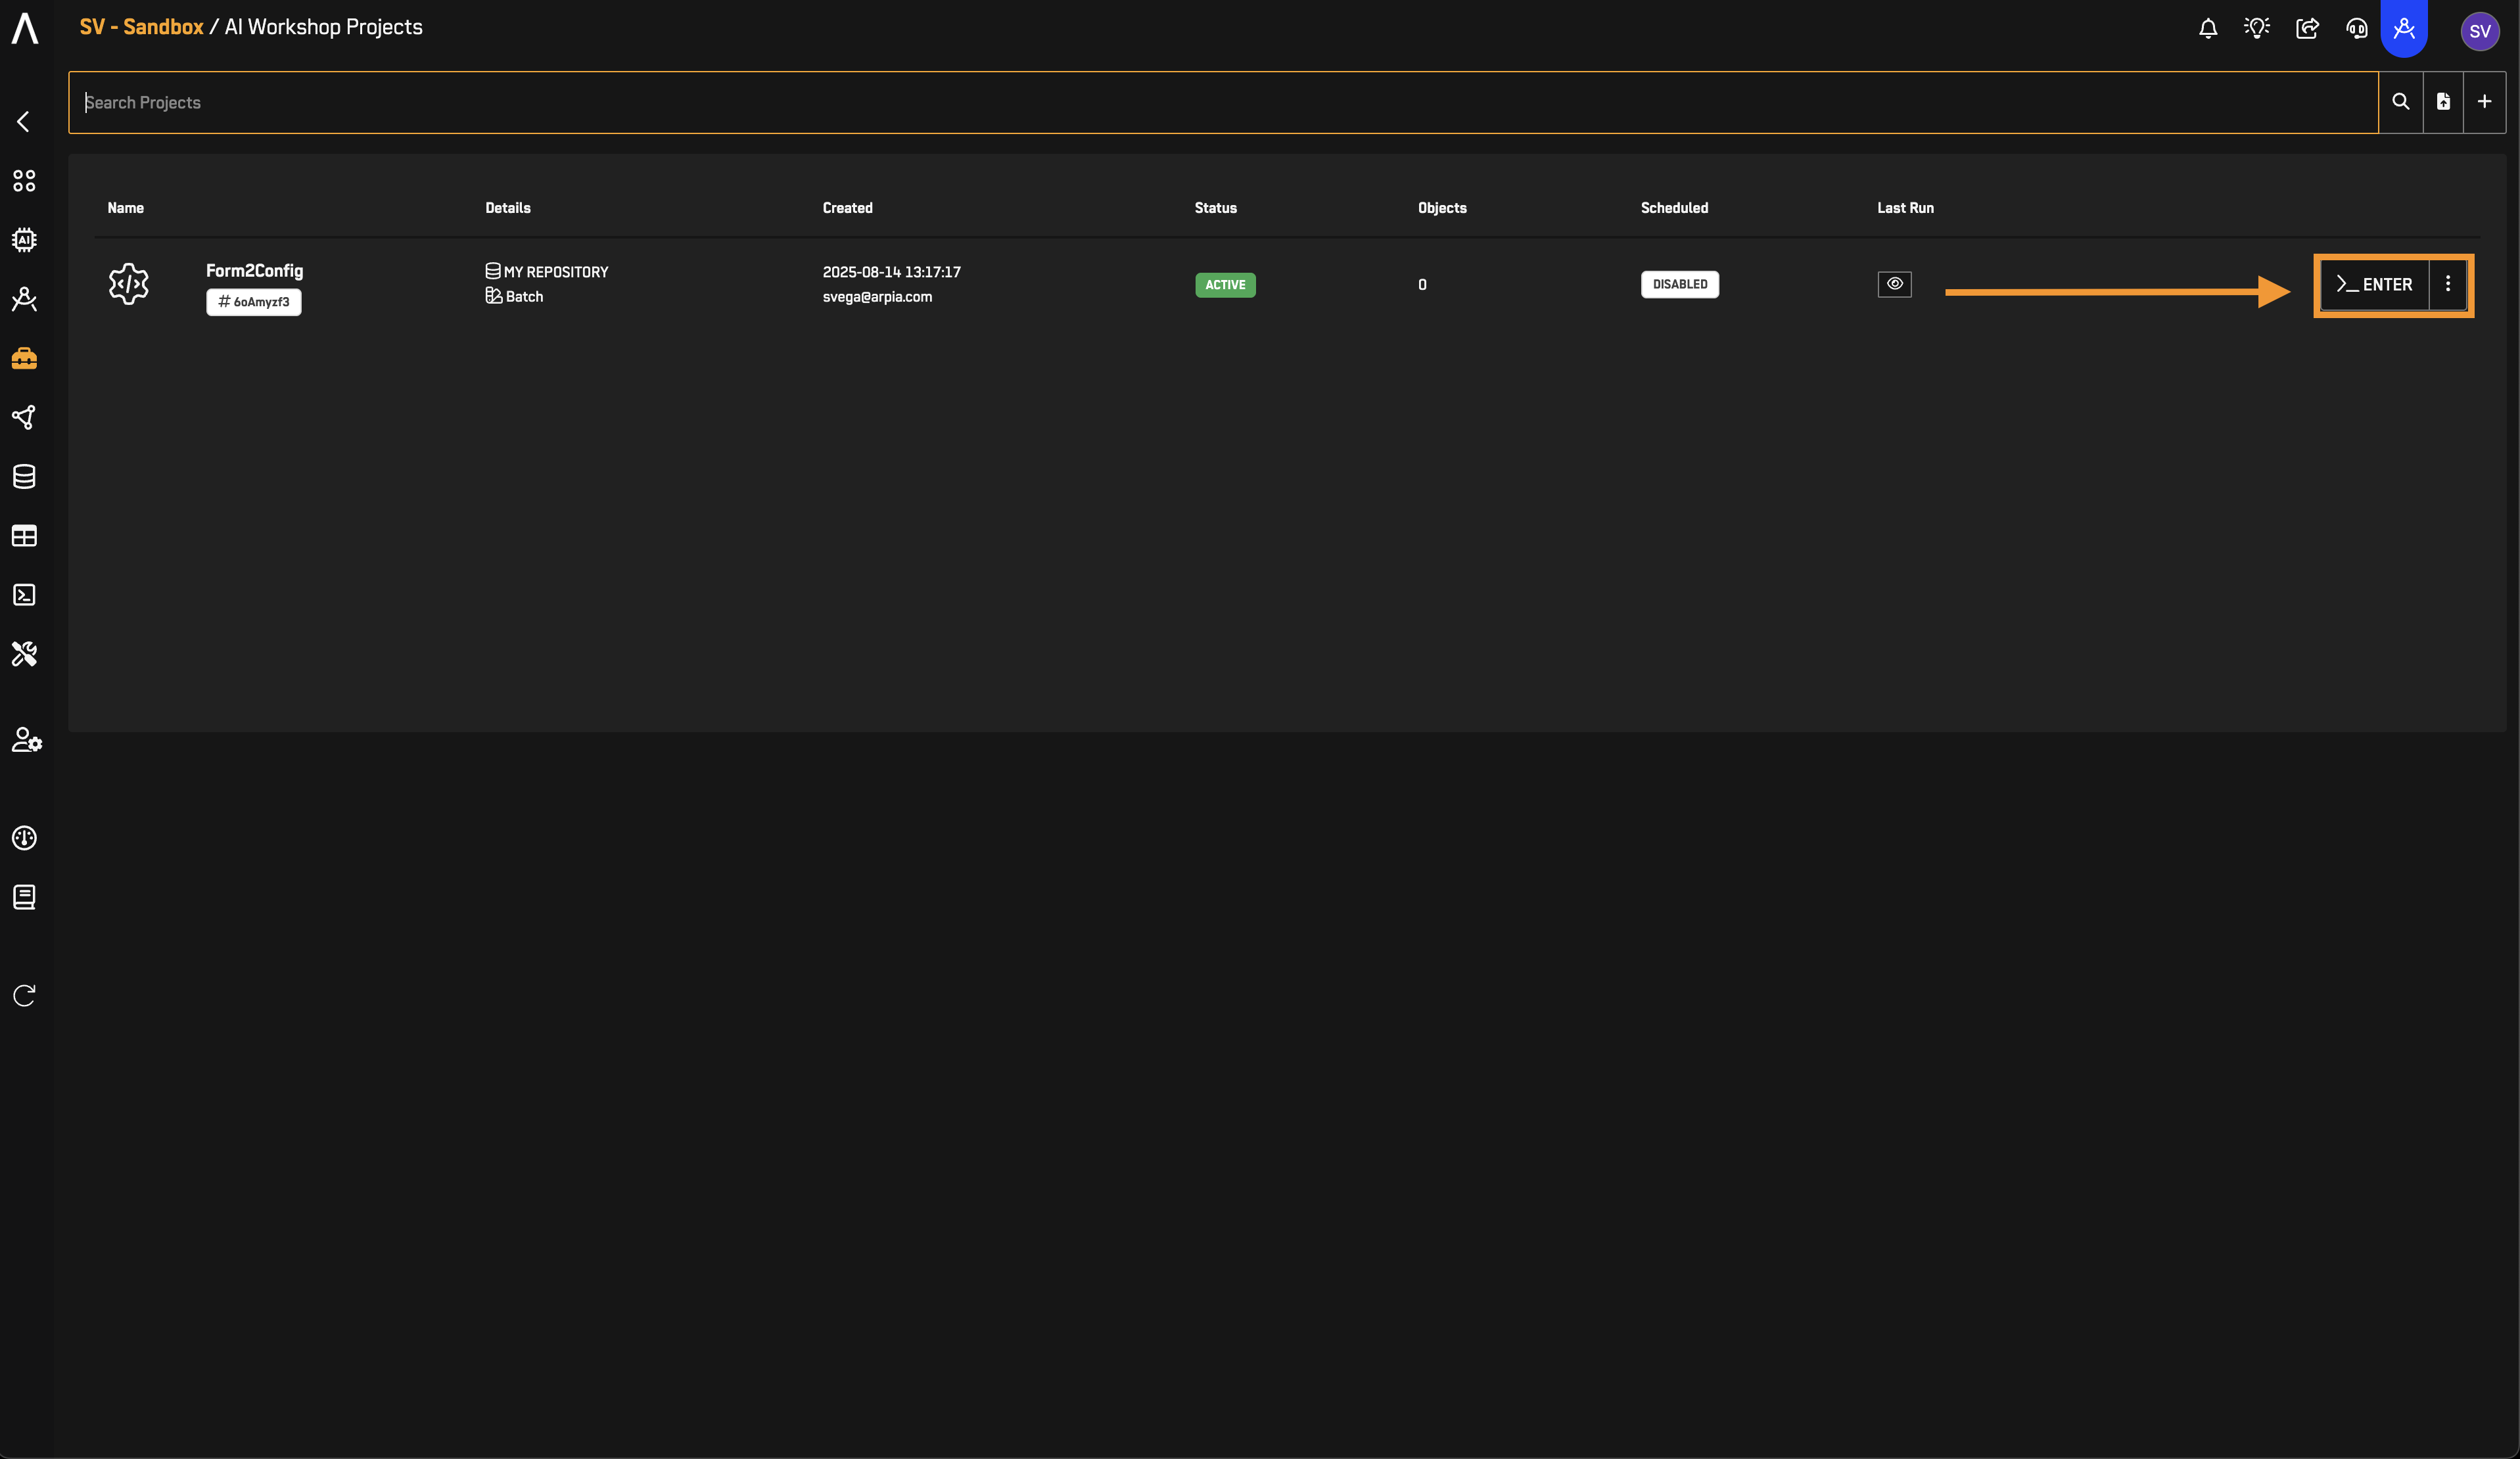
- Click Enter on your newly created Flow to open it.
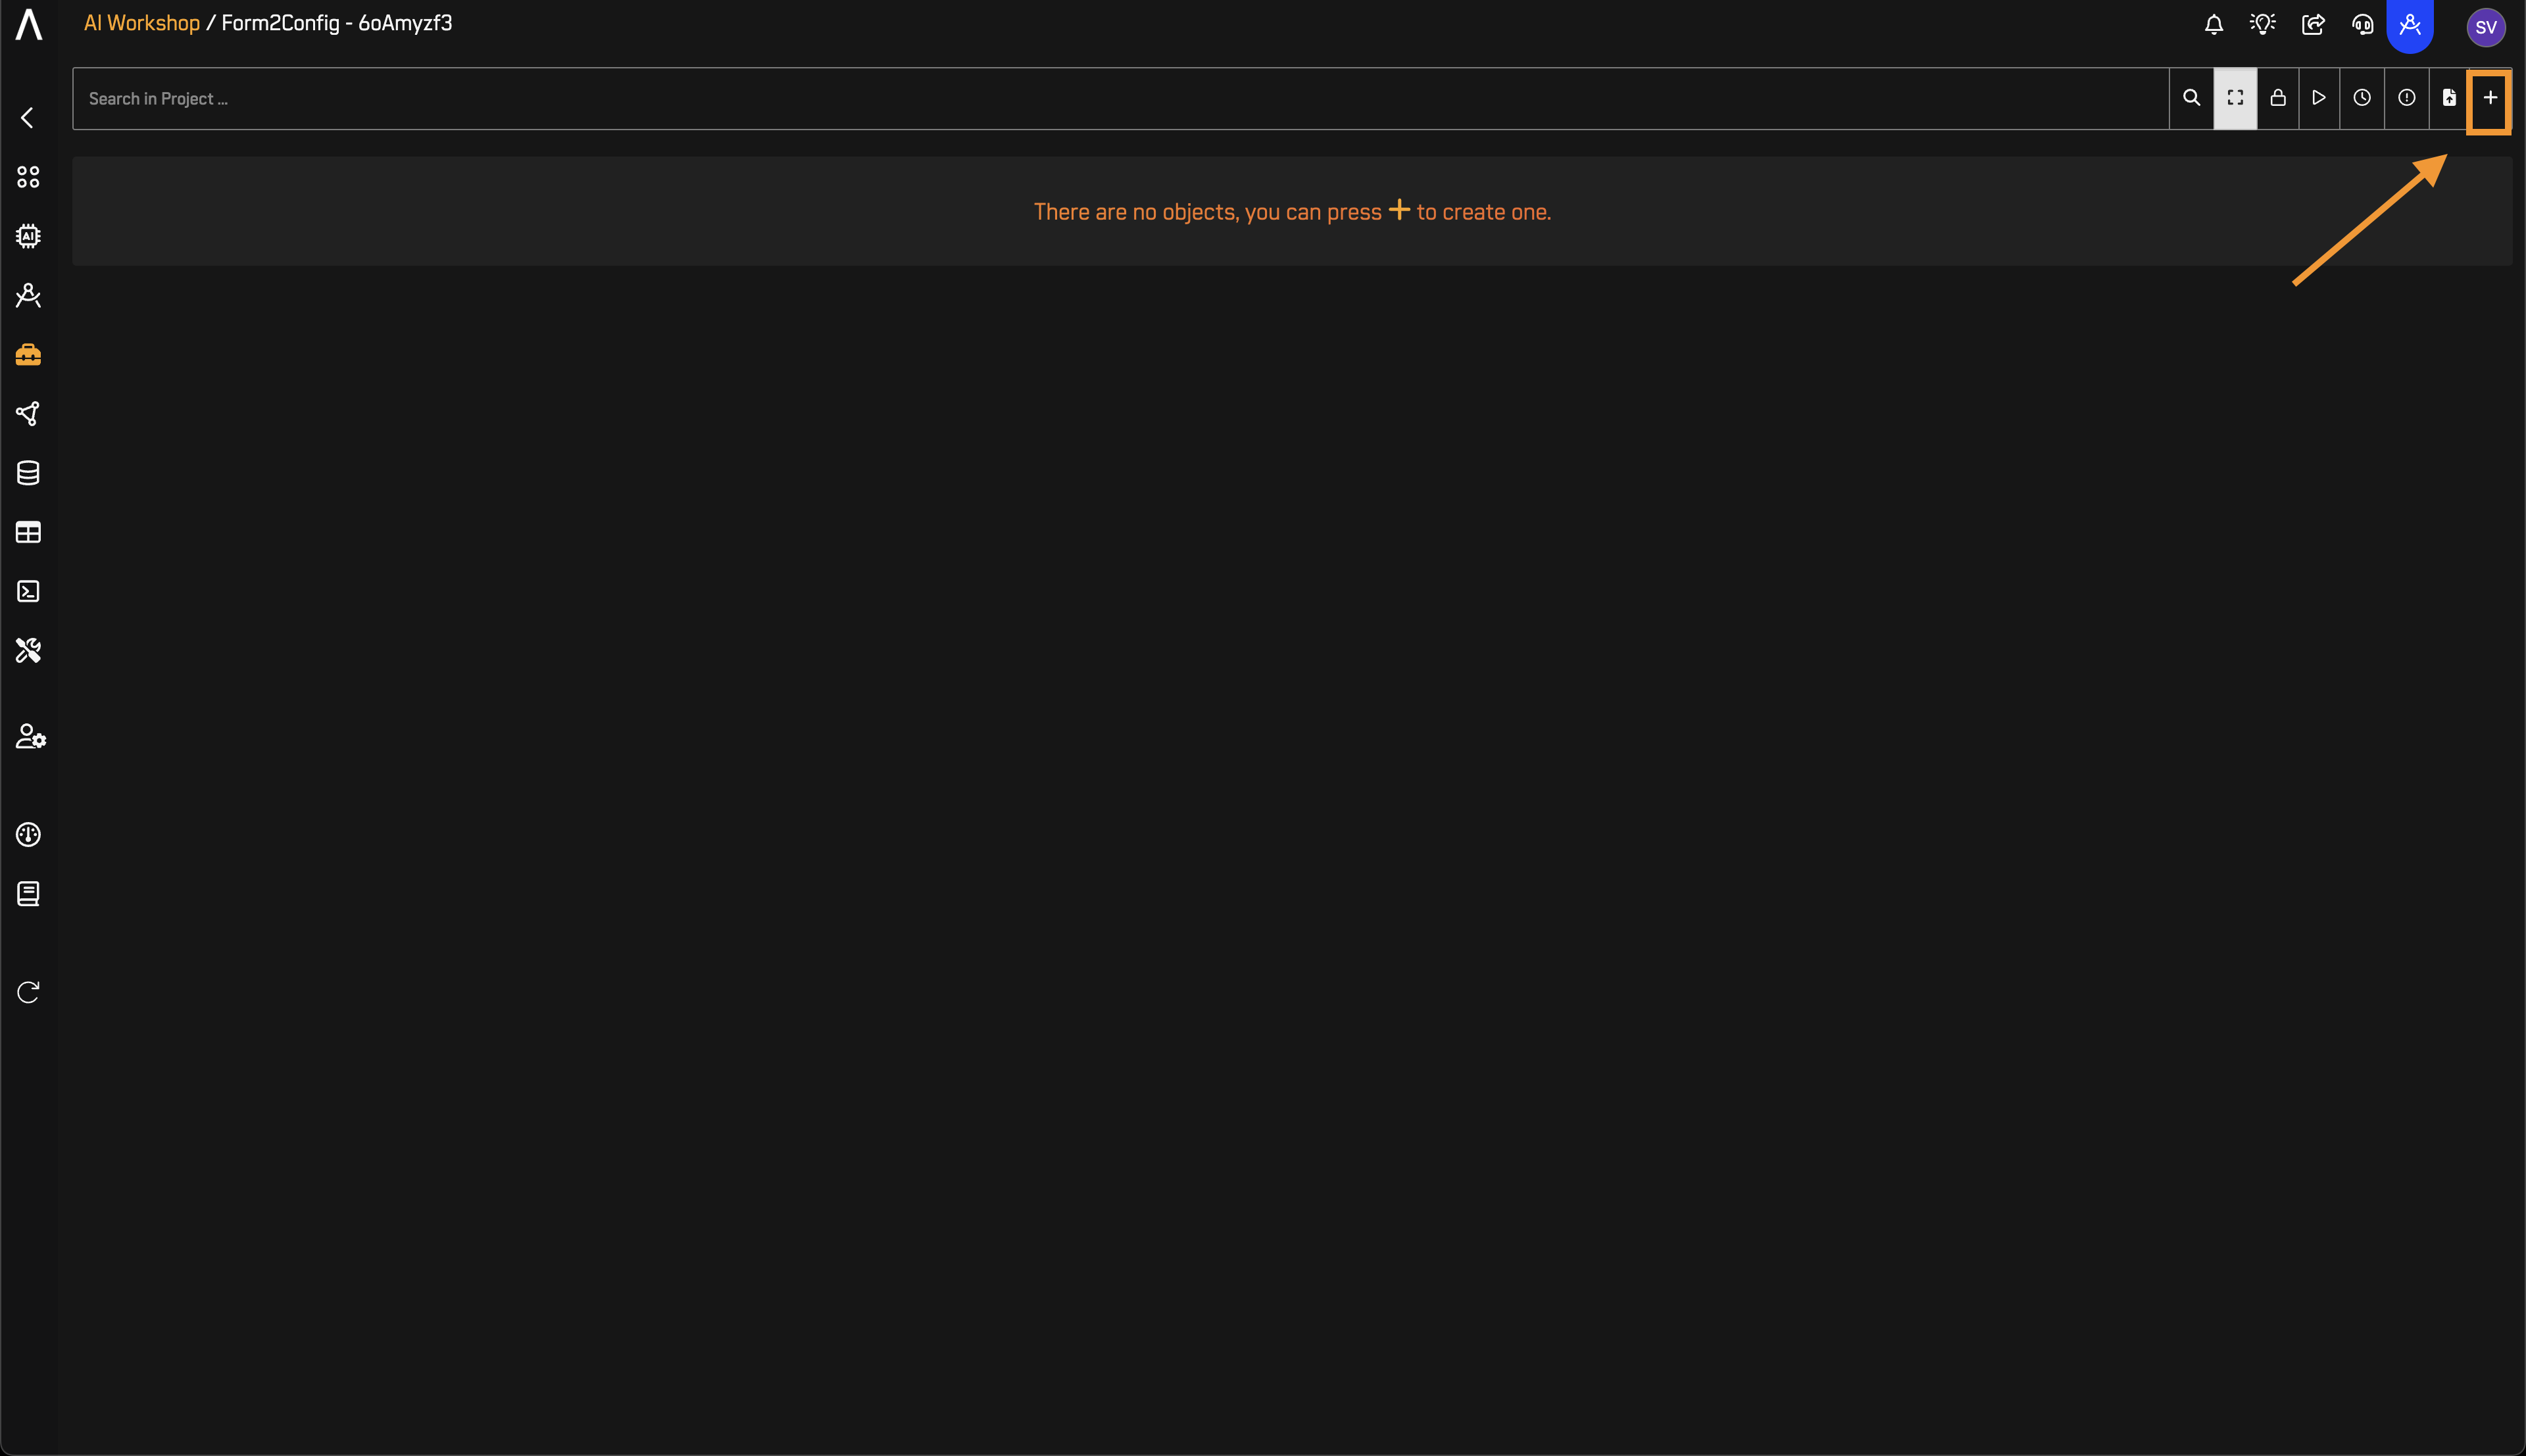
- Inside the Flow, click New Object (or the + button).
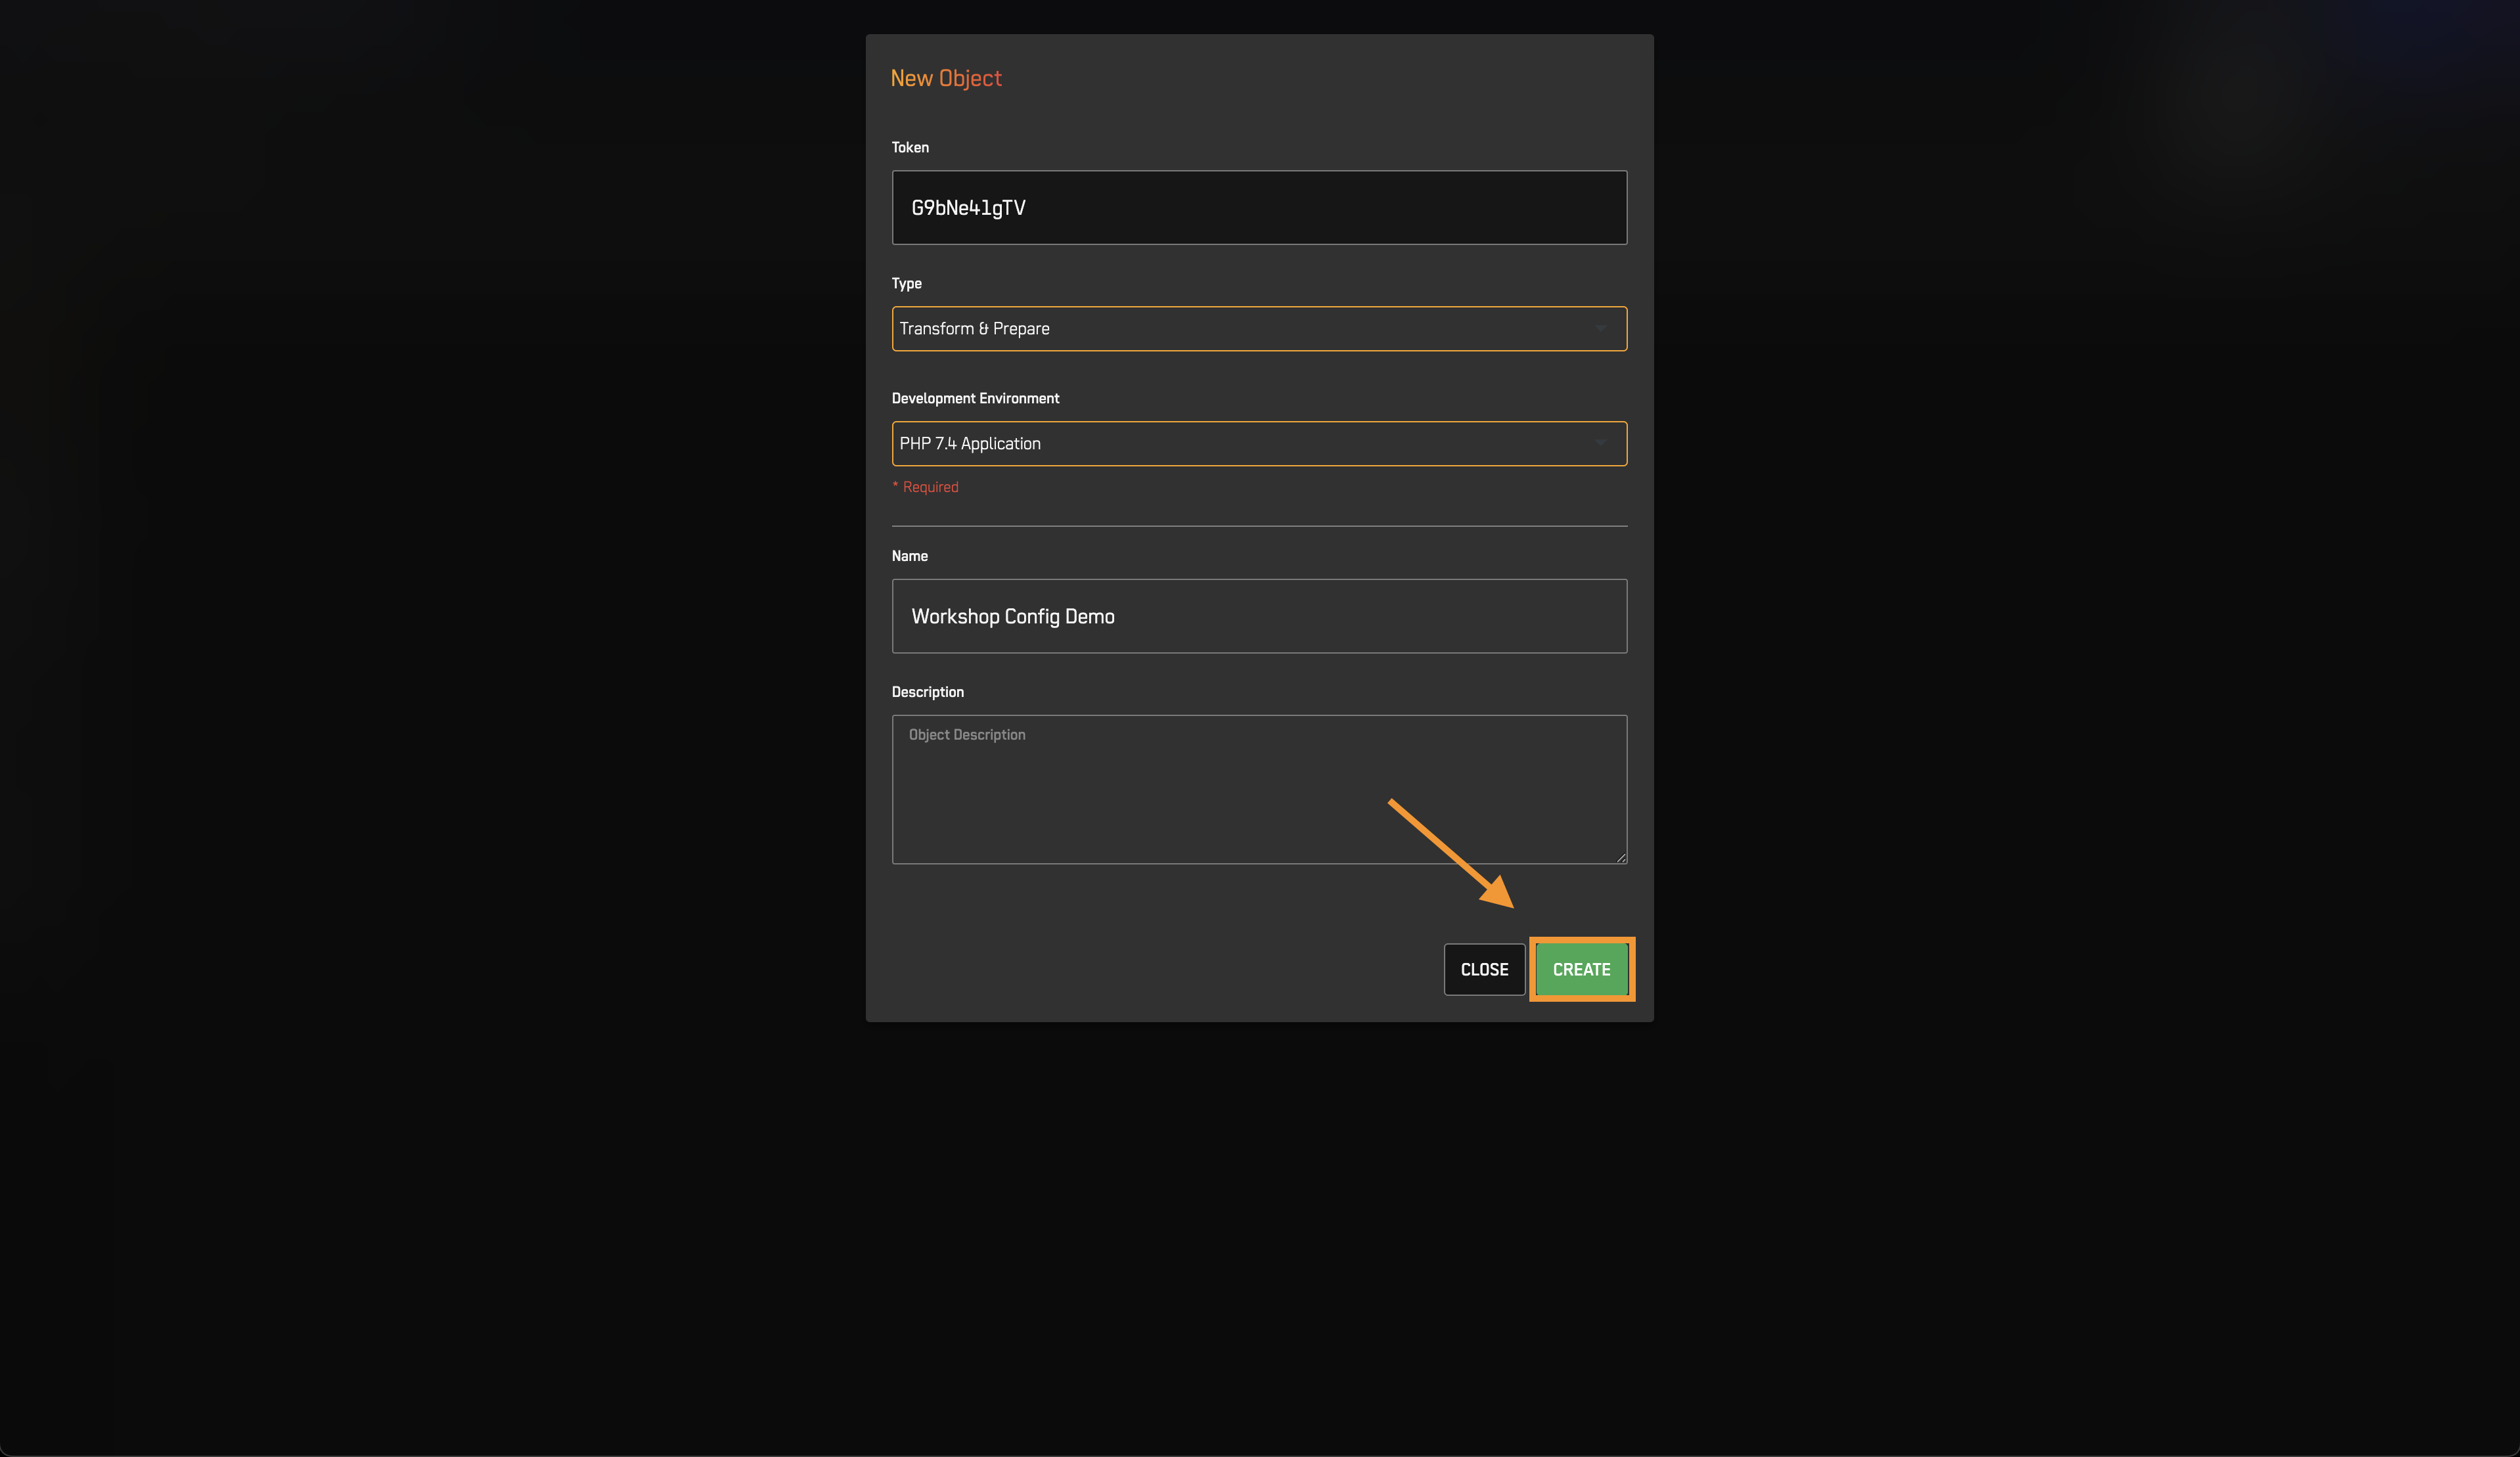
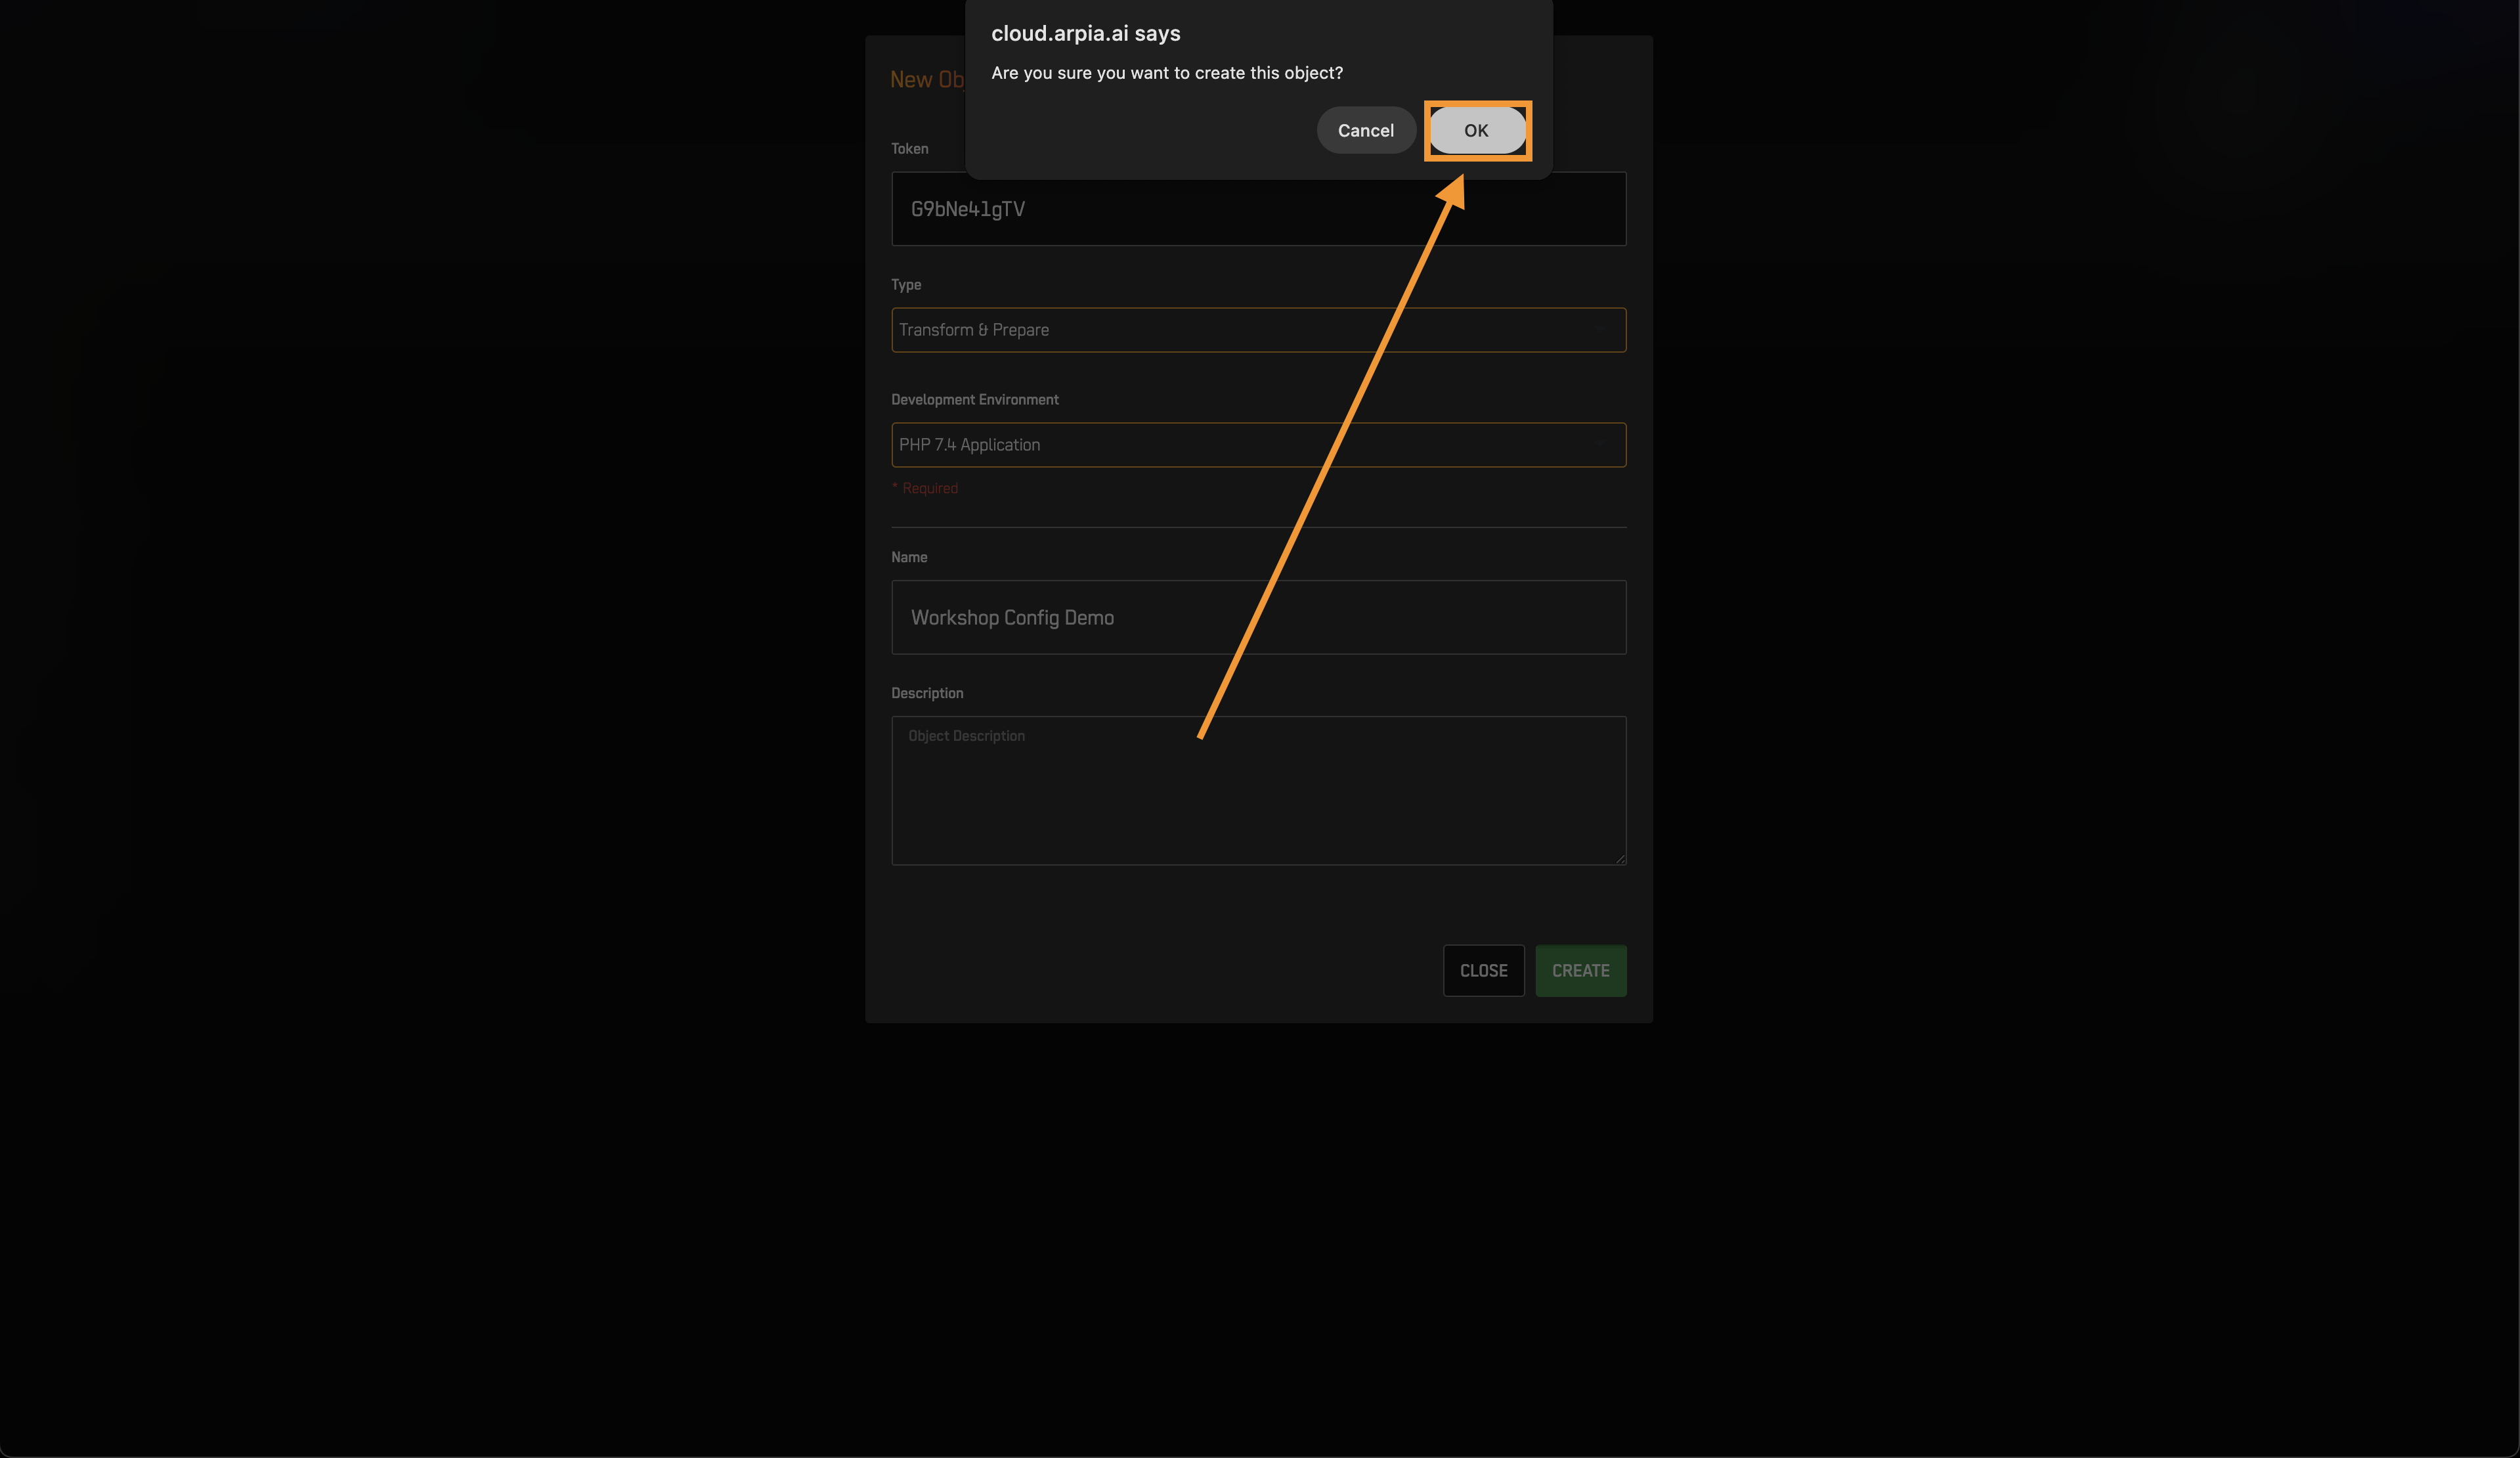
- Fill in the New Object form:
| Field | Description |
|---|---|
| Type | The functional category of the object |
| Development Environment | The specific tool or runtime (varies by Type) |
| Name | A descriptive name for the object |
| Description | Optional description |
Object Types and Development Environments
Select a Type first, then choose the appropriate Development Environment:
Extract & Load
For automated data extraction from registered data sources.
| Development Environment | Description |
|---|---|
| AP DataPipe Engine - MySQL | GUI-based extraction from MySQL-compatible databases |
| AP DataPipe Engine - File | GUI-based extraction from file sources (CSV, JSON) |
| Python 3.12 DataPipe Engine | Code-driven extraction for custom data sources |
Repository Table
For registering and managing tables in your data repository.
Transform & Prepare
For refining data before analytics or modeling.
| Development Environment | Description |
|---|---|
| AP Prepared Table | Converts raw tables into analysis-ready datasets |
| AP Transform String to Binary | Converts text fields to binary representations |
| AP Transform String to Numeric | Converts text fields to numeric values |
| AP Transform Dates to Numeric | Converts date fields to numeric timestamps |
| AP SQL Code Execution | Executes custom SQL logic |
| AP Model Render | Generates formatted outputs from model results |
| SingularAI Text Splitter | Segments text into smaller chunks for processing |
AI & Machine Learning
For model training, deployment, and prediction.
| Development Environment | Description |
|---|---|
| AP AutoML Engine | Low-code model development with visual workflows |
| AP AutoML GPU Engine | GPU-accelerated training for large datasets |
| SingularAI Text Embeddings | Generates vector representations of text |
| AP Generative AI Workflow | Integrates generative AI into pipelines |
When to use GPU: Choose AP AutoML GPU Engine for datasets >100,000 rows, deep learning models, or when standard training is too slow.
Visual Object
For custom applications, APIs, and visualizations.
| Development Environment | Description | Recommended For |
|---|---|---|
| PHP 8.2 Application | Modern PHP with latest features | New PHP projects |
| PHP 7.4 Application | Legacy PHP support | Existing projects requiring older dependencies |
| Python 3.8 Advanced ML Application | ML workflows with scikit-learn, TensorFlow, PyTorch | Machine learning |
| Python 3.8 Advanced ML & Plotly | ML with interactive visualizations | Dashboards, charts |
| Python 3 FastAPI | High-performance REST APIs | API development |
| Python 3.9 Google Cloud Speech | Audio transcription | Speech-to-text |
| ARPIA Python Notebook | Interactive development environment | Exploration, prototyping |
Data Models (Nodes)
For defining semantic entities and documenting datasets in the Reasoning Atlas.
AI Apps
For orchestrating multiple objects into complete, deployable applications.
App Droplet Object
For publishing applications to external servers.
| Development Environment | Description |
|---|---|
| PHP | Traditional web applications and backend interfaces |
| Python | APIs, microservices, ML model endpoints |
- Click Create.
- Click OK on the confirmation popup.
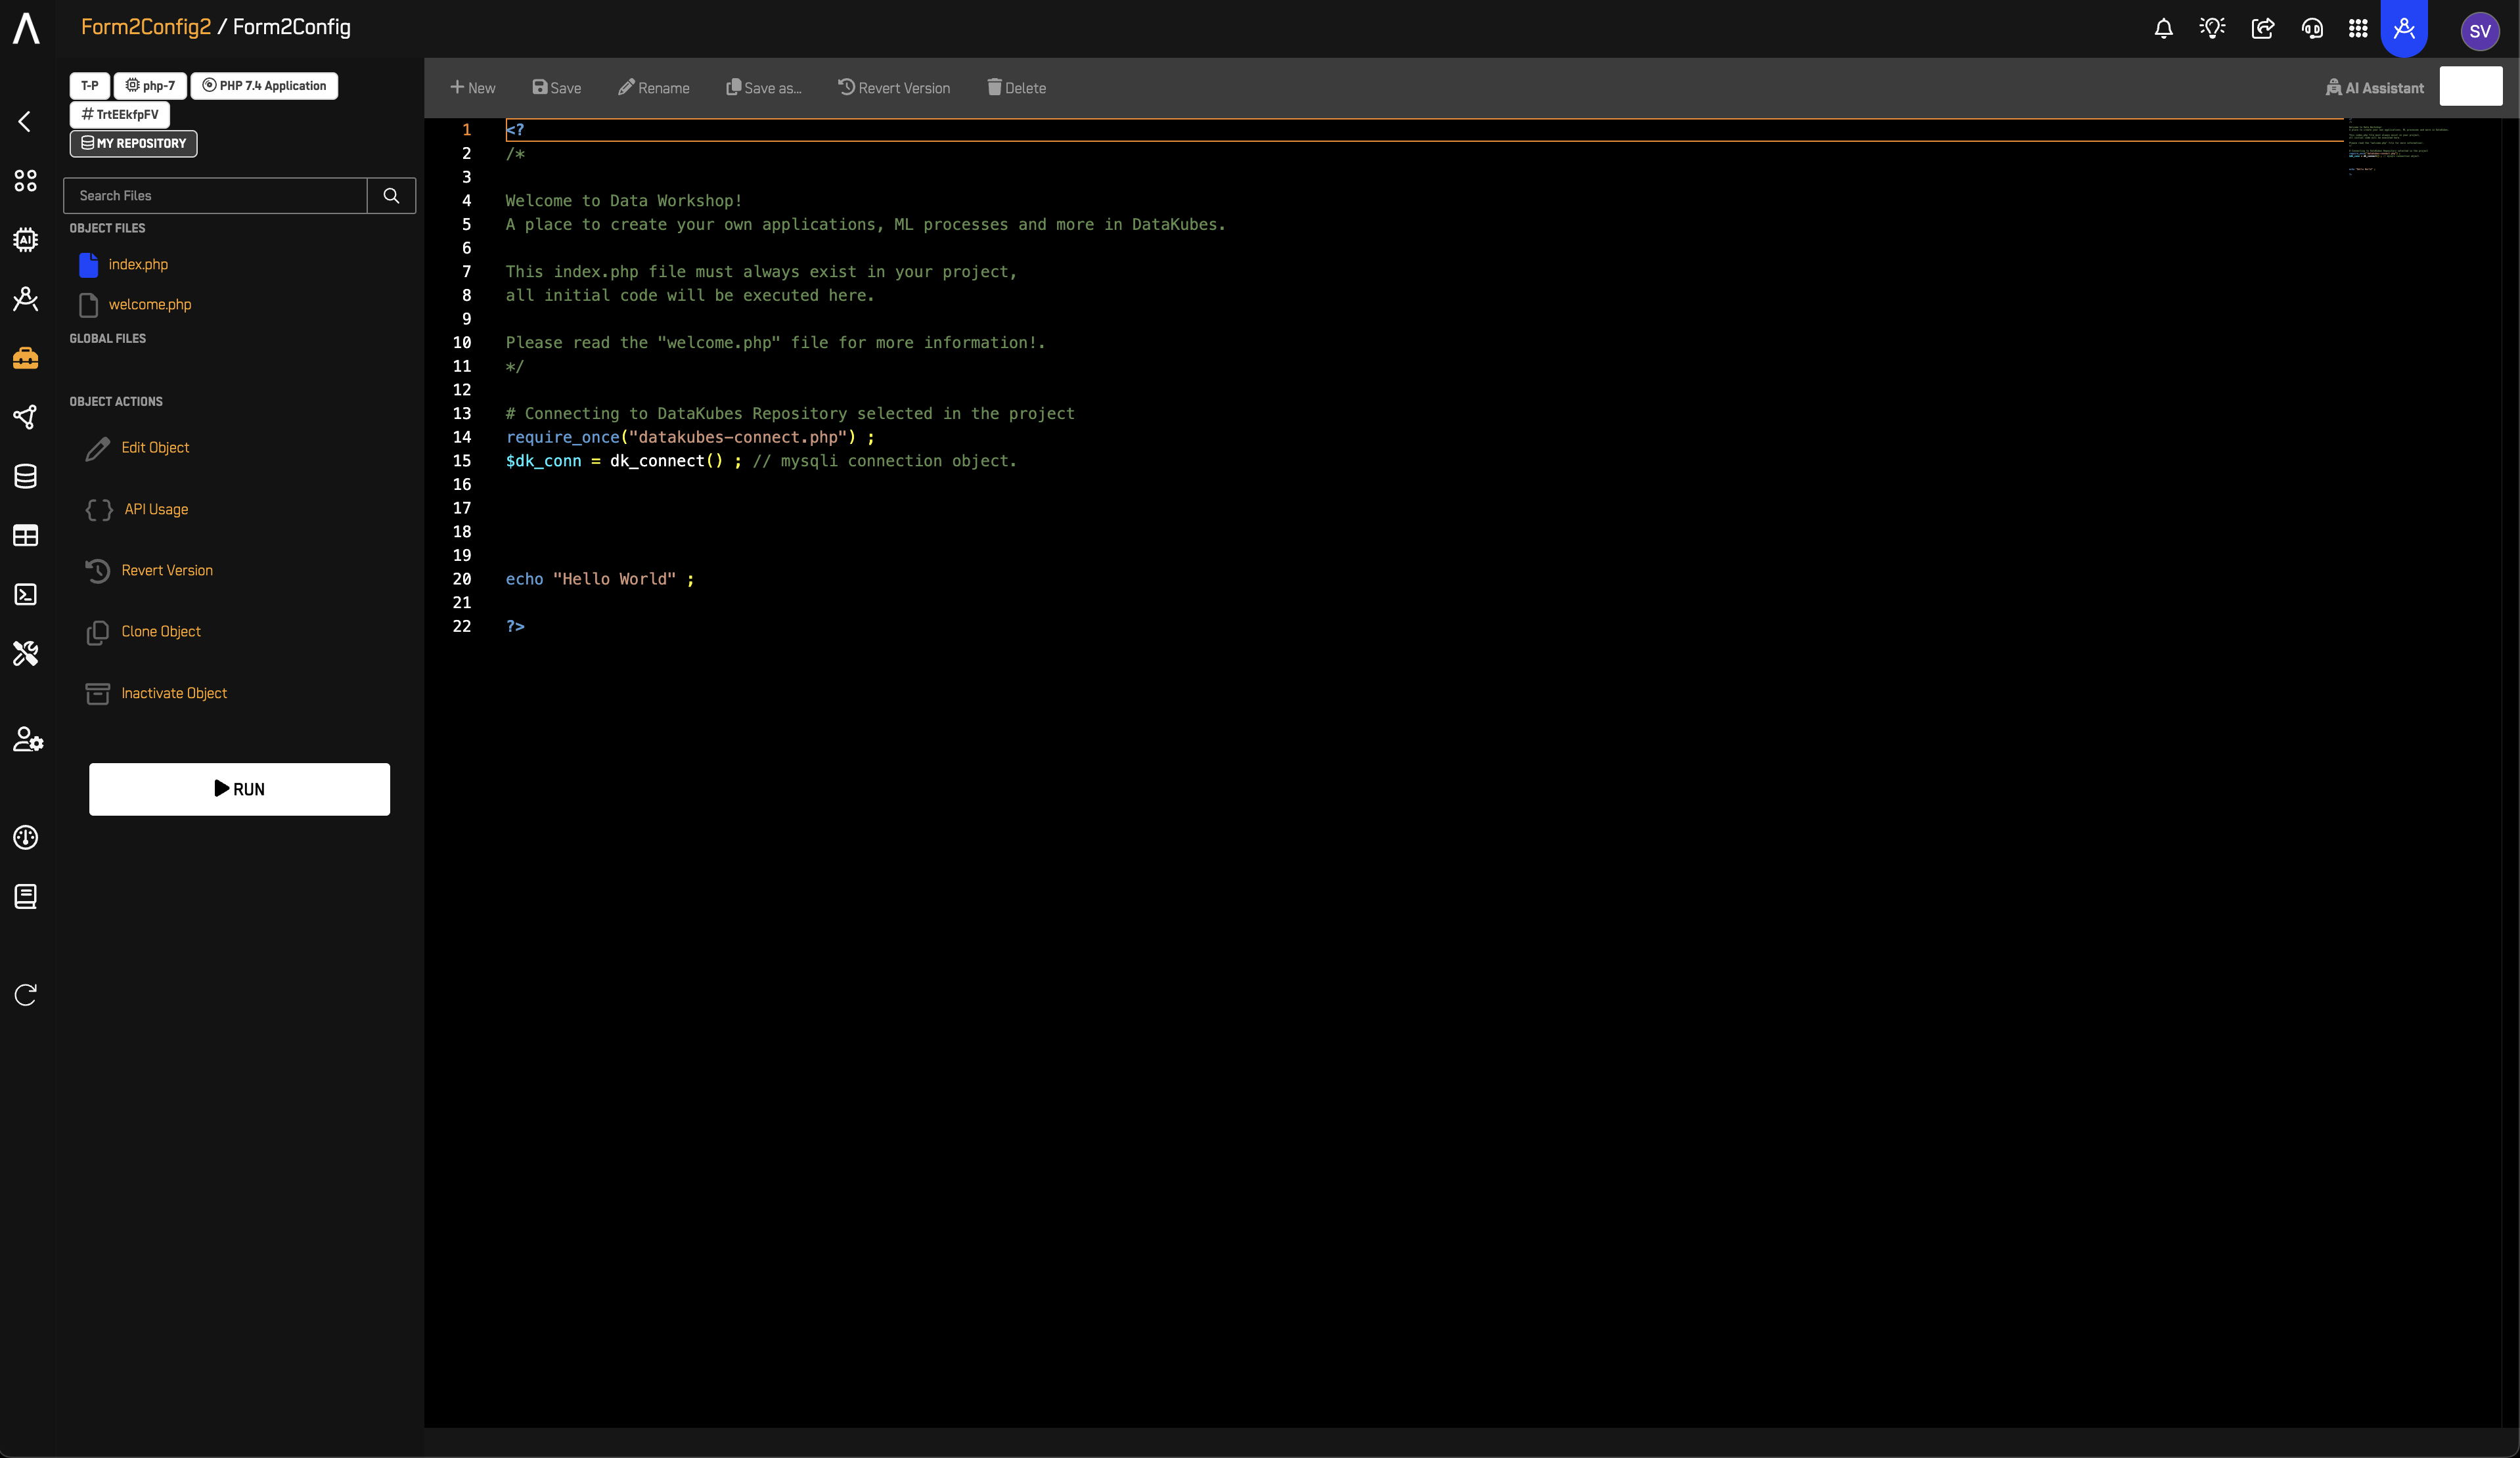
- Your Object editor will open, ready for development.
Next Steps
Now that you've created a Flow and Object, you can:
- Write code in the editor using PHP or Python
- Add a config.html to create an interactive configuration form (see Configurable Objects Overview)
- Connect to your Repository using the database helpers (
dkconnectfor Python,datakubes-connect.phpfor PHP) - Schedule execution for batch processing
- Add more Objects to build complete workflows
Related Documentation
-
Reasoning Flows Overview
Understand the complete Reasoning Flows architecture. -
Configurable Objects Overview
Add interactive configuration forms to your objects. -
App Droplet Object Overview
Deploy objects to production servers. -
How to Create a Data Repository
Set up a Repository before creating Flows.