
Page Layout Example: Survey and Table Information
In this article we will provide you an example of how to use all the elements of the page layout screen in one use case
Step-by-Step Guide: Creating a Two-Screen Application
This step-by-step guide will demonstrate how to use page layout to create a two-screen application. The first screen will feature a form for collecting information on a product research survey. The second screen will display all the collected survey information. This setup is particularly useful for scenarios where people are conducting surveys on the street, allowing for real-time data collection and visualization.
Prerequisites
Before we start structuring our Page Layout, we need to set up some prerequisite tools and objects to complete this Use Case Project. These are:
Table
To set up our form inside the Page Layout, we need to use a Table. This object will store all the information that will be sent through. For more information on this, you can review the How to create a Table documentation.
Node
To be able to show all the survey information, we need to create a node linked to the information on the previously created table. For more information on this, you can review the How to create a Node documentation.
Data App
In this step-by-step guide, we will only be focusing on the steps to set up the page layout screen. It is important to note that the page layout screen is an available tool inside the Data App studio. To use it, we need to have previously created a Data App. For more information on this, you can review the How to create a DataApp documentation.
Screen 1: Form
Step 1: Create a Page Layout Screen
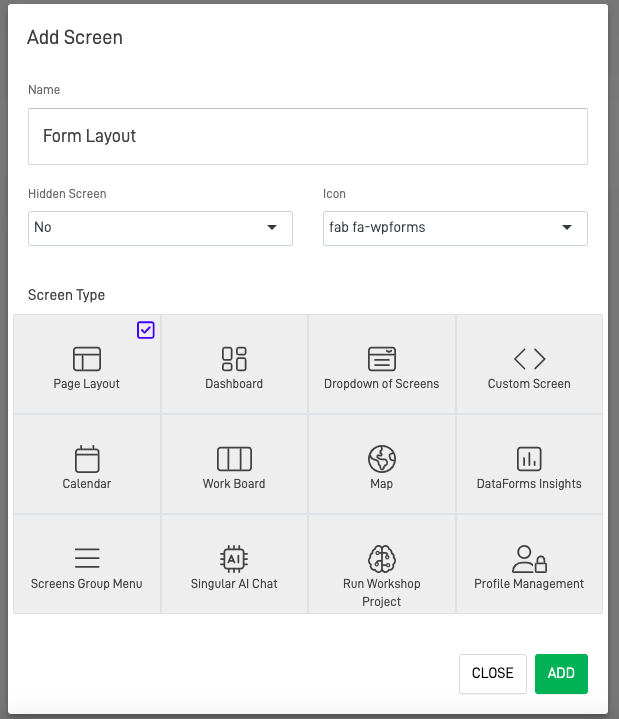
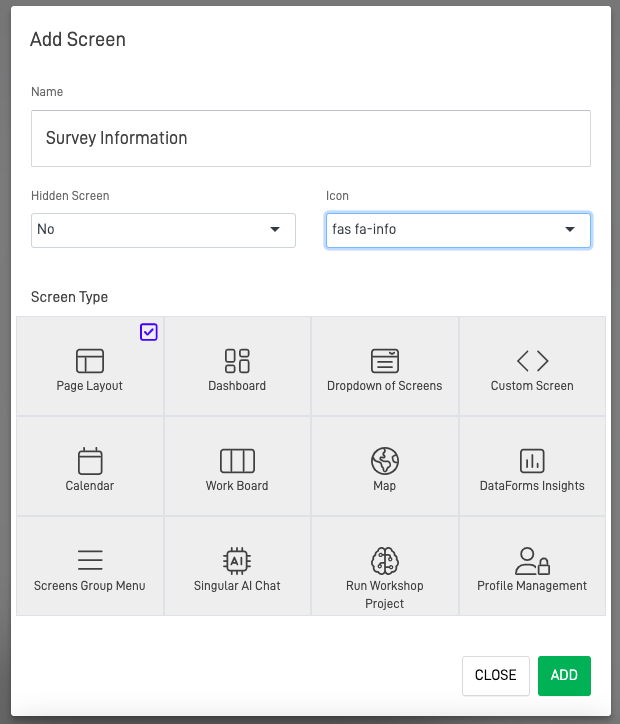
The first step is to create our first Page Layout. From the Data App Studio, click on the "+" on the top right corner of the screen and select the "App Screen" option.

The "Add Screen" form will prompt. Write the desired screen name, select "No" in the "Hidden Screen" option, add a related icon to the screen, and select "Page Layout" as the screen type. After customizing the screen's general information, click on the "Add" button.
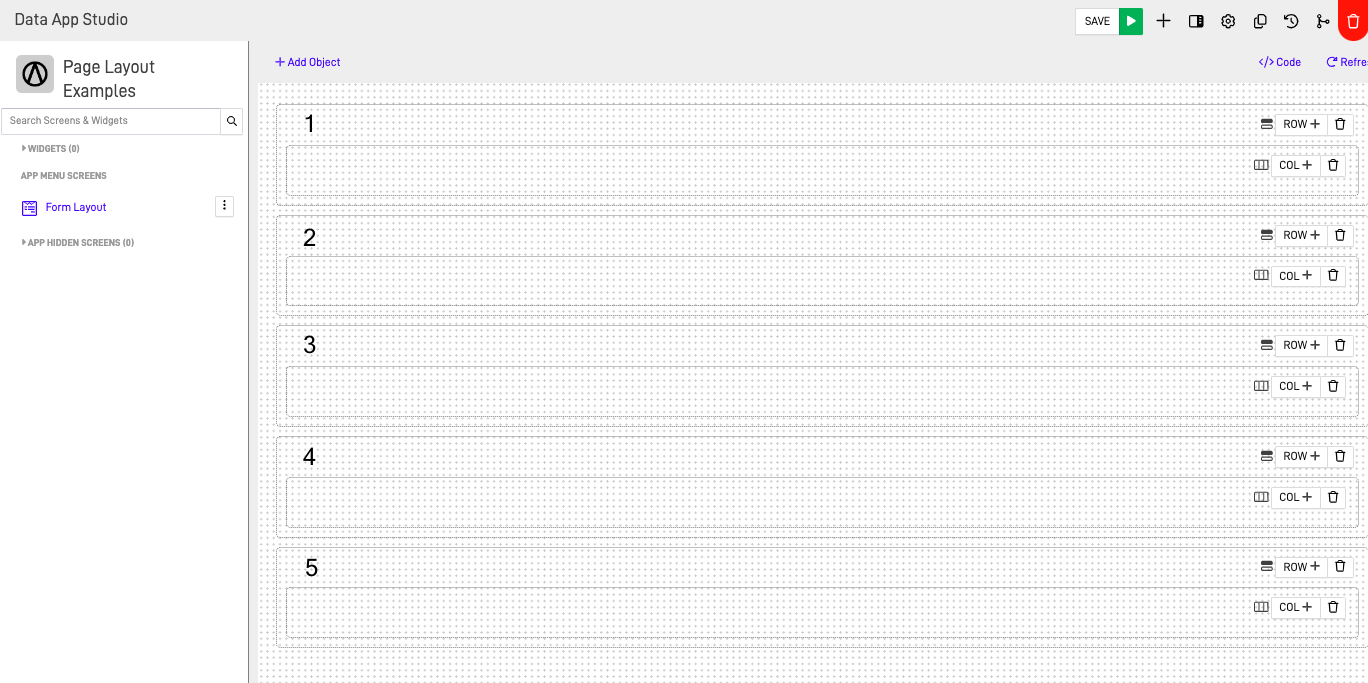
Step 2: Structure the Rows
After creating the page layout screen, we need to start structuring and organizing the rows. For this project example, we will use a simple structure with a Header, a Title, some Text, a Horizontal Line, and the form showing the desired survey.
Step 3: Start Adding Elements
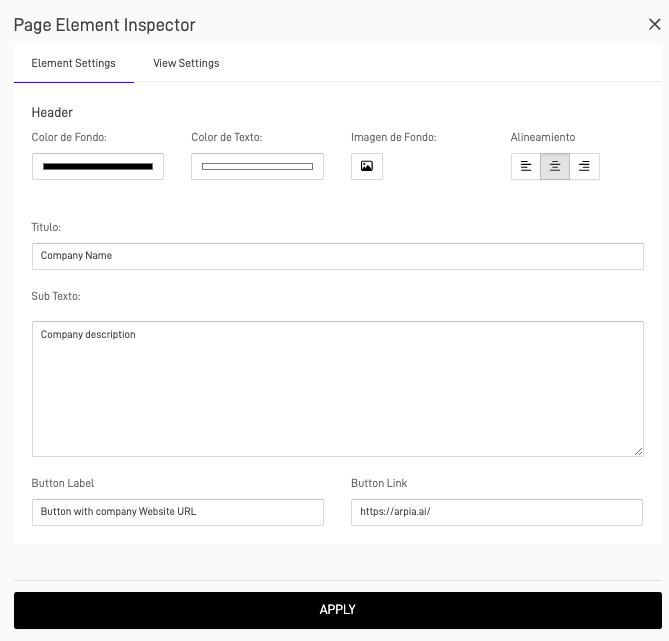
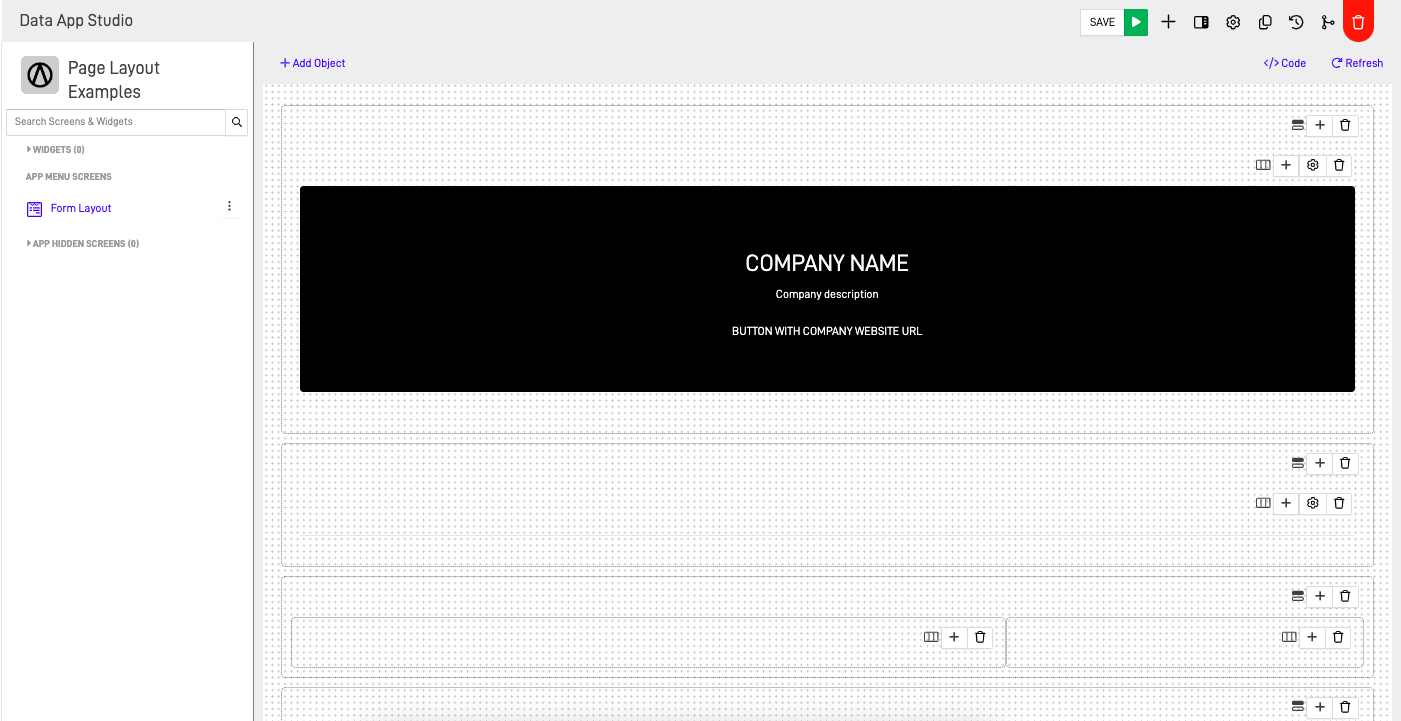
Header Element
After finishing the row structure, start adding the planned elements for the screen. First, add the header that will be located in the Row container 1. In this row container, show the company name and a description of the company. Additionally, add a button linked to the URL of the company.
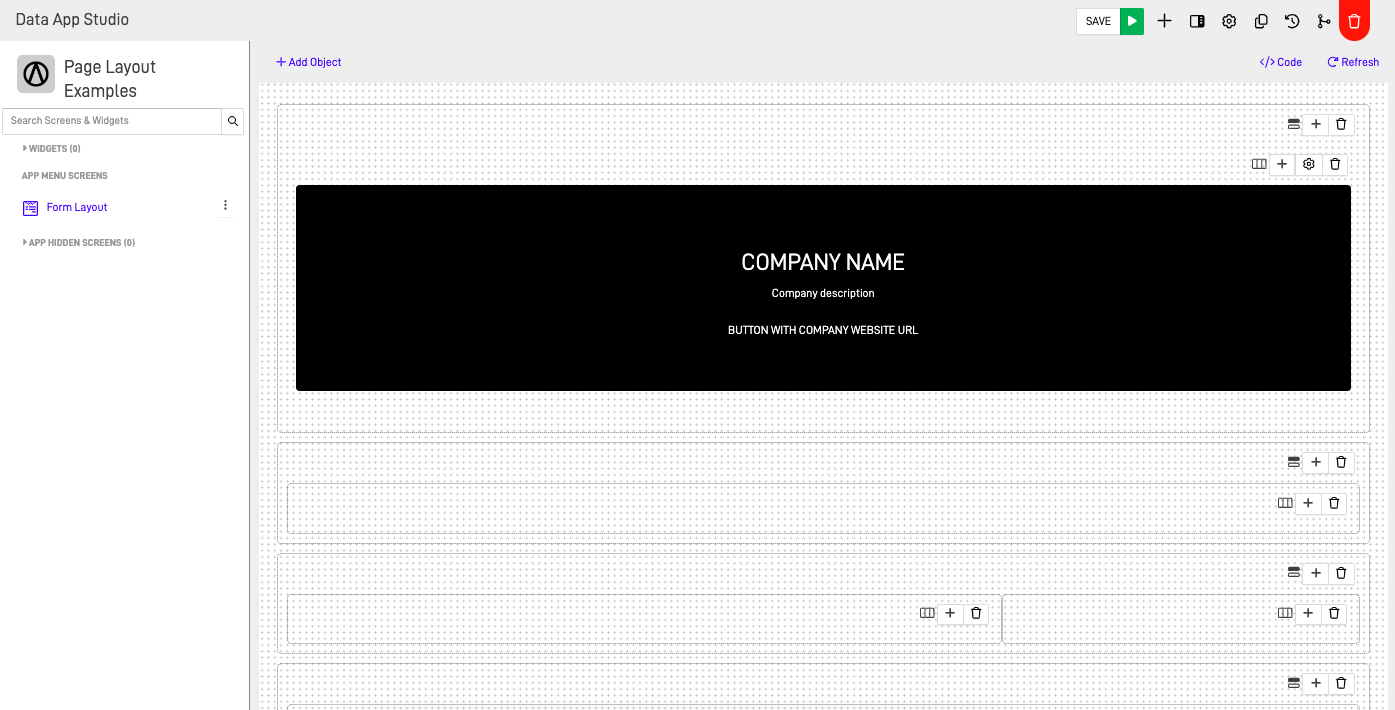
After setting up the header, click on the "Apply" button to see the result:
Horizontal Line
Add a horizontal line on Row Container 2 to separate the header and the rest of the page information.
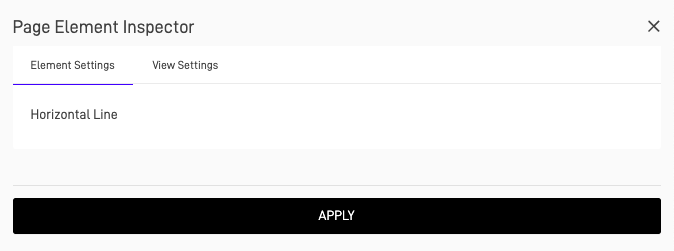
Click on "Apply" to see the result.
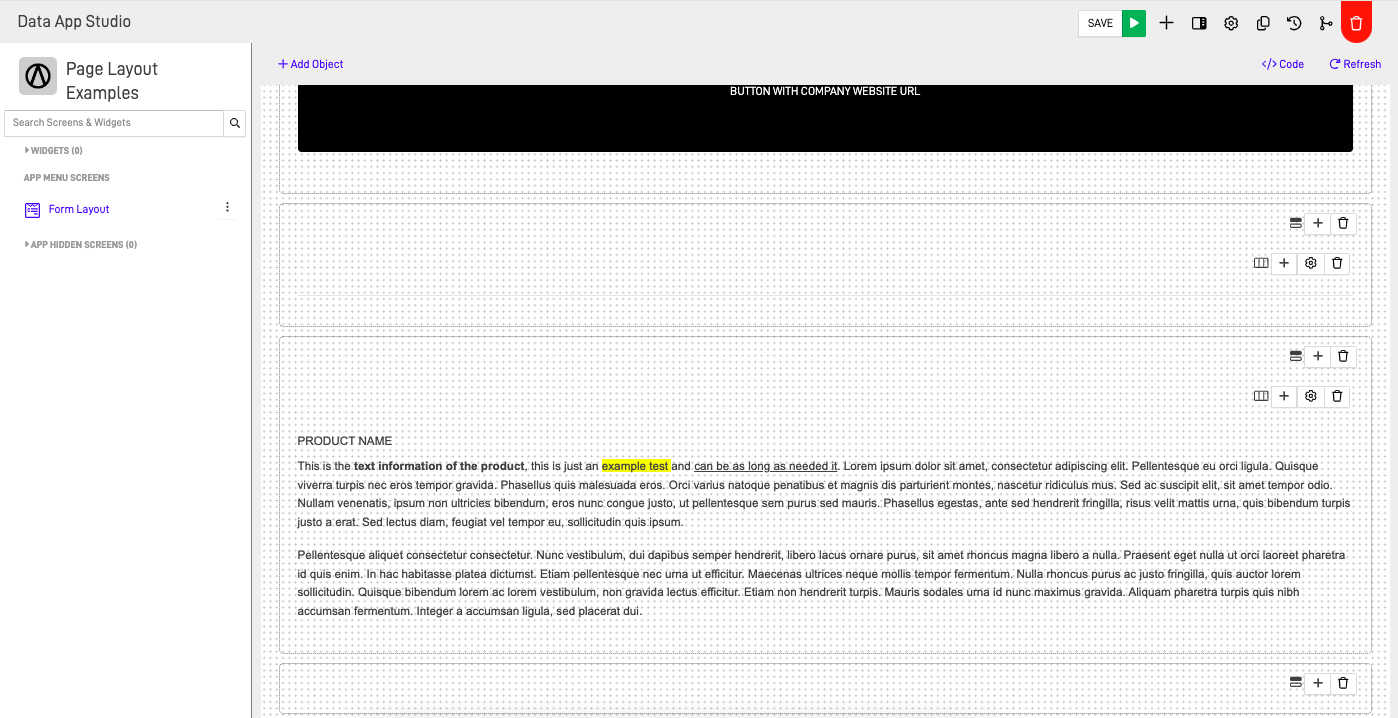
Text
In the Row Container 3, add a text description of the product to help introduce the product to individuals filling out the survey, especially if they are unfamiliar with it.
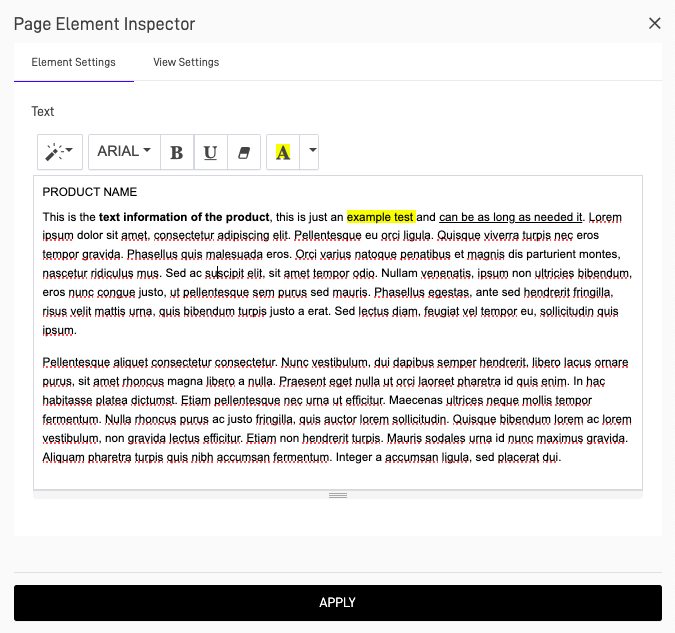
Click on "Apply" to see the result.
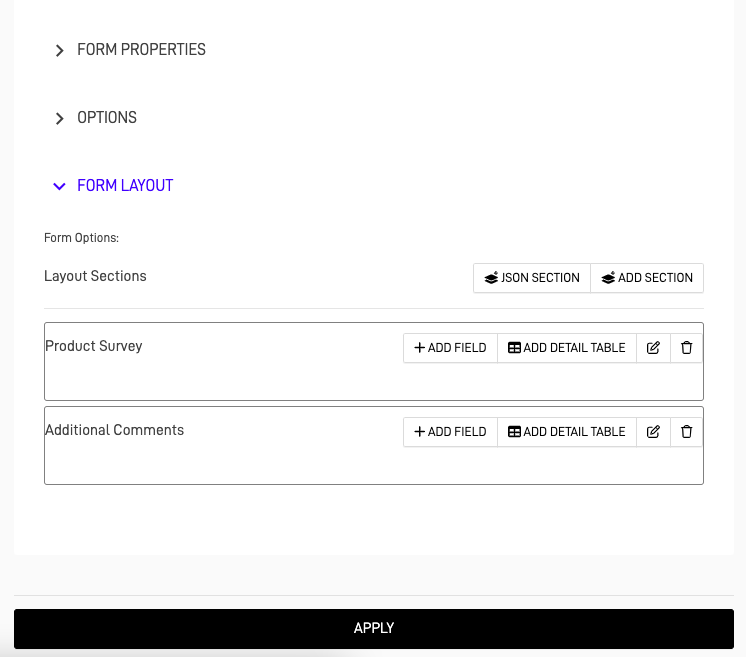
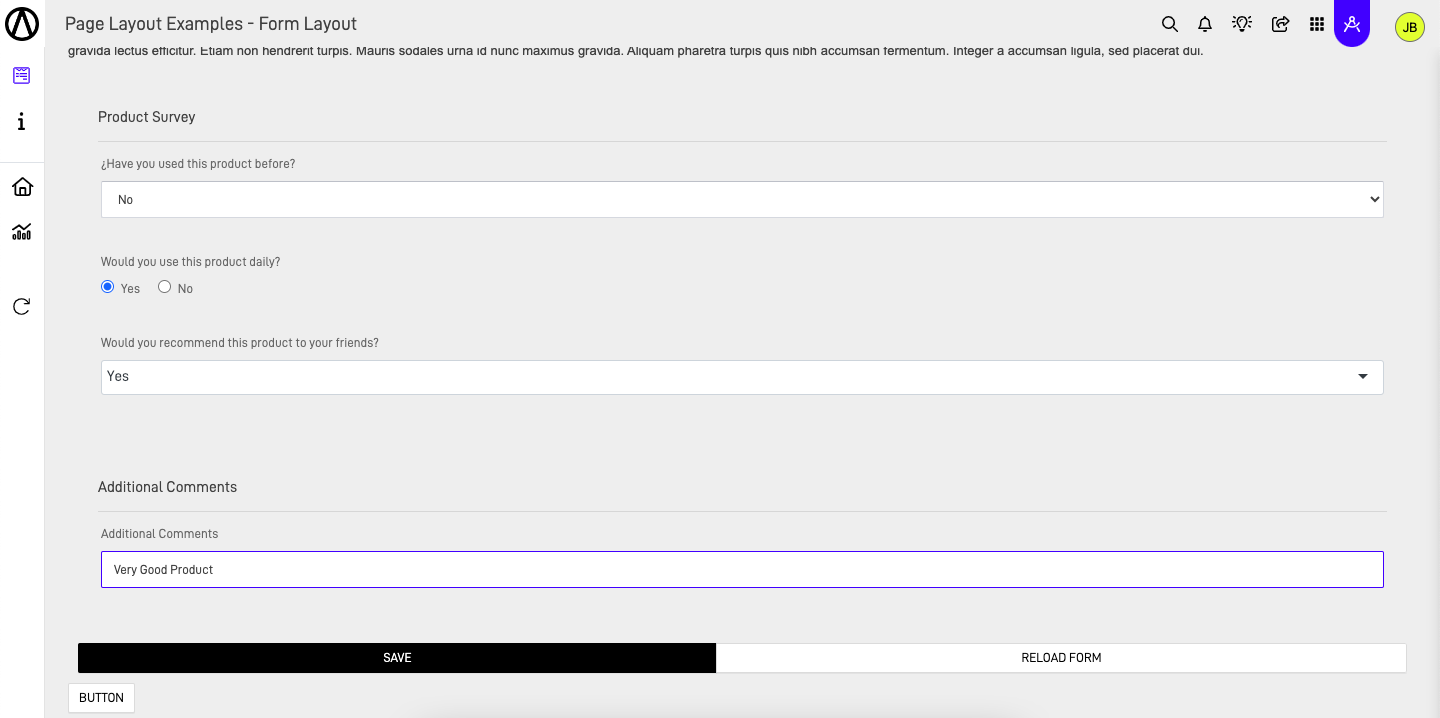
Forms
In the Row Container 4, use the form element to hold the survey and send the information to the table.
Customize a title name, select the repository where the table is located, choose the table created for the survey, and configure the form layout.
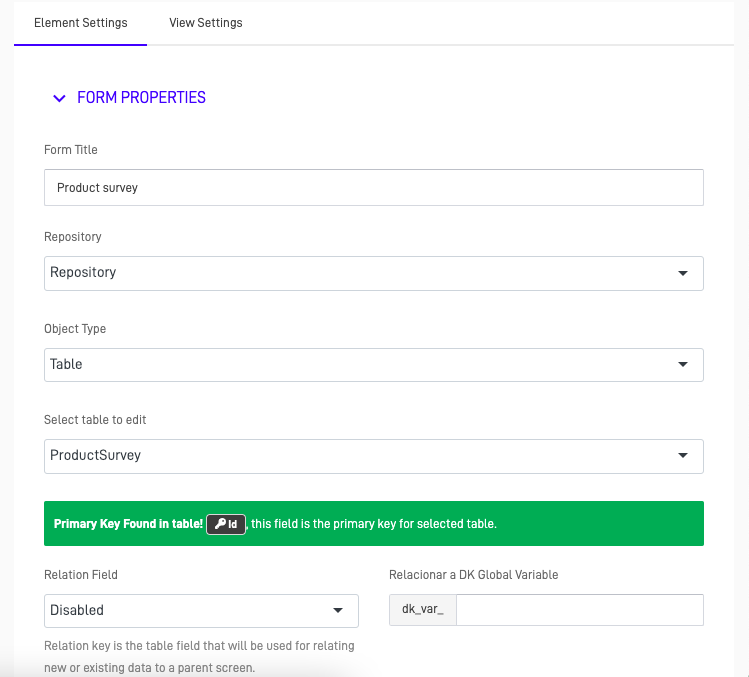
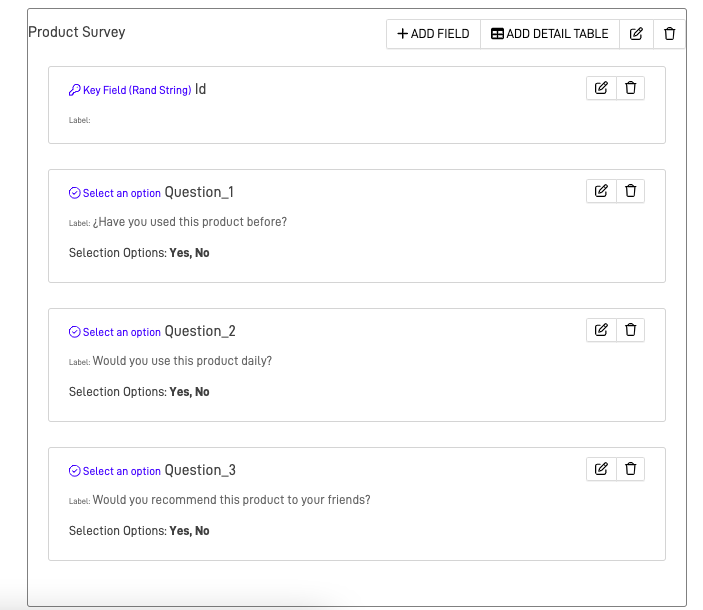
For the project, use the relation field and form options as needed. Add sections and fields for questions, comments, and a timestamp.
Click on "Apply" to see the result.
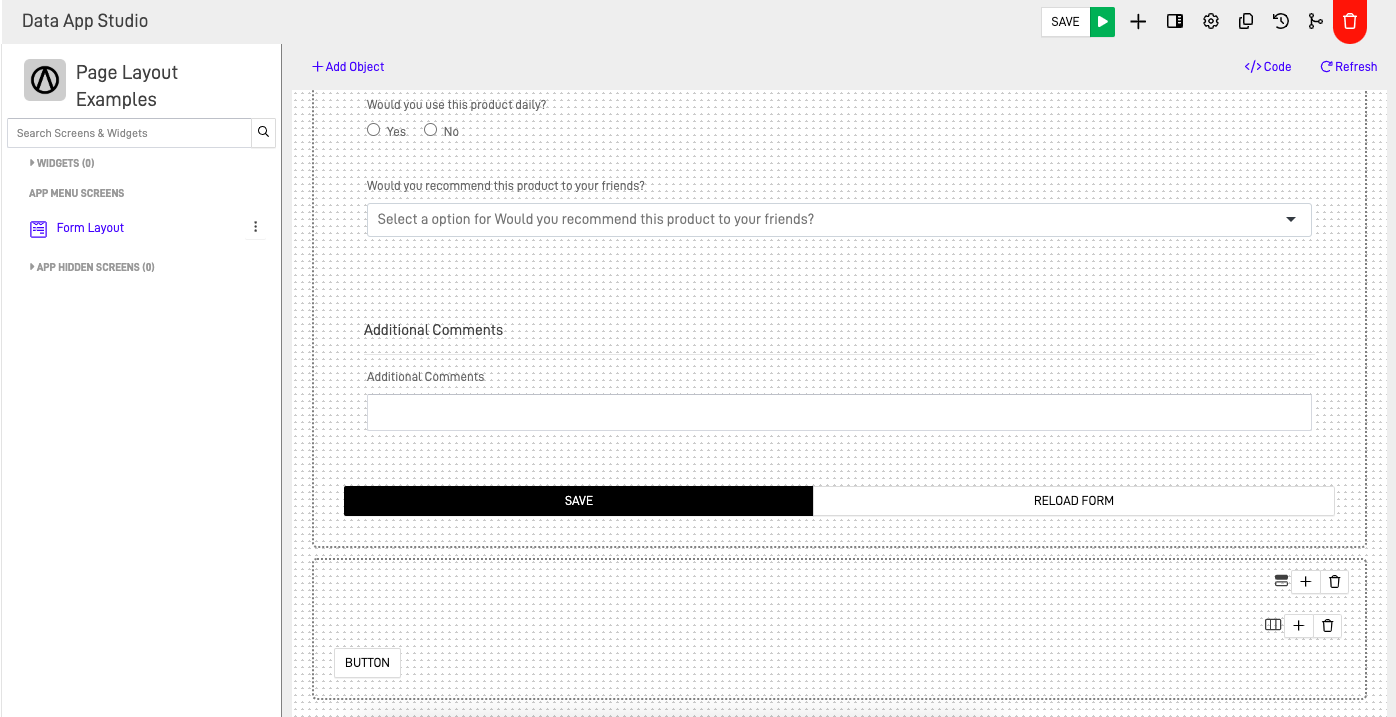
Button(s)
For Row Container 5, add a button to provide users with more information about the product after they complete the form.
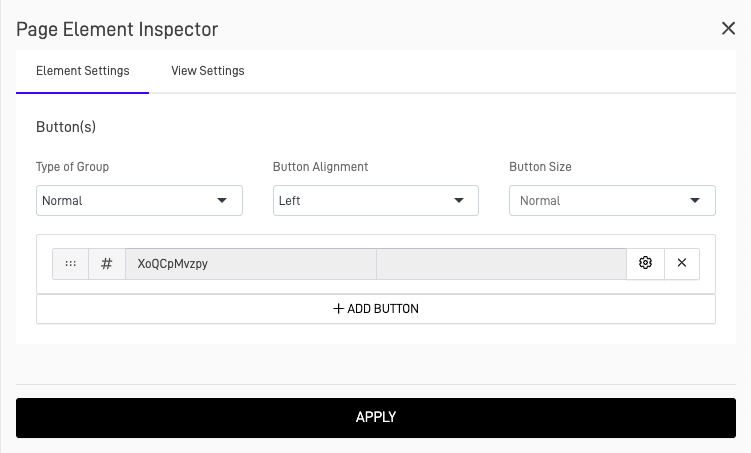
Click on "Apply" to see the result.
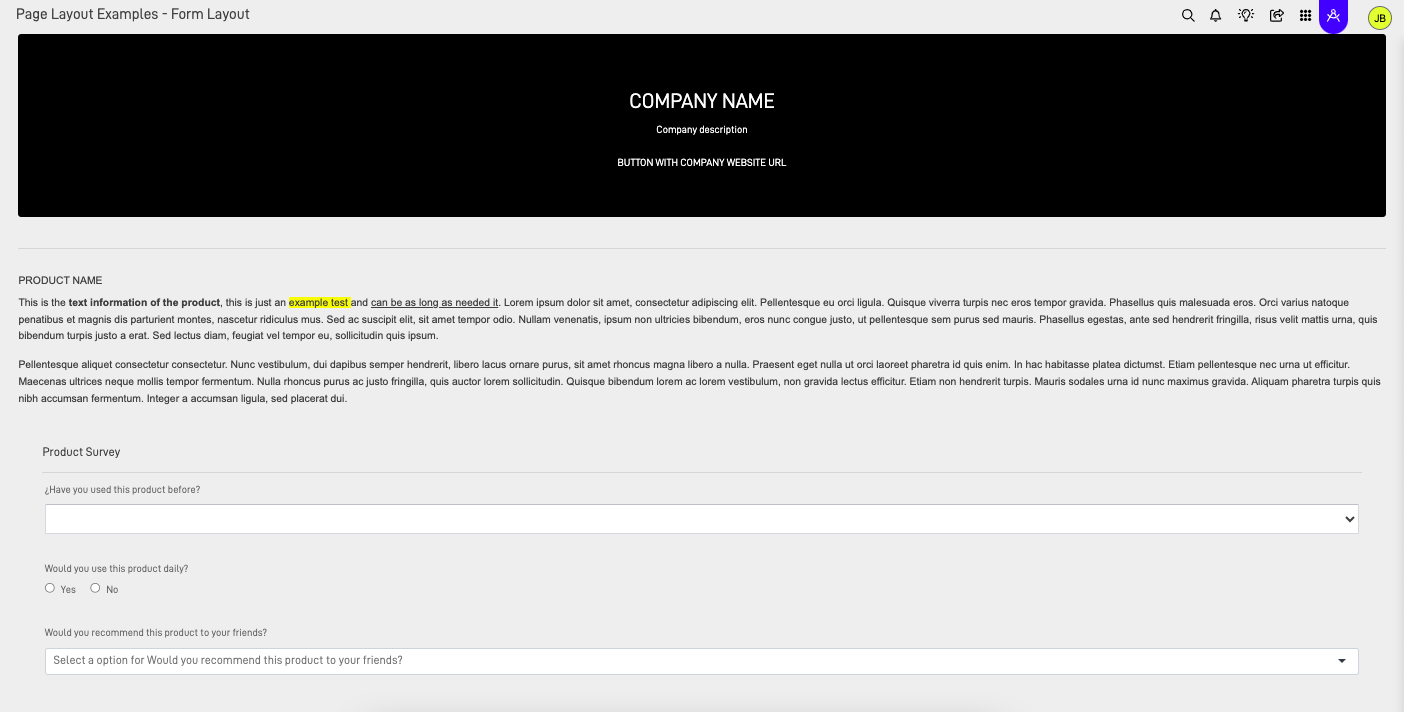
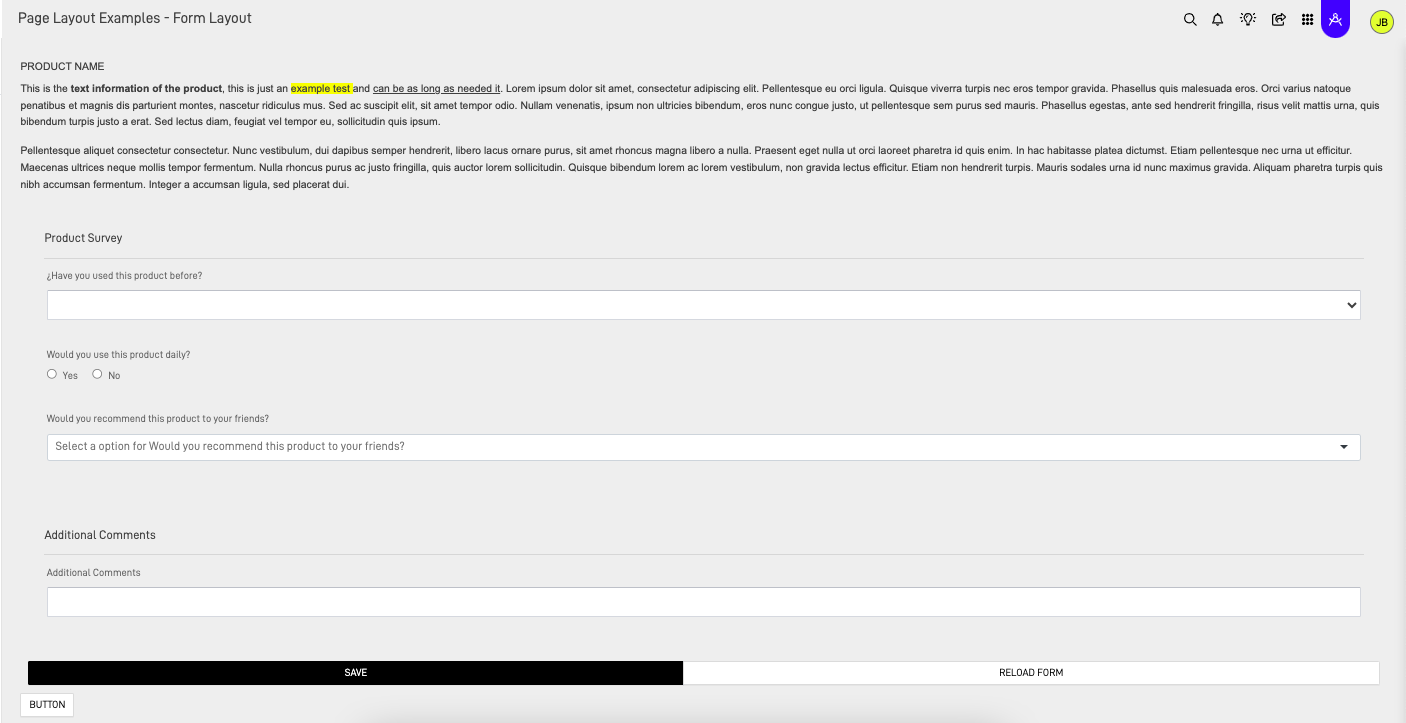
Step 4: Preview Your Screen
Click on the green arrow button next to the "SAVE" button on the top right corner and select "Preview APP" to see how it will be shown to the user. Here is the final result:
Screen 2: Survey Information
Step 1: Create Another Page Layout Screen
Create another Page Layout. From the Data App Studio, click on the "+" on the top right corner of the screen and select the "App Screen" option.
The "Add Screen" form will prompt. Write the desired screen name, select "No" in the "Hidden Screen" option, add a related icon to the screen, and select "Page Layout" as the screen type. After customizing the screen's general information, click on the "Add" button.
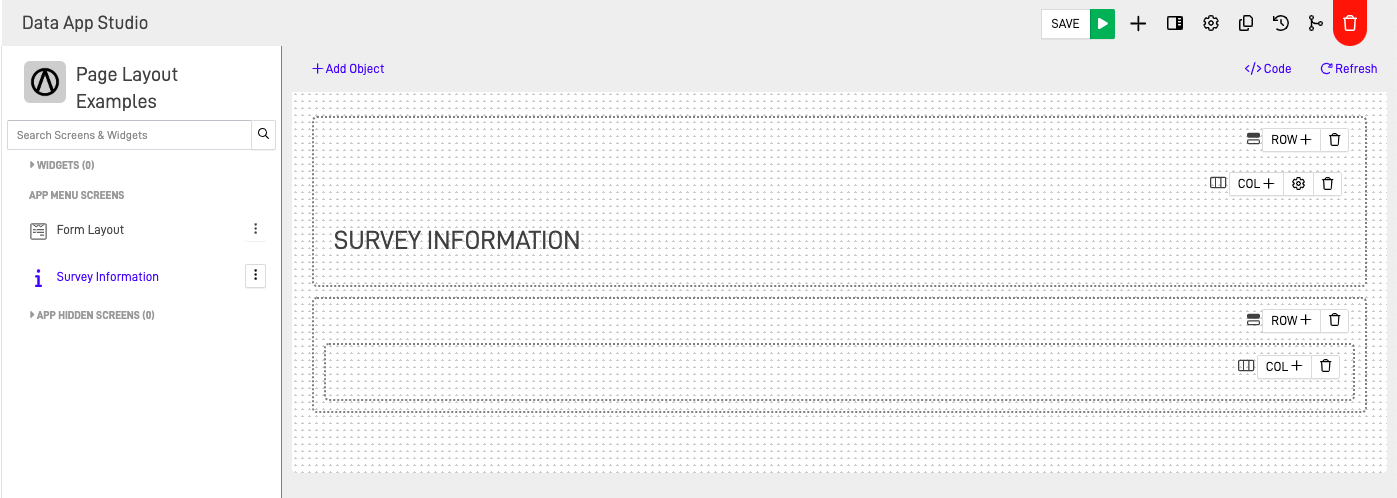
Step 2: Structure the Rows
Add 2 row containers for the elements.

Step 3: Add the Elements
Title
Add the title element and write the desired text. Set it as H1.
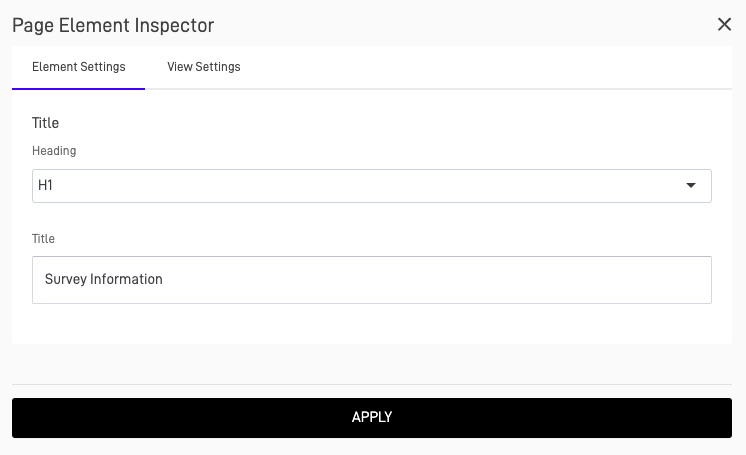
Click on "Apply" to preview the result.
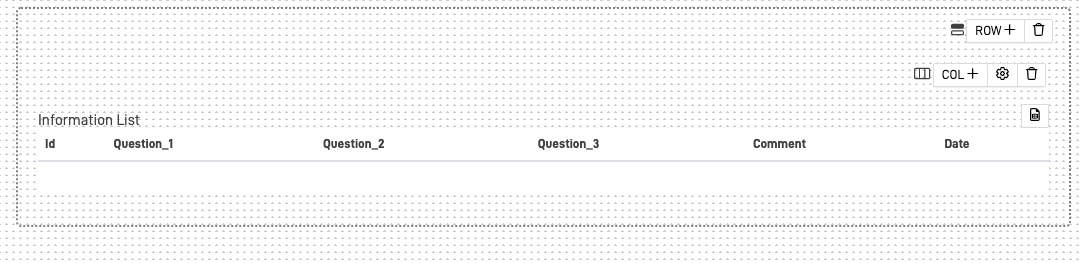
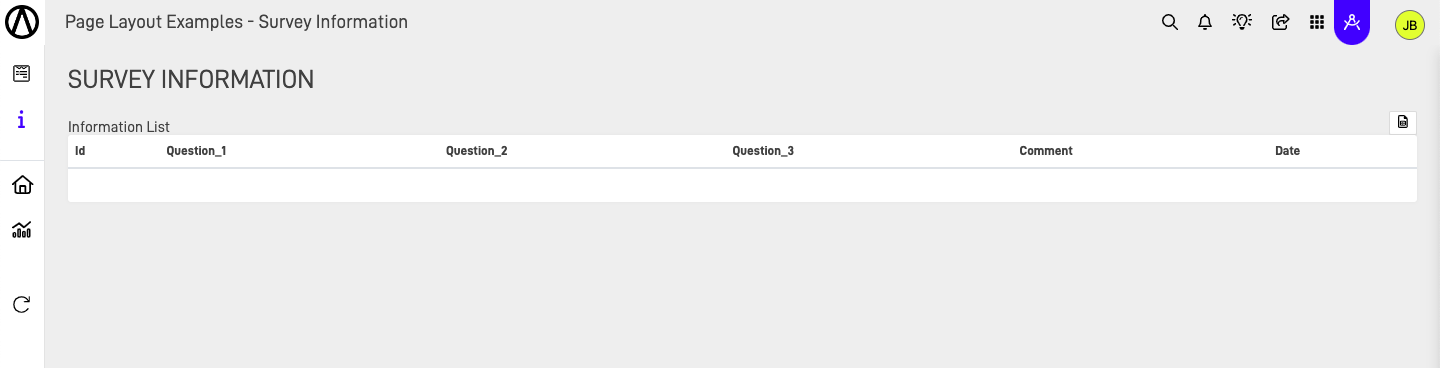
Data Table
For the data table, use a node linked with the table where survey information is saved. Configure the properties as needed.
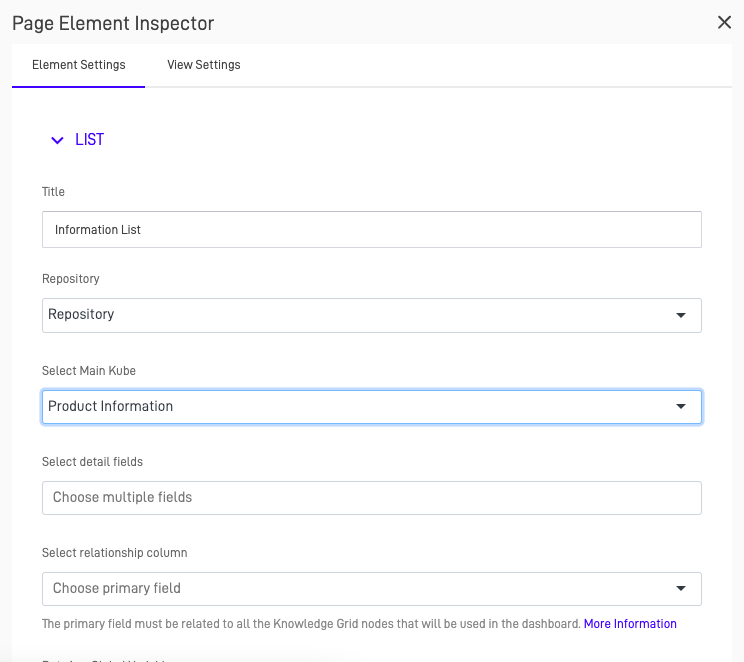
Click on "Apply" to preview the
result. If there is no data, it will not show any information.
Step 4: Preview the Screen
Click on the green arrow button next to the "SAVE" button on the top right corner and select "Preview APP" to see how it will be shown to the user. Here is the final result:
Try the Application
Finish creating the 2 Page Layout screens and use them to try if they work correctly. Fill out the product survey on the first screen and submit the information. Then, check the information on the second screen using the left side menu.

Conclusion
As demonstrated throughout this project guide, using the Page Layout screen can be a straightforward process when you have a clear vision of what you want to develop. A well-thought-out row design can significantly streamline the development process, saving time and effort as you build your app. Page Layout has almost no limits, making it a perfect tool to address even the smallest and most niche requirements of your project with minimal coding effort. By leveraging both no-code and code-based techniques, you can maximize the usefulness and effectiveness of your Page Layouts, creating more robust and dynamic applications.
Focusing on creating an organized and efficient layout from the beginning ensures that each element fits seamlessly within the overall structure. This approach not only simplifies the development phase but also enhances the user experience by providing a clean and intuitive interface.