
How to give access to a Node
How to Give Access to a Node
This guide shows you how to approve (or reject) a user's request for access to a node without modifying their security profile settings.
Who performs this: Node owners and users who already have access to the requested node—typically data engineers, team leads, or governance administrators.
Prerequisites
- The user must first submit an access request for the desired node. See How to request access to a Node if they need help with this.
- You must already have access to the node being requested—otherwise the APPROVE/REJECT options will not be available to you.
Approval applies to the entire security profile
Approving a request grants access not only to the requesting user, but to all users who share that user's security profile. Before approving, verify who else holds the same profile and confirm that profile-wide access to this node is appropriate. If only one individual should gain access, consider assigning them a dedicated security profile first.
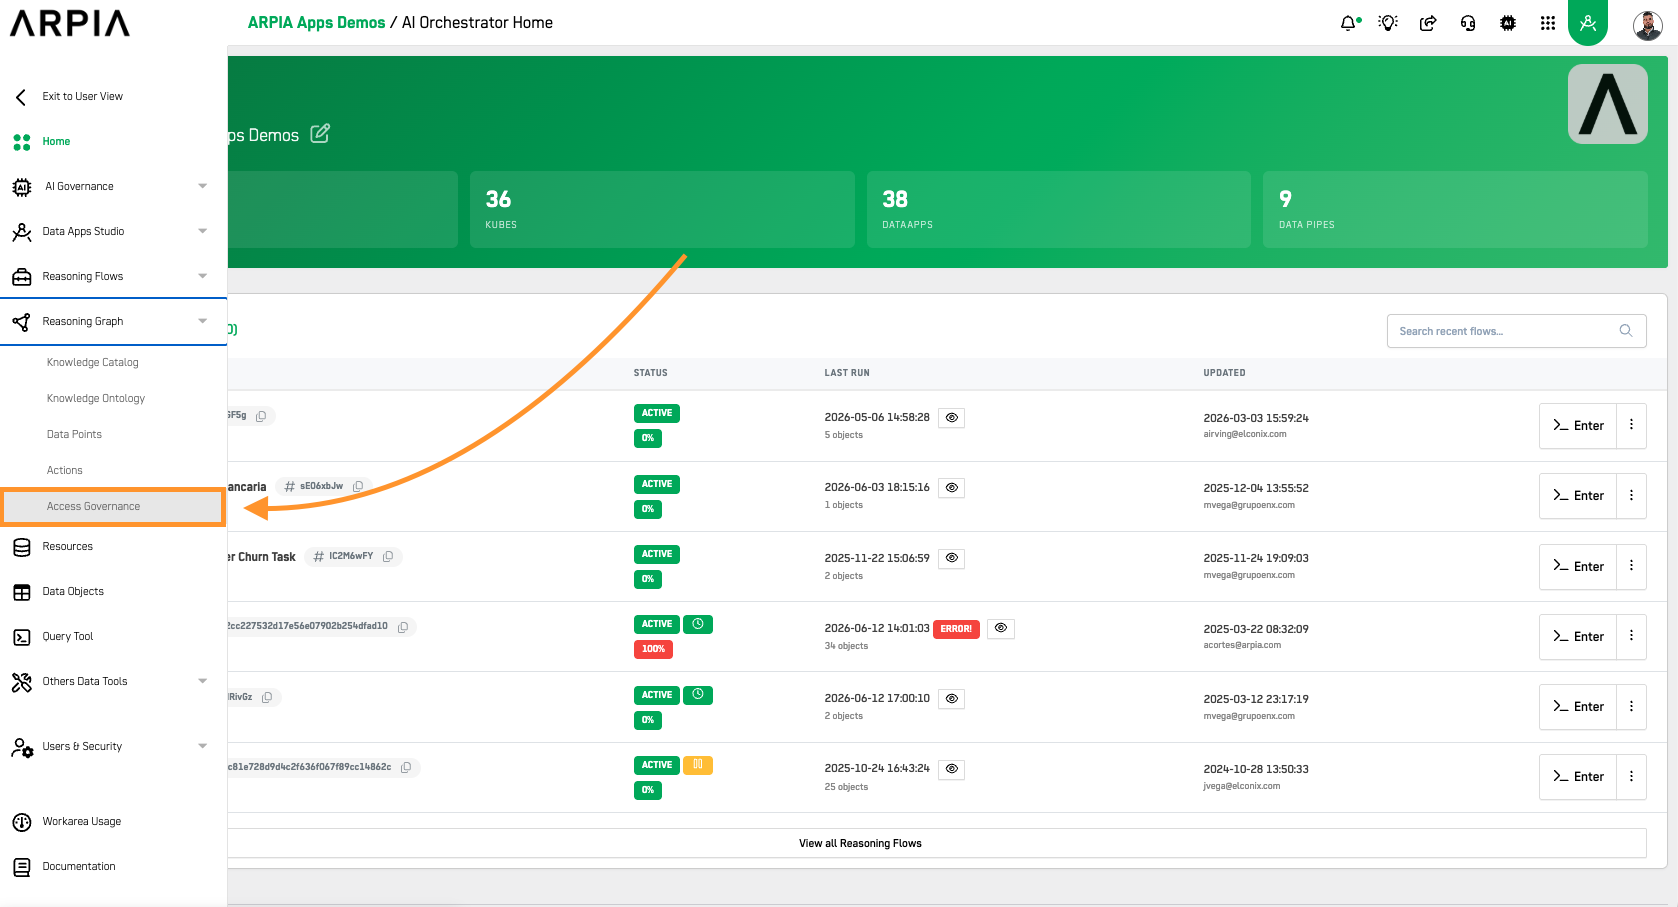
Step 1: Access the Node Access Request Section
On the toolbar of the Orchestrator, select the Knowledge Grid icon, and from the dropdown list, select the Node Access Request tool.
Step 2: Locate the Request
The Node Access Request screen shows a summary of access requests by user, status, and node, along with a detailed list of all requests—including request ID, date, node requested, and requester.
You can usually identify the right request by user and node. If multiple requests look similar, ask the requester for the request ID they received when submitting the request.
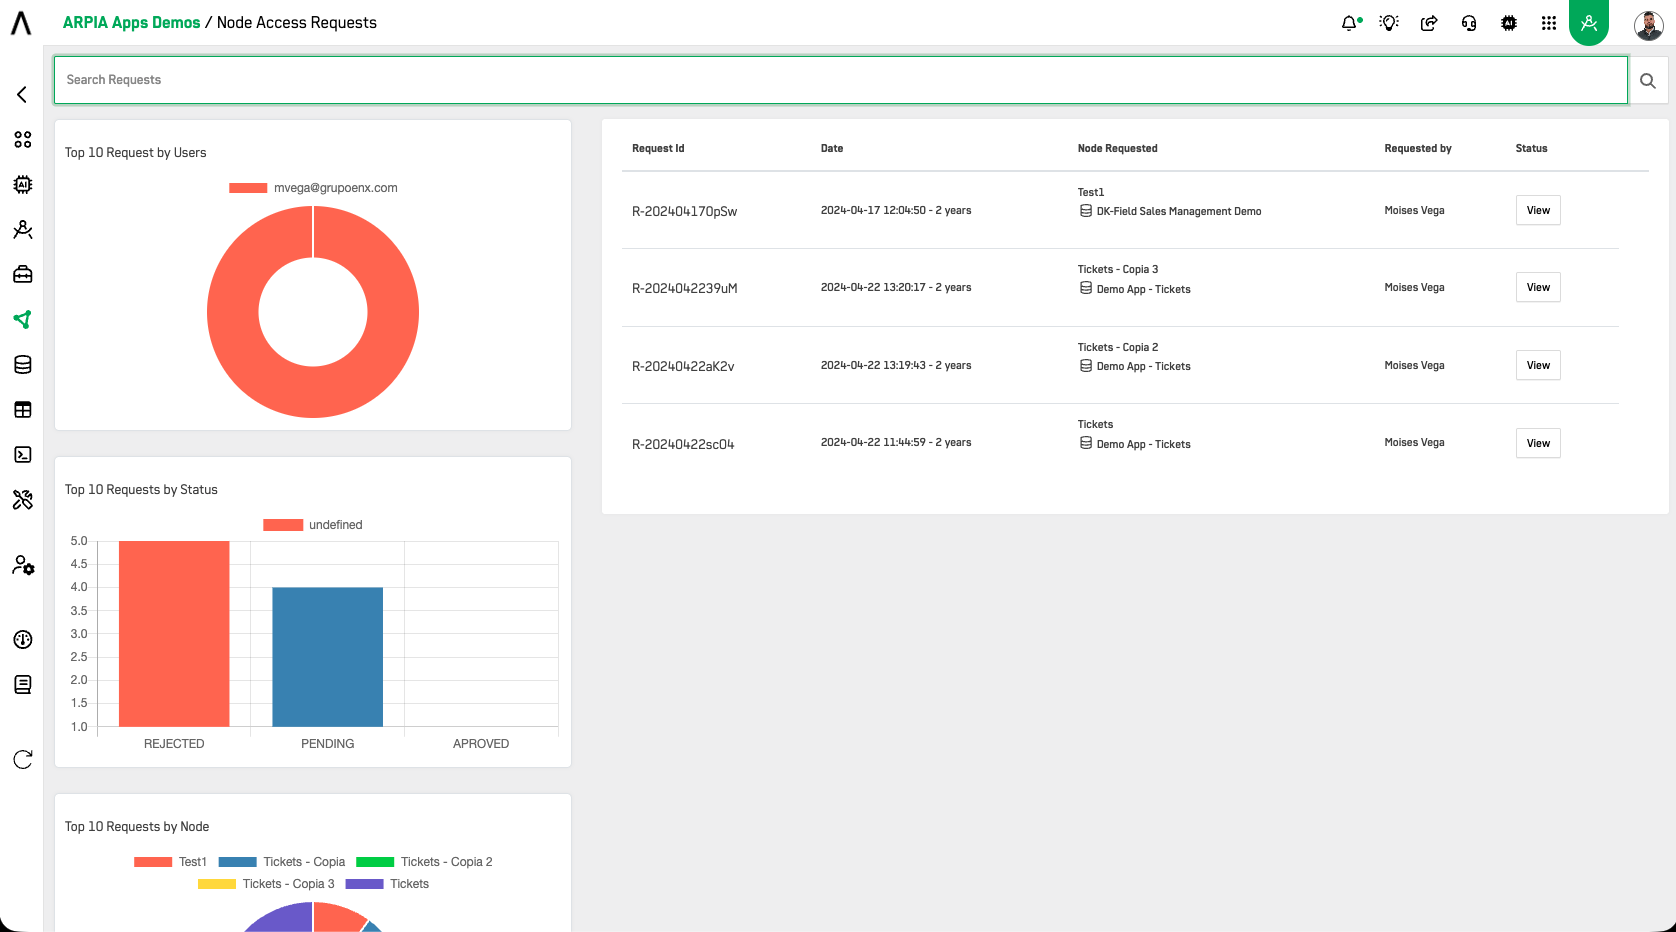
After identifying the desired request, click the VIEW button.
Step 3: Review the Request Details
The request information will be displayed, showing a summary of the node and request details, the requesting user, and their stated reason for the request.
Before deciding, confirm:
- The stated reason justifies access to this node's data
- Profile-wide access is acceptable (see the callout above—your approval extends to everyone sharing the requester's security profile)

Step 4: Approve or Reject the Request
Click APPROVE or REJECT. A confirmation message will appear.
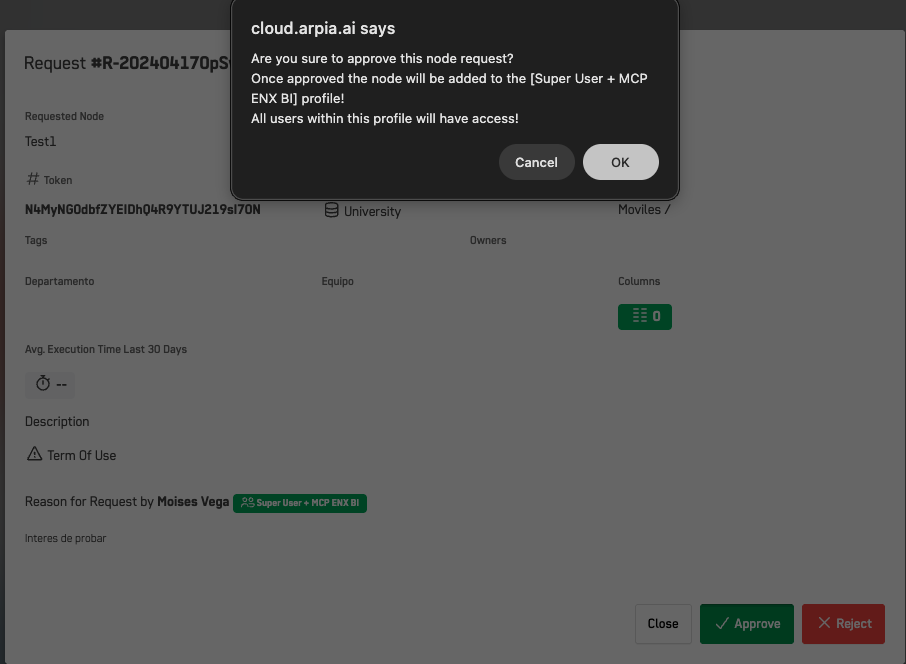
Once approved, the access takes effect for the requester's security profile. The request's status updates in the request list, where you can keep an audit trail of past decisions.
Updated about 1 month ago