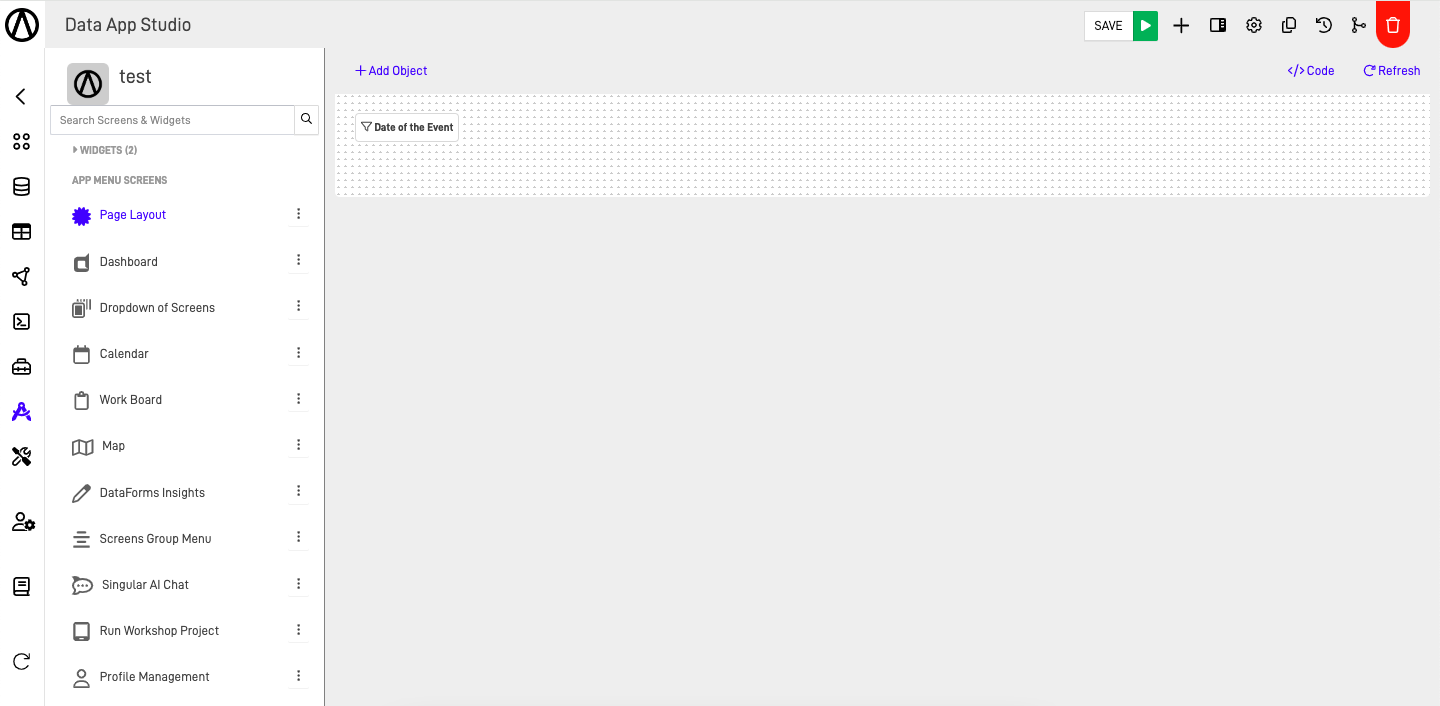
How to use the Page Layout screen?
Step-by-Step Guide: Page Layout
In this step-by-step guide, we will show you how to use the page layout and its main tools to take full advantage of this screen.
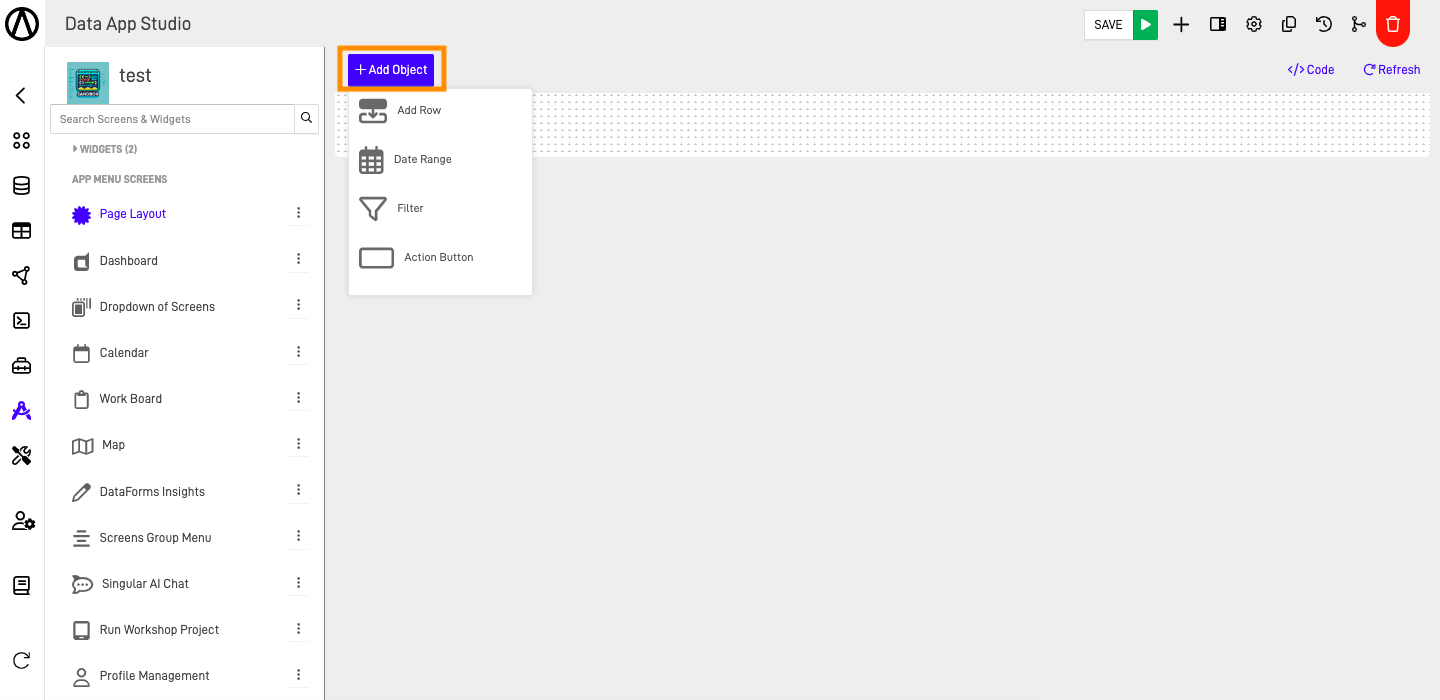
Step 1: Add an Object
The first step to using the Page Layout is to add an object. To do this, click on the "+ Add Object" button on the top left section of the screen. This will prompt you with the 4 objects you can add to the page layout.
Step 2: Begin Designing Your Page Layout Using Rows
In the previous step, we introduced the key objects you can utilize, with the primary one being the Row. This object is crucial for structuring and designing your page layout according to your needs. Understanding how the page layout structure works is essential for effective design.
The page layout structure follows a 12-column design grid. Each row can be divided into columns ranging in size from 1 to 12. Multiple rows can be placed on the same line if the combined width of their elements totals less than or equal to 12 columns. Here are the steps to organize your row elements:
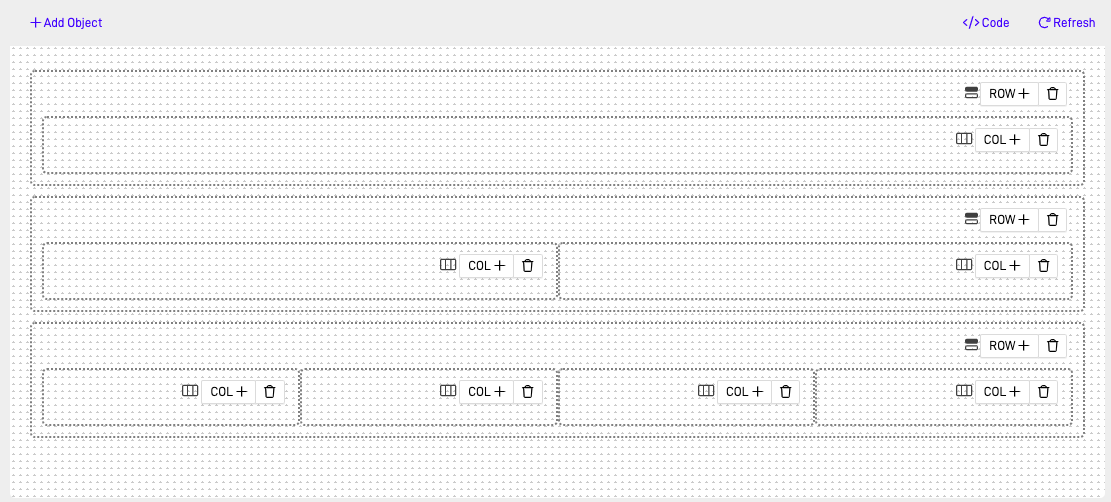
Add a Row
First, add a row object by clicking on "+ Add Object", then clicking on "Add Row". The object container will be inserted into the page layout.

The object container has 2 actions available:
- ROW+: This action lets you create a row element.
- DELETE: This is represented by the trash can icon and allows you to delete the row container.
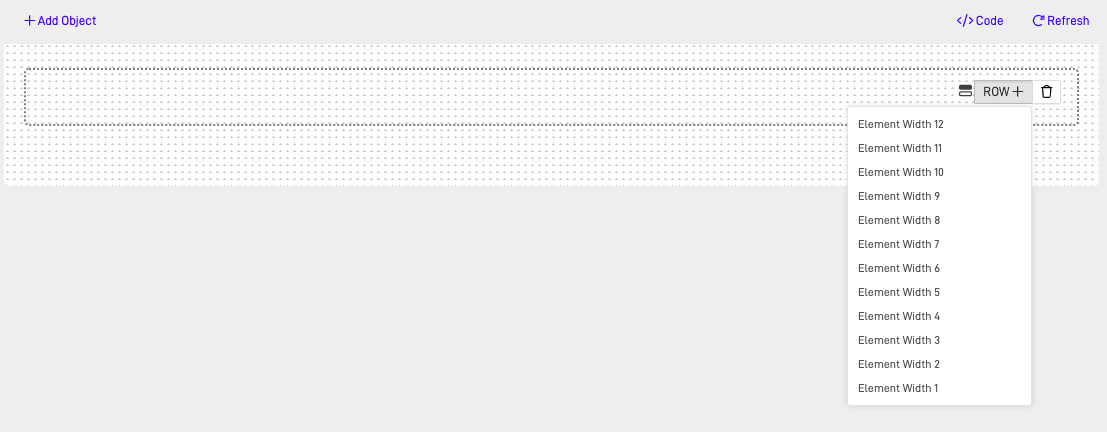
Add an Element
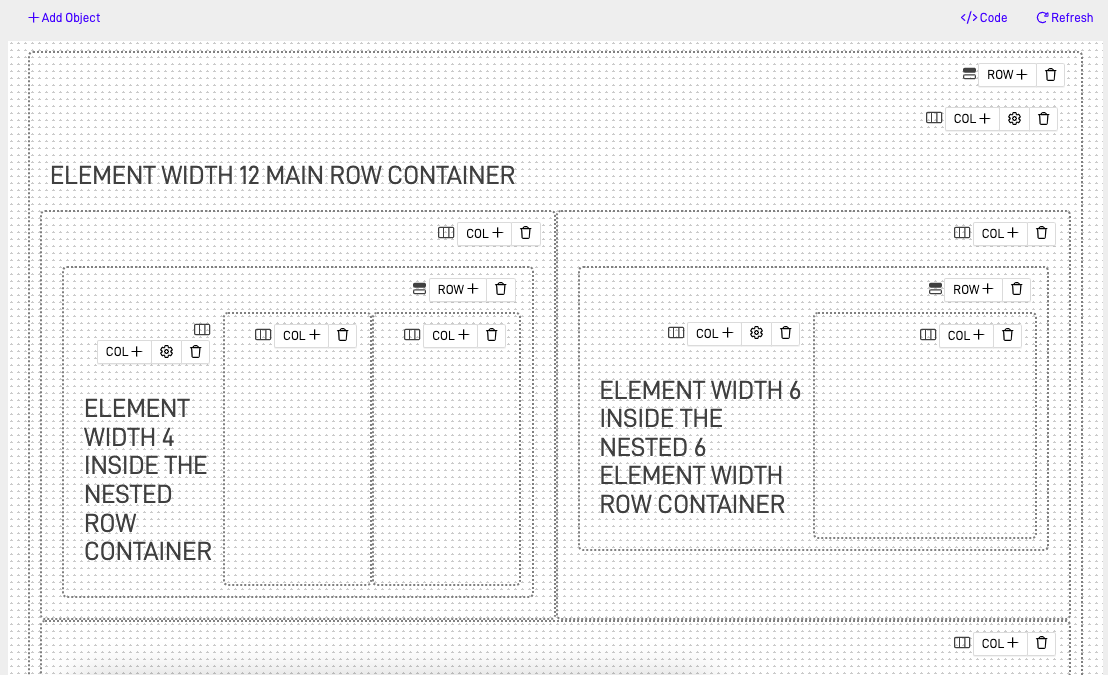
After adding the row container, the next step will be adding an element. To do this, select the option "ROW+" and choose the element size, which can range from 1 to 12. This will only affect the width of the element.
Multiple items can be nested within a single row container, and they can even occupy the same line if the combined size of their elements does not exceed 12 columns.
You can also include multiple row lines within the same row container. This feature allows you to organize your elements based on structure rather than simply the number of rows they occupy.
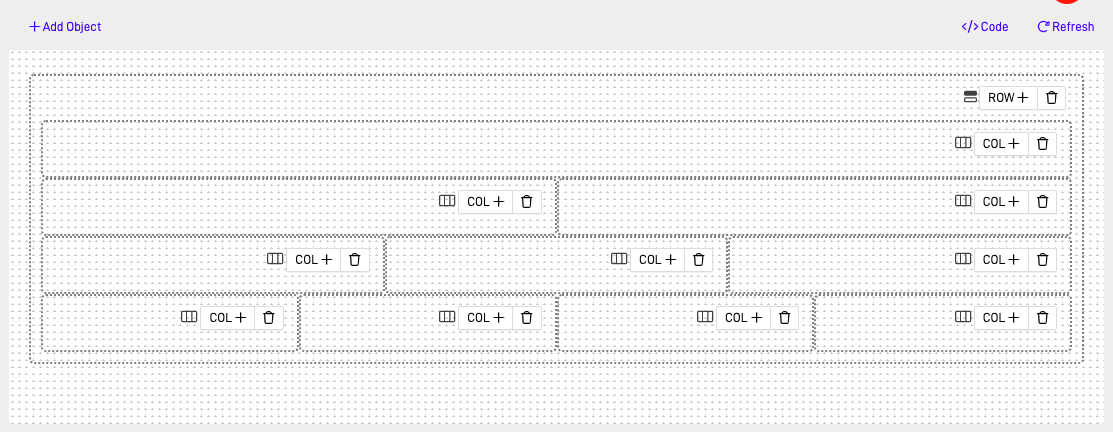
You can also nest row containers one inside another, allowing you to fully control the structure and division of your application screen.
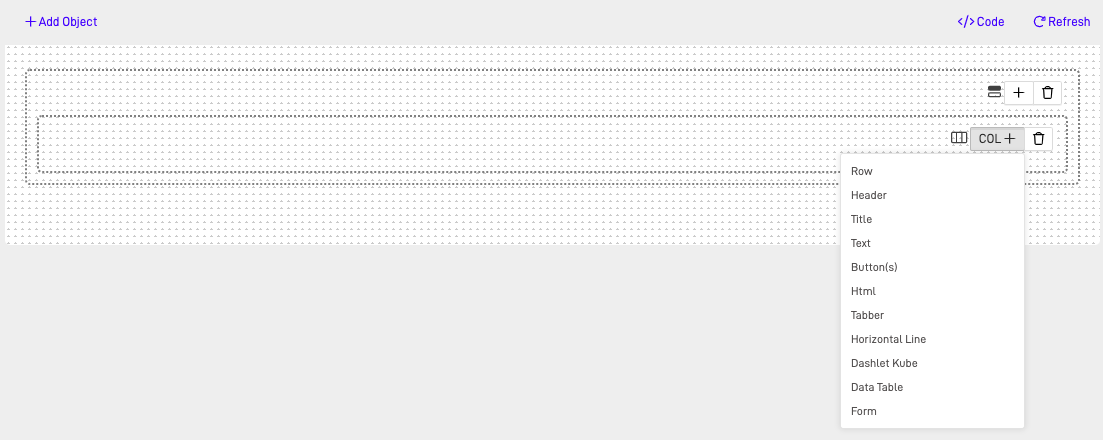
Step 3: Add Row Elements
Inside our rows, we can insert different elements to enrich our page layout screen.
Row Elements
To know more about the uses and functions of these elements, you can access the Page Layout documentation.