
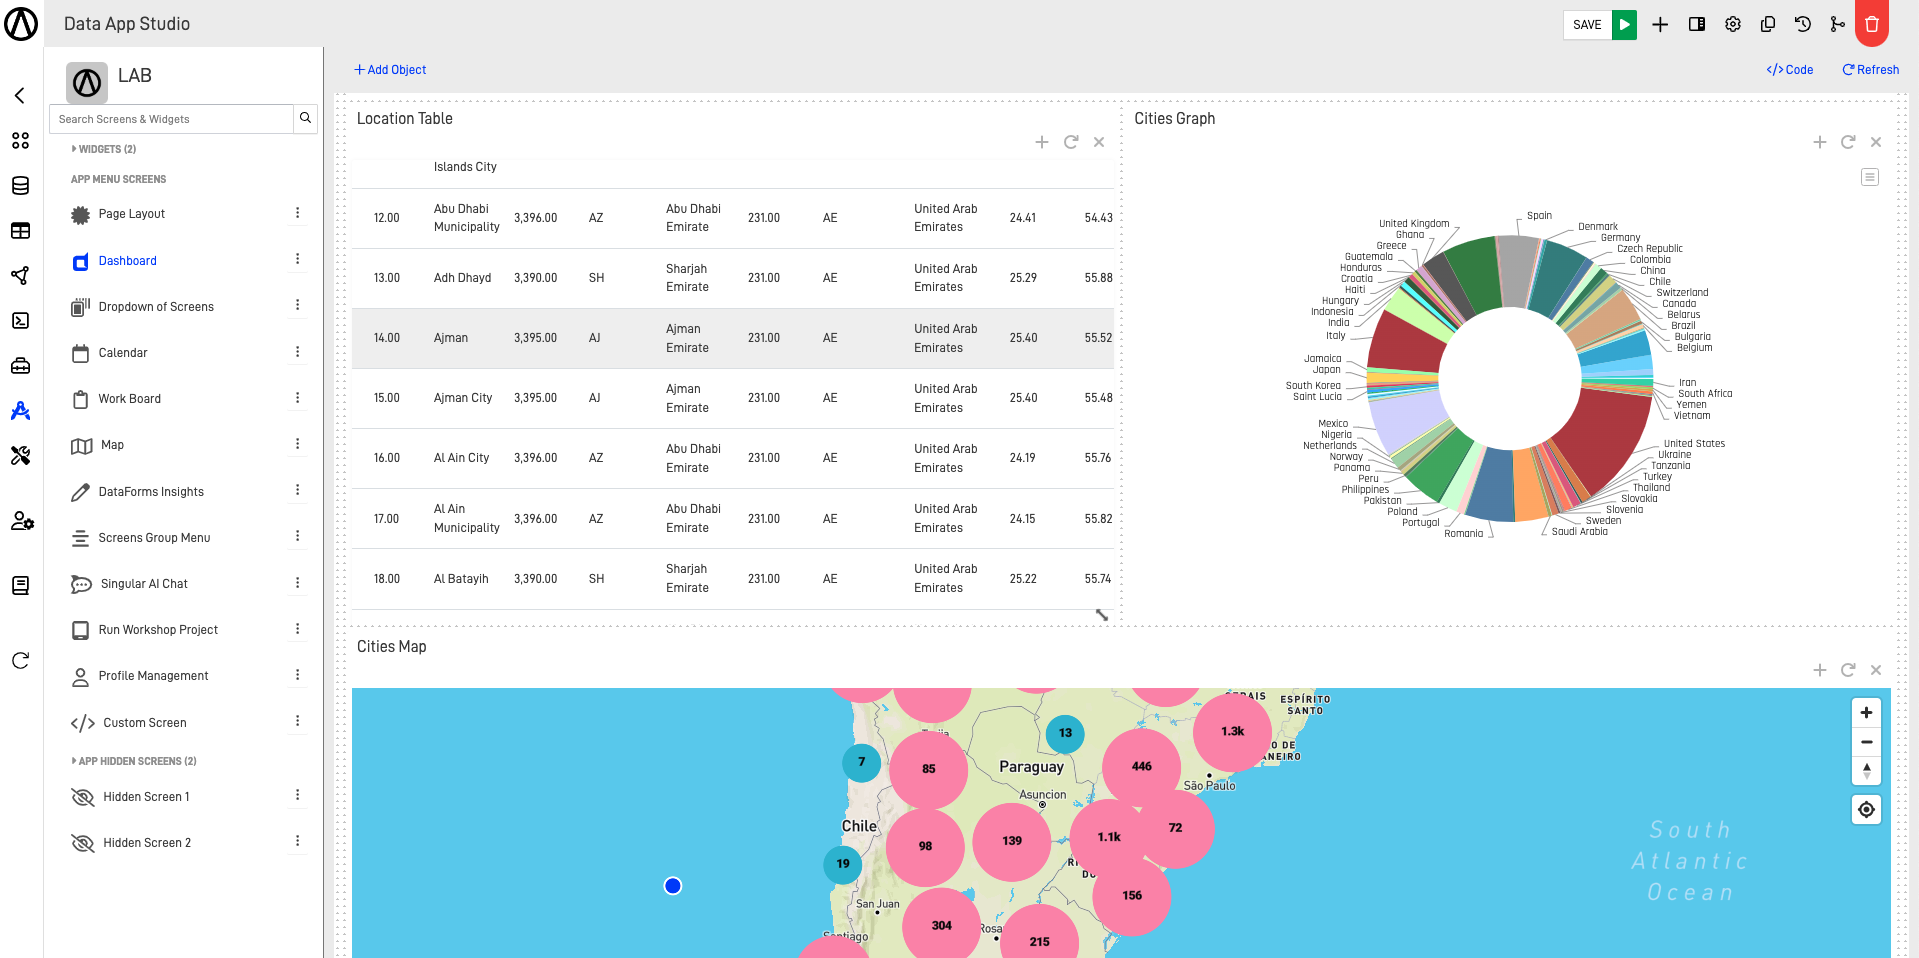
Dashboard Screen Example: Cities
Step-by-Step Guide: Dashboard Screen
In this step-by-step guide, we will show you how to use the dashboard elements and properties to take full advantage of it.
Step 1: Add an Object
First, we will use the main tools of the dashboard screen, which are the objects. We have multiple objects that can satisfy our needs for this screen. These range from filters to Dashlet Kubes, which allow us to show the Insight information of a Node.
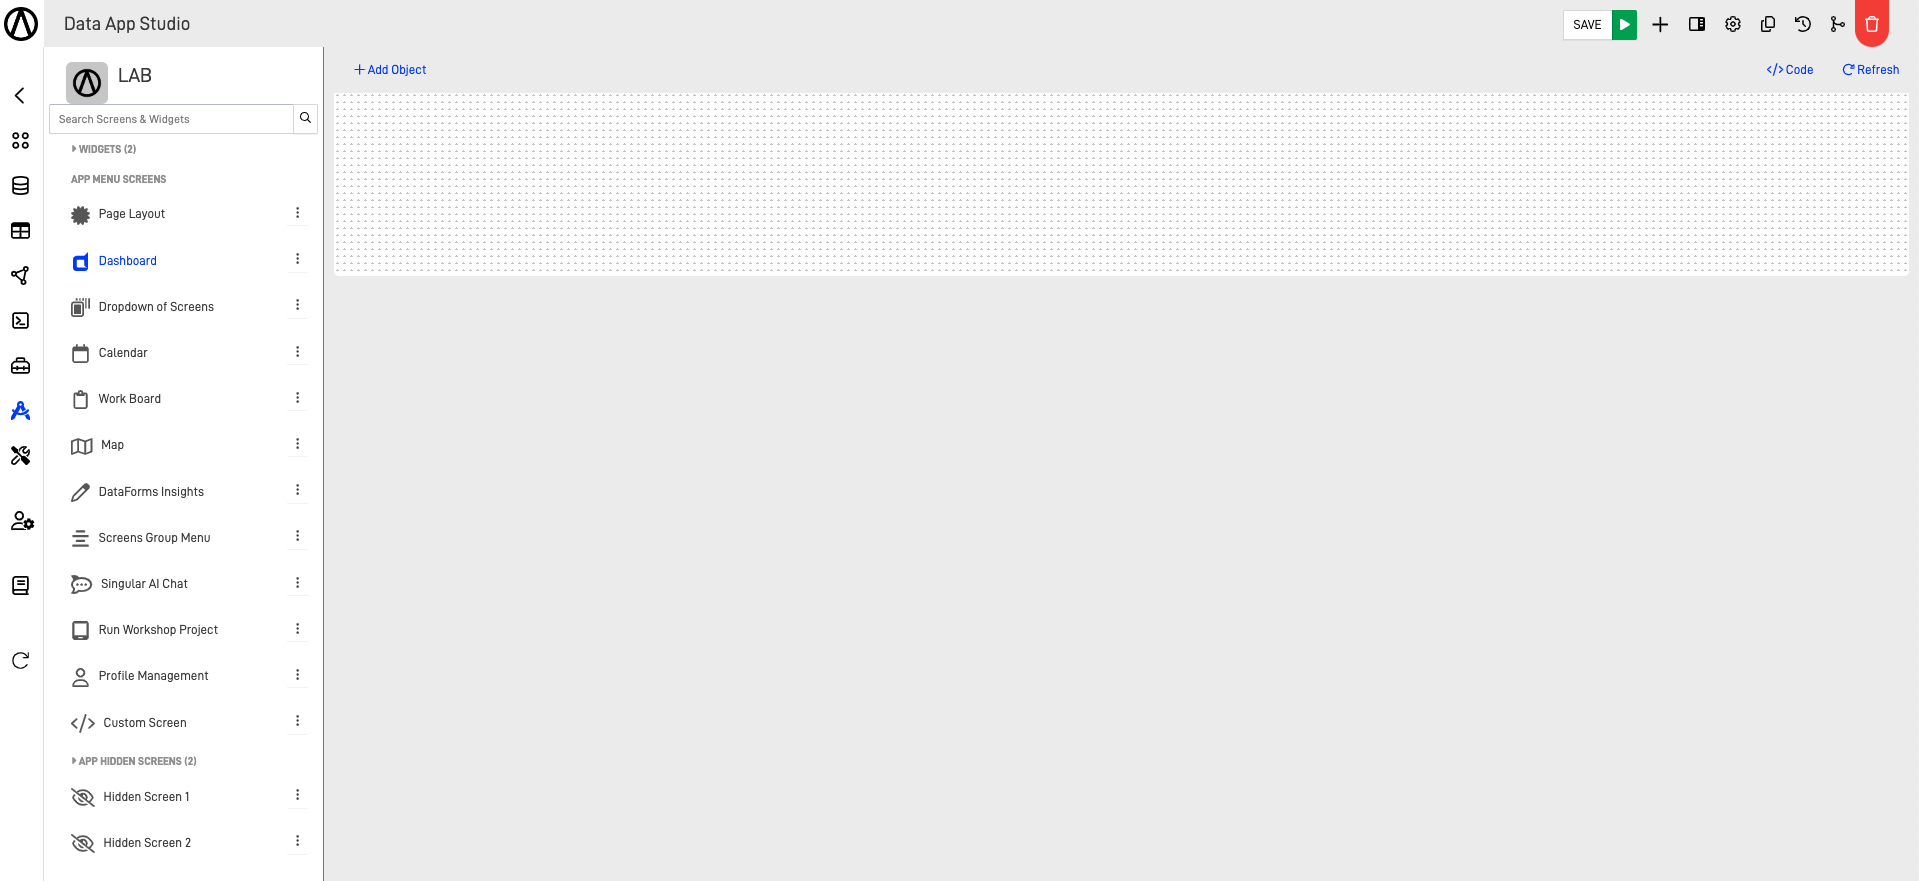
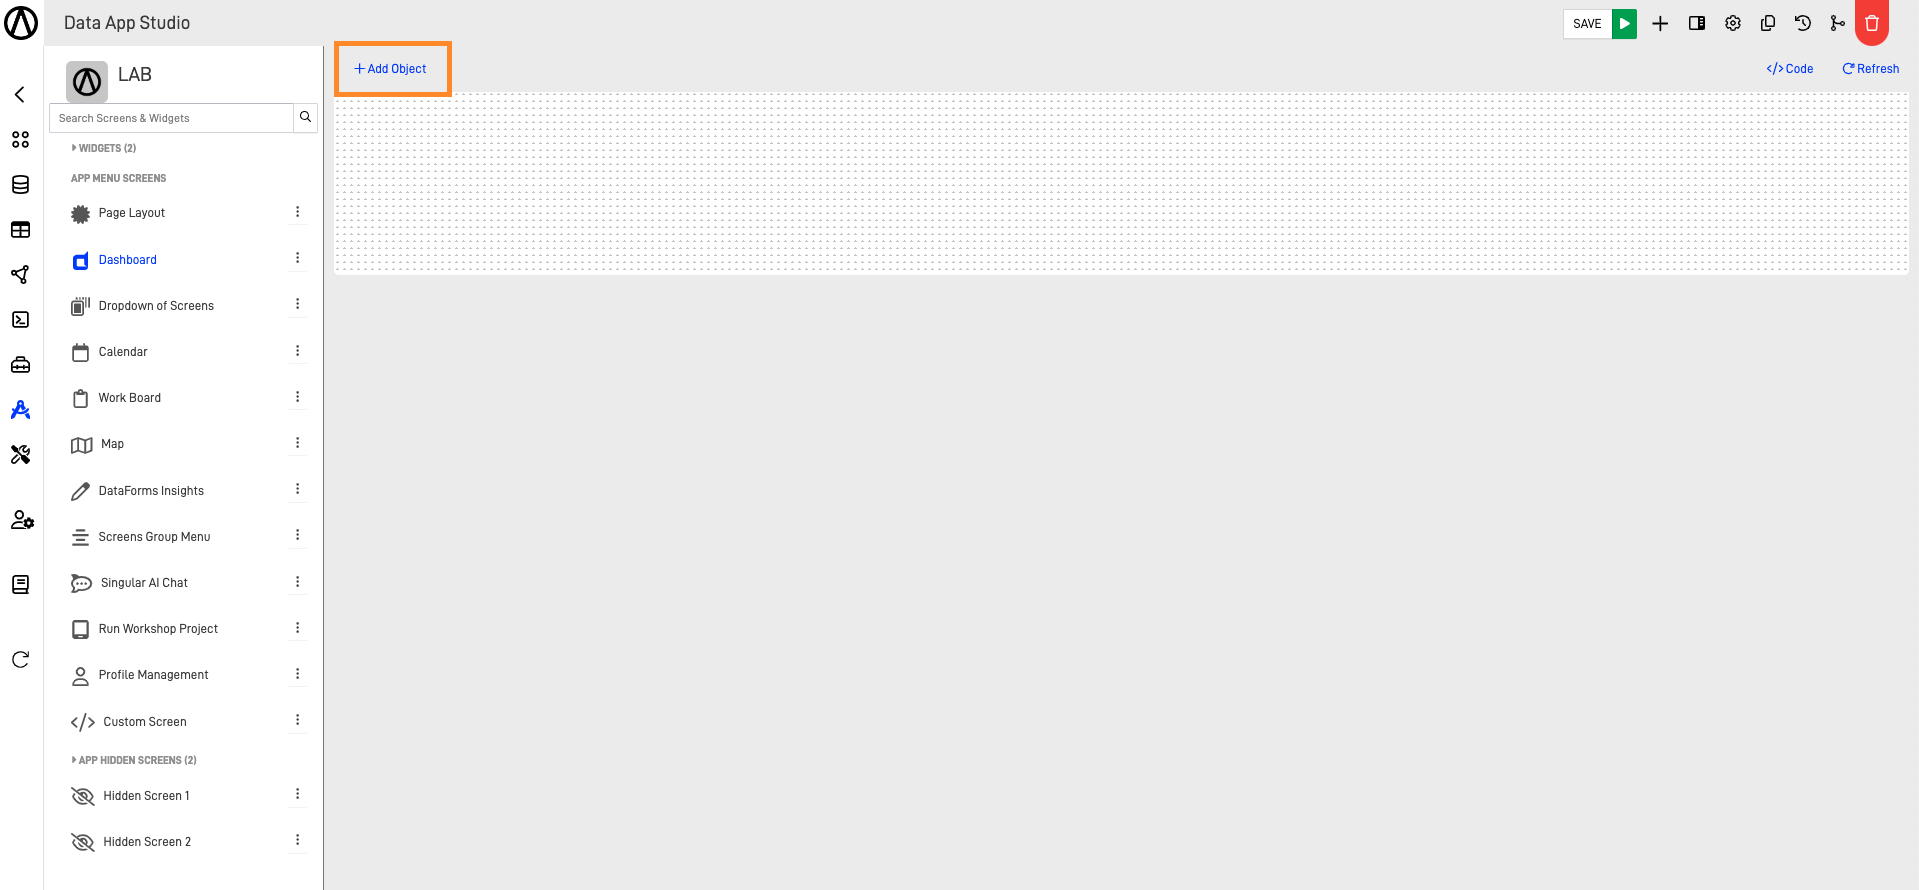
To add an object, being on our Dashboard screen in the Data App Studio, click on the "+ Add Object" button on the top left corner of the screen.
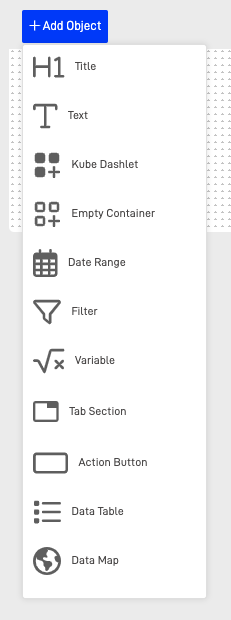
After that, we will be able to visualize and choose the multiple objects we want to add to our screen:
Step 2: Configure the Object
After inserting the desired object, some objects like the Date Range, Filters, Action Buttons, and Variables will be inserted in the header of the screen, and we can't change their location. To access their settings, we simply need to click on them.
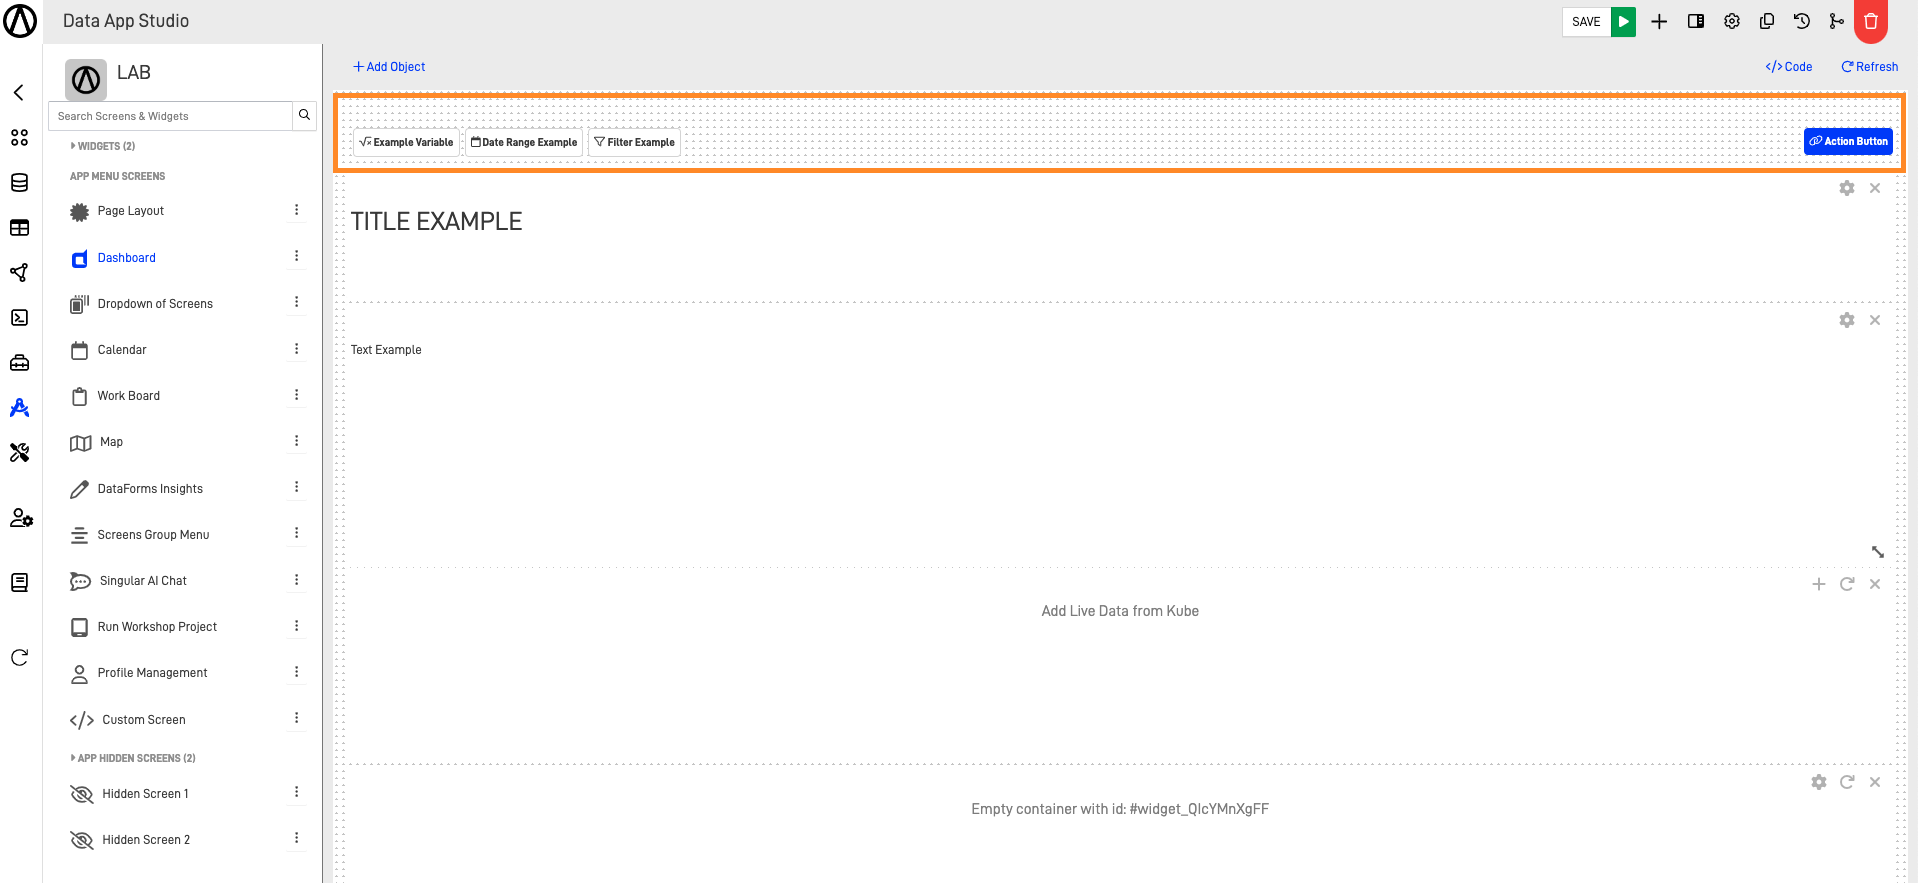
Other objects like the Title, Text, Kube Dashlet, Empty Container, Tab Section, Data Table, and Data Map will be inserted as a white container inside the screen. We can manipulate their size and location as desired. They also have a small action menu in the top right corner of each container.

As shown in the image above, the container has these actions available:
- Settings: Represented as the "gear" icon. Clicking this icon opens the settings form of the container on the right side pane, where we can configure the object's visualization and functionality.
- Delete: Represented as the "X" icon. Clicking this deletes the object.
- Reload: Represented as the "arrow forming a circular loop" icon. This tool allows us to reload the information of the container, helpful if changes made to the settings are not reflecting on the Dashboard screen.
- Add: Represented as the "+" icon. This is only available in the Kube Dashlet object and allows us to link a Node to the container to show its Insight information.
Besides these actions, we also have another available action in the bottom right corner of the object's container.

This icon, represented by the "Diagonal two-way arrow," allows us to resize the container as desired, changing the height and width by dragging the icon.
Step 3: Structure Your Objects
You can structure the containers of your objects as needed. Here is an example of an easy structure that can be done, with each Kube Dashlet linked with the same Node but displaying information in different ways using Insights.
Updated about 2 years ago