
Header Menu
🌐 ARPIA Overview
ARPIA provides easy access to a variety of tools directly from the header.

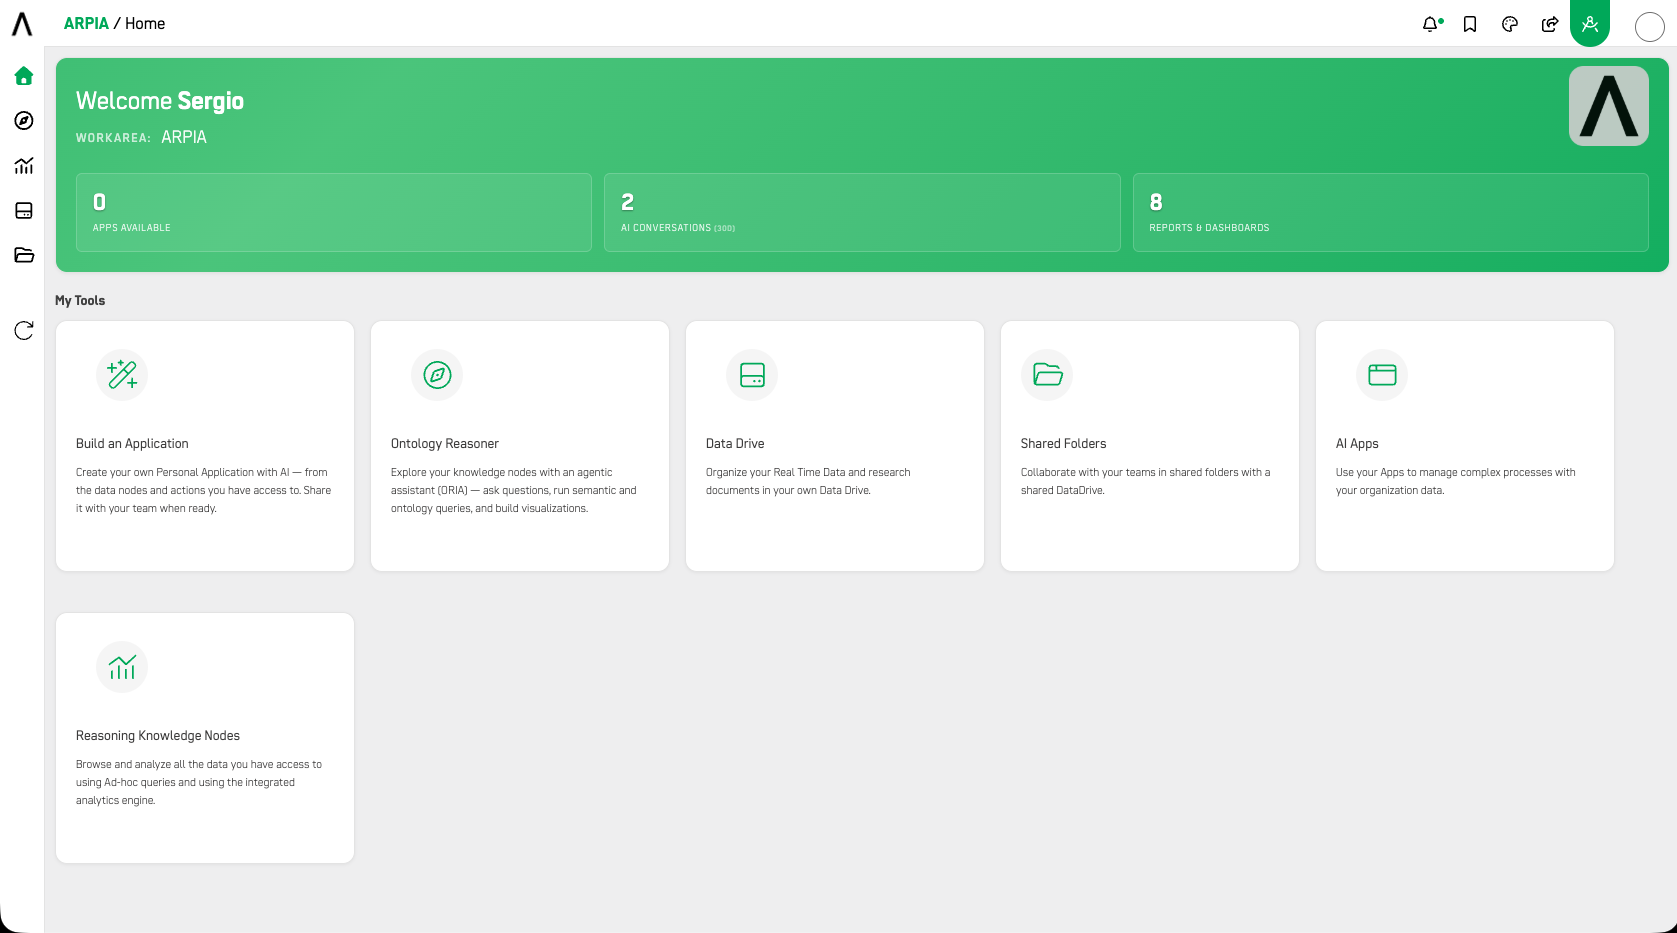
🔔 Notifications
The Notifications icon (bell) opens a panel with your recent notifications. If there's nothing new, the panel appears empty. Click View all notifications at the bottom of the panel to see your full notification history.
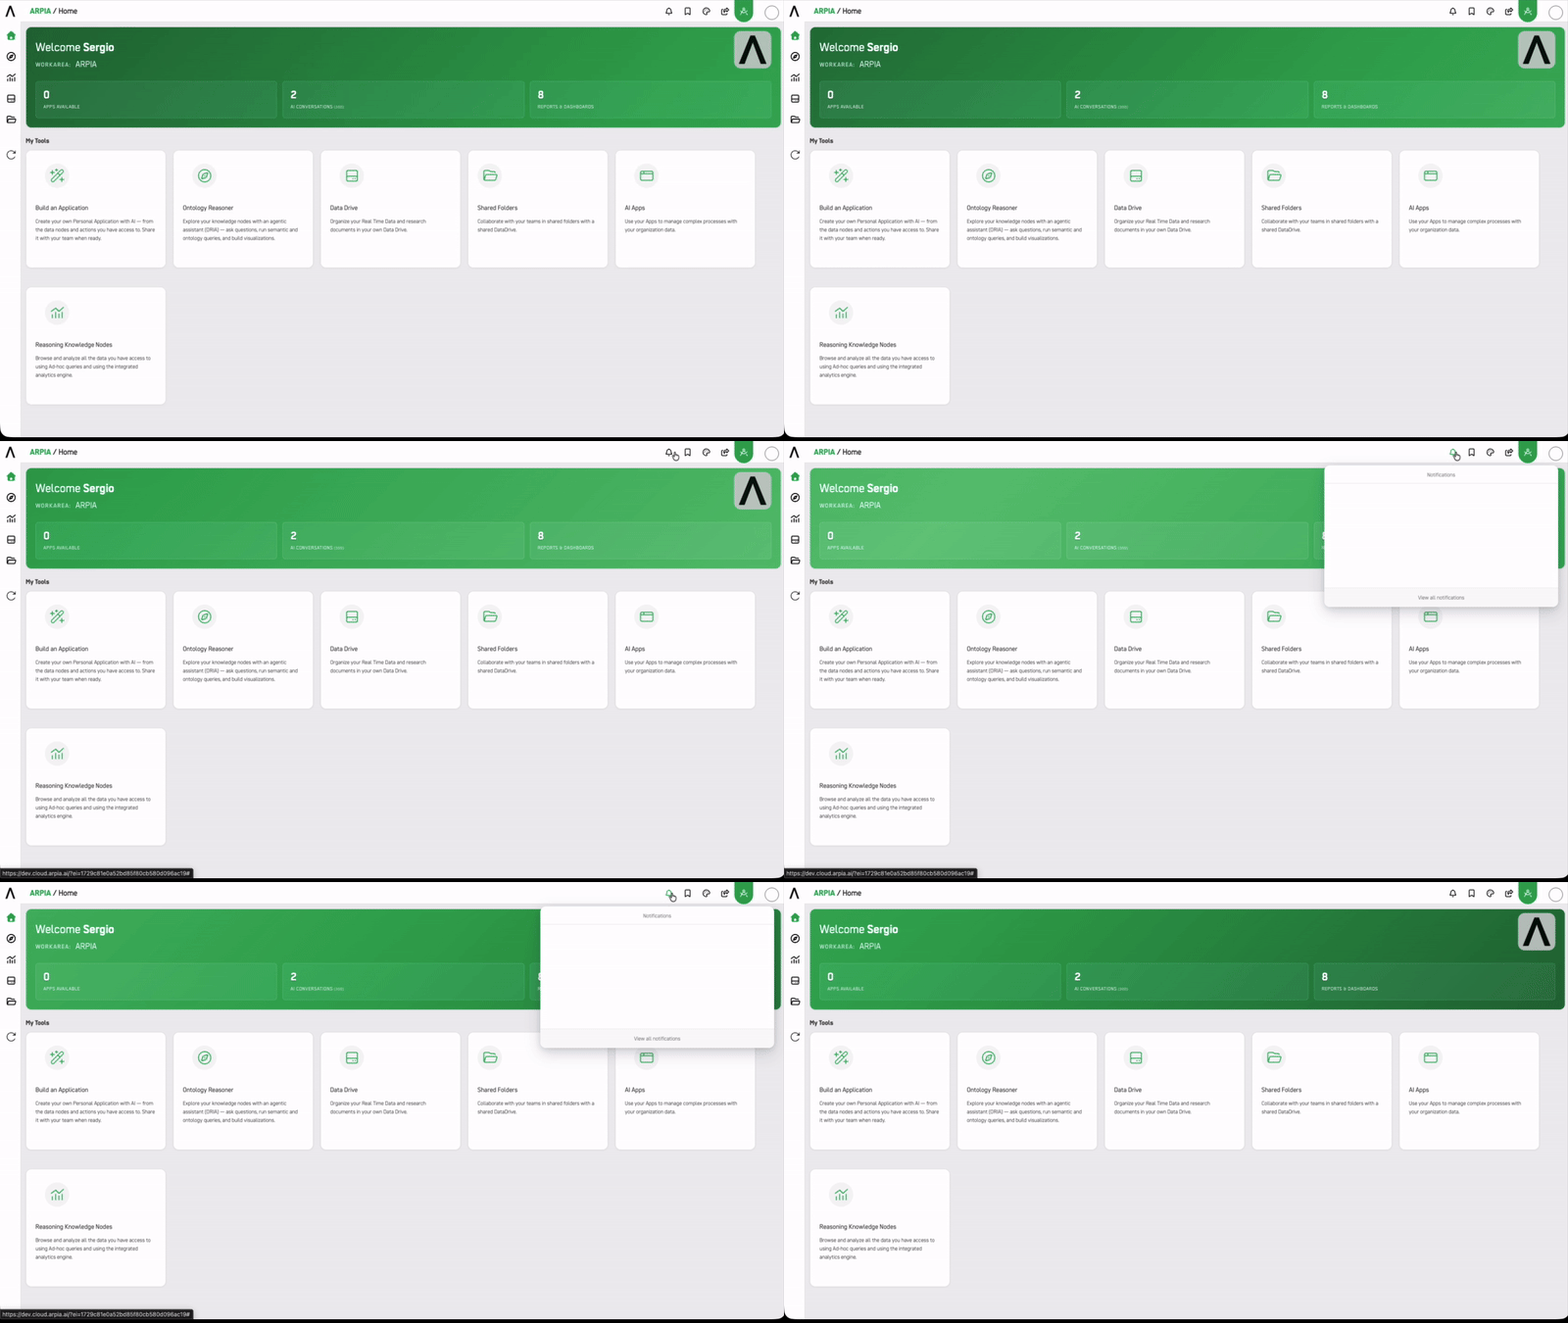
📌 My Shortcuts
The My Shortcuts icon (bookmark) lets you pin pages for quick access, organized into groups.
- Click Pin this page to add the page you're currently on as a shortcut.
- Use the New group… field (with the + button) to create a new group to organize shortcuts under (e.g., Insights, Links).
- Drag a shortcut onto a group to move it, or onto another shortcut within a group to reorder it.
- Each group has edit (pencil) and delete (trash) icons to rename or remove the group.
- Hover over an individual shortcut to reveal an ✕ and remove just that shortcut.
If you haven't pinned anything yet, the panel shows: "No shortcuts yet. Pin a page to get started."
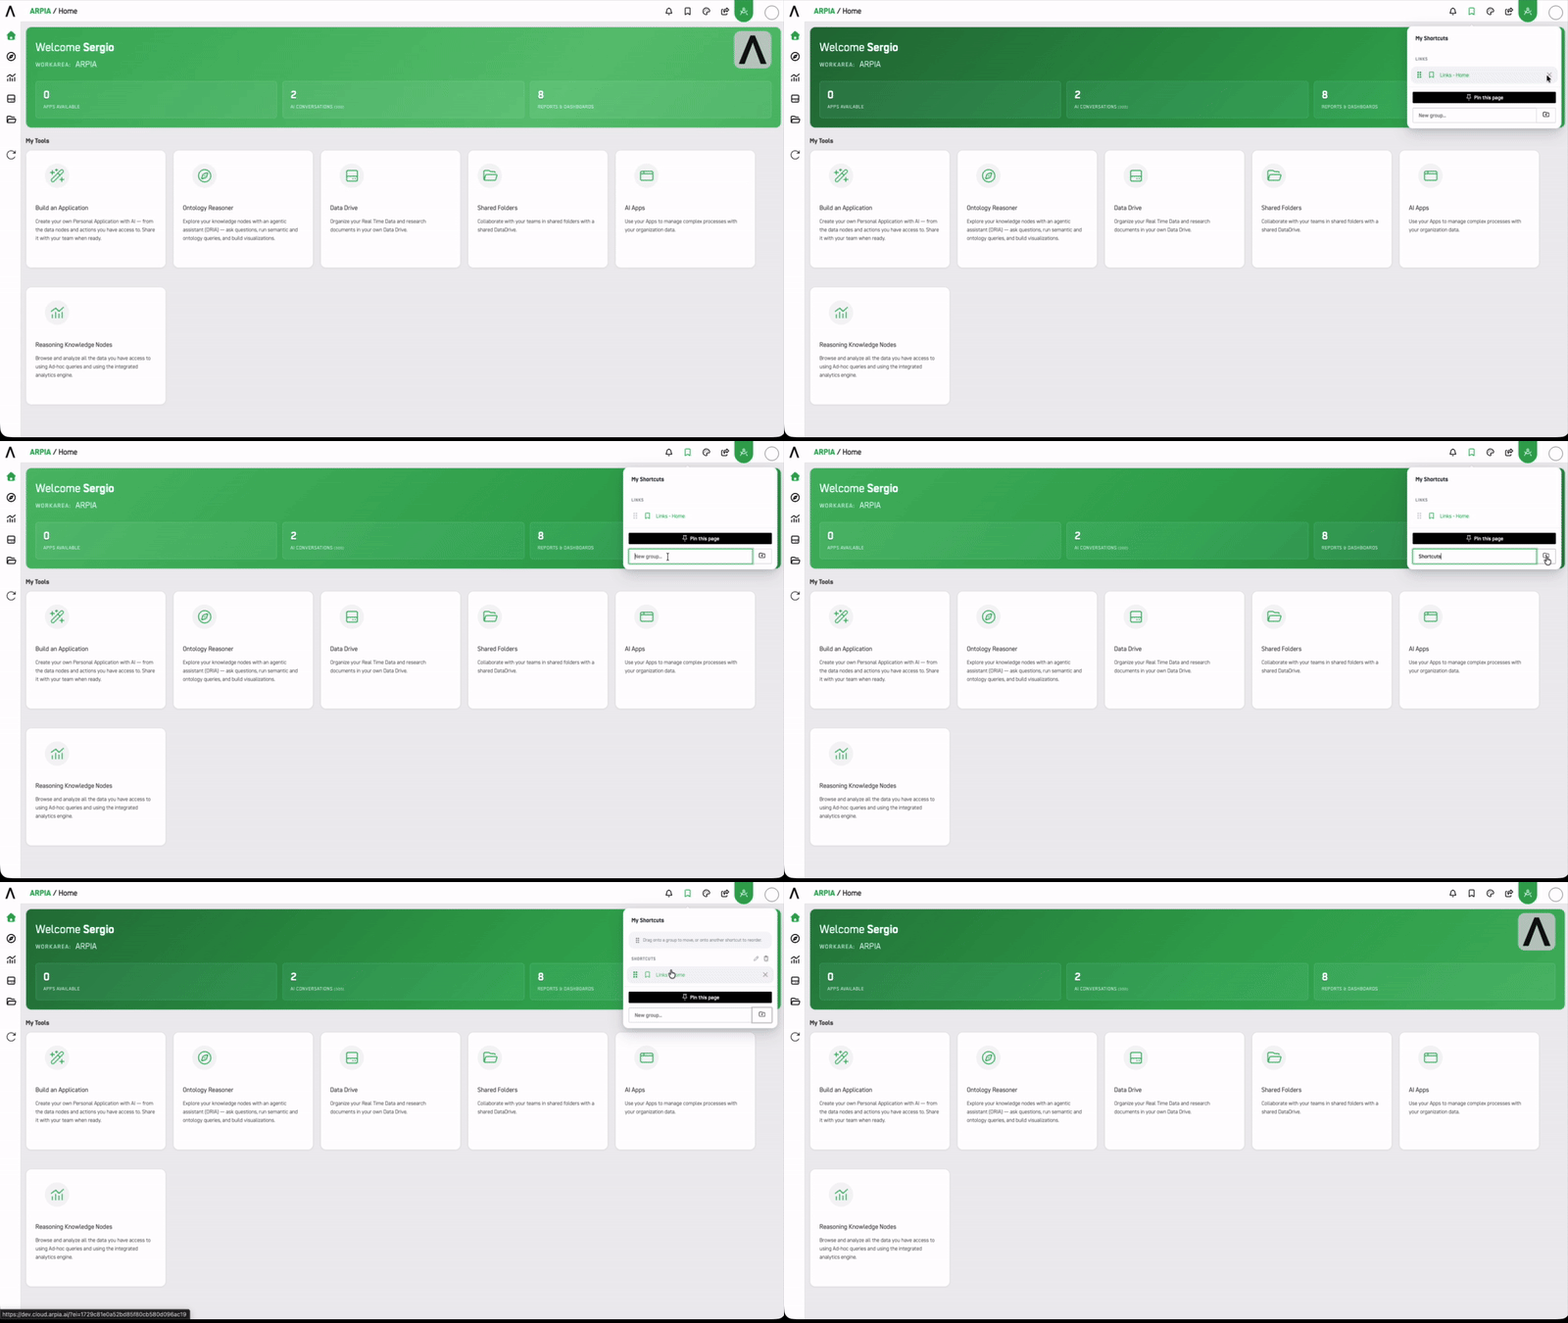
🔗 Share URL
The Share URL tool allows you to share your current Work Area view with others.
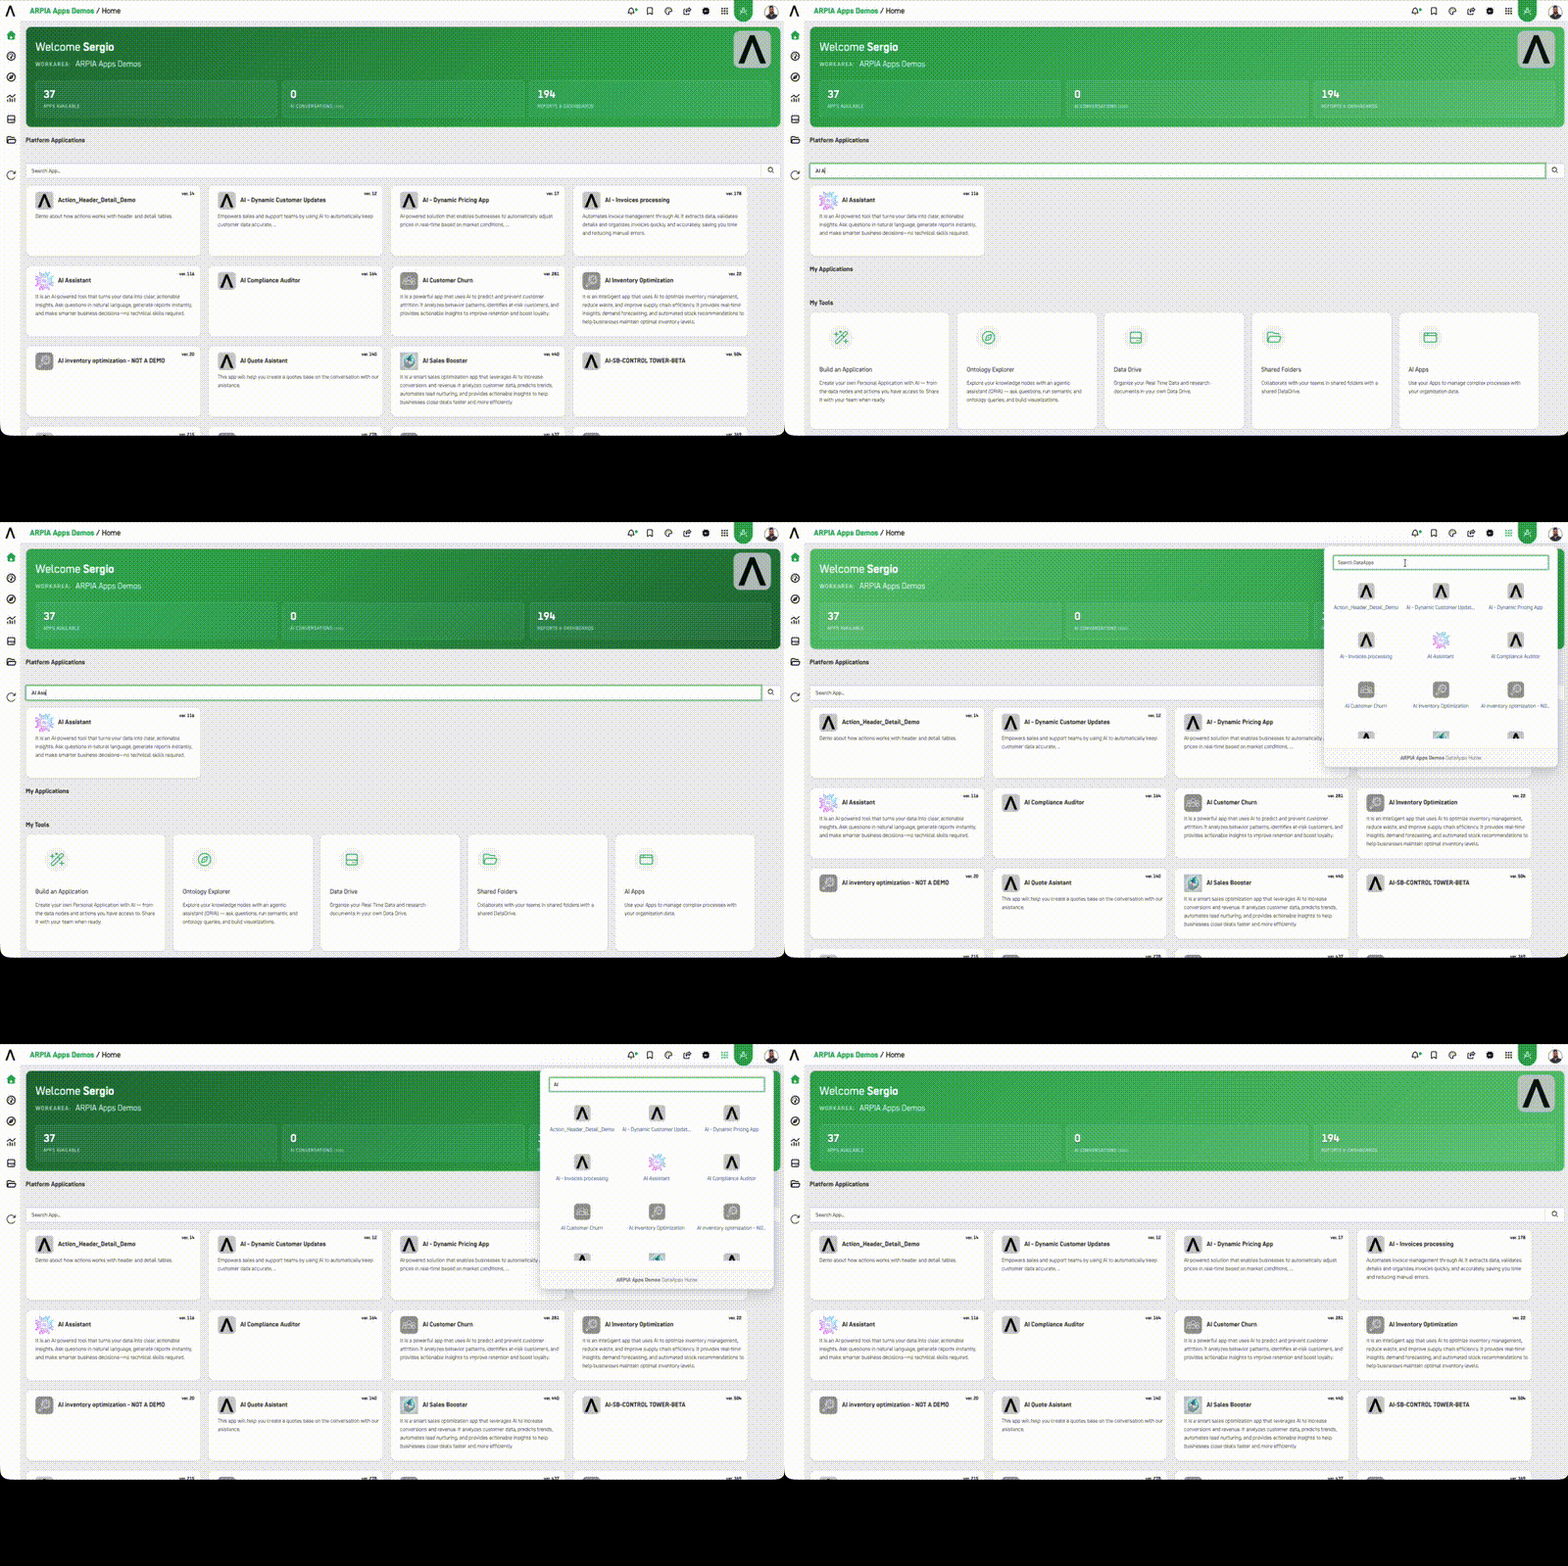
🔍 Search Data Apps
This tool allows you to easily search for your Data Apps by name, helping you locate them quickly. Additionally, you can organize your Data Apps by dragging and dropping them into your preferred order. This arrangement will be reflected on the ARPIA Home screen.
🎨 Appearance
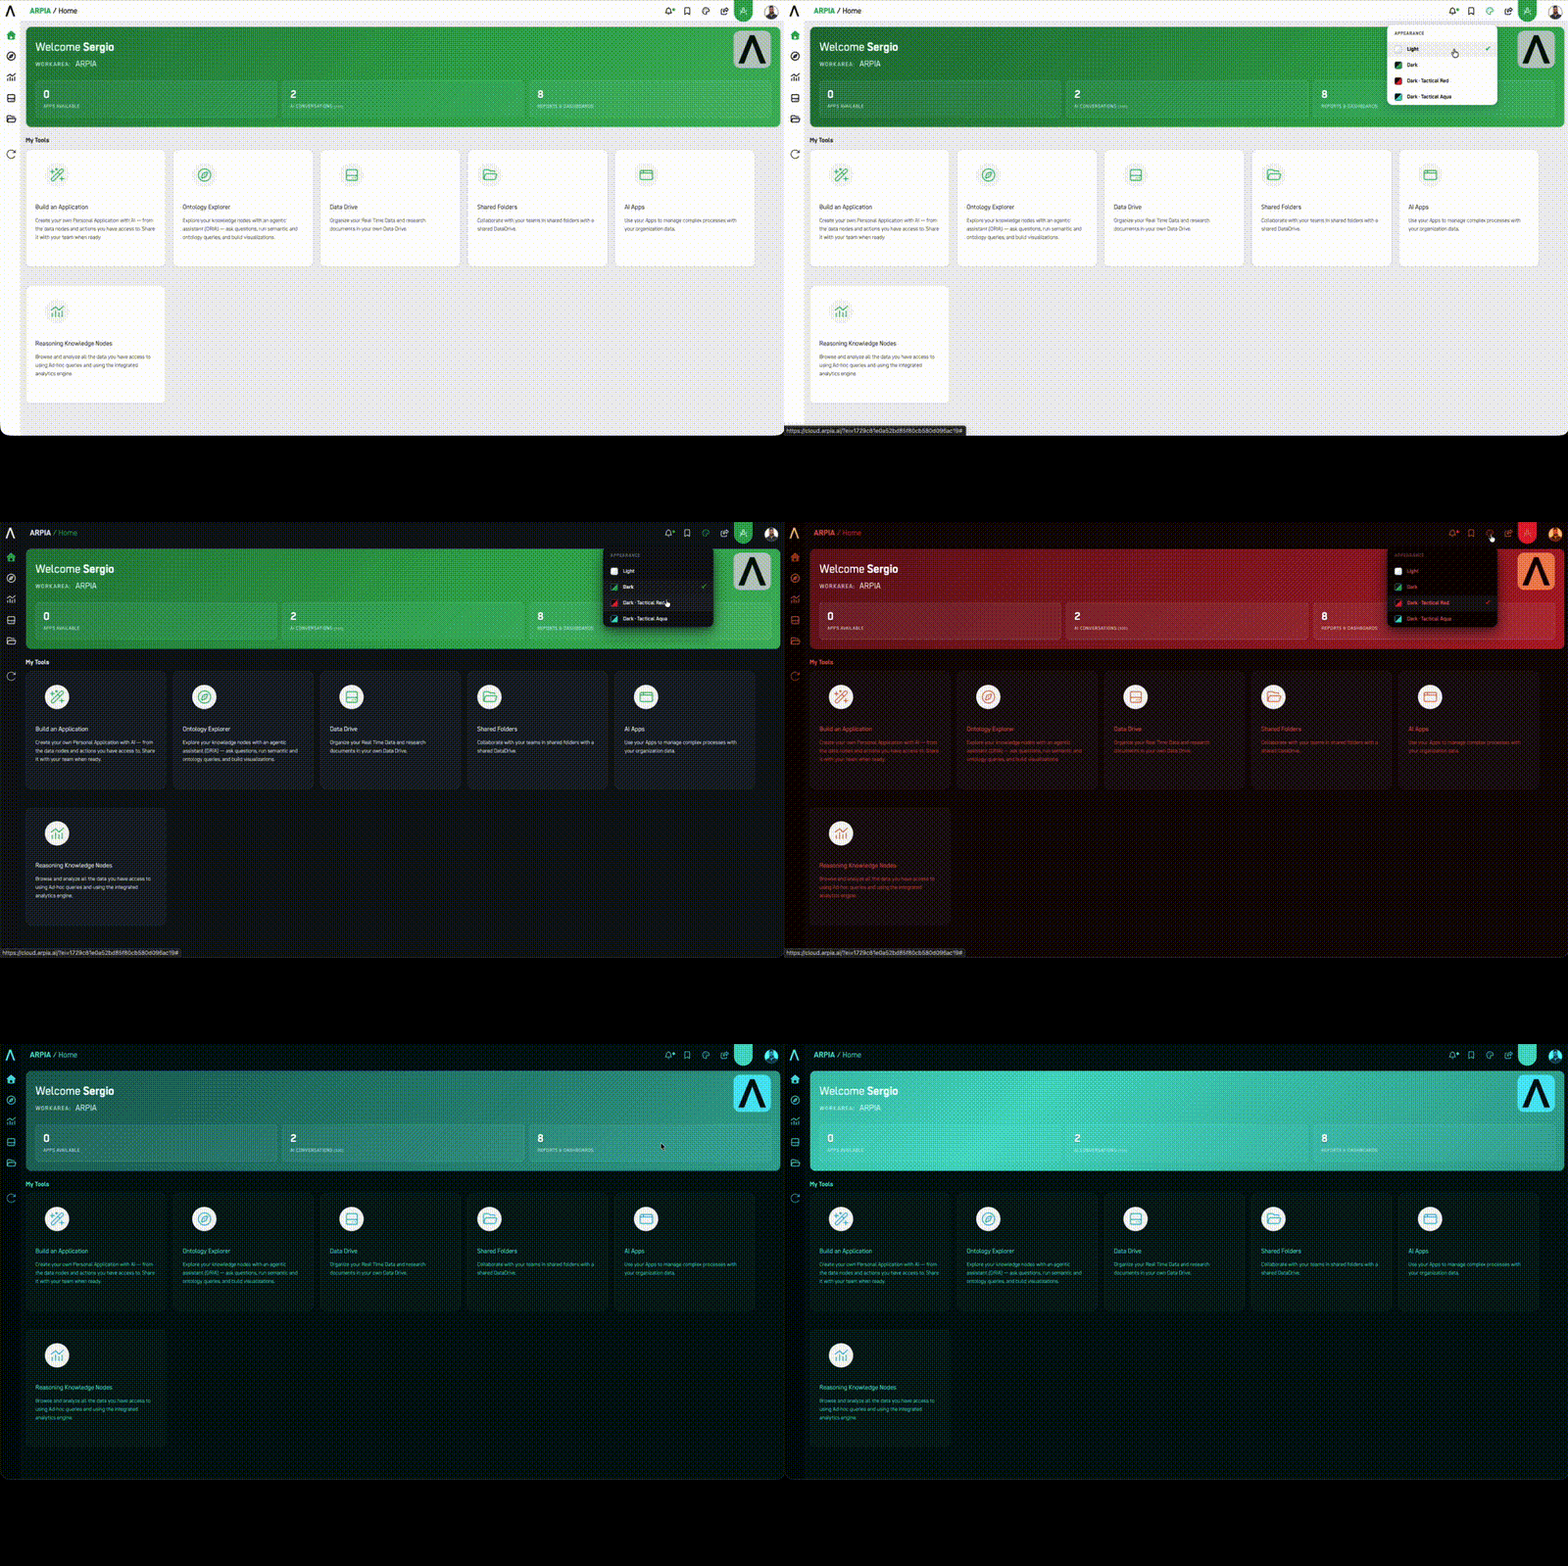
The Appearance icon (palette icon in the header) lets you switch the visual theme of the ARPIA interface. Available options:
- Light (default)
- Dark
- Dark · Tactical Red
- Dark · Tactical Aqua
Your selection applies immediately and persists across sessions.
🛠️ Orchestrator
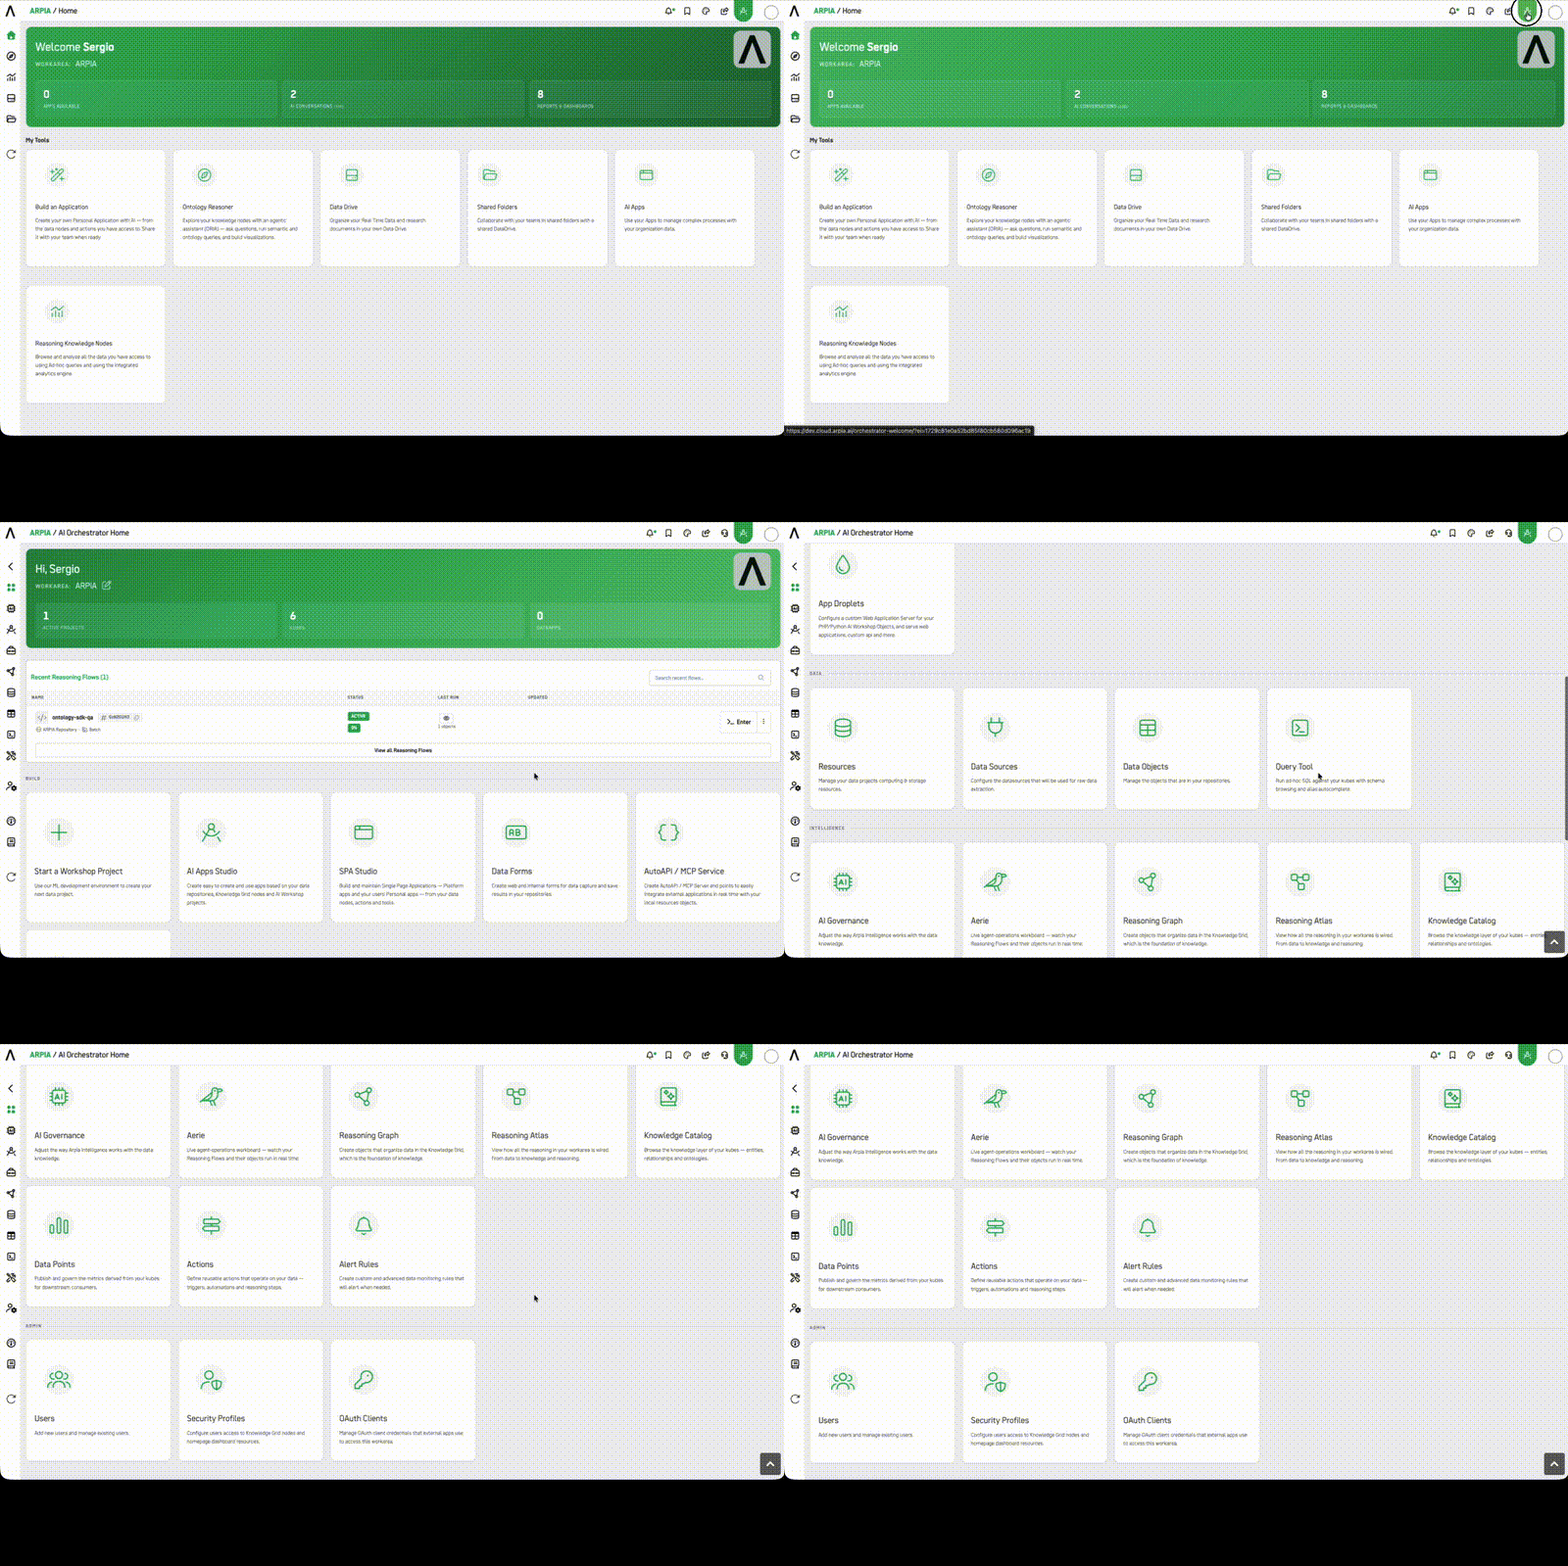
The Orchestrator icon provides access to the Orchestrator main menu and developer tools.
👤 User Menu
The User Menu offers easy-to-use options for managing your account:
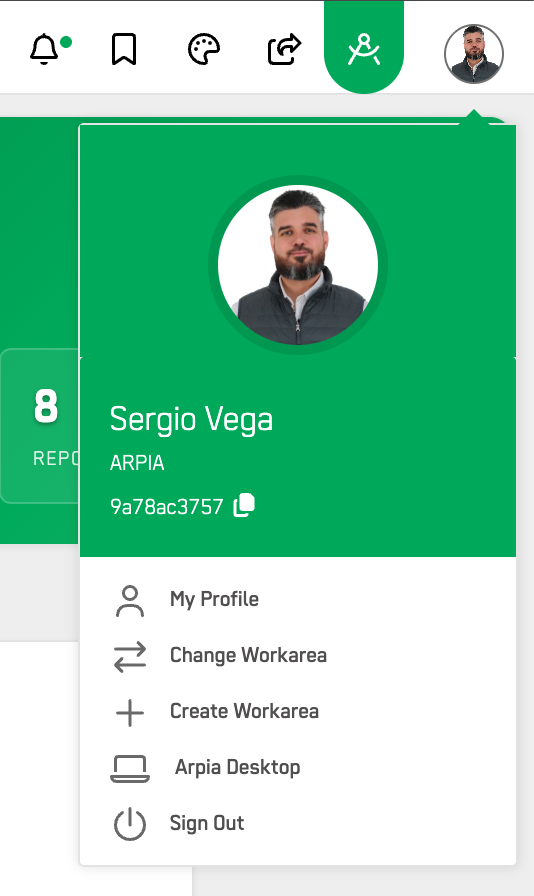
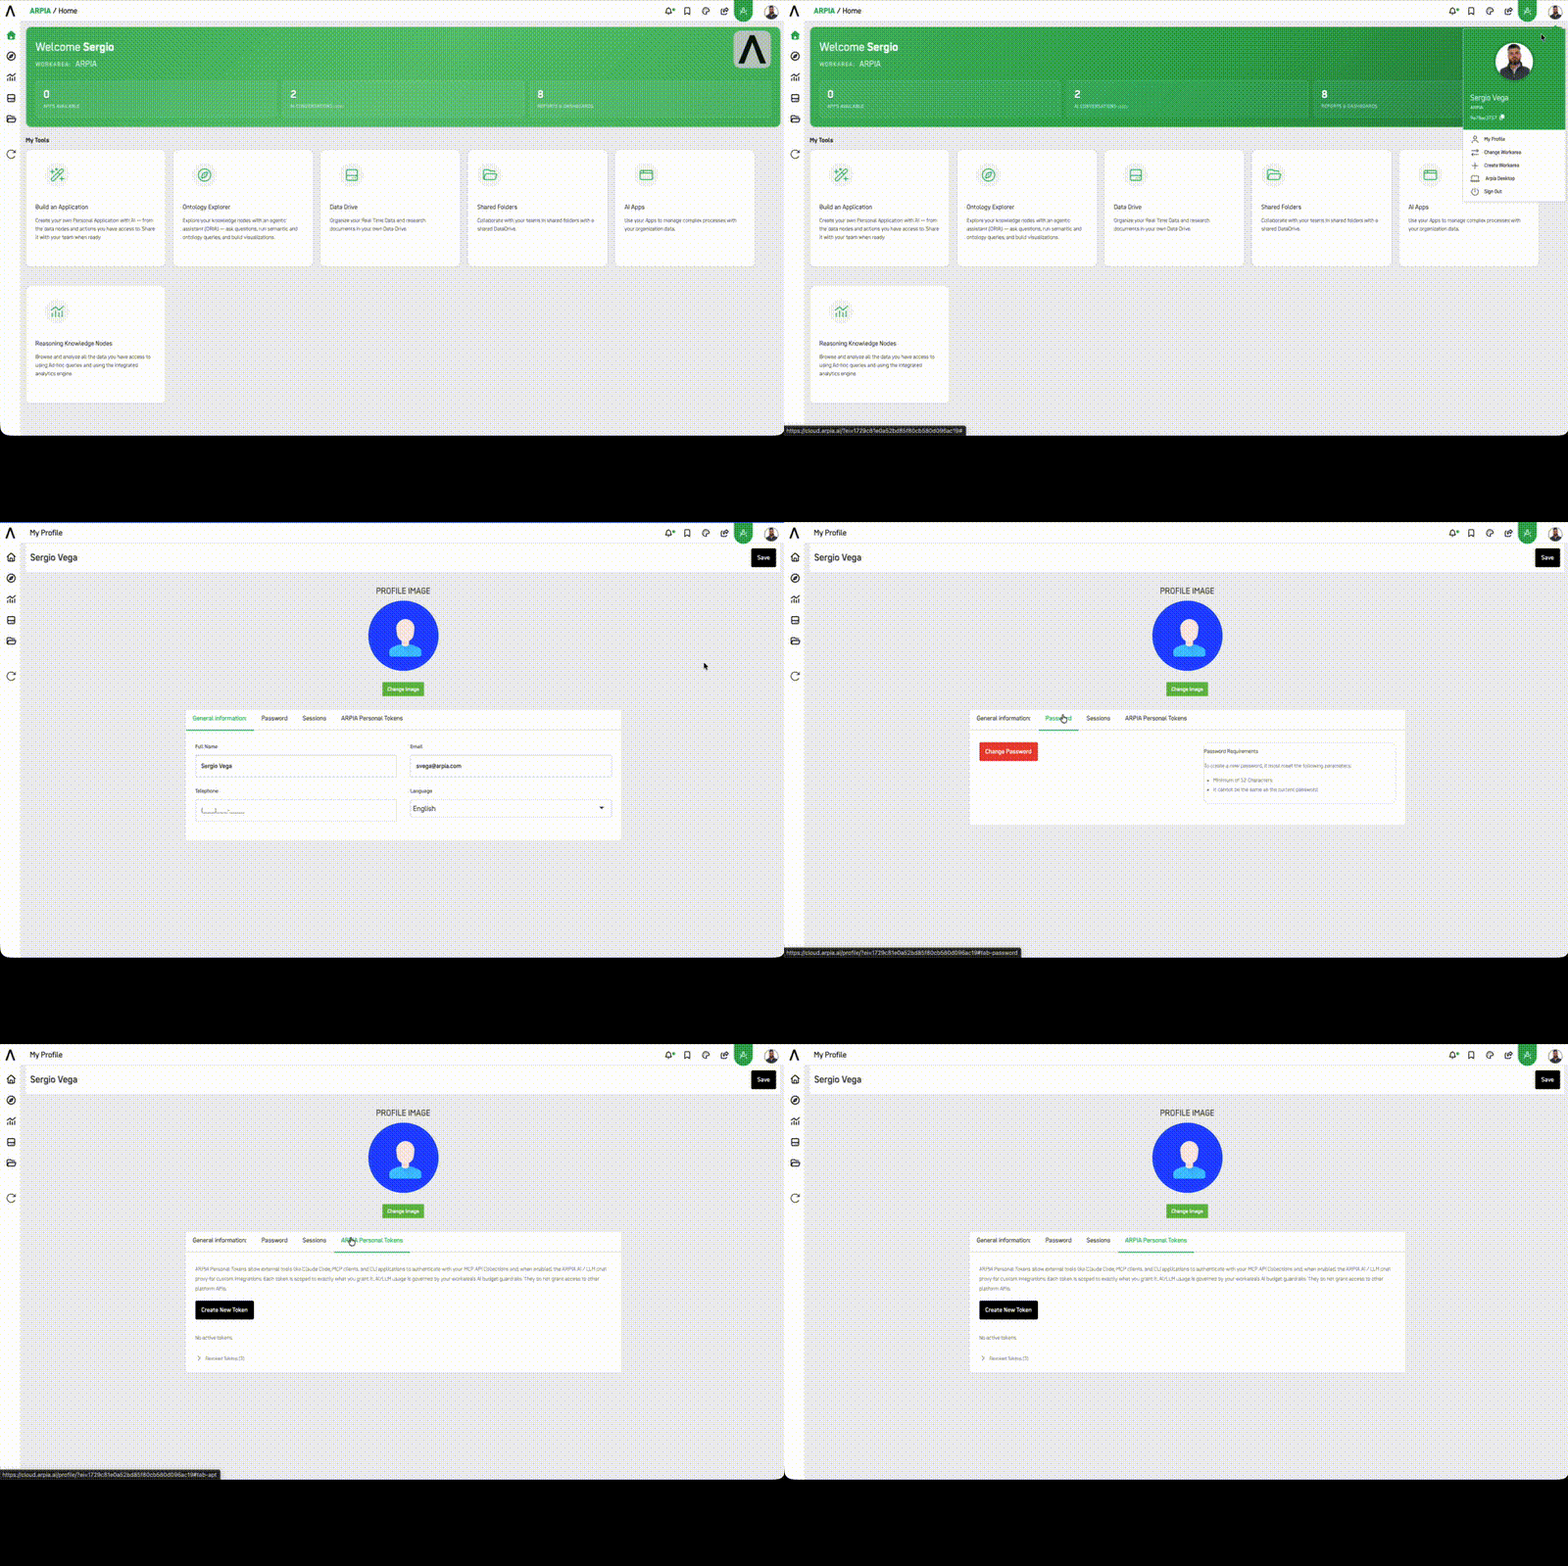
- My Profile: Manage your account across four tabs — General Information, Password, Sessions, and ARPIA Personal Tokens (see details below).
- Change Workarea: Switch between Work Areas you have access to.
- Create Workarea: Create a new Work Area.
- ARPIA Desktop: Download the desktop version of the ARPIA platform.
- Sign Out: Log out of your current session.
👤 My Profile
The My Profile screen lets you manage your account settings. At the top you can update your Profile Image using the Change Image button. Use the Save button (top right) to apply your changes.
Profile settings are organized into four tabs: General Information, Password, Sessions, and ARPIA Personal Tokens.
General Information
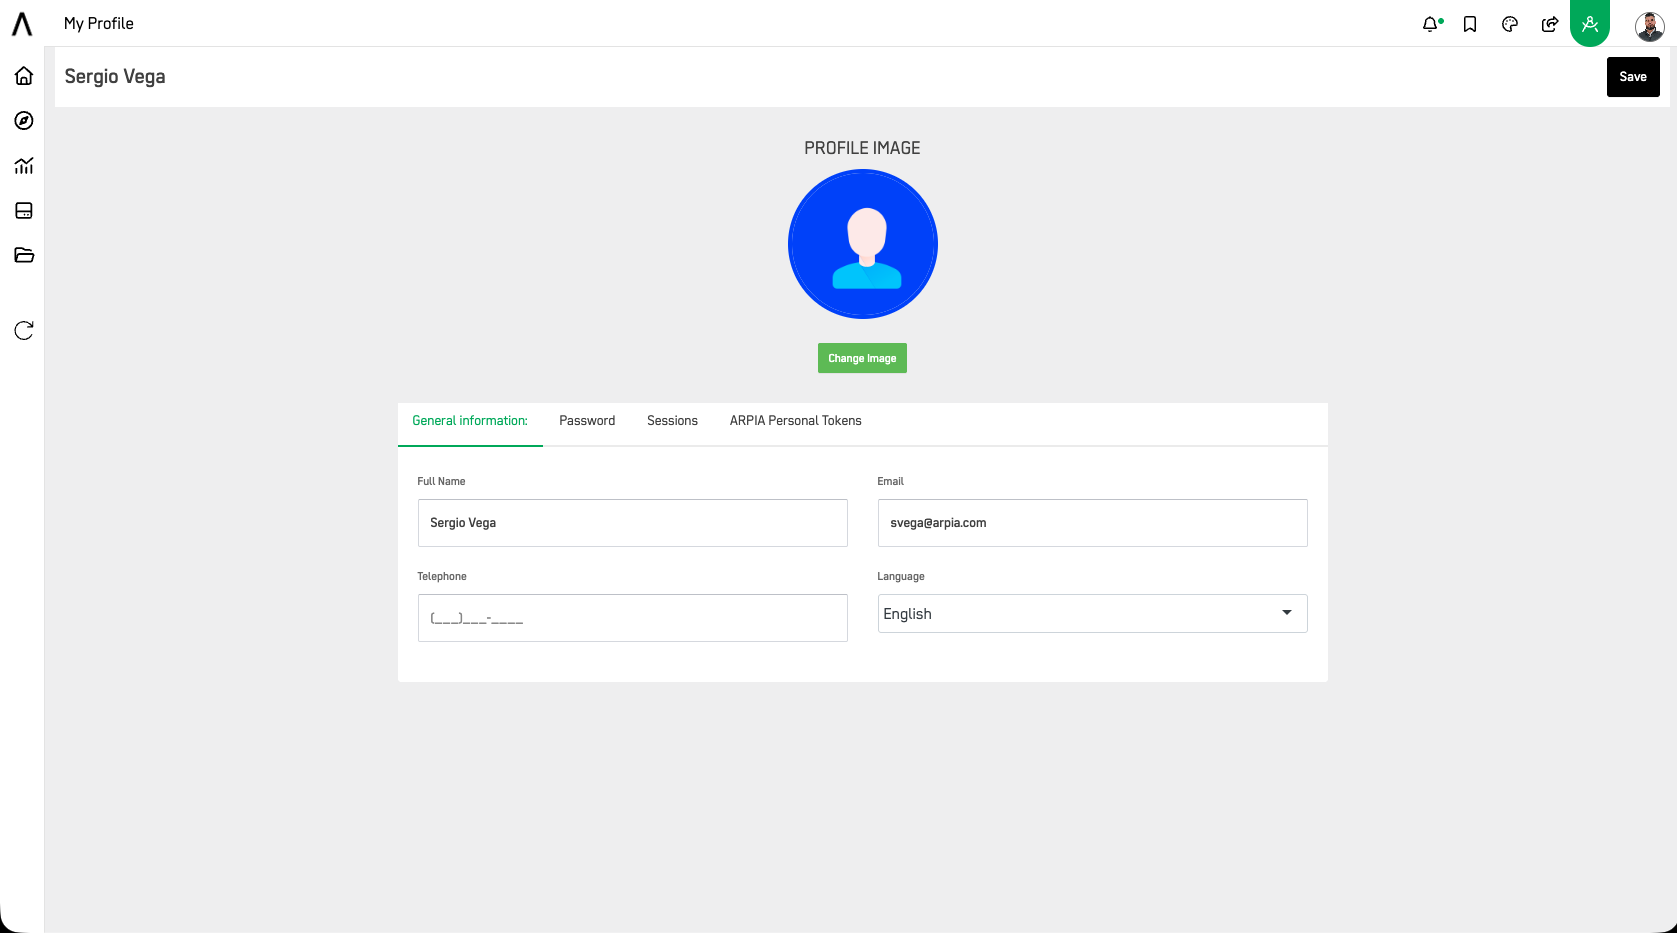
Configure your basic account details:
- Full Name
- Telephone
- Language
Language Options
Currently, only English and Spanish are available.
Password
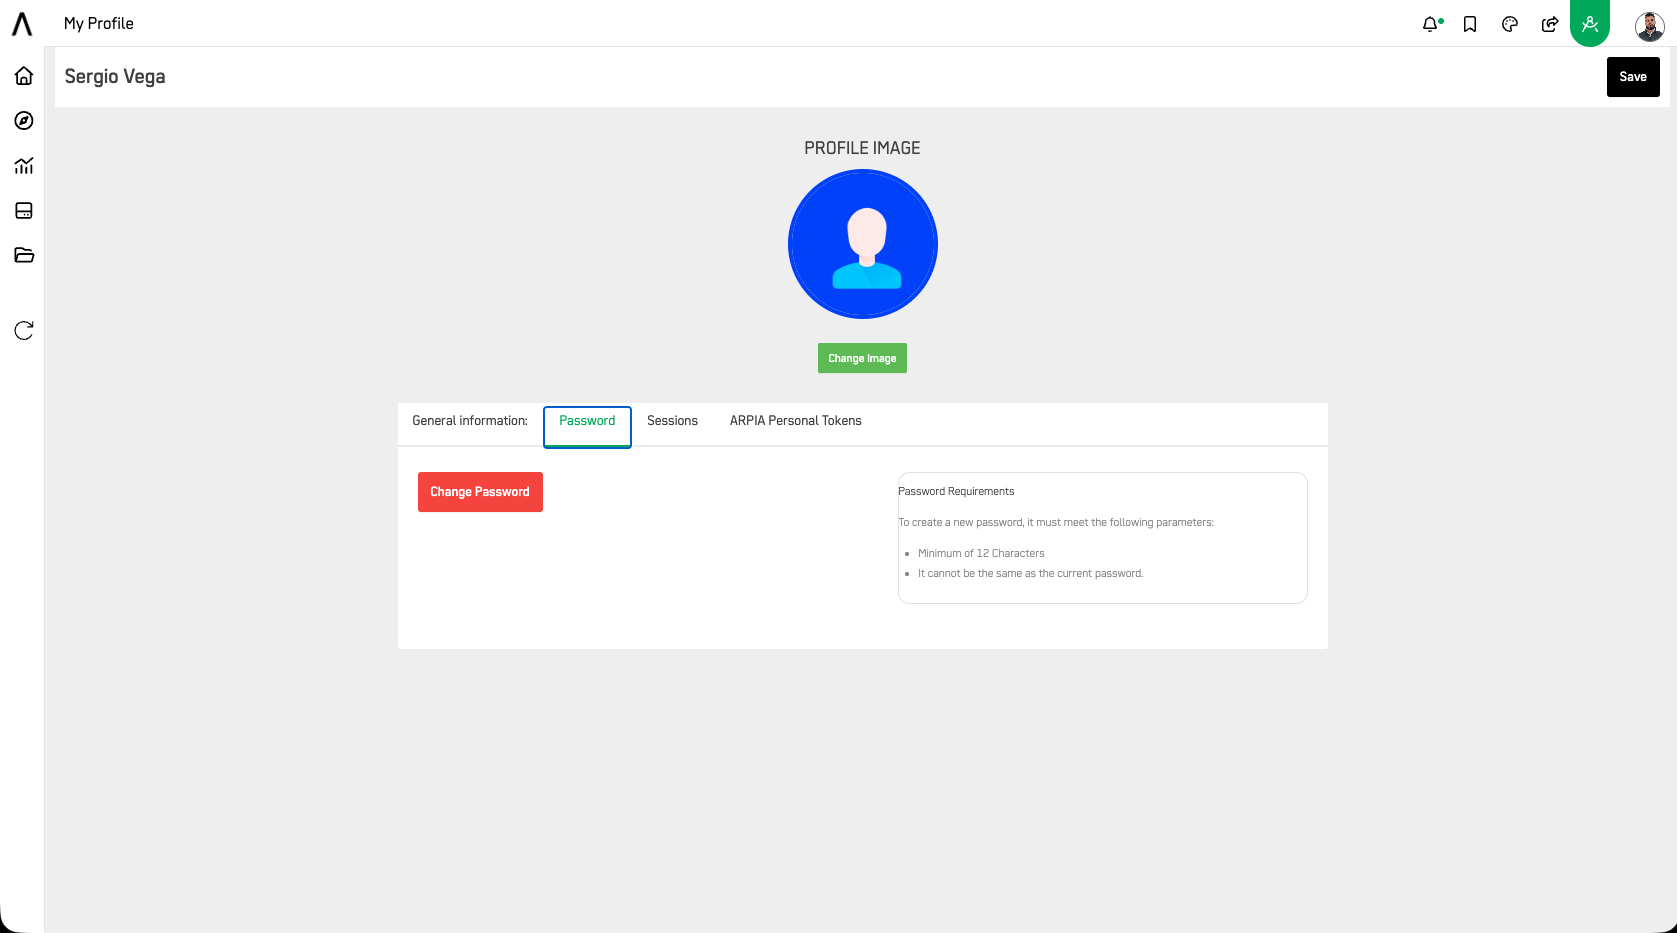
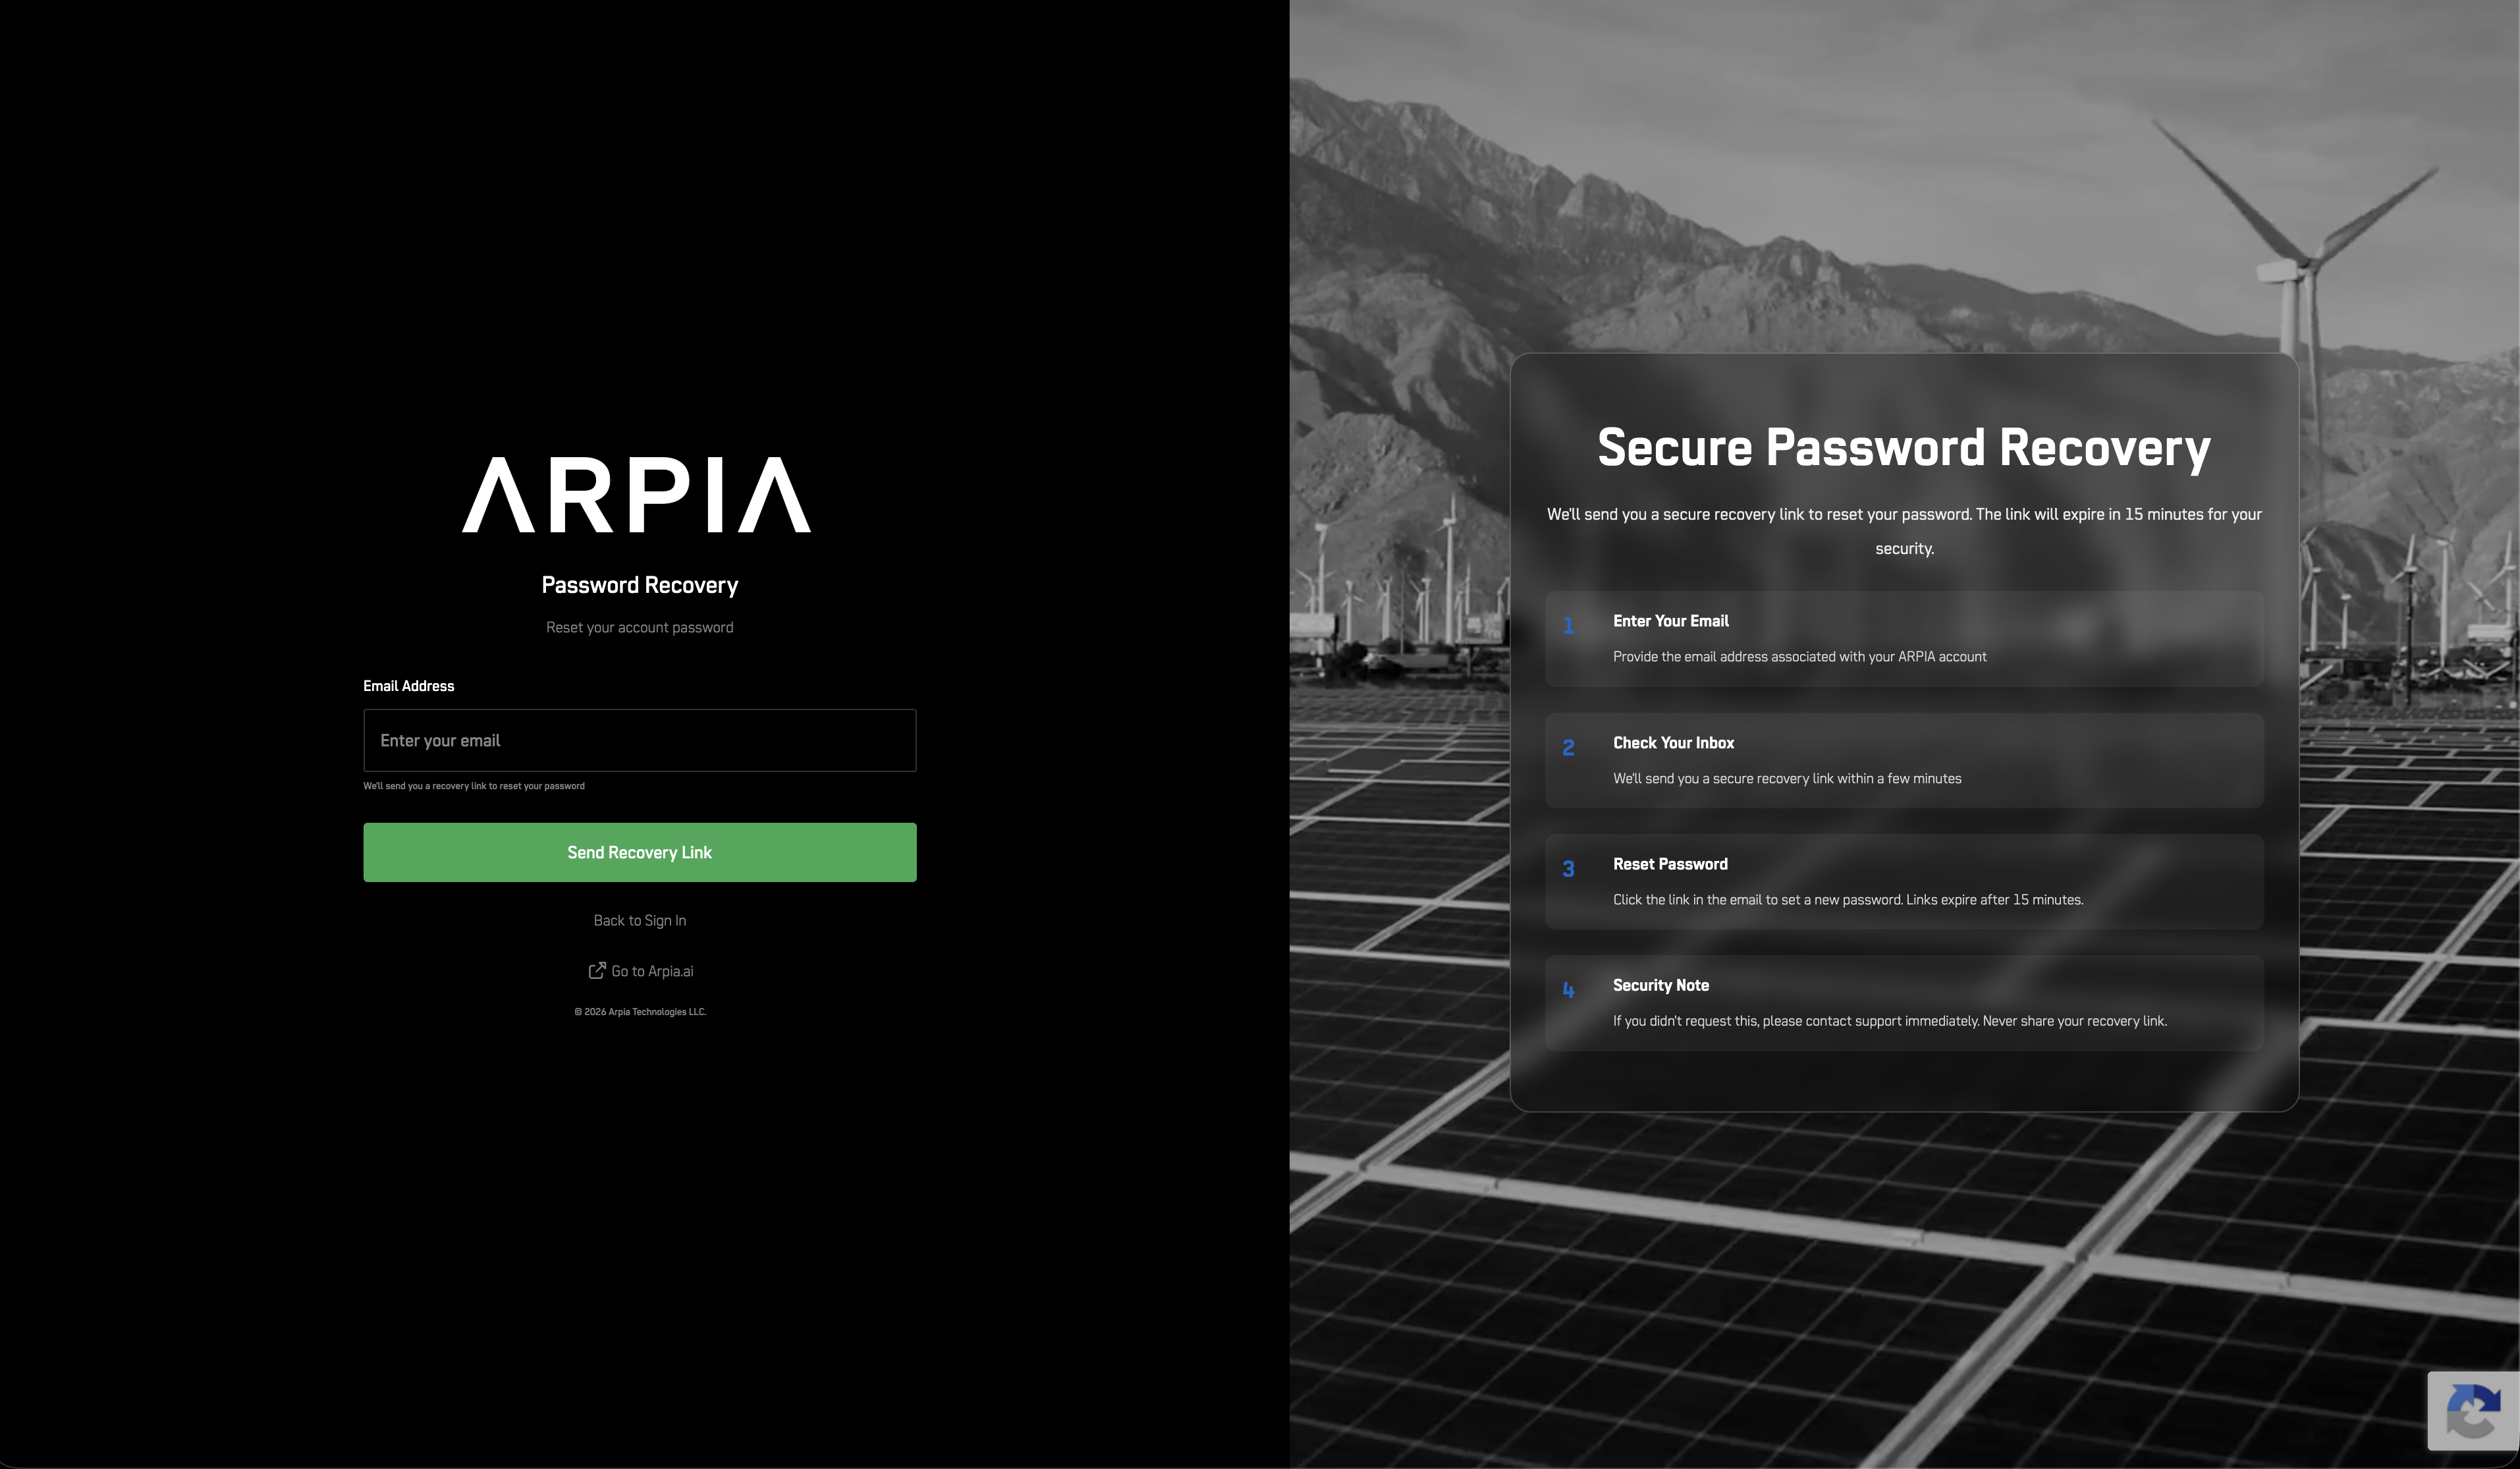
The Password tab lets you update your account password. Click Change Password to start a secure password reset flow, which sends a recovery link to your email.
Password Requirements
To create a new password, it must meet the following parameters:
- Minimum of 12 characters.
- It cannot be the same as the current password.
The recovery link is sent to the email associated with your ARPIA account and expires in 15 minutes for your security. If you did not request a password change, contact support immediately and never share your recovery link.
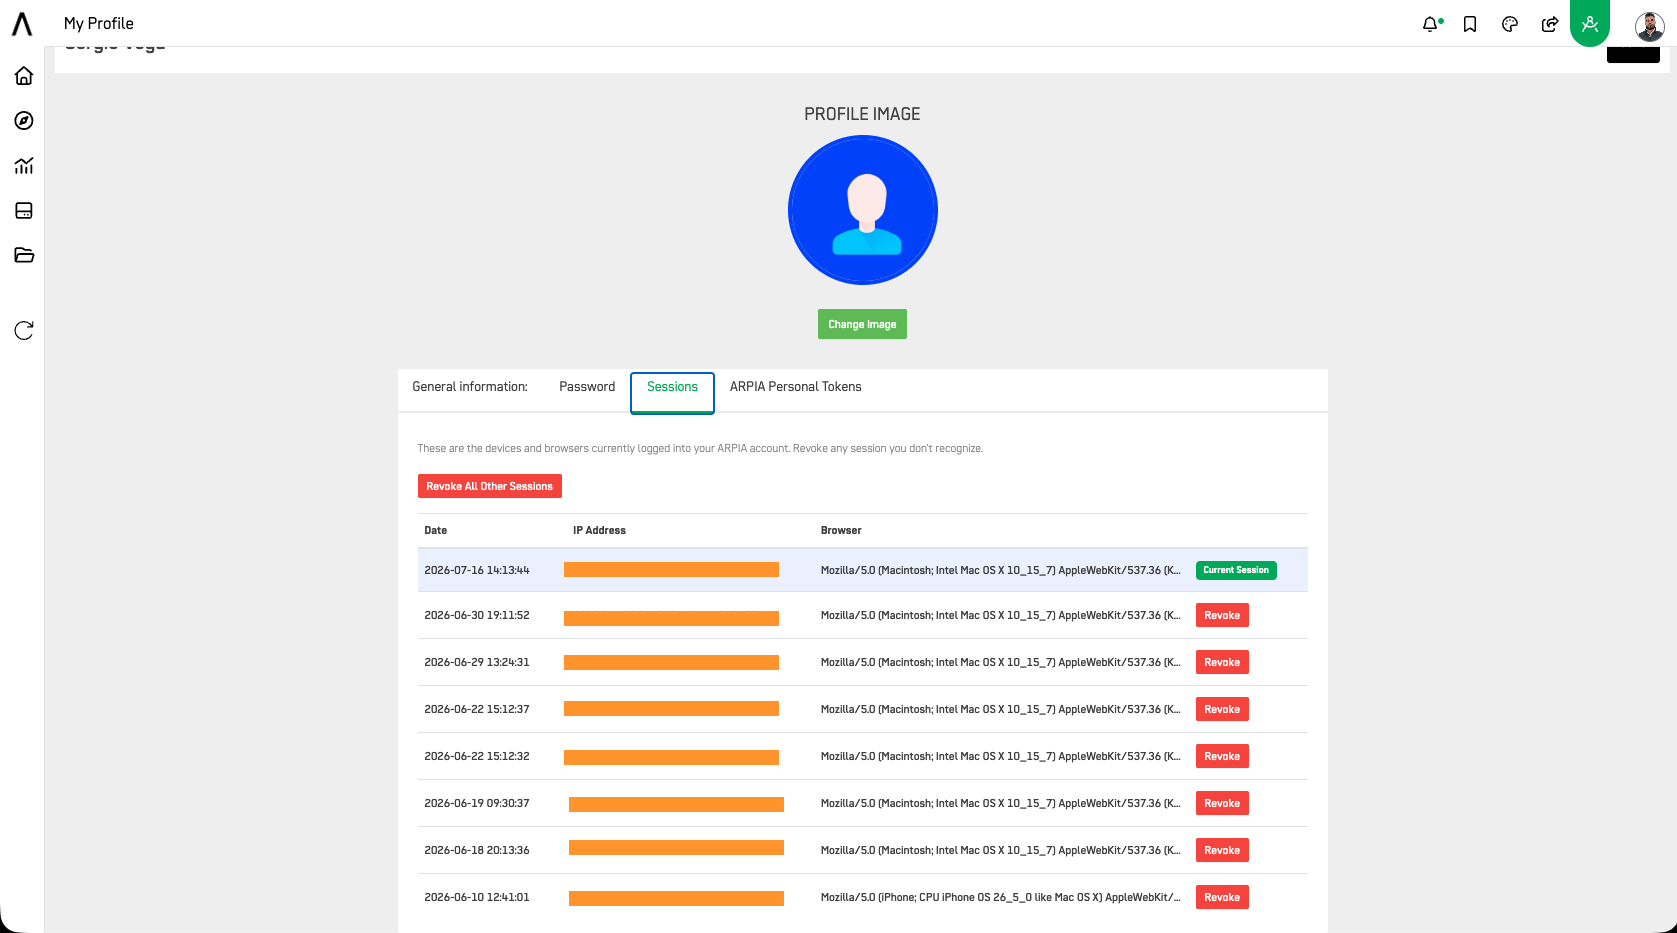
Sessions
The Sessions tab shows the devices and browsers currently logged into your ARPIA account. Review this list periodically and revoke any session you don't recognize.
Each entry lists:
- Date/Time the session was created
- IP Address it originated from
- Browser/User Agent string
- An individual Revoke action
Use Revoke All Other Sessions to immediately terminate every session except the one you're currently using — recommended if you suspect unauthorized access.
Security tip
If you see a session from an IP address or device you don't recognize, revoke it immediately and change your password (see Password tab above).
ARPIA Personal Tokens
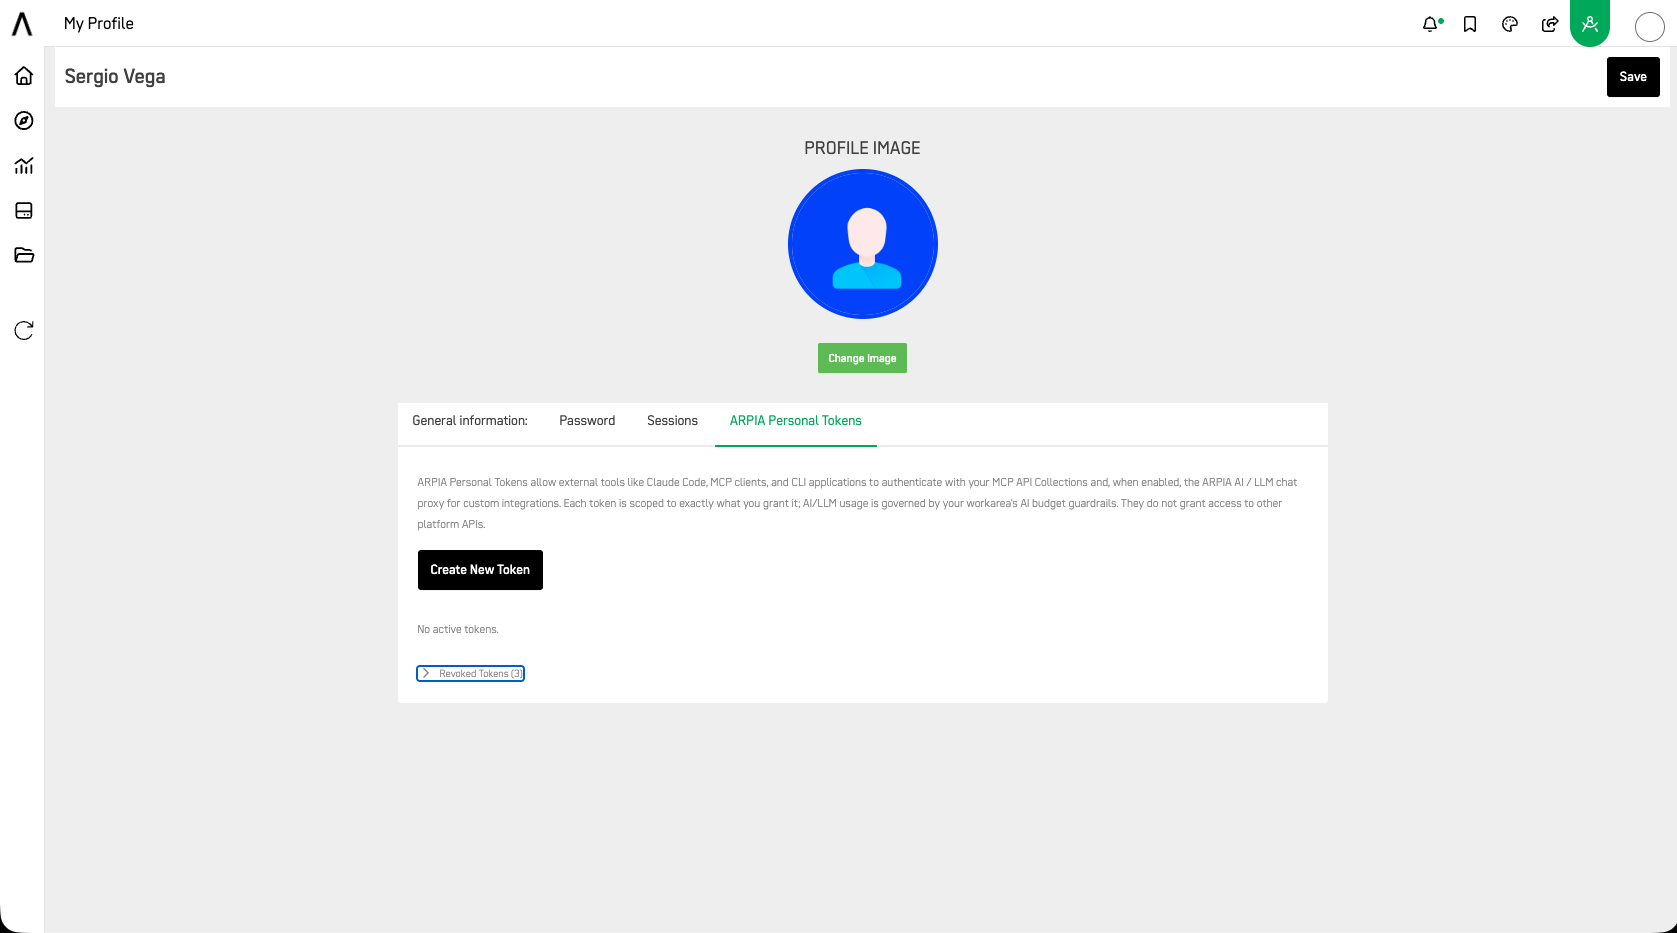
ARPIA Personal Tokens (APT) allow external tools — such as Claude Code, MCP clients, and CLI applications — to authenticate with your MCP API Collections and, when enabled, the ARPIA AI / LLM chat proxy for custom integrations.
Each token is scoped to exactly what you grant it. AI/LLM usage through a token is governed by your workarea's AI budget guardrails. Tokens do not grant access to other platform APIs.
Click Create New Token to generate a token. If you have no active tokens, the tab displays "No active tokens." Previously revoked tokens remain visible under a collapsible Revoked Tokens list for audit purposes.
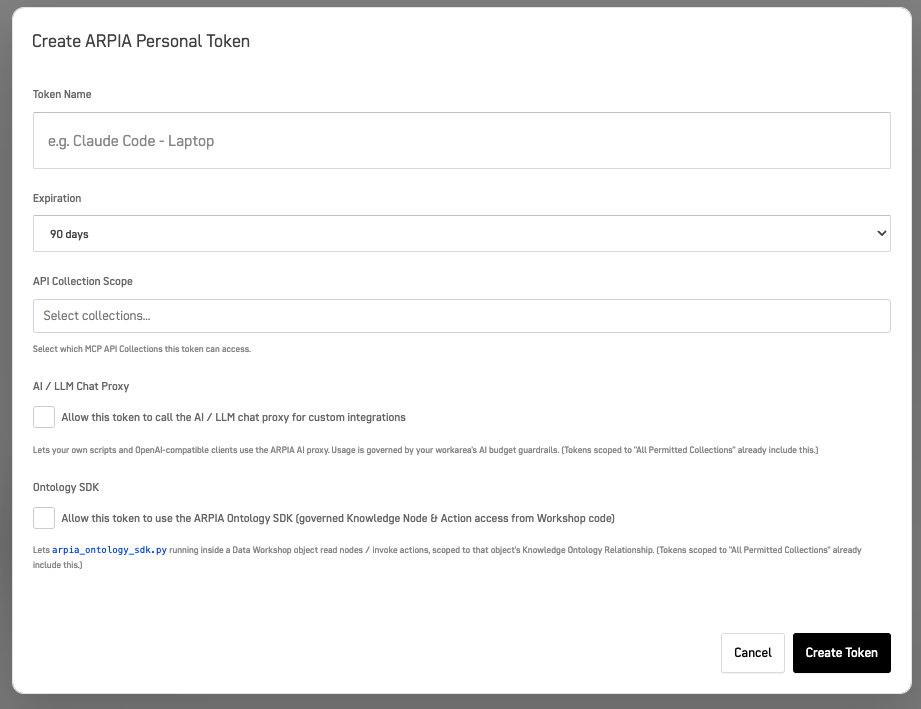
When creating a token, you configure:
- Token Name: A label to identify the token (e.g., Claude Code - Laptop).
- Expiration: How long the token remains valid (default: 90 days).
- API Collection Scope: Select which MCP API Collections this token can access.
Treat tokens like passwords
Copy and store your token securely when it is created. Scope each token to only the MCP API Collections it needs.
Updated 3 months ago