How to create a AI App
Step-by-Step Guide
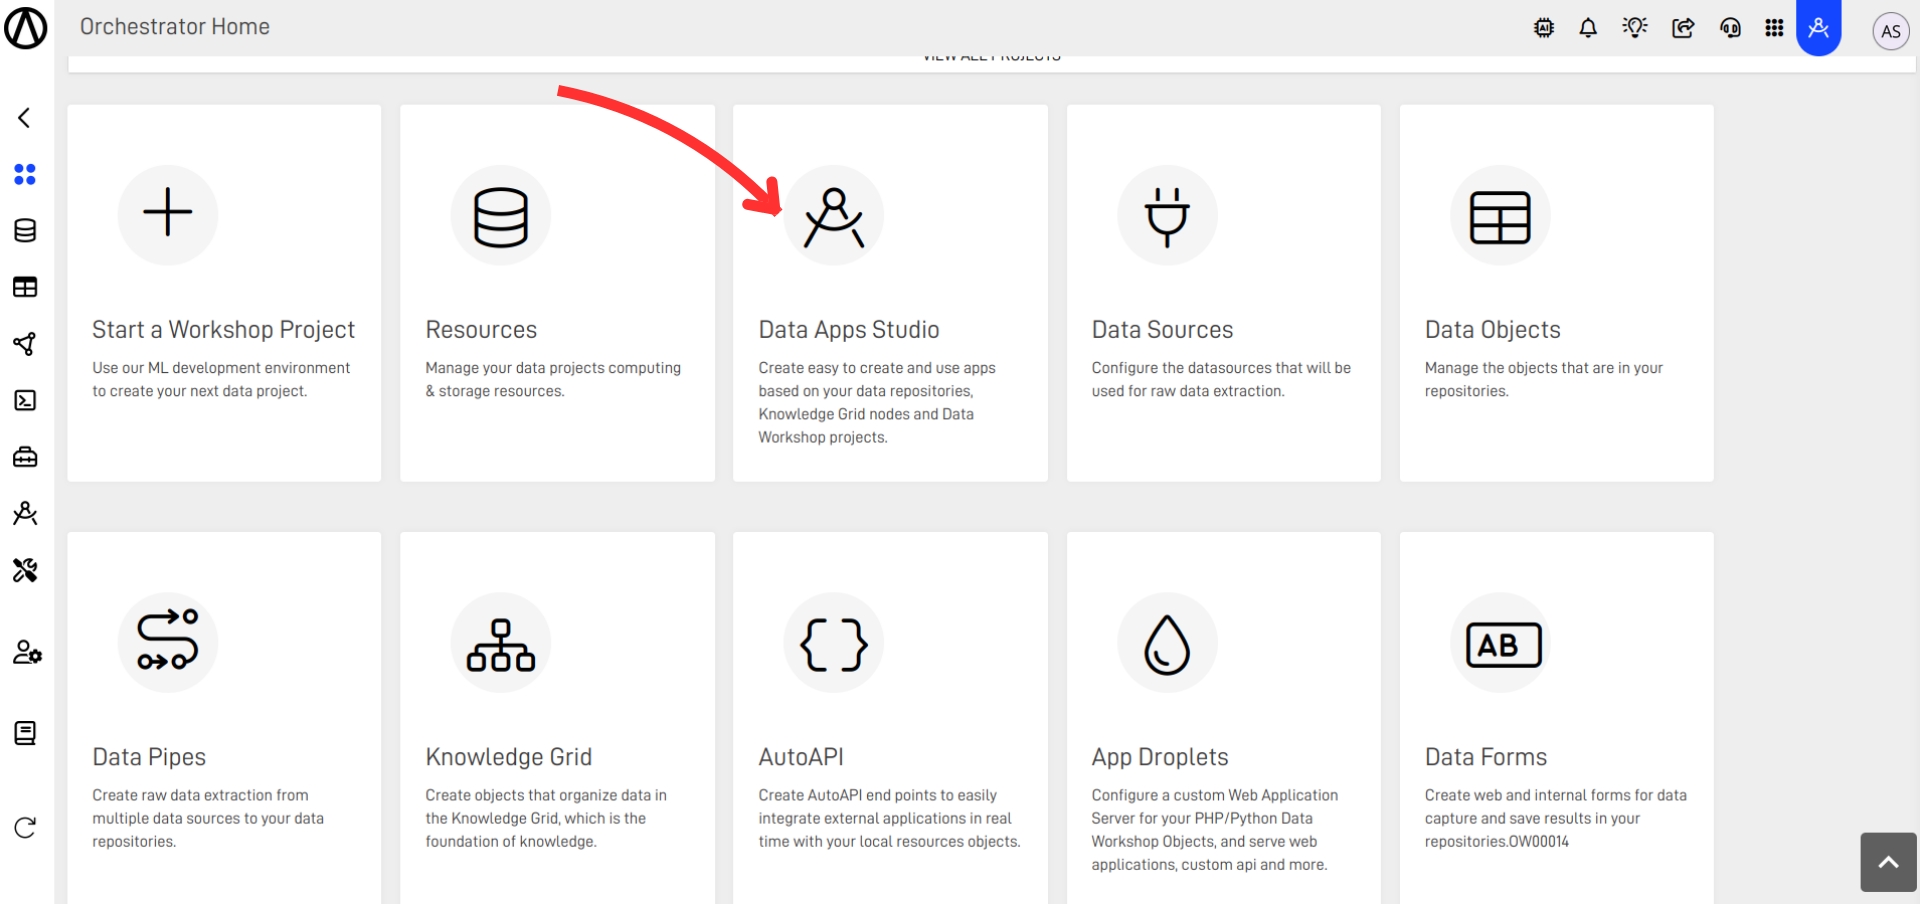
Step 1: Access AI Apps Studio
From your Home page in the Orchestrator, select the AI Apps Studio option.
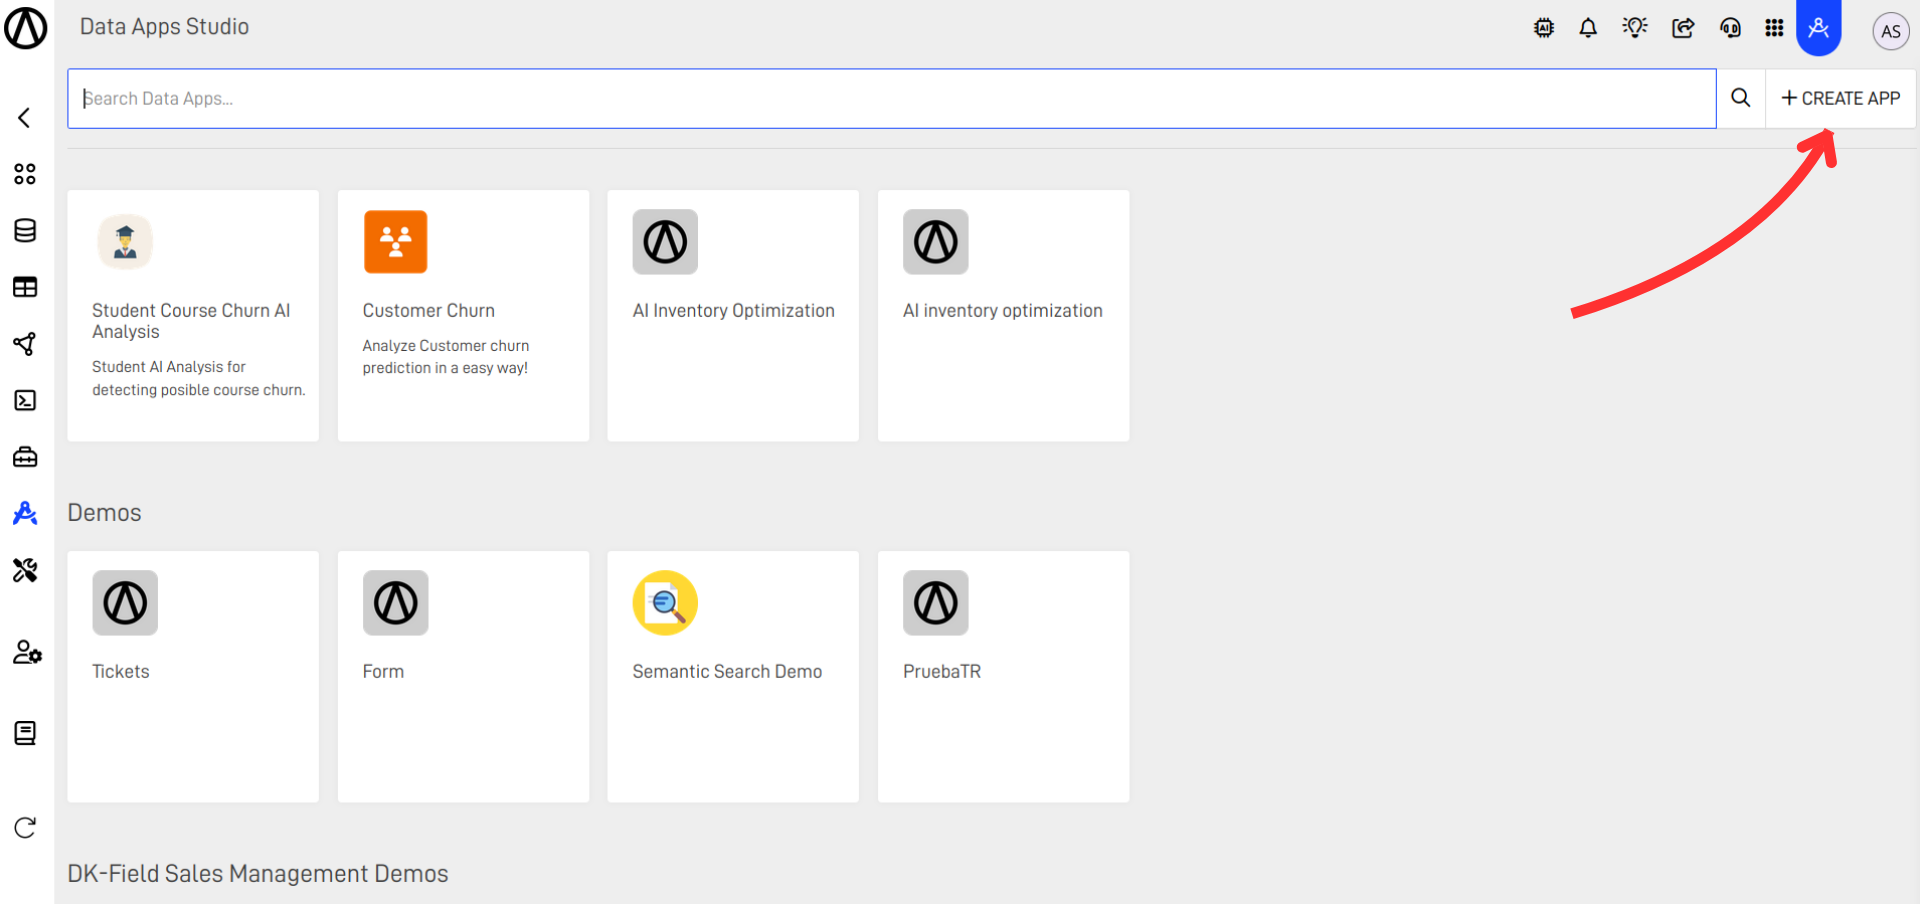
Step 2: Create a New App
Click on the + CREATE APP button.
Step 3: Enter App Details
Enter the name for your App, the group to which you want it classified, and an optional description.

- Name: Enter the desired name for your app.
Optional Fields:
- Group: Select an existing group or create a new one to organize your data apps for better control and management.
- App Description: Provide a brief description of the app for reference by new users or developers.
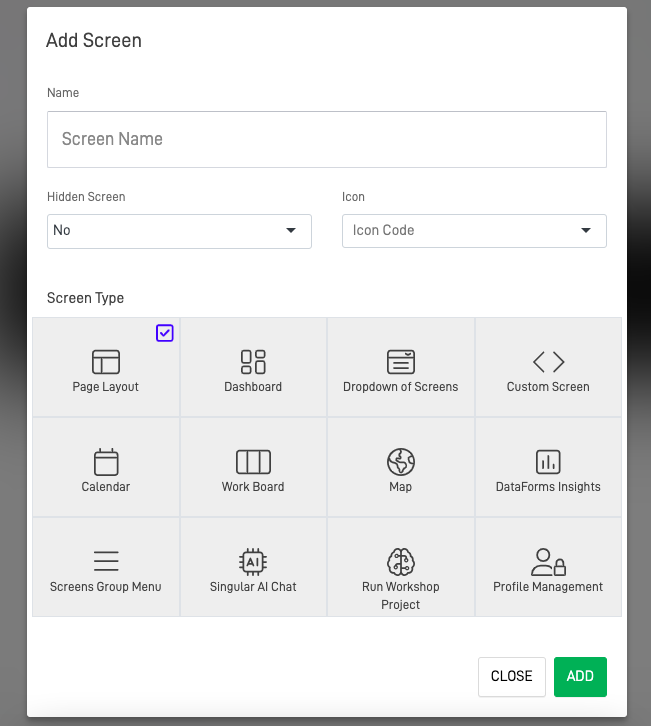
Step 4: Add a Screen
It will prompt you to add a screen. In this example, select the Page Layout option, enter a name, an icon, and click ADD.
Font Awesome(FA) icons
Choose from a wide variety of icons available in the icon list. Alternatively, you can access the Font Awesome documentation to select an icon that is not on our list and manually enter the code in the icon field.
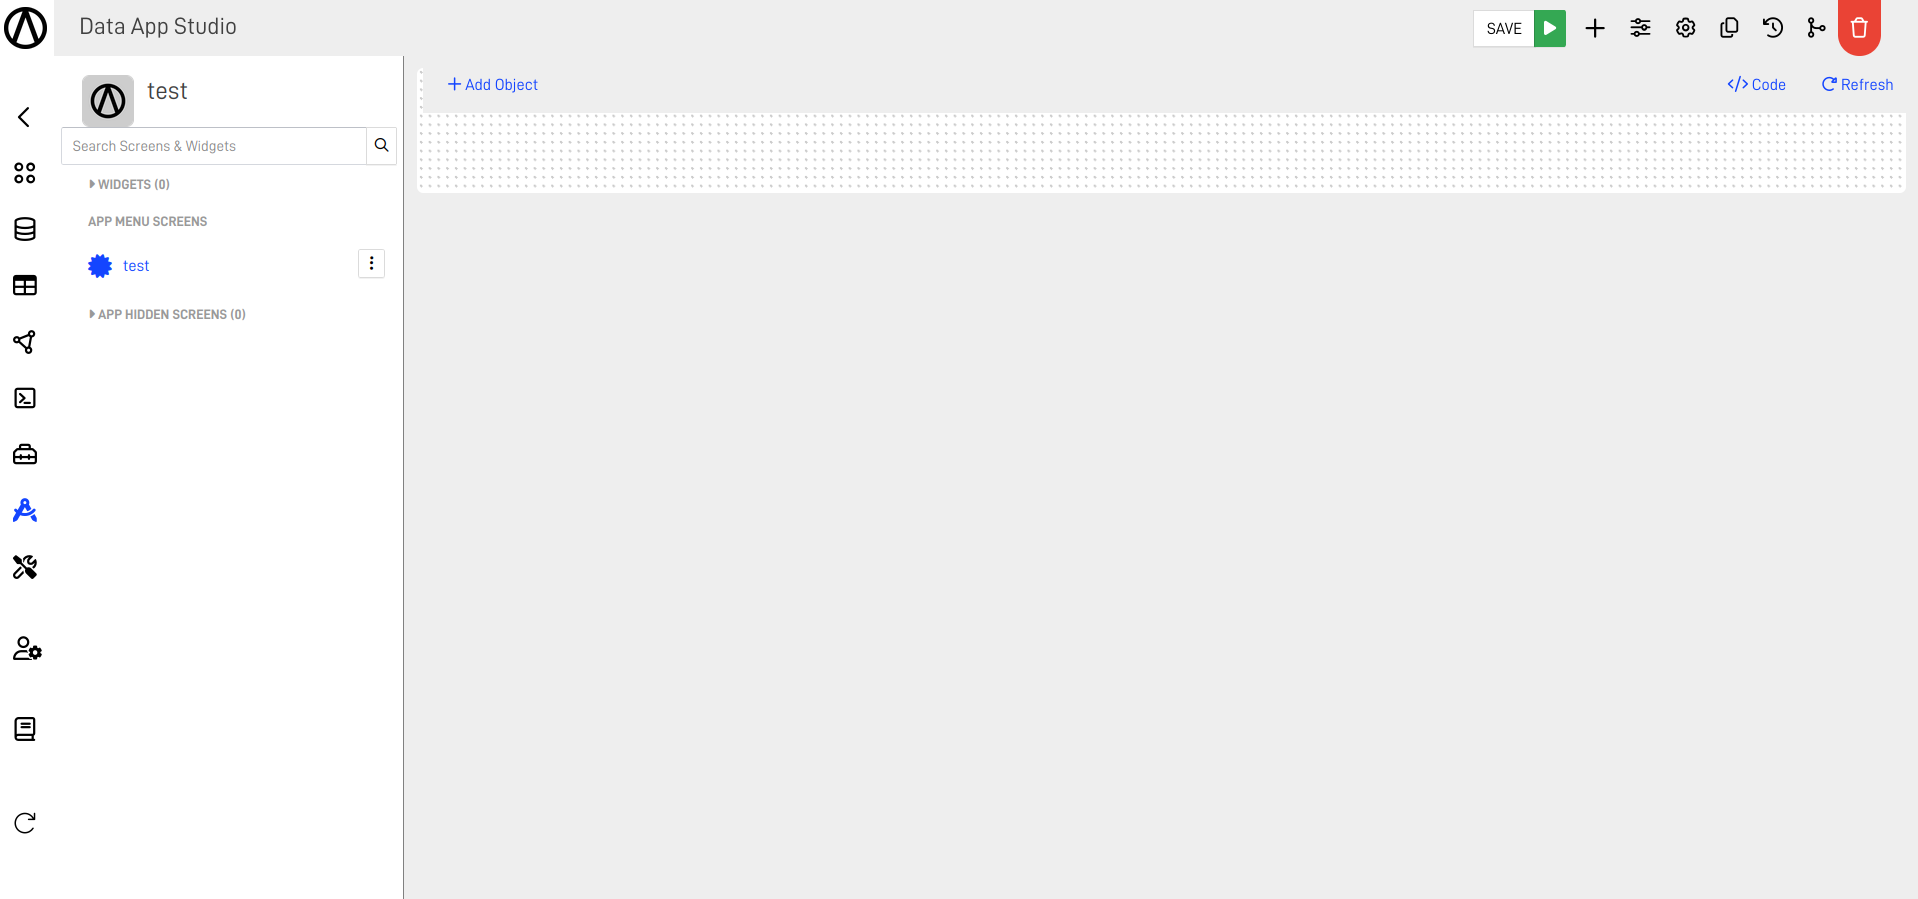
Step 5: Verify App Creation
You can now see your created App.