
Getting Started with ARPIA
🛠️ Step-by-Step Guide to Access ARPIA
Welcome to ARPIA — your platform for secure, centralized management and automation.
This guide walks you through how to request access, log in, and complete authentication so you can start using ARPIA confidently.
🧩 Step 1: Request Your Account
To use ARPIA, you’ll need an administrator account.
ARPIA provides two platform environments, each accessed through its own login portal:
Both use the same login format and authentication methods (SSO or email/password with 2FA).
However, each platform requires its own account — you must request access to the specific environment you’ve been assigned.
Important: You will only be able to log in to the platform URL provided by your ARPIA Administrator.
Trying to access the other environment without an authorized account will result in a login error.
Note: Account requests may require verification or approval from the ARPIA team before activation.
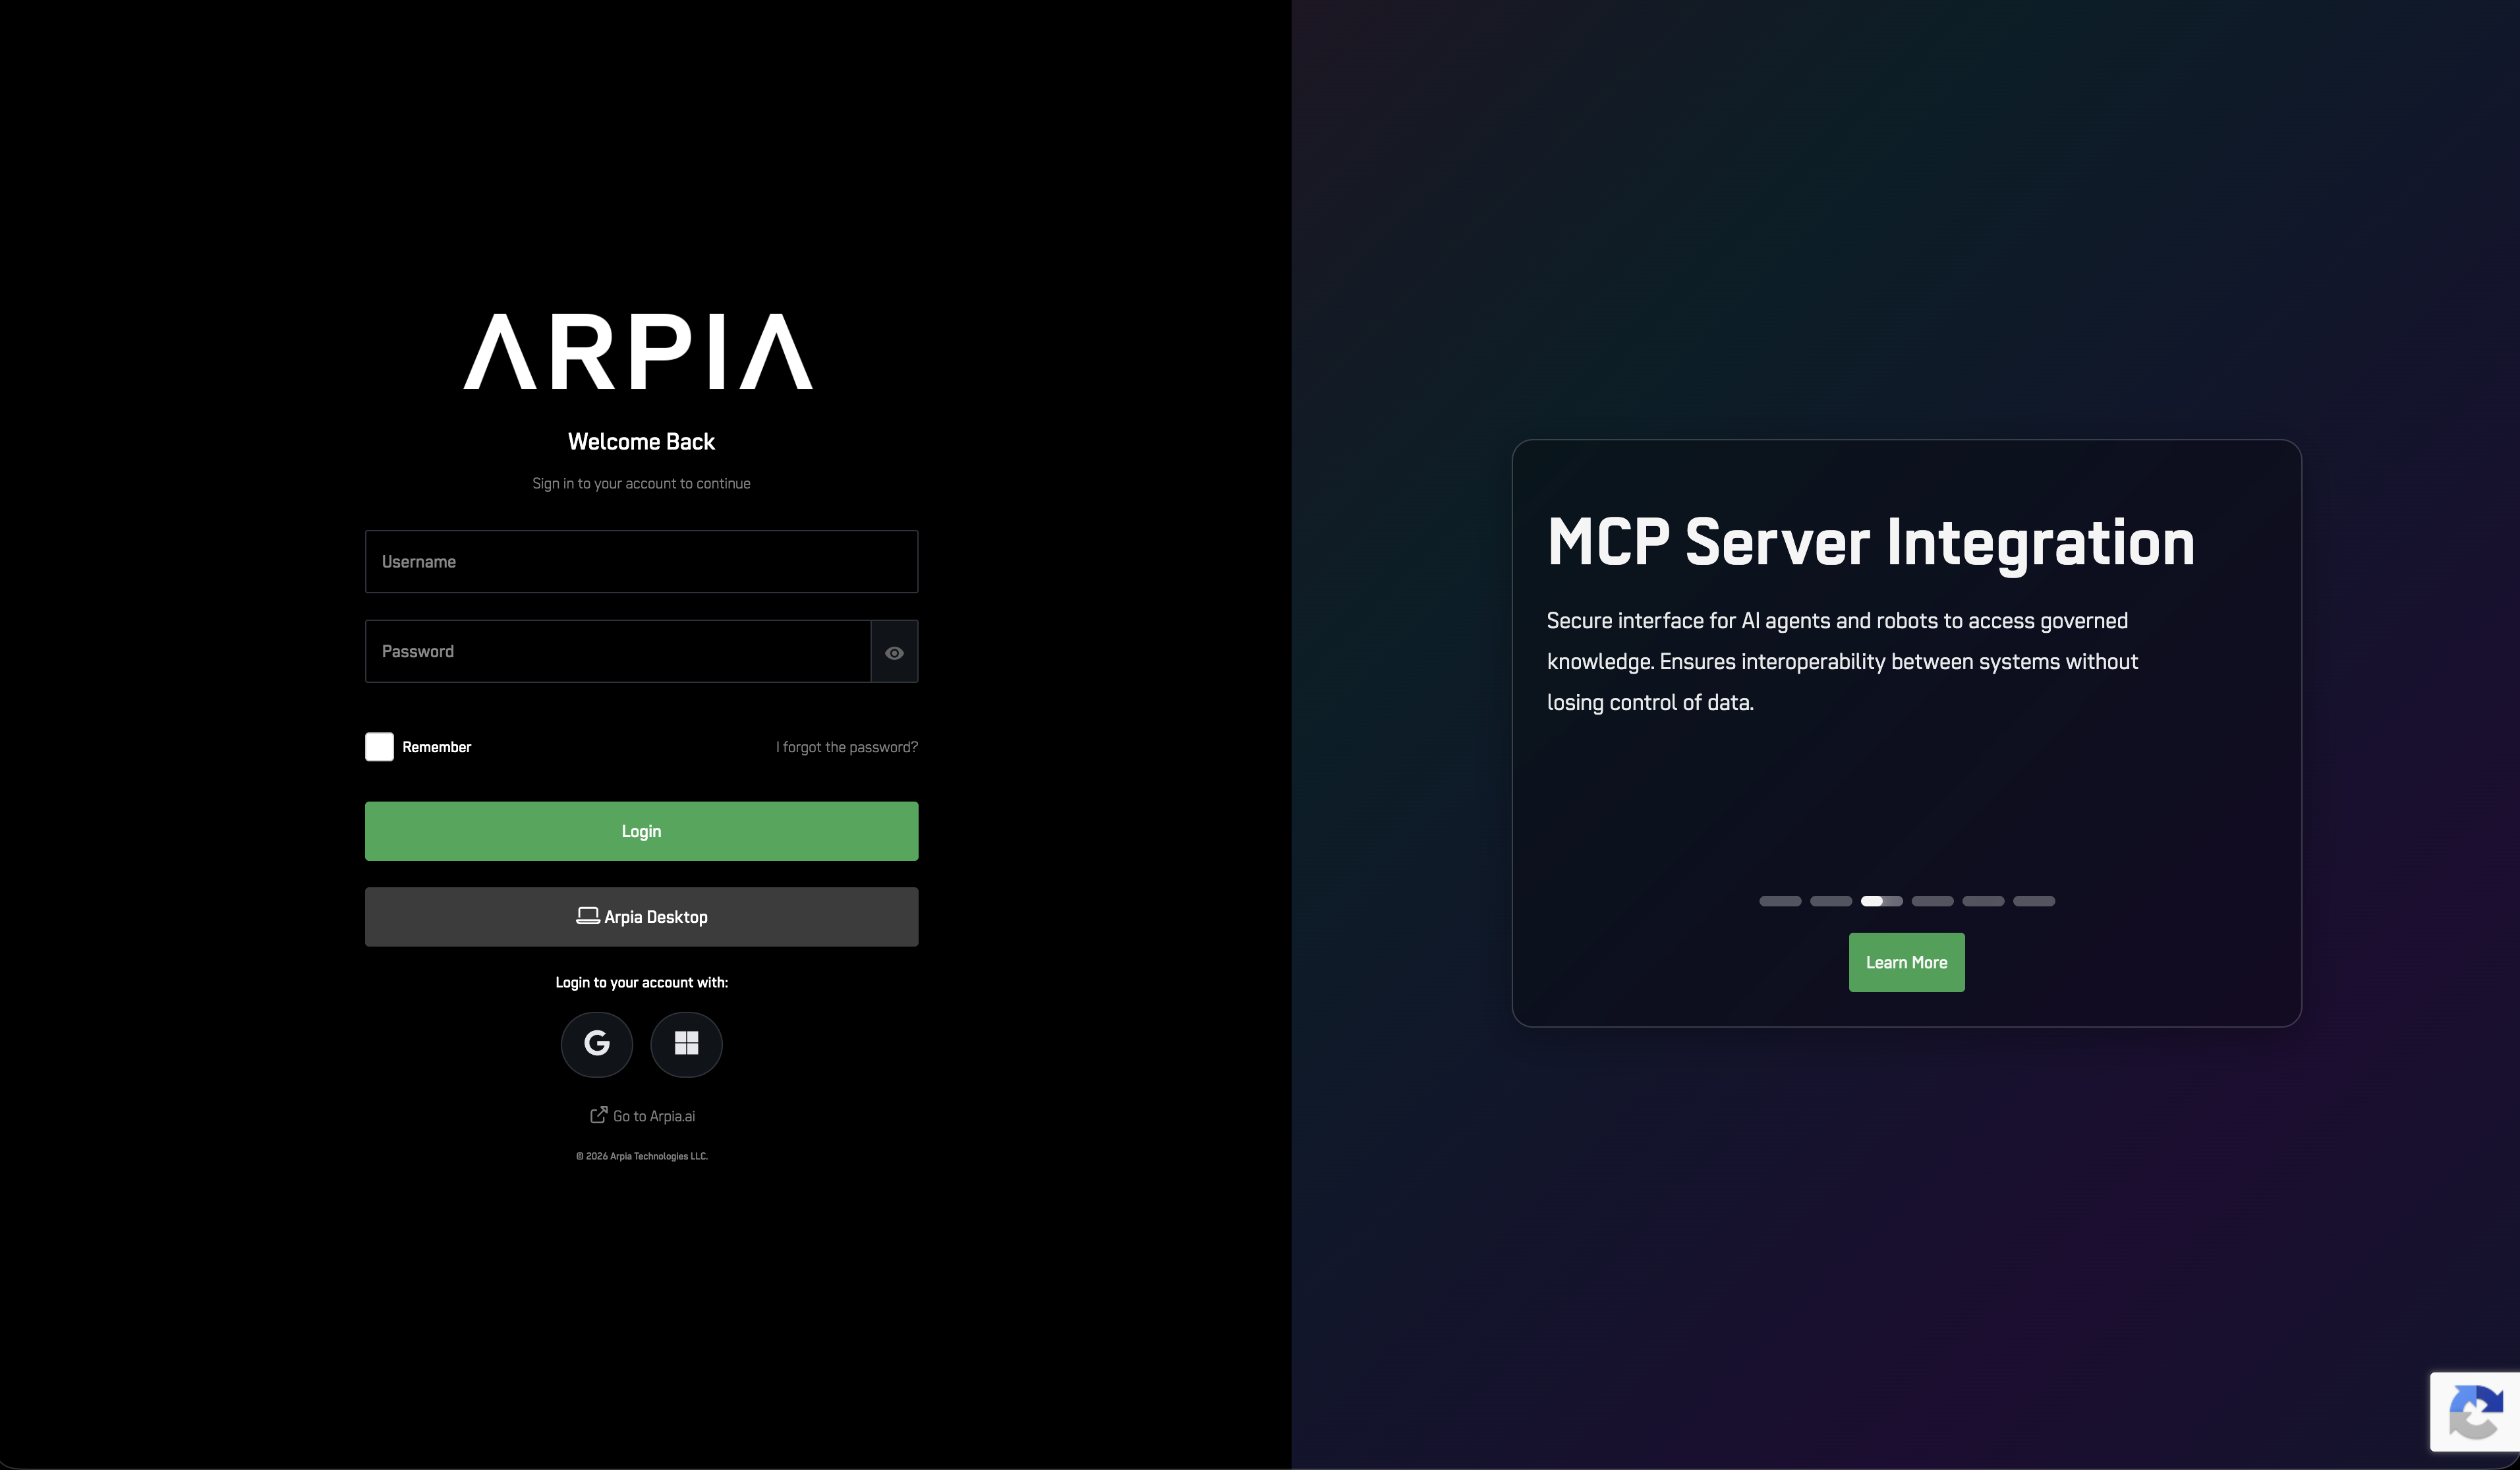
🔐 Step 2: Choose a Login Method
After clicking Login, a new window will open where you can log in using your administrator account.
You’ll be presented with the following options:
- Email and Password
- Google SSO
- Microsoft SSO
🔑 Using Google or Microsoft SSO
- Click the Google or Microsoft button.
- Choose your account or enter your credentials.
- If prompted, approve ARPIA’s access to your account.
- Once authenticated, you’ll be logged in automatically — no need to remember another password.
If your organization uses Google Workspace or Microsoft 365, SSO is the fastest and most secure option.
If login fails or access is denied, confirm that your organization has authorized ARPIA. Contact your IT administrator if needed.
If SSO isn’t yet enabled for your organization, contact your ARPIA administrator to request activation.
If you choose Email and Password, continue to Step 3 to complete two-factor authentication.
🔒 Step 3: Complete Two-Factor Authentication (2FA)
If you log in using Email and Password, you’ll be prompted to complete 2FA verification.
- Click Send Code to receive a verification code via email.
- Enter the code in the provided field.
- Click Validate Code to complete the login process.
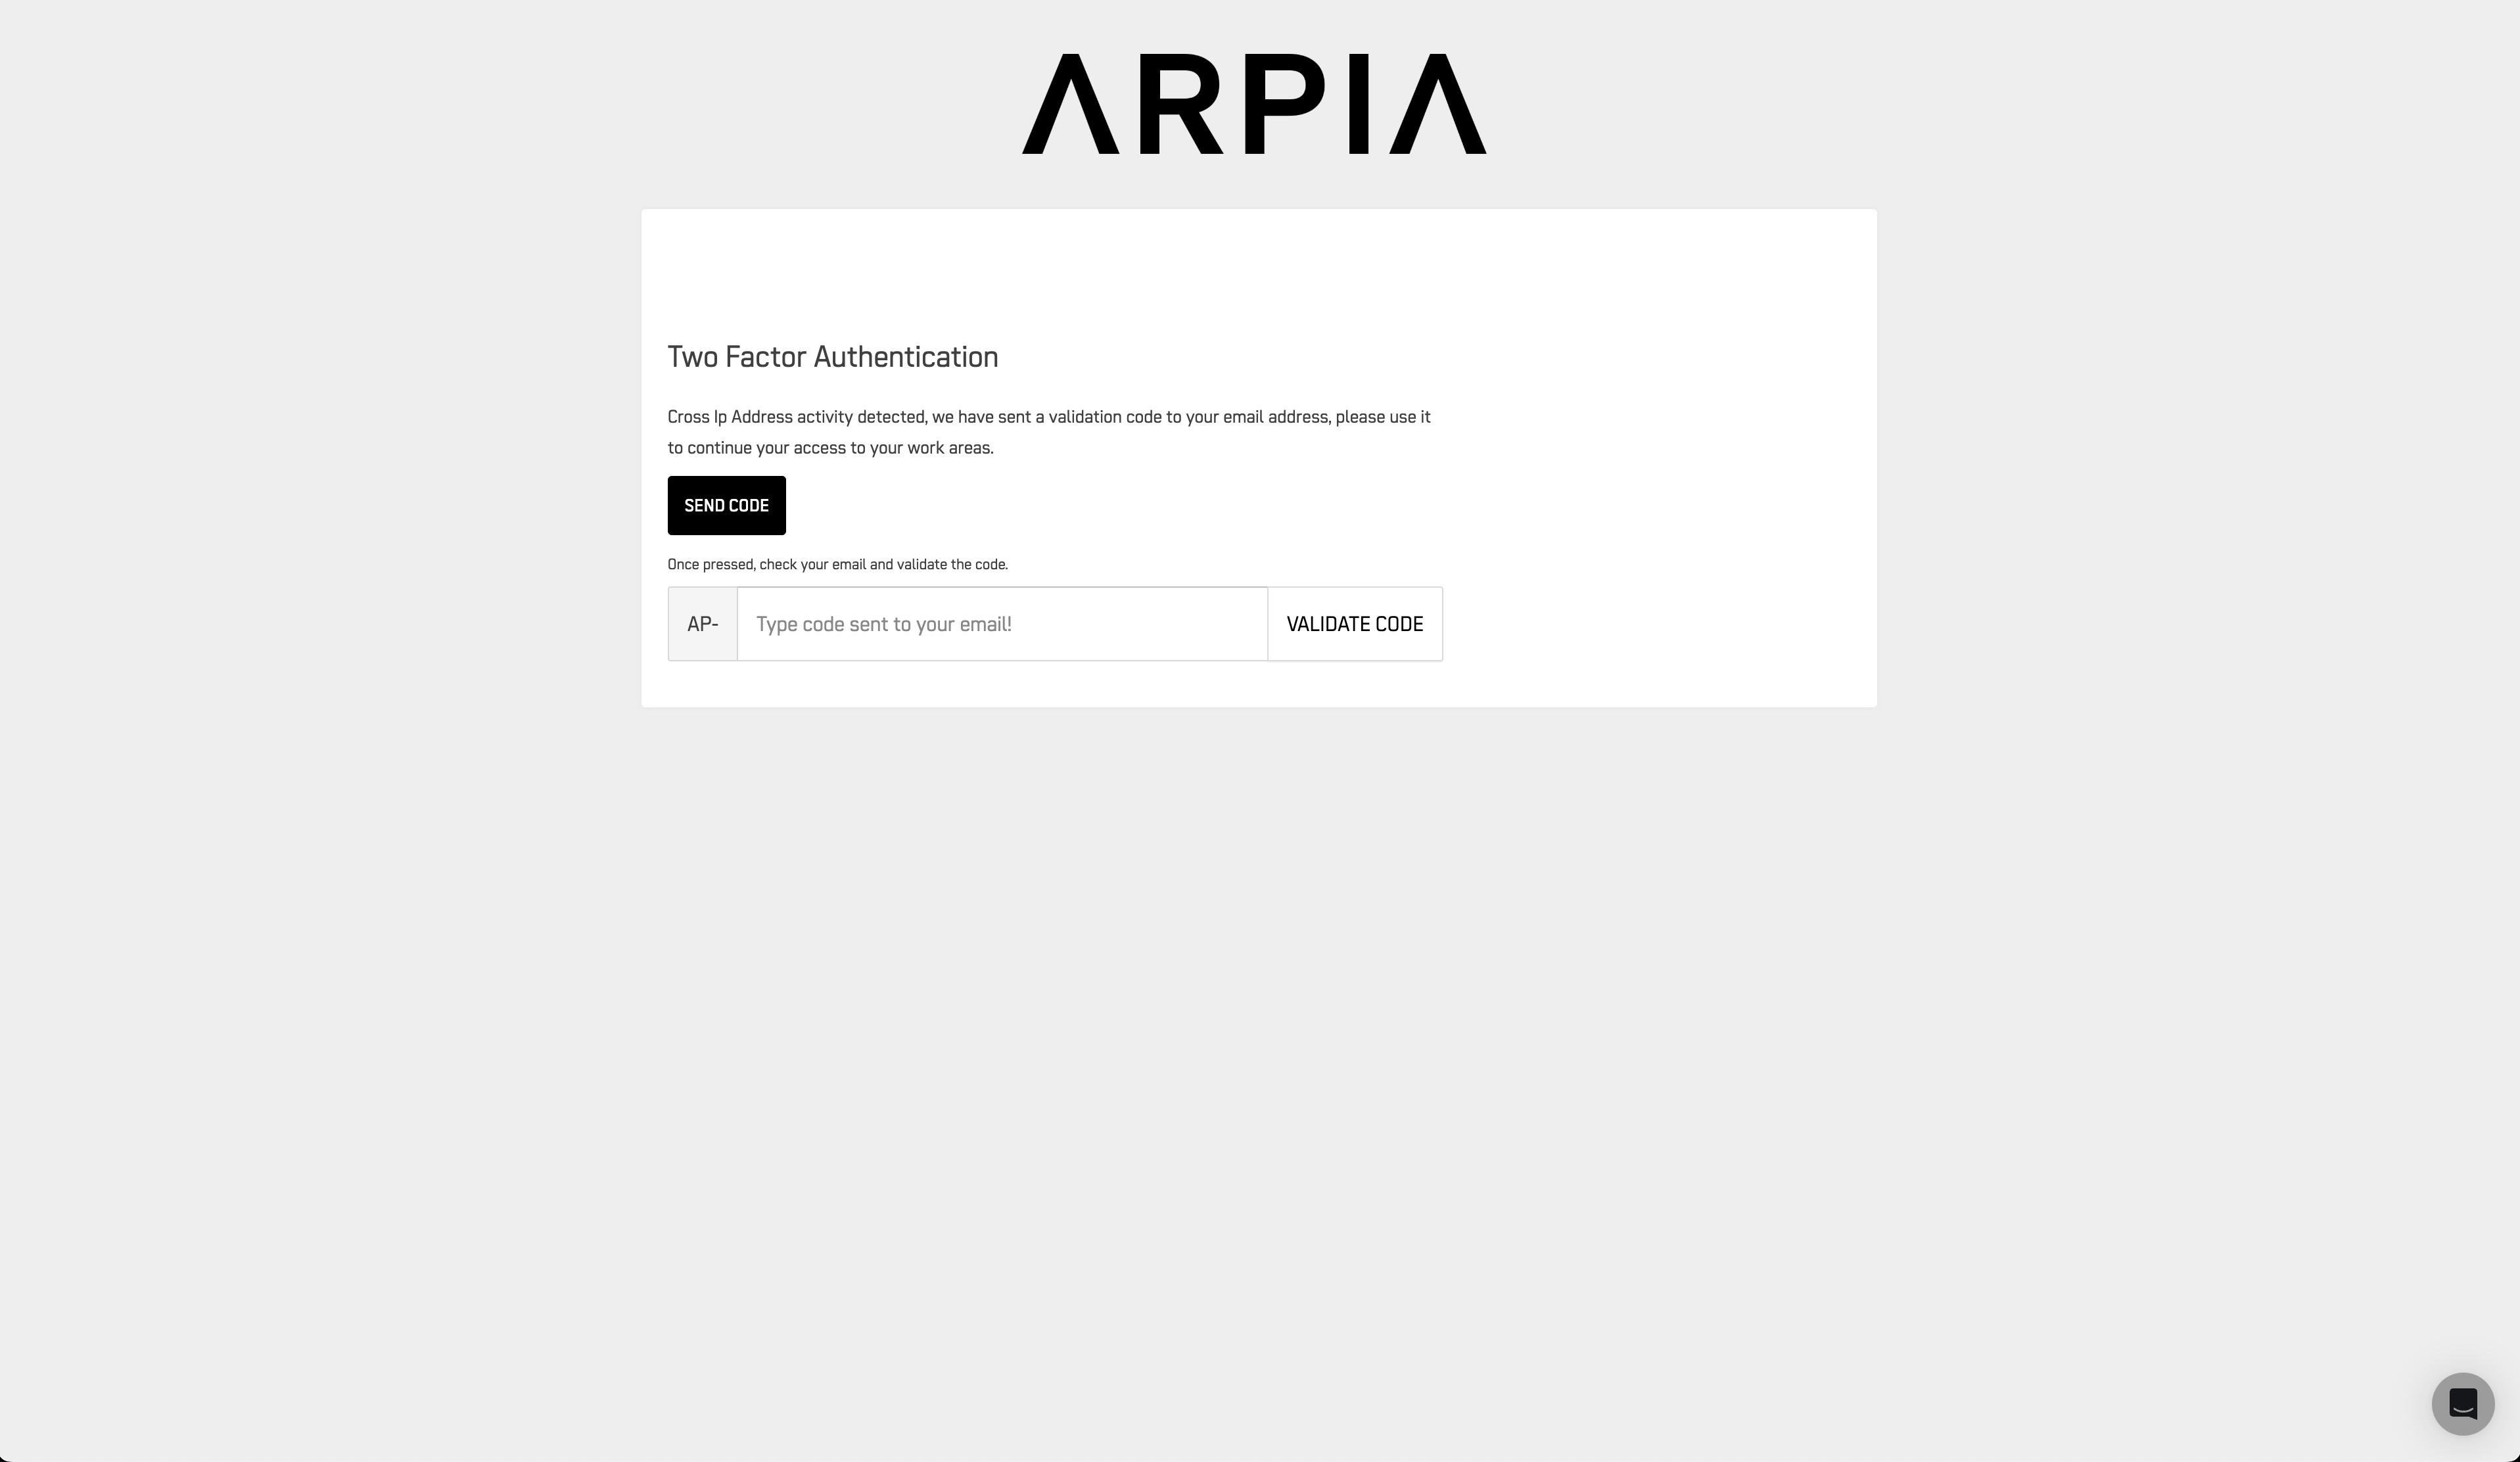
Verification codes are sent to the email associated with your ARPIA administrator account.
Codes typically expire after a short time — request a new one if needed.
🎉 Step 4: Access the ARPIA Platform
Once logged in successfully, you’ll be redirected to the ARPIA Home Screen, where you can start exploring the platform’s features.
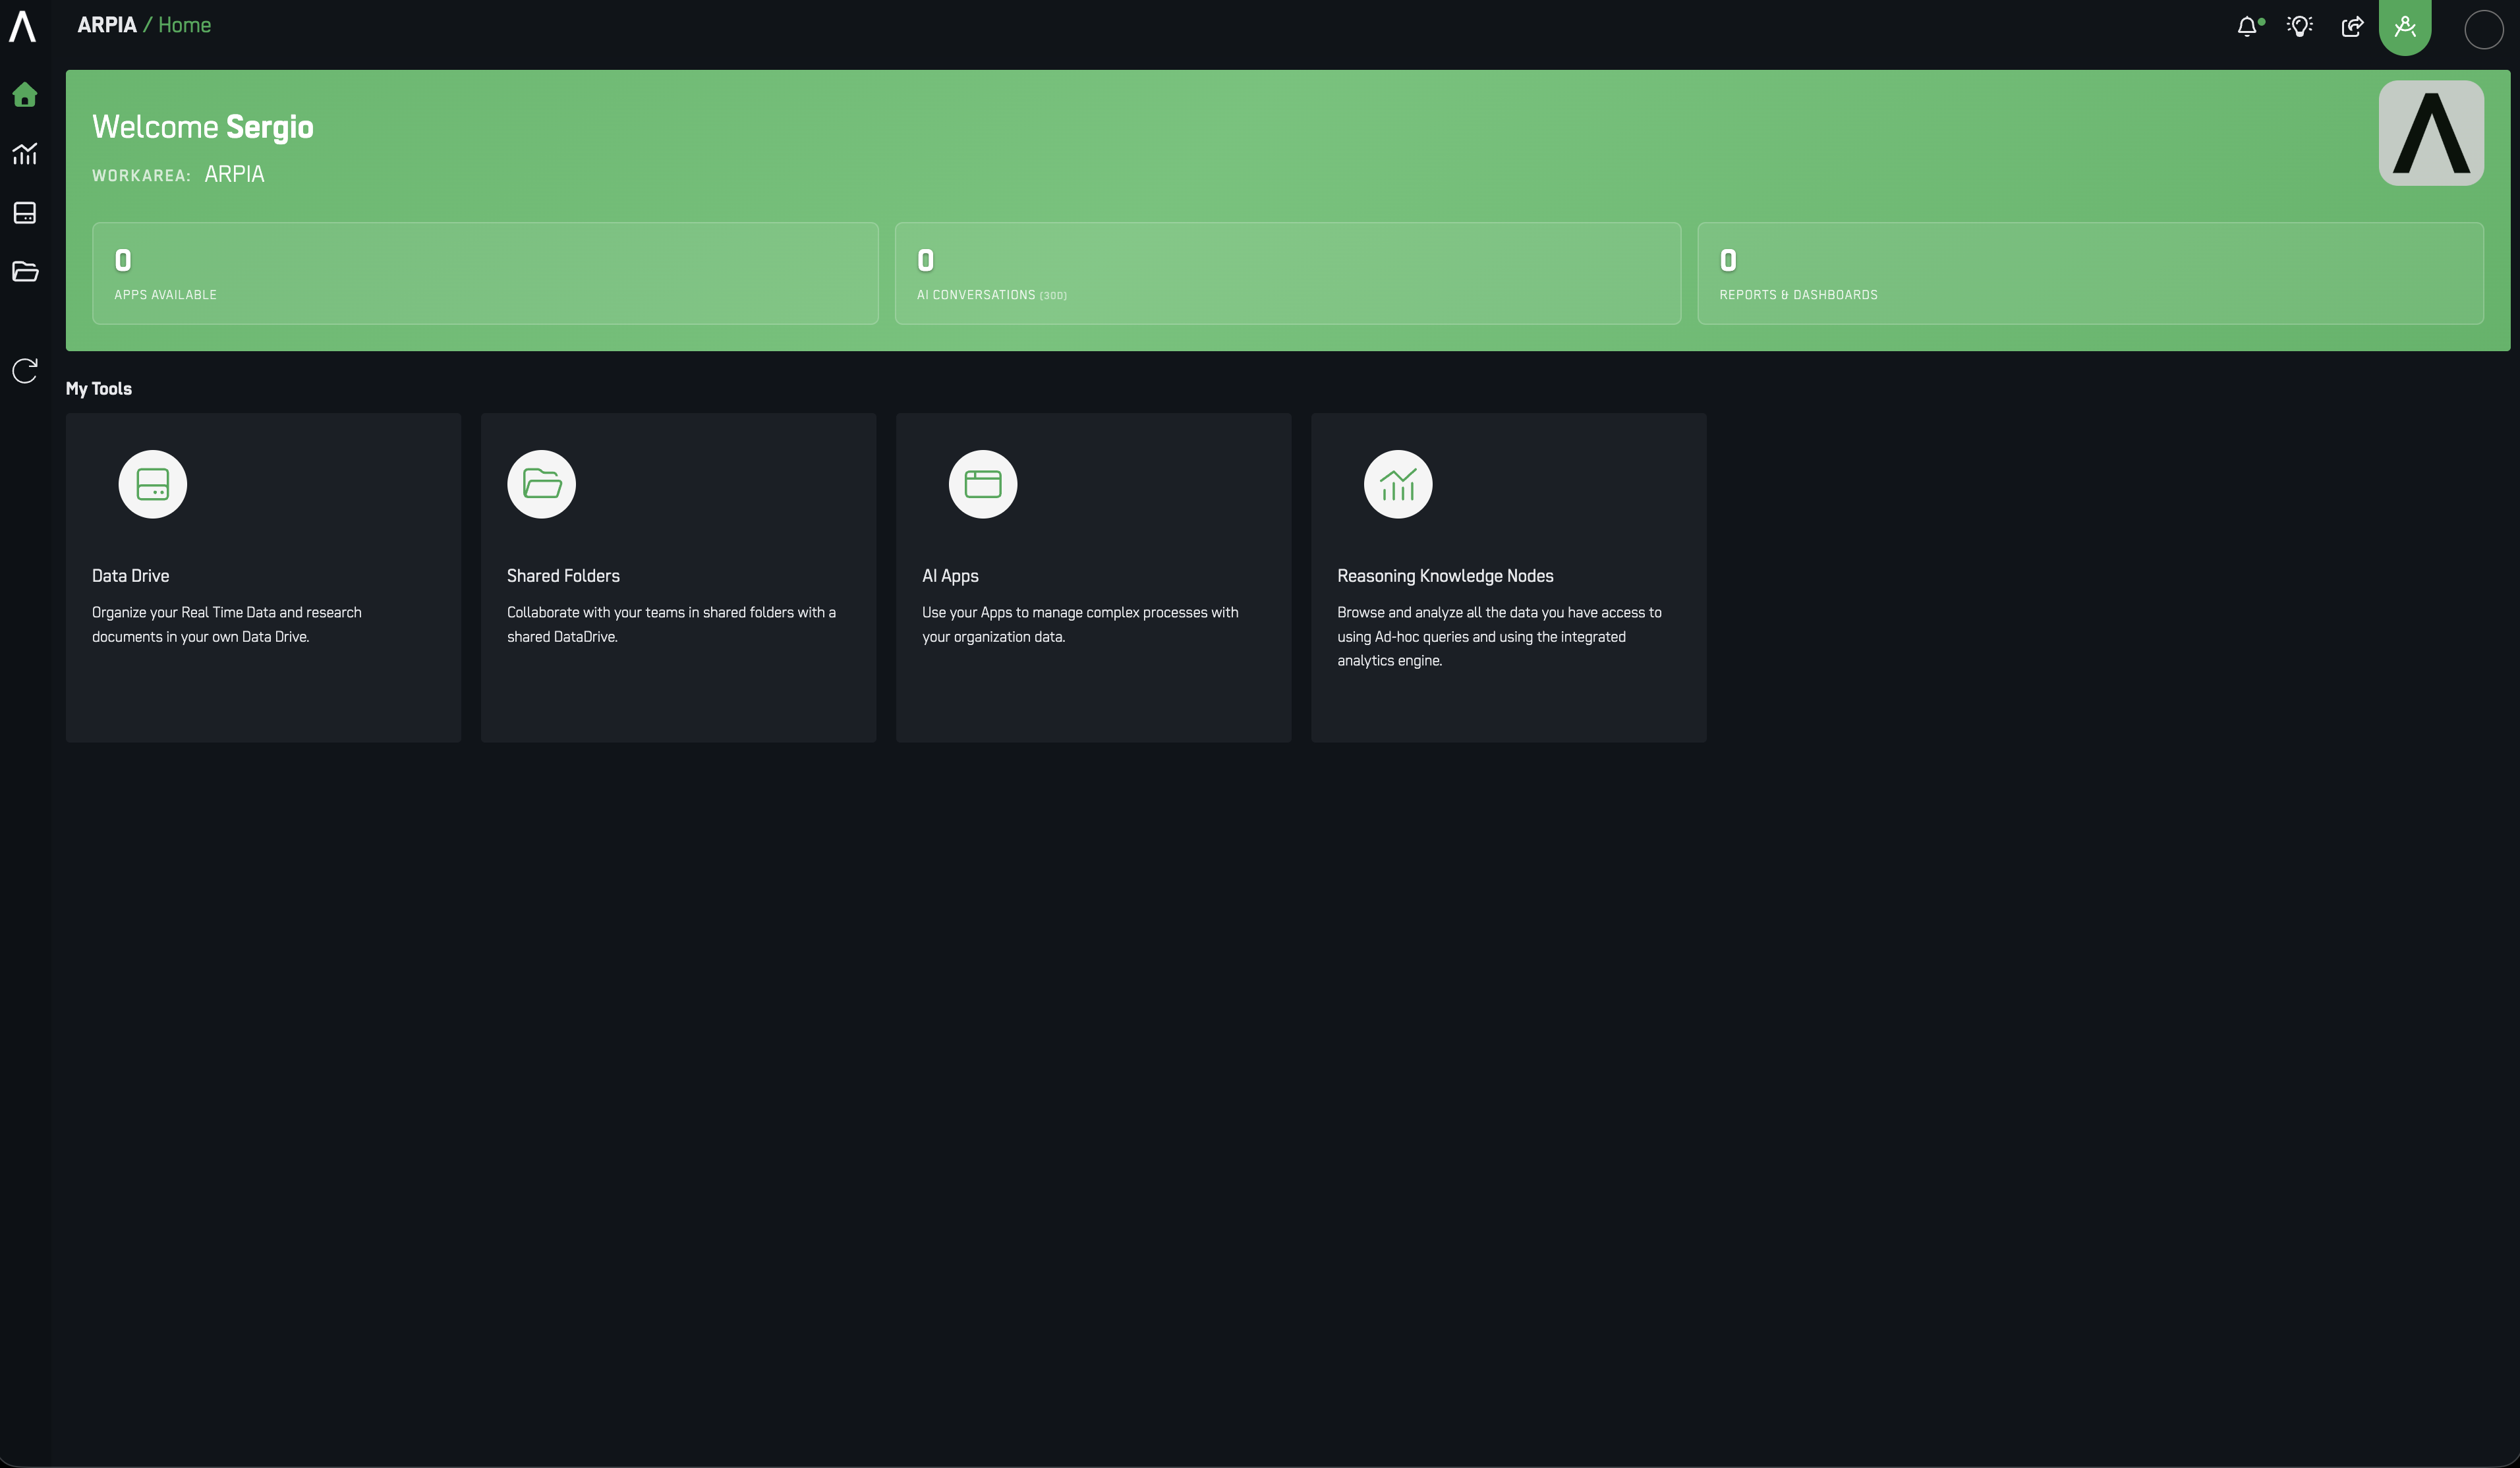
🎯 You’re now ready to explore ARPIA’s features — manage users, configure integrations, and access analytics tools tailored to your organization.