How to create a Security Profile
Step-by-Step Guide
In this part, you will learn how to create a Security Profile to give users access to DataApps and by screen.
Create a new security profile
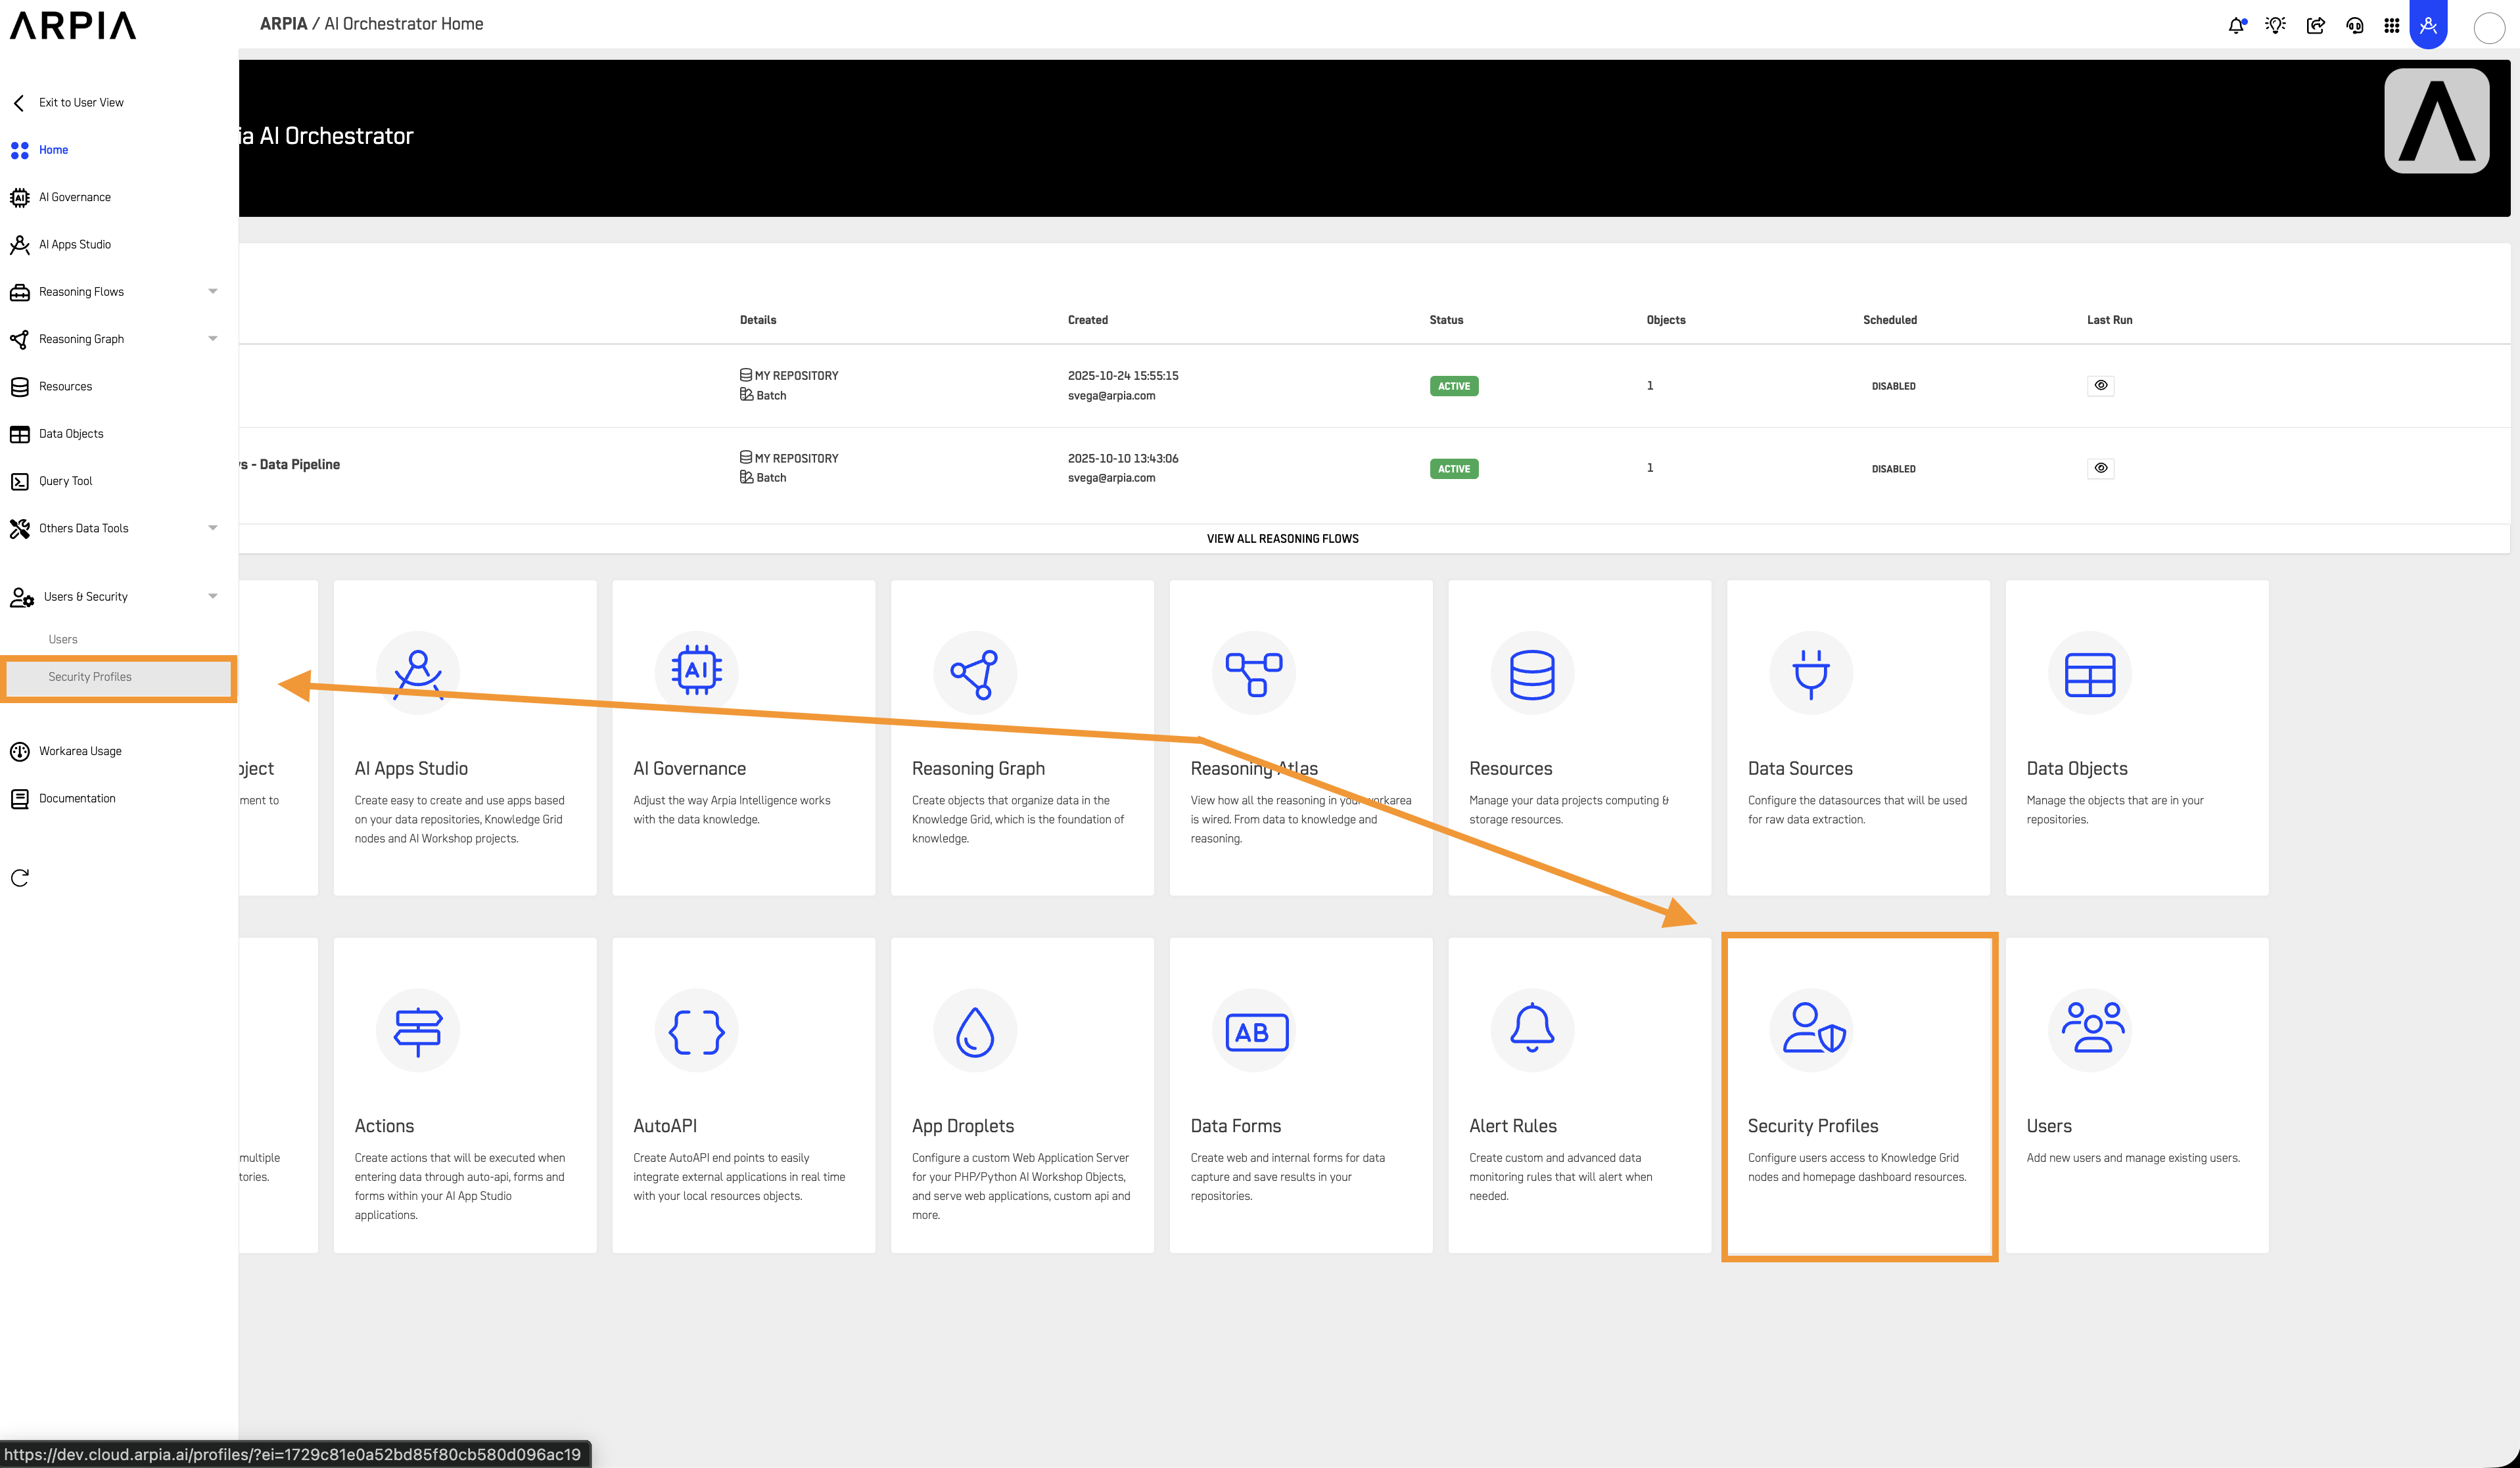
Step 1: Access the Security Profile section
In the Orchestrator's Home section, go to the User & Security then Security Profile or from the main screen Security Profile section.
Step 2: Create a new Security Profile
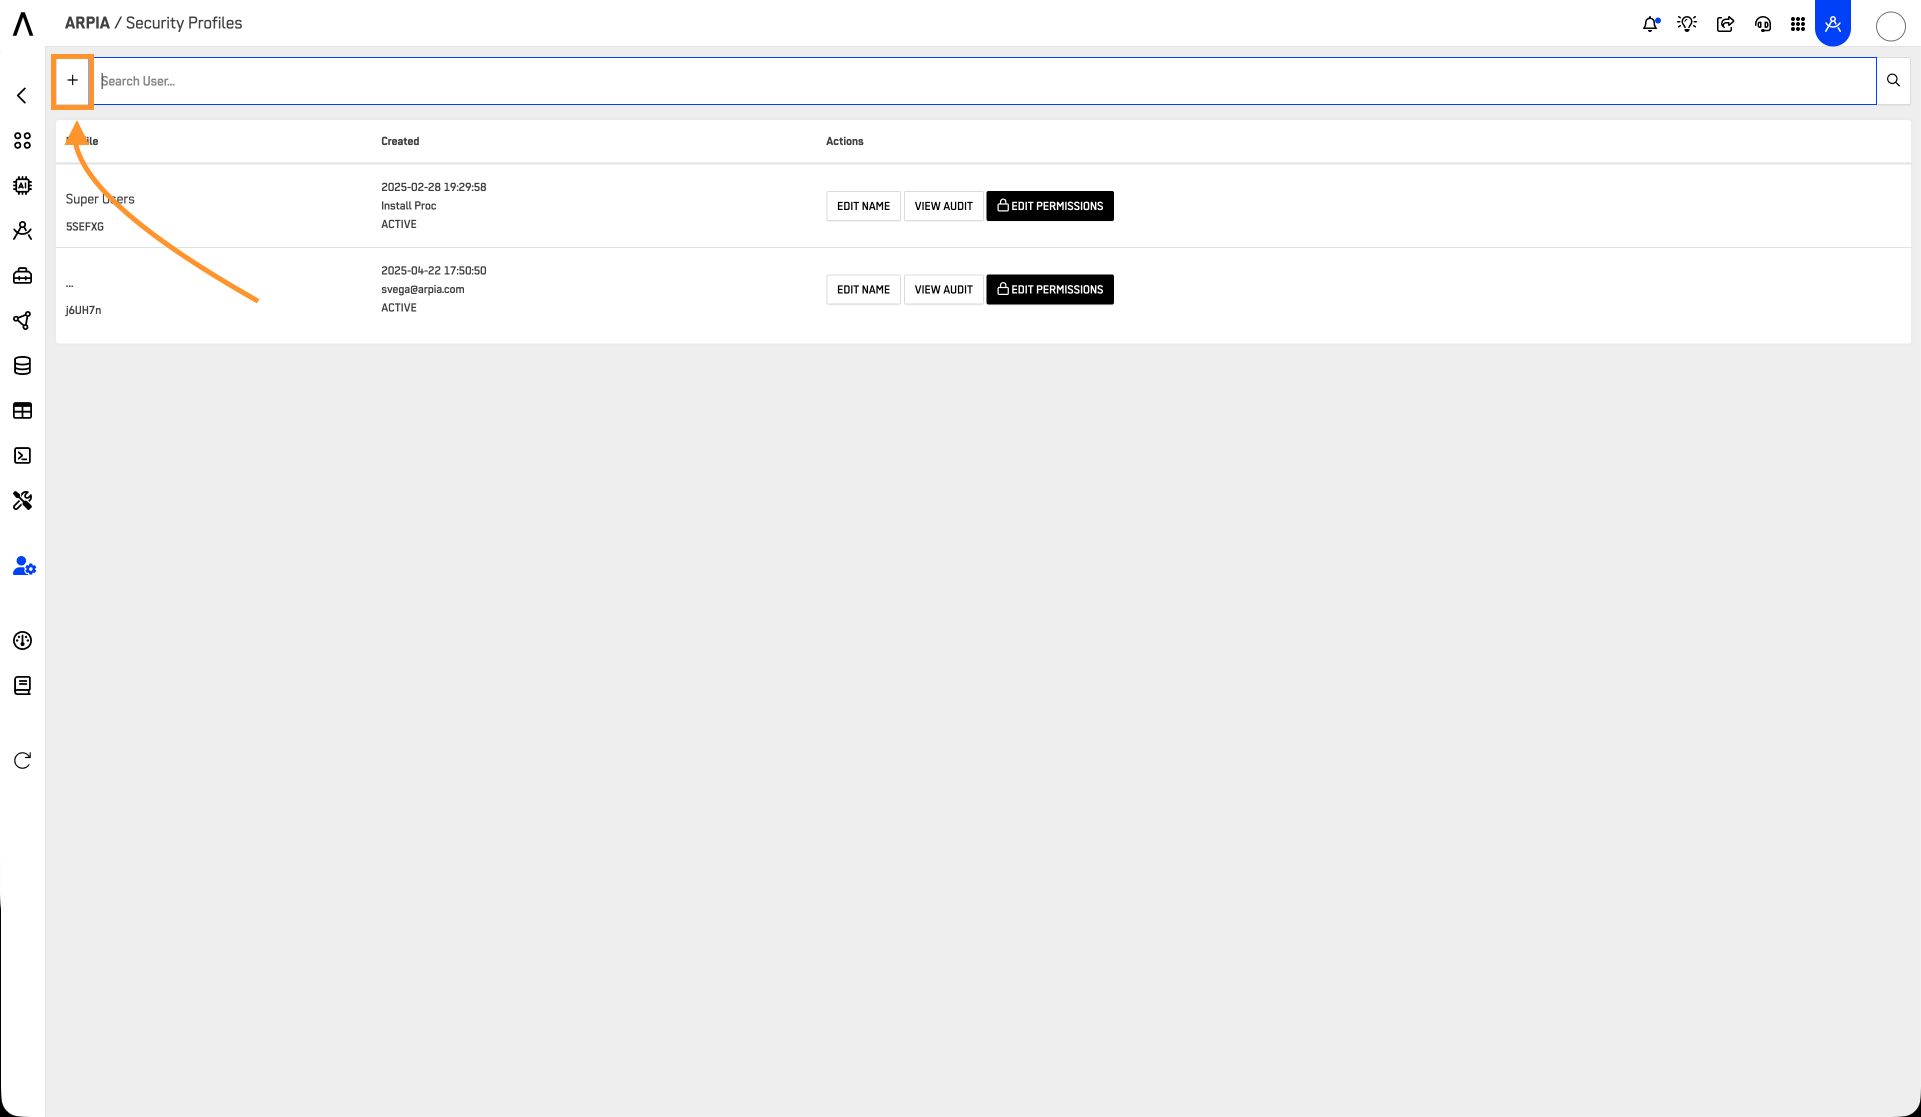
Then create a Security Profile, select the + button to add a new profile.
Step 3: Add a Name
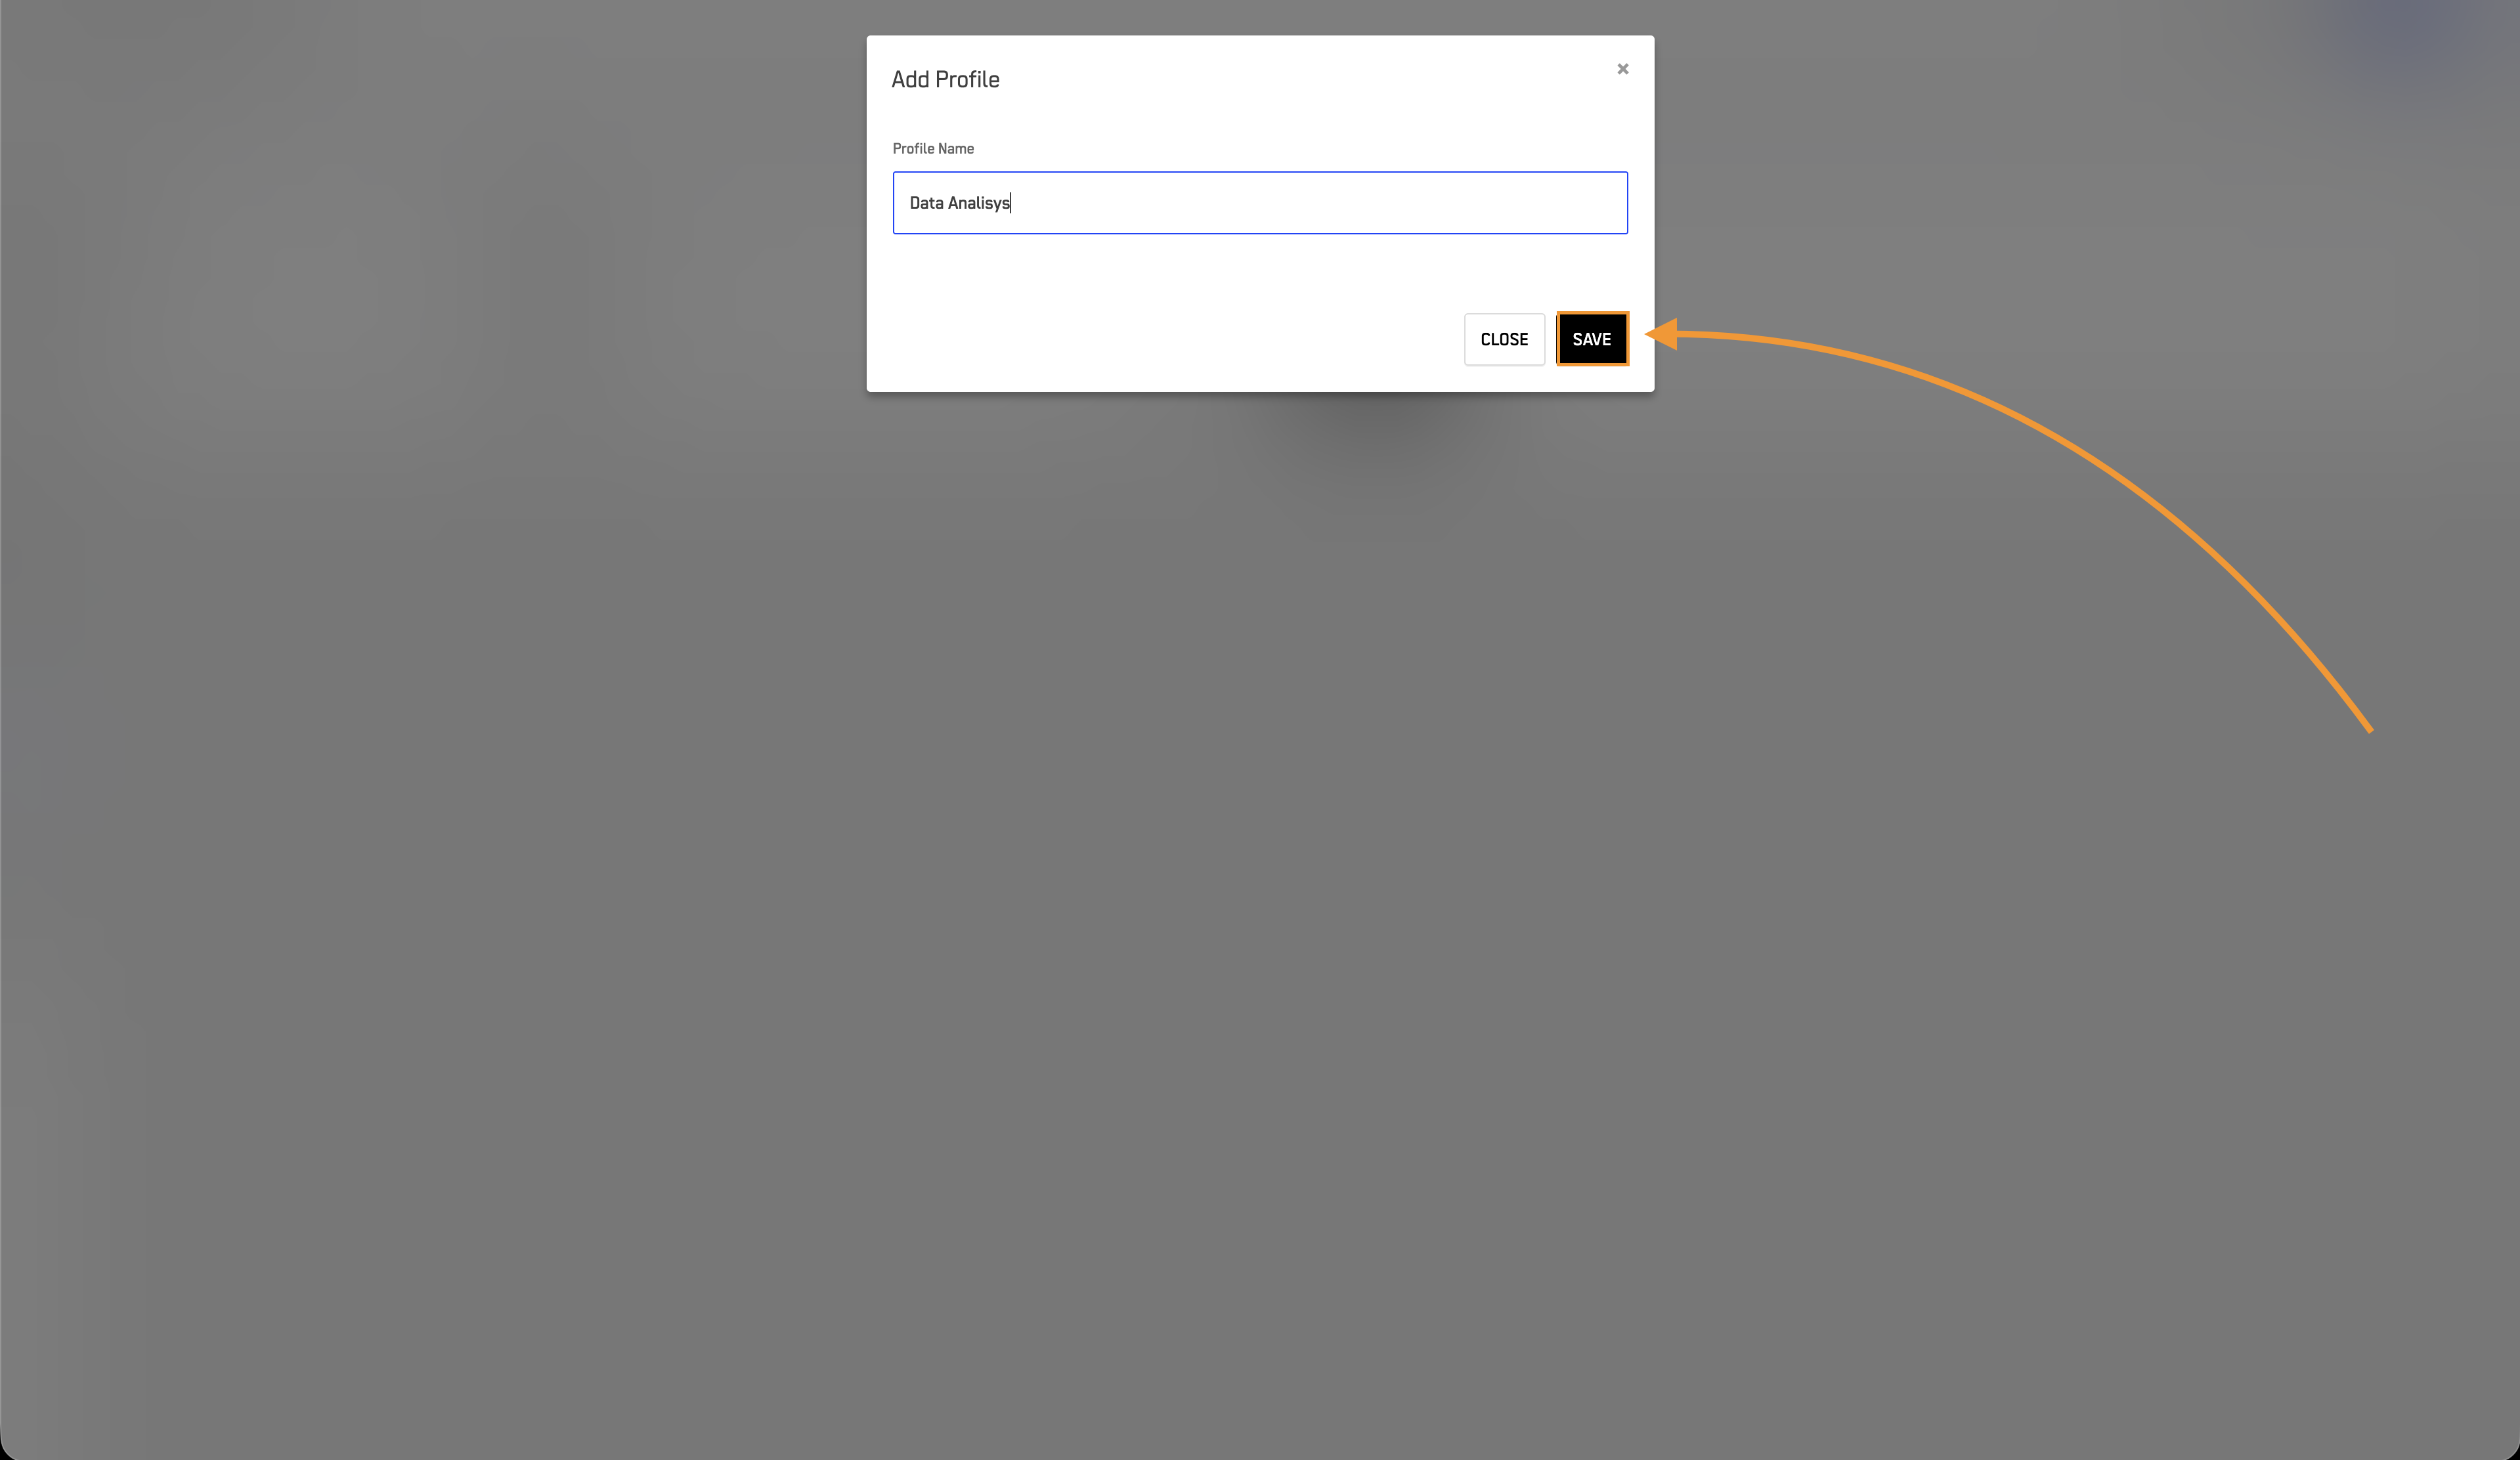
Then add a name for the security profile and click the SAVE button.
Assign Profile
To assign a profile to a user, read the Assign a profile to a user documentation.
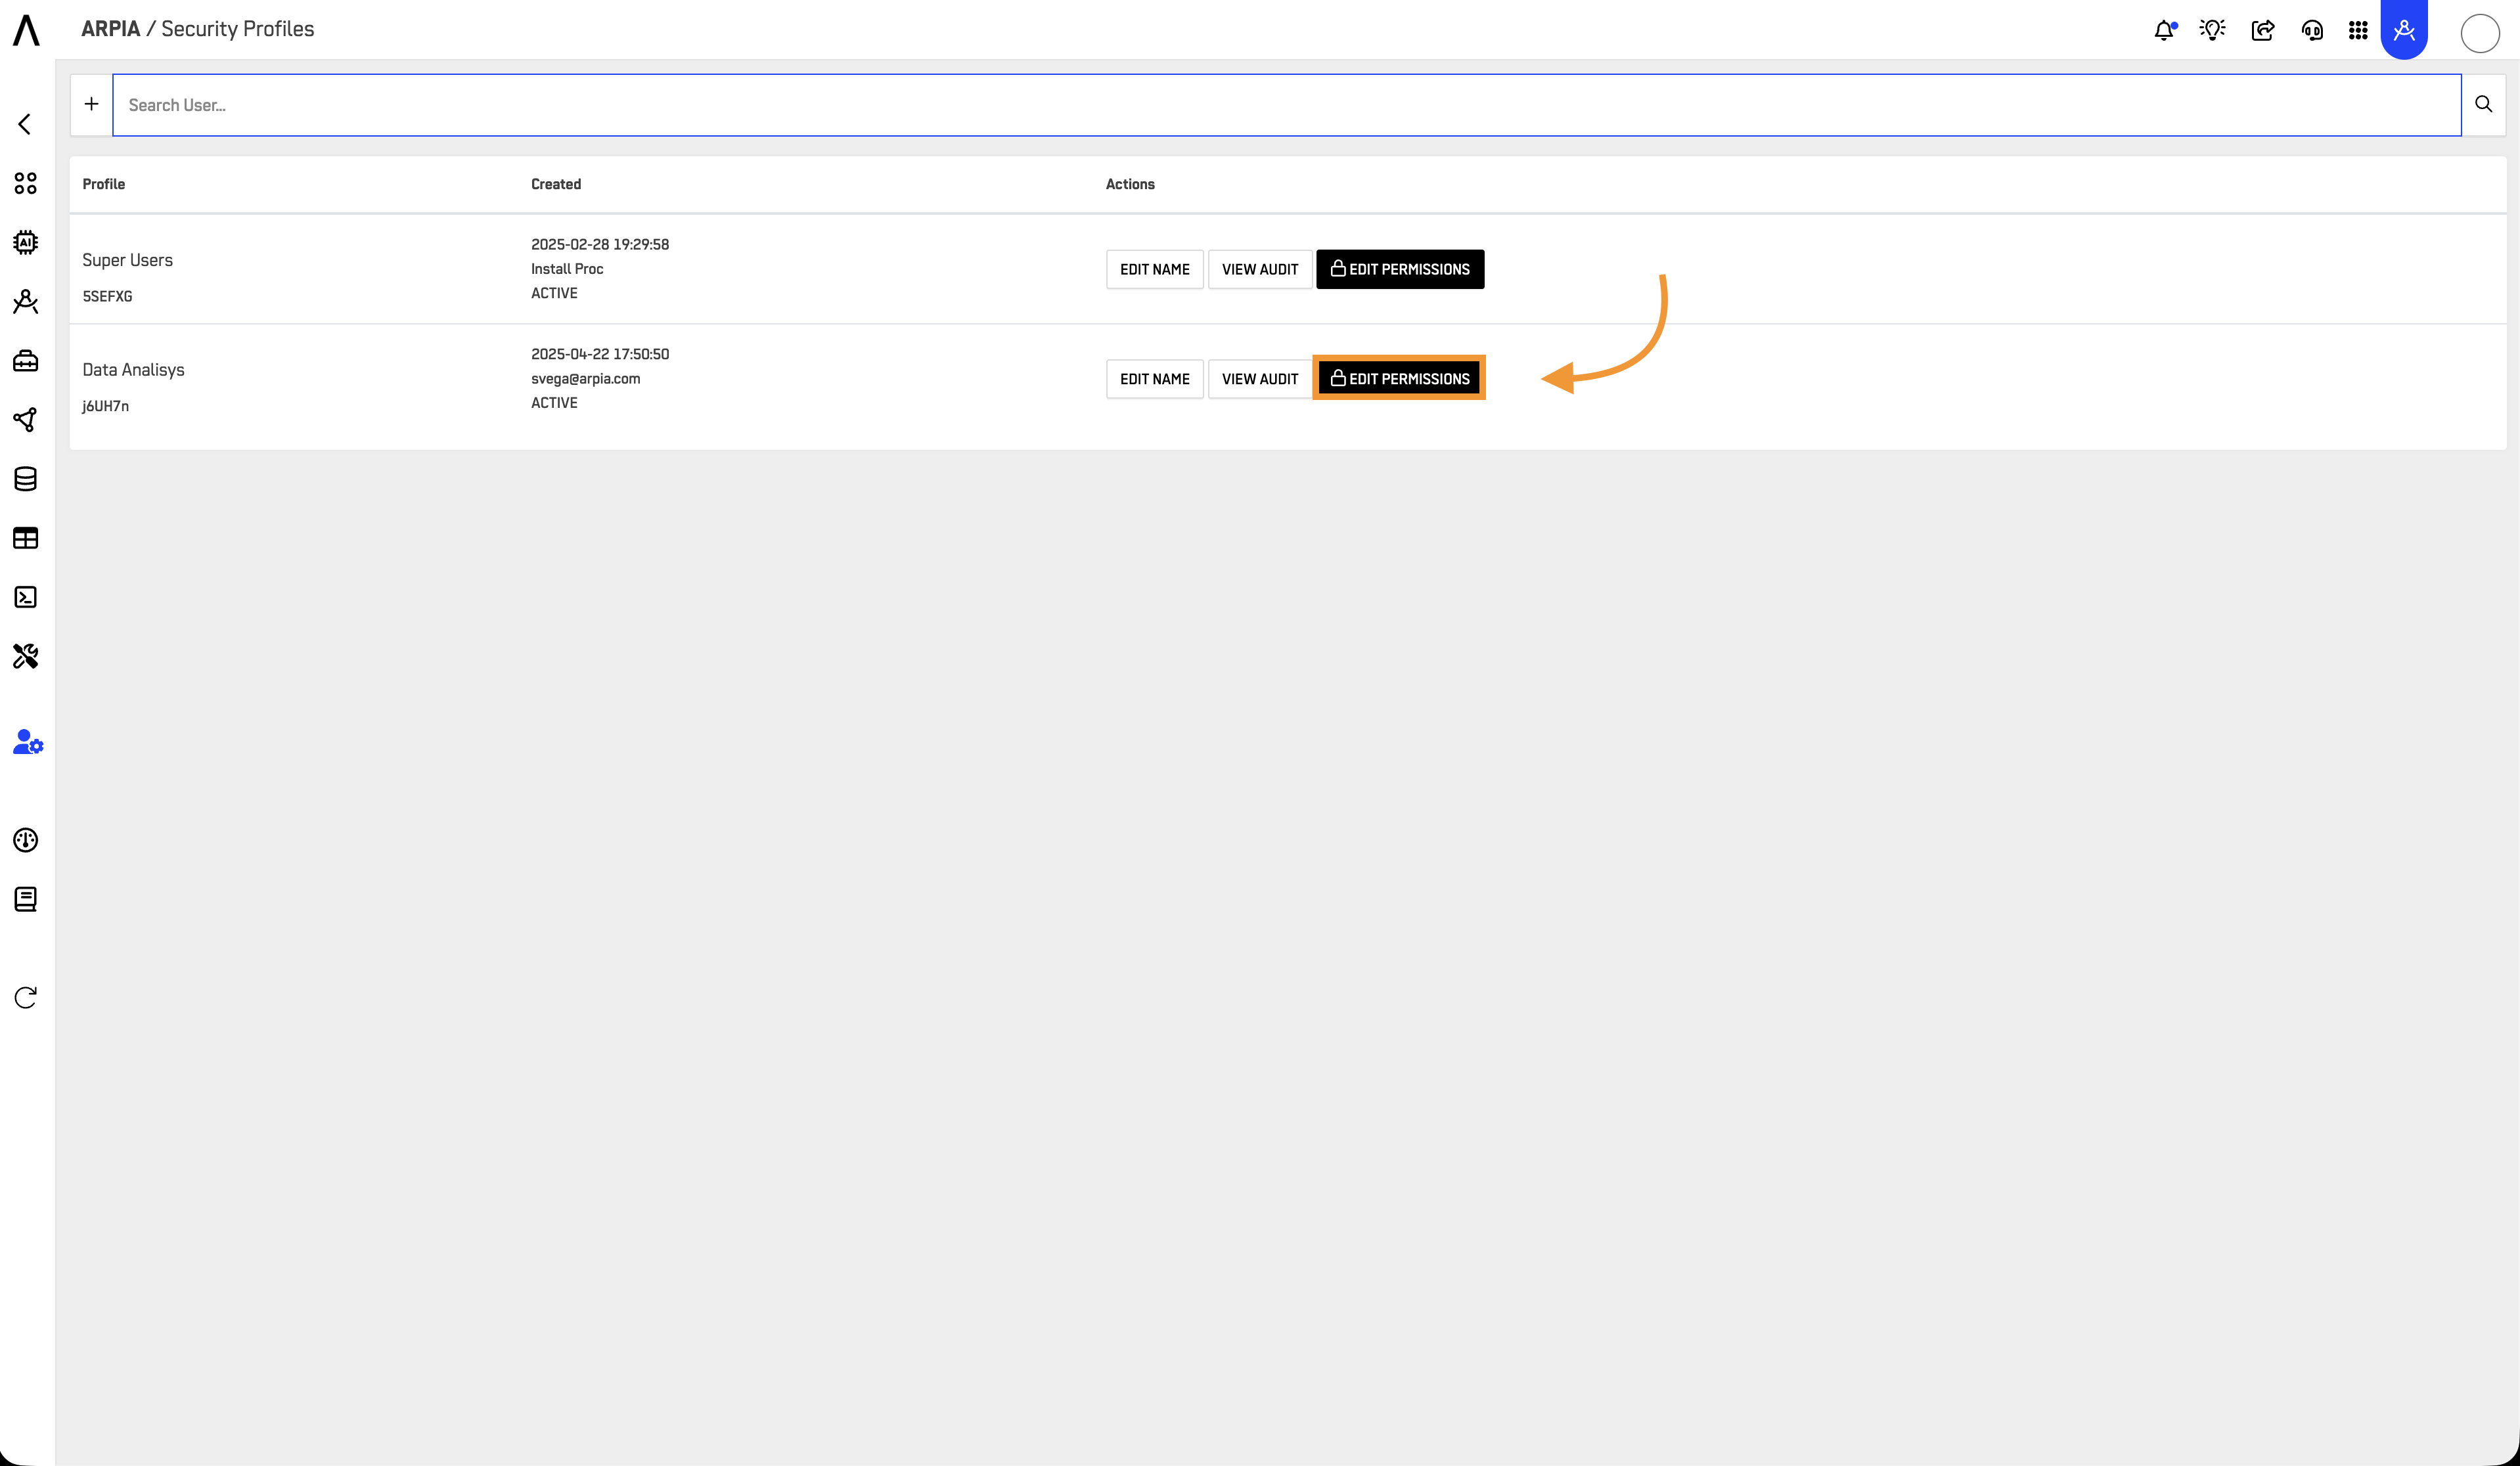
Manage profile permissions
Select the EDIT PERMISSIONS button.
Adjust User Access to Dashboards
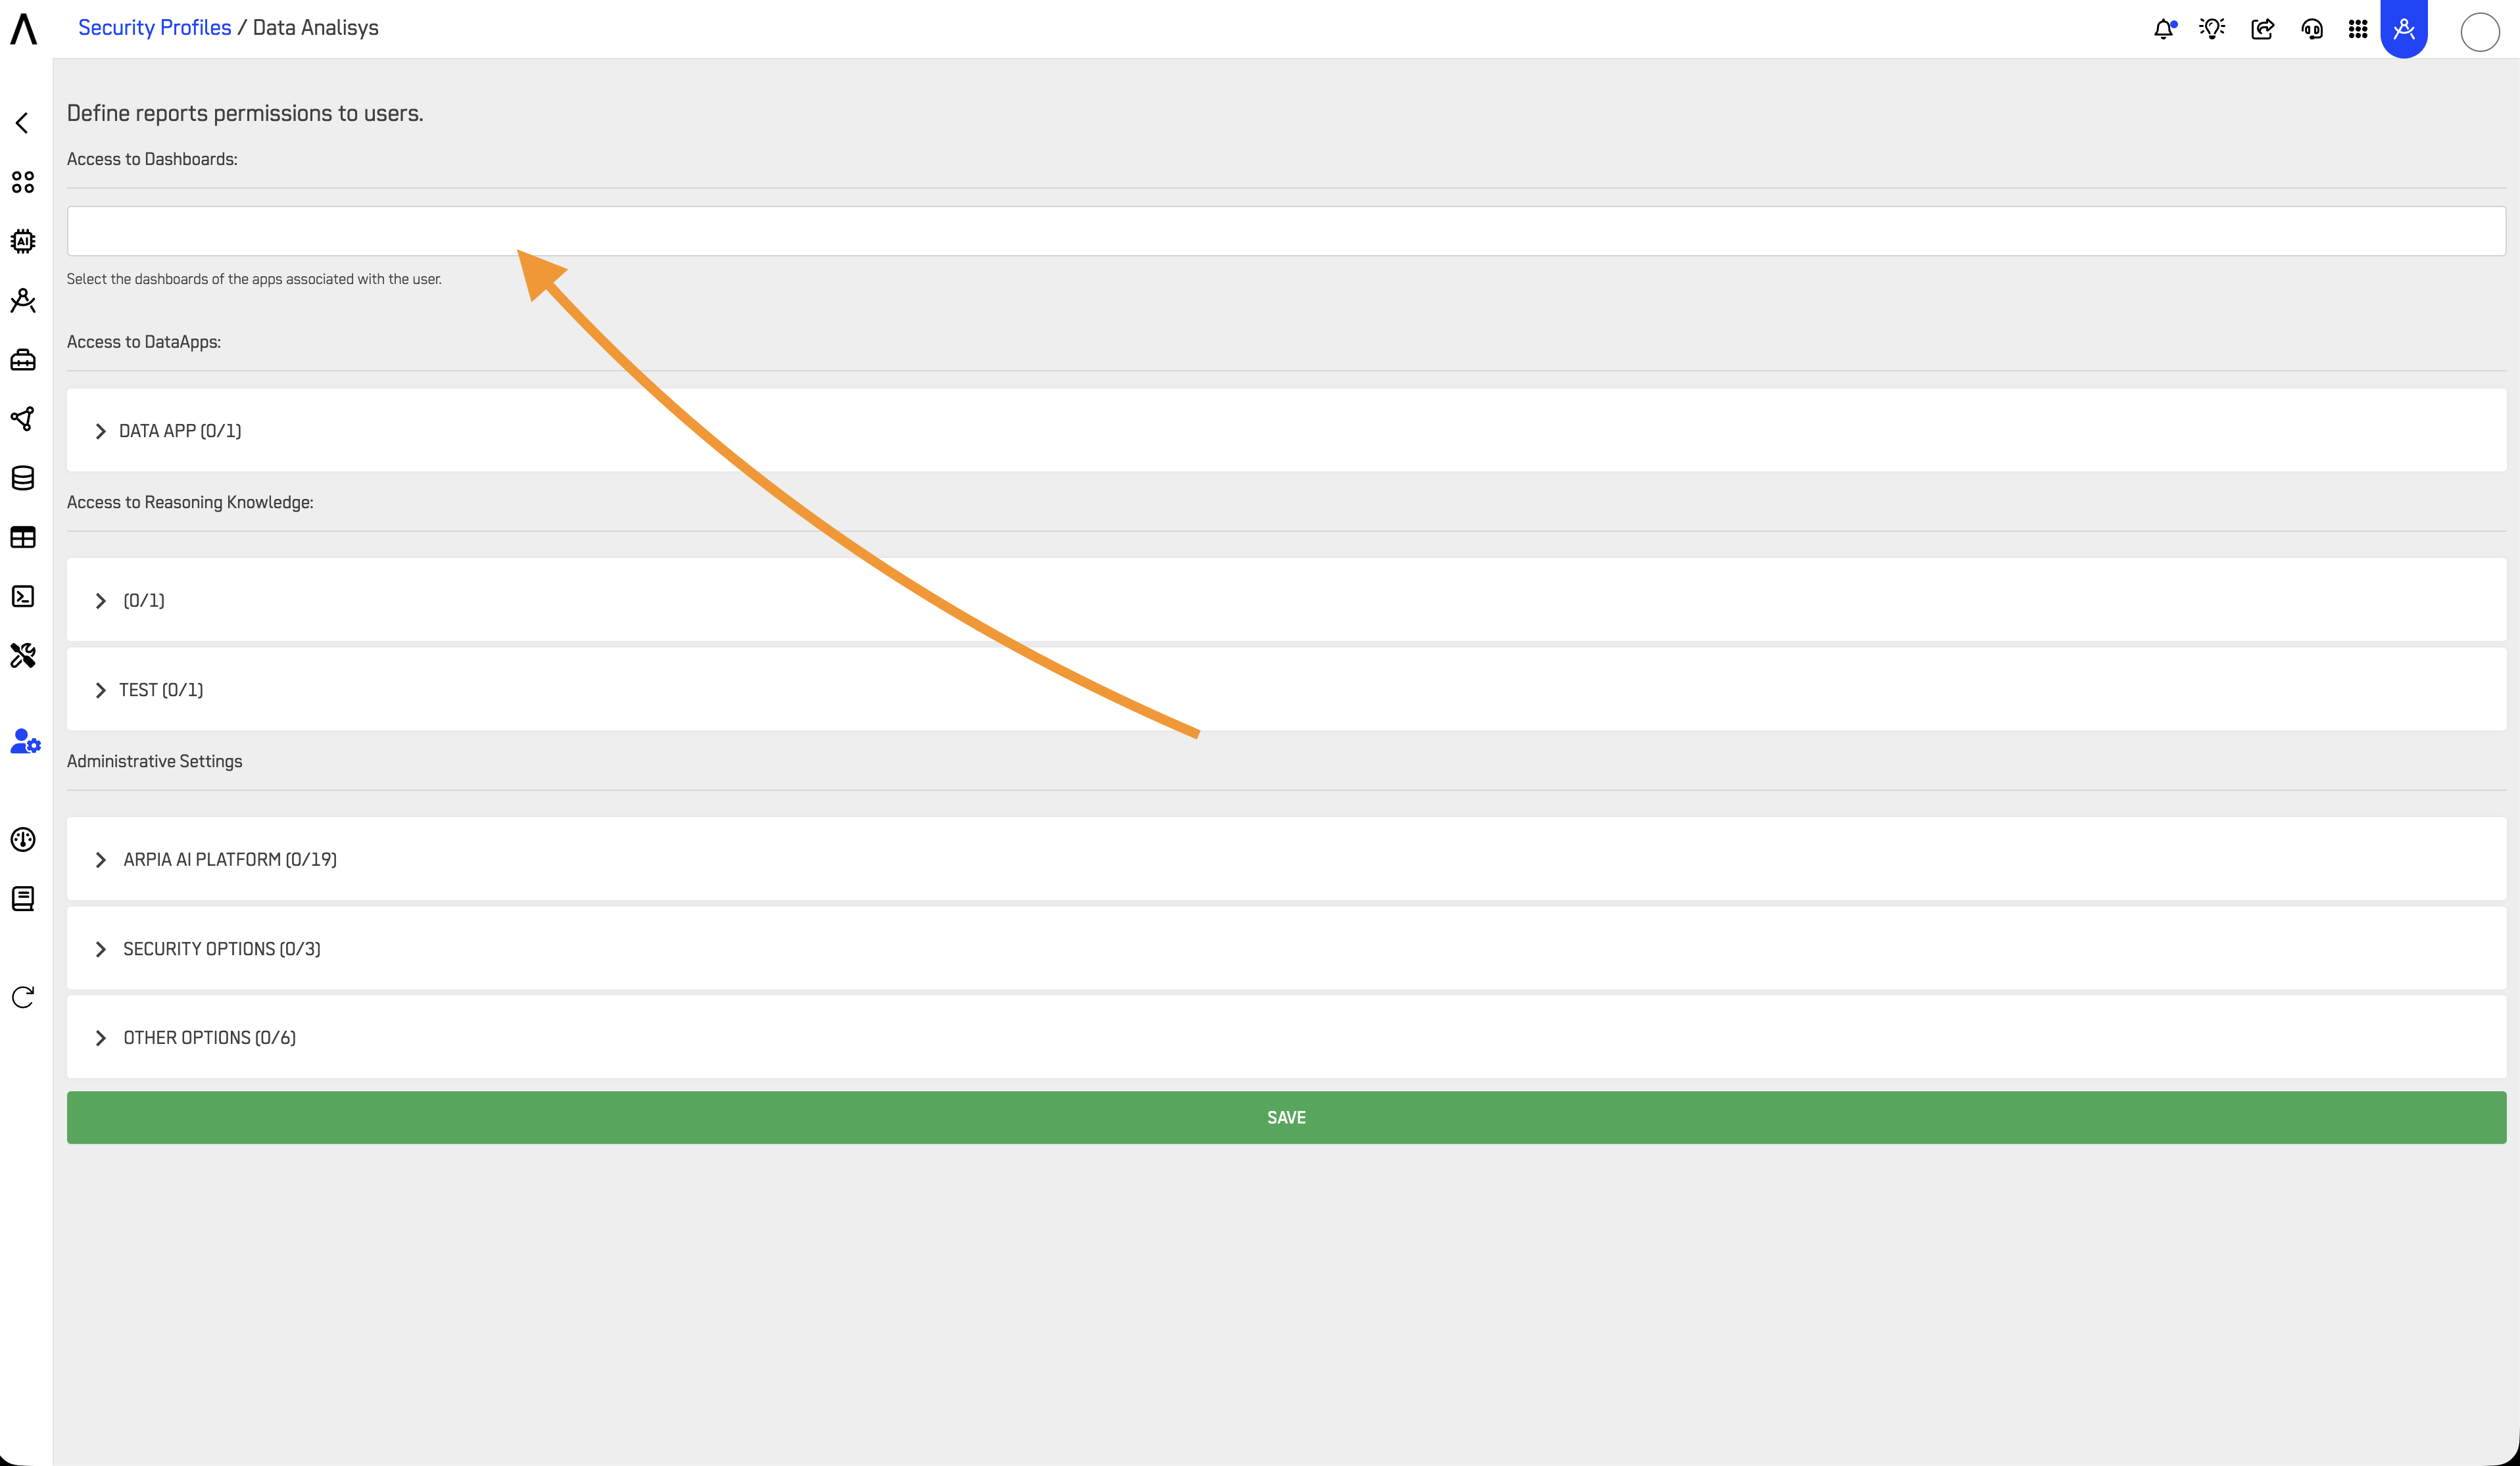
Step 1: Access to Dashboards
Go to the search bar and Access to Dashboards.
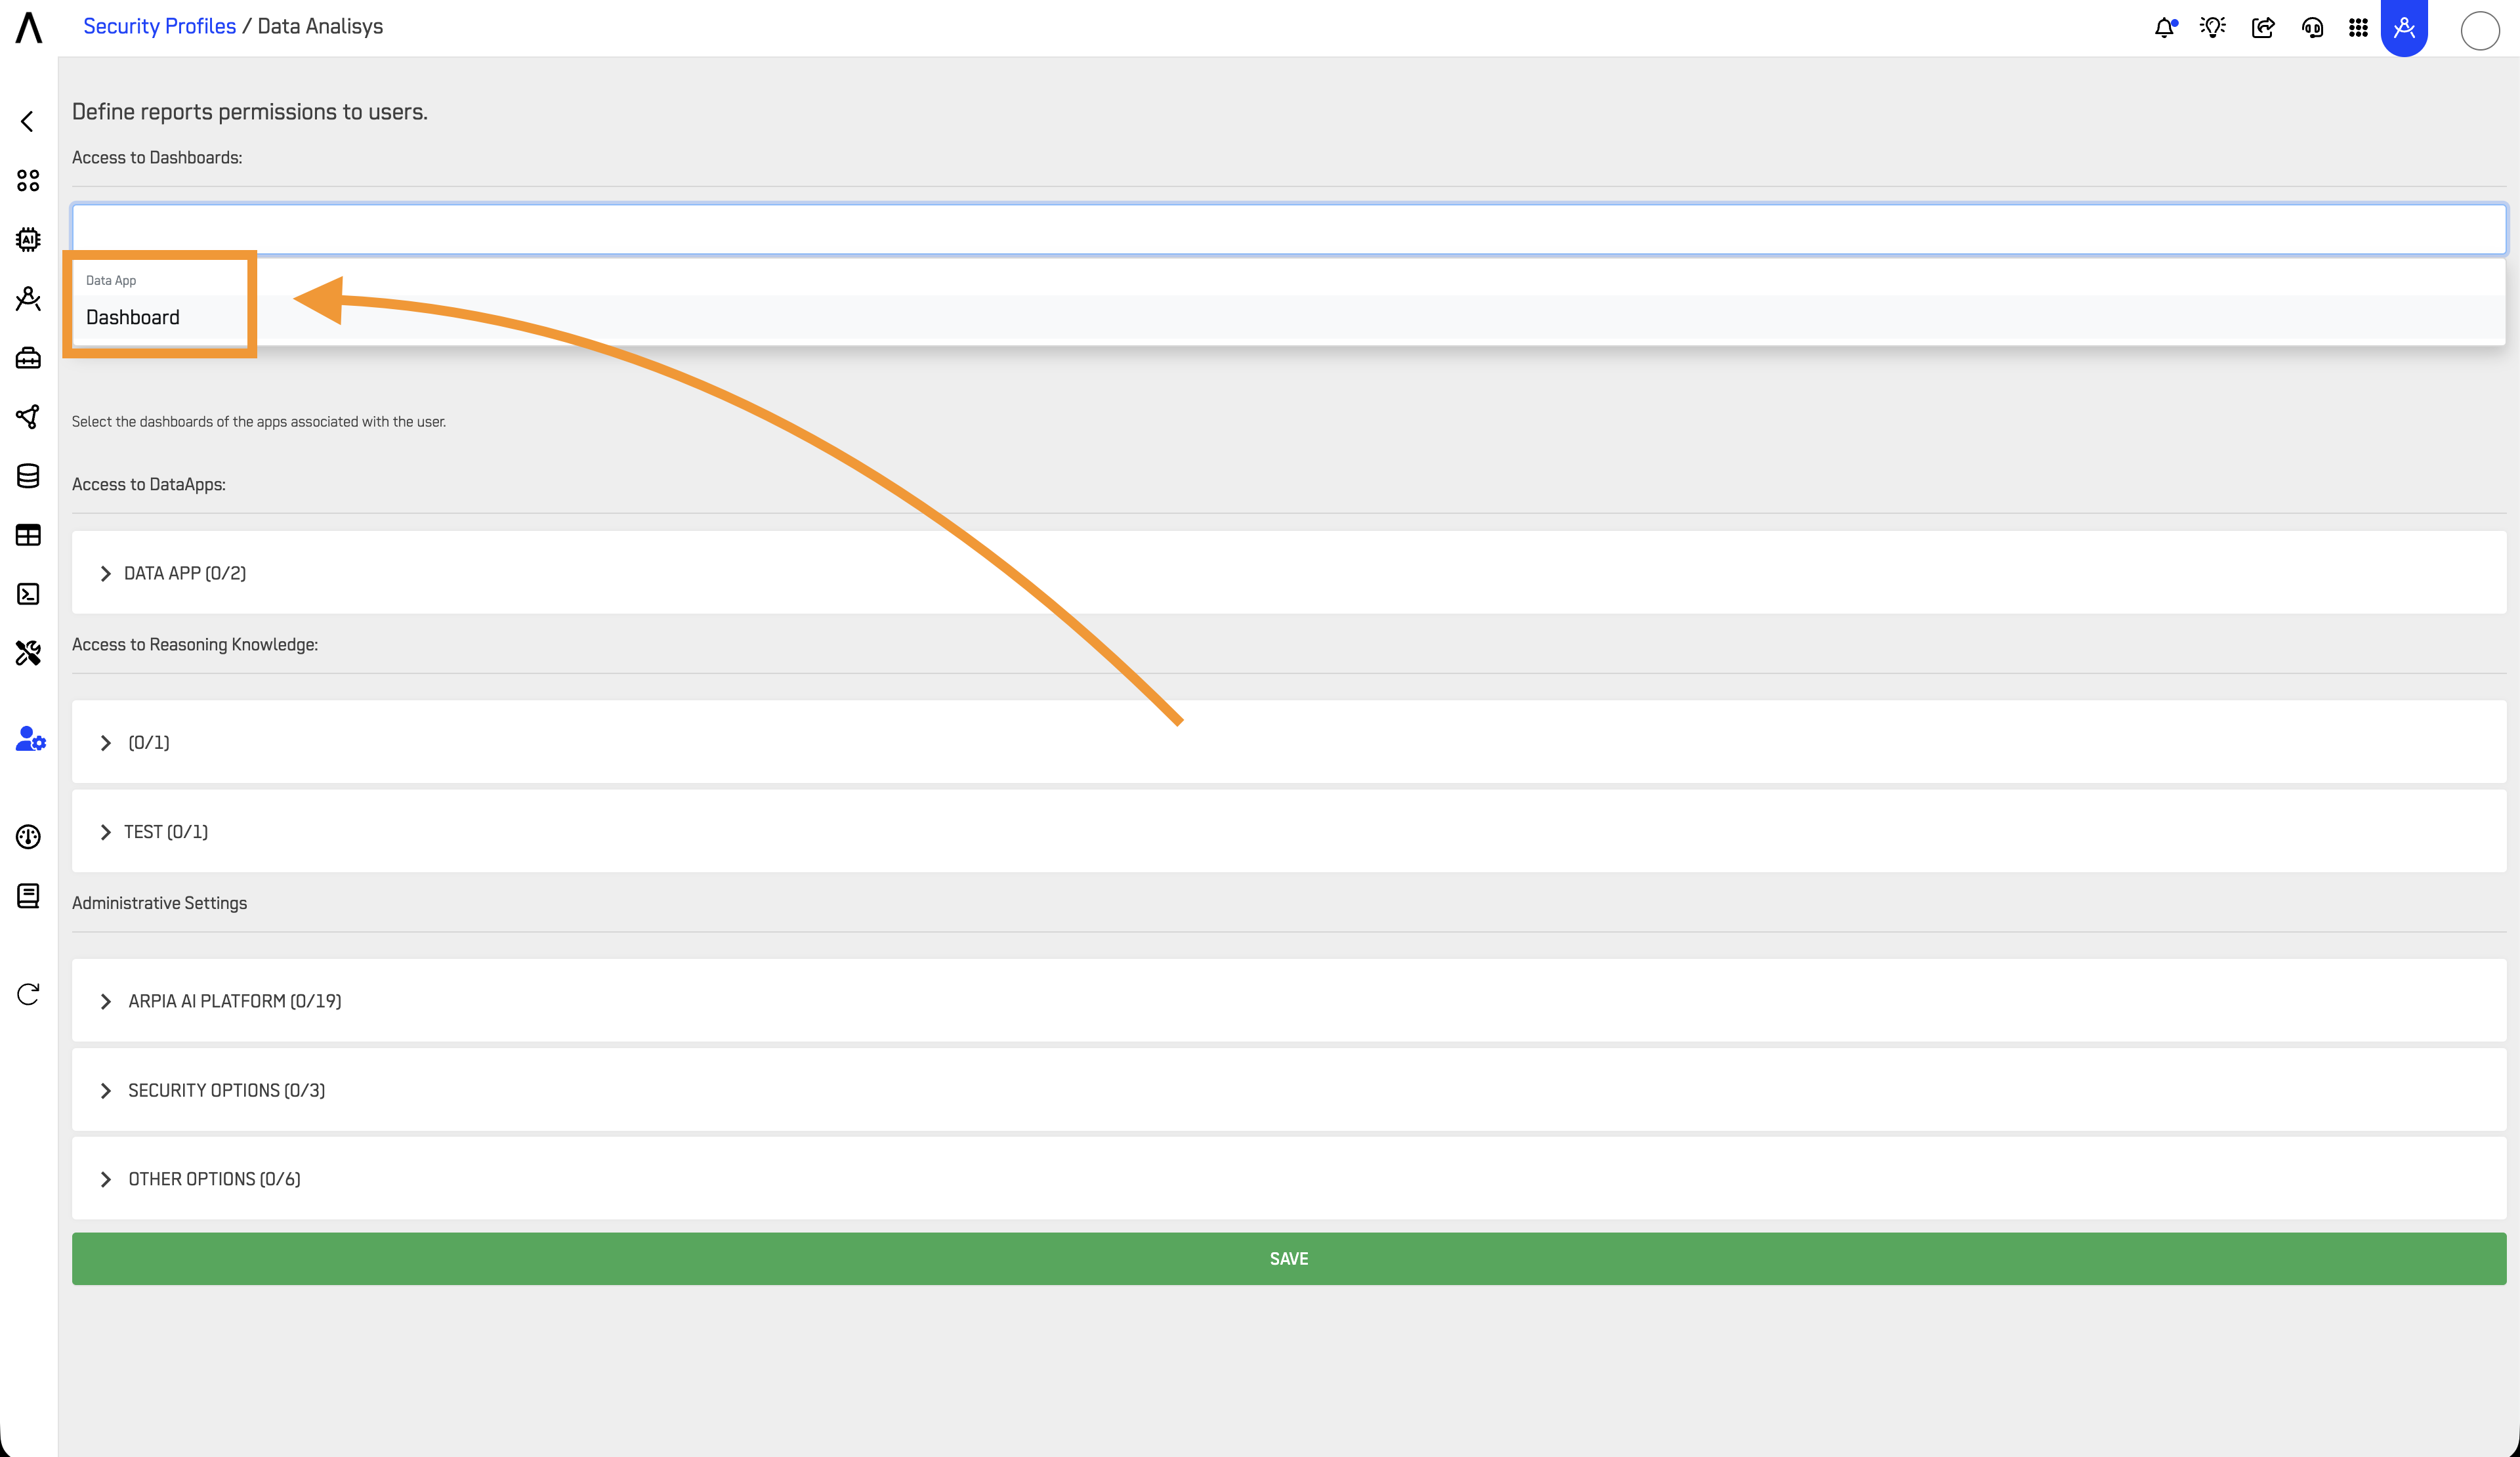
Step 2: Select the desire Dashboards
Select the Dashboards to which you will grant access to the user and then click SAVE.
Adjust User Access to DataApps
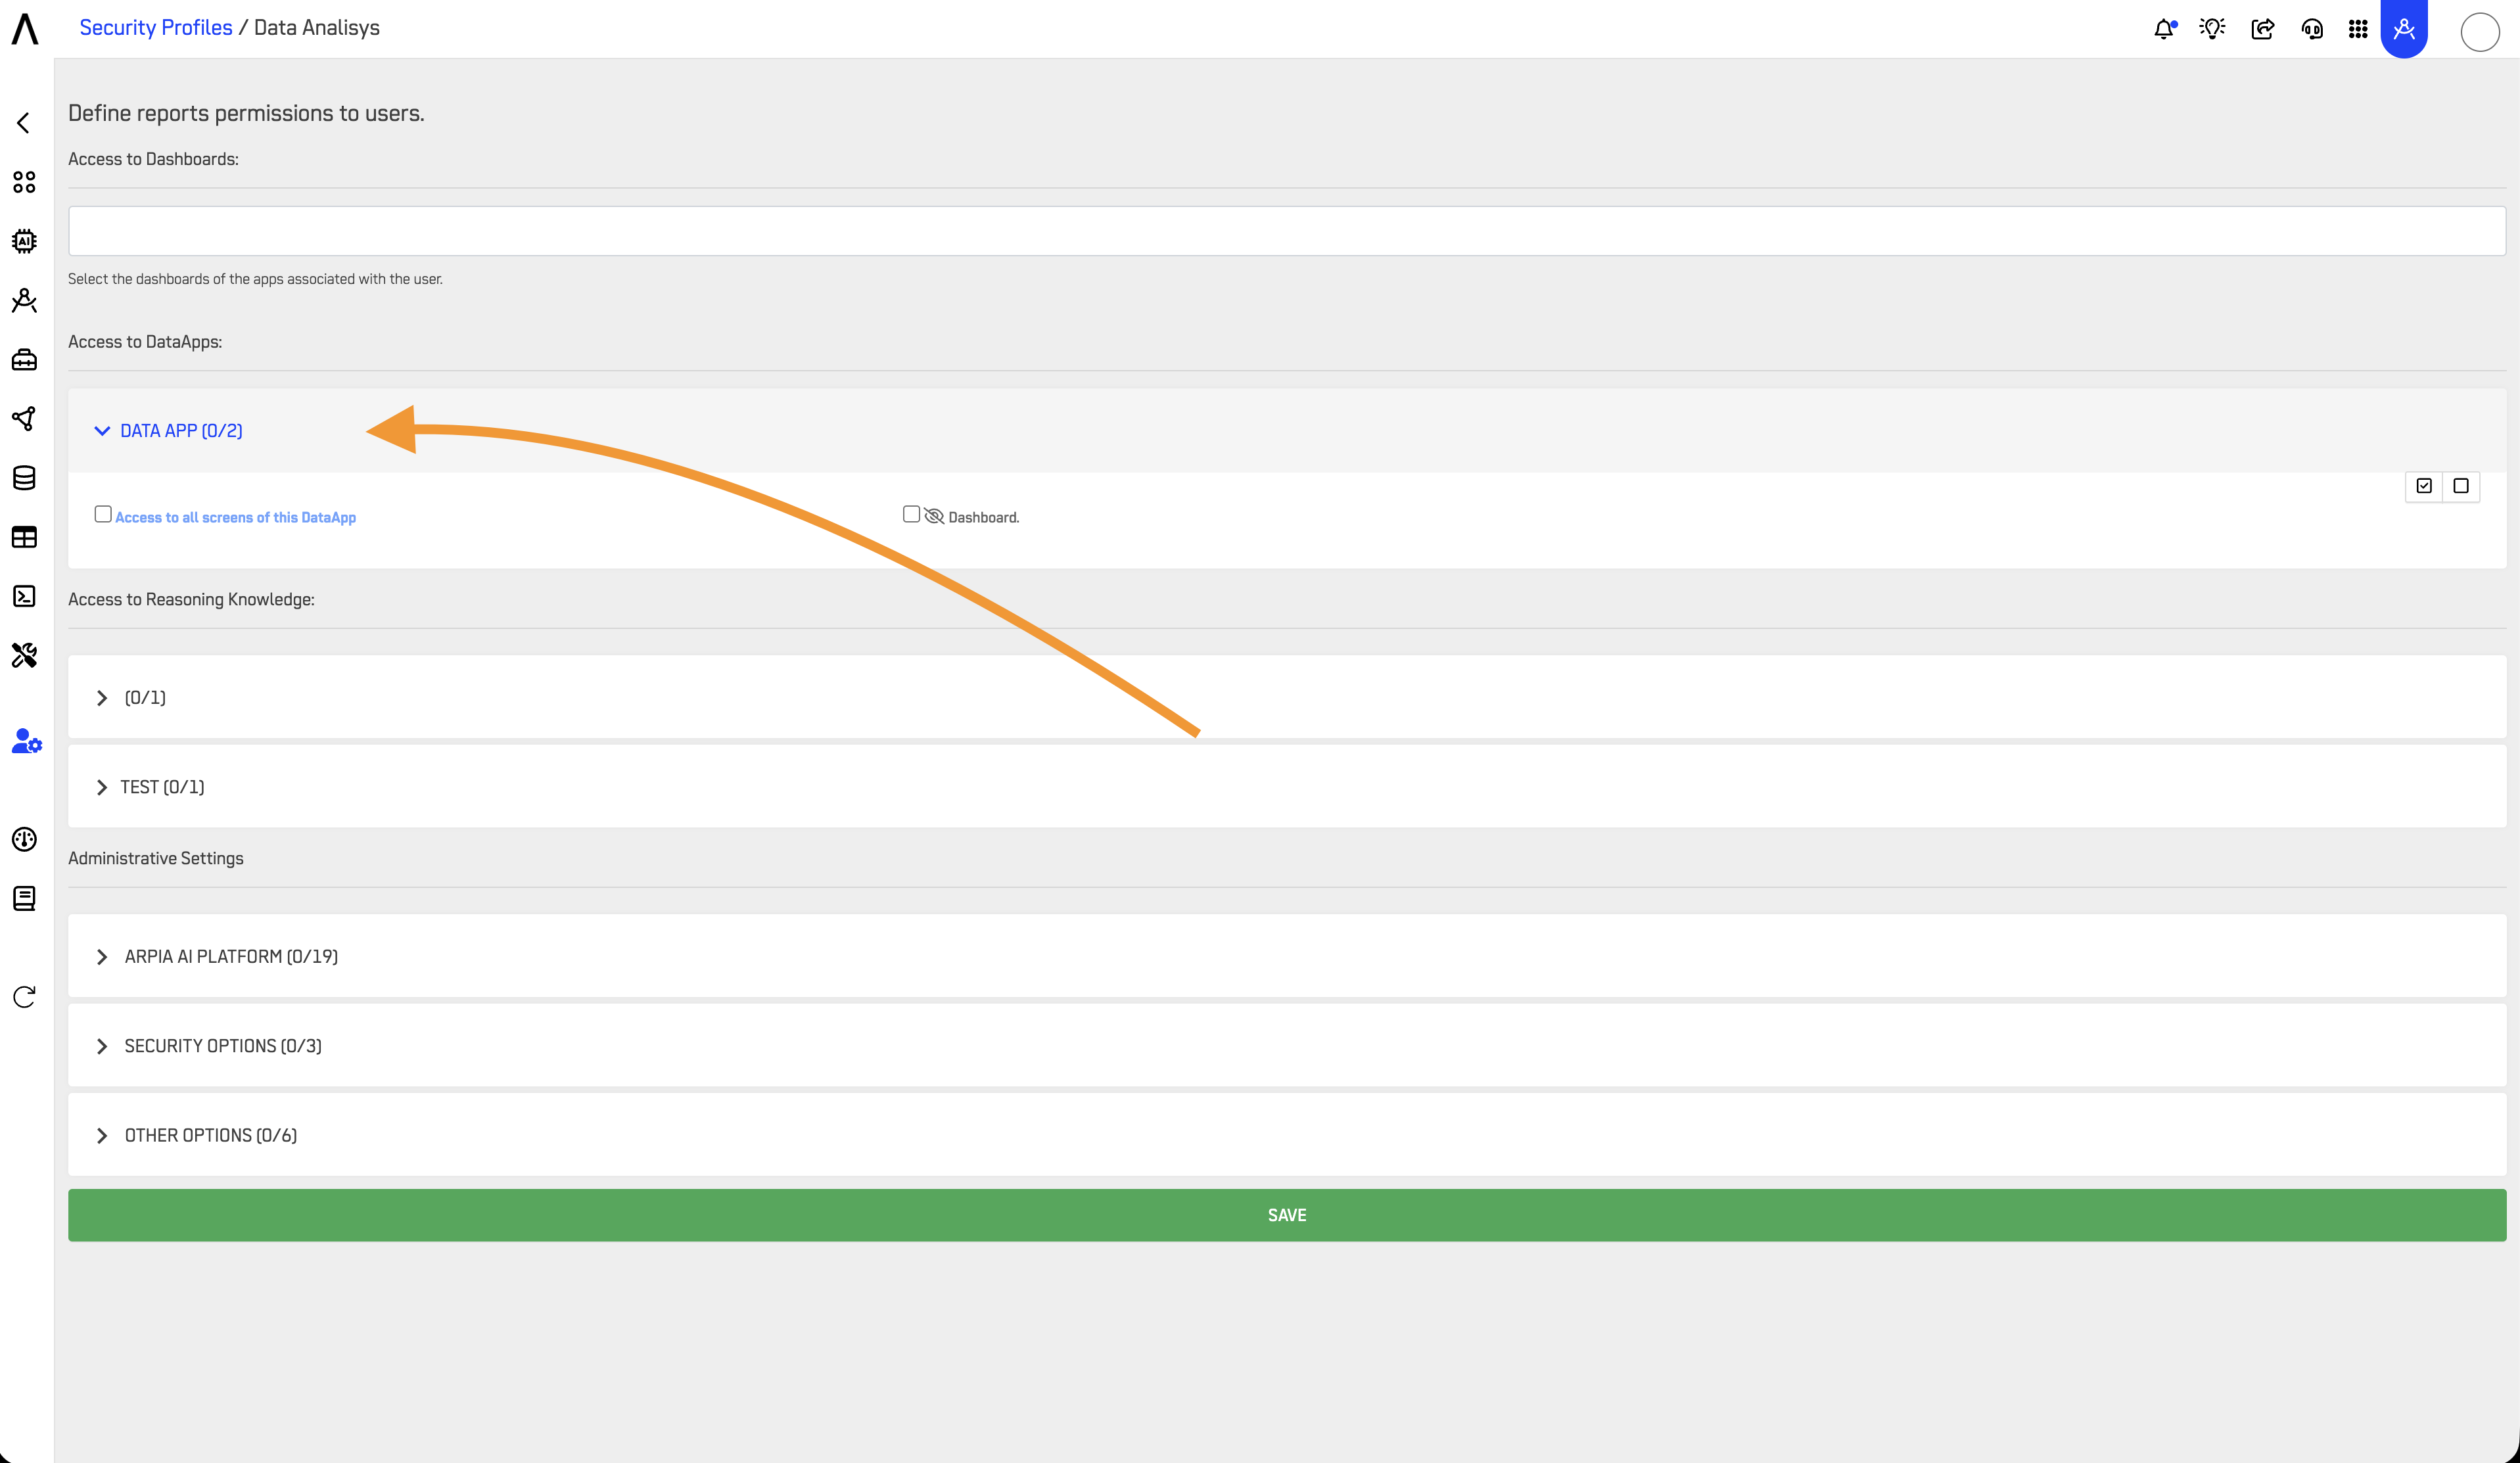
Step 1: Go to the Access to DataApp section
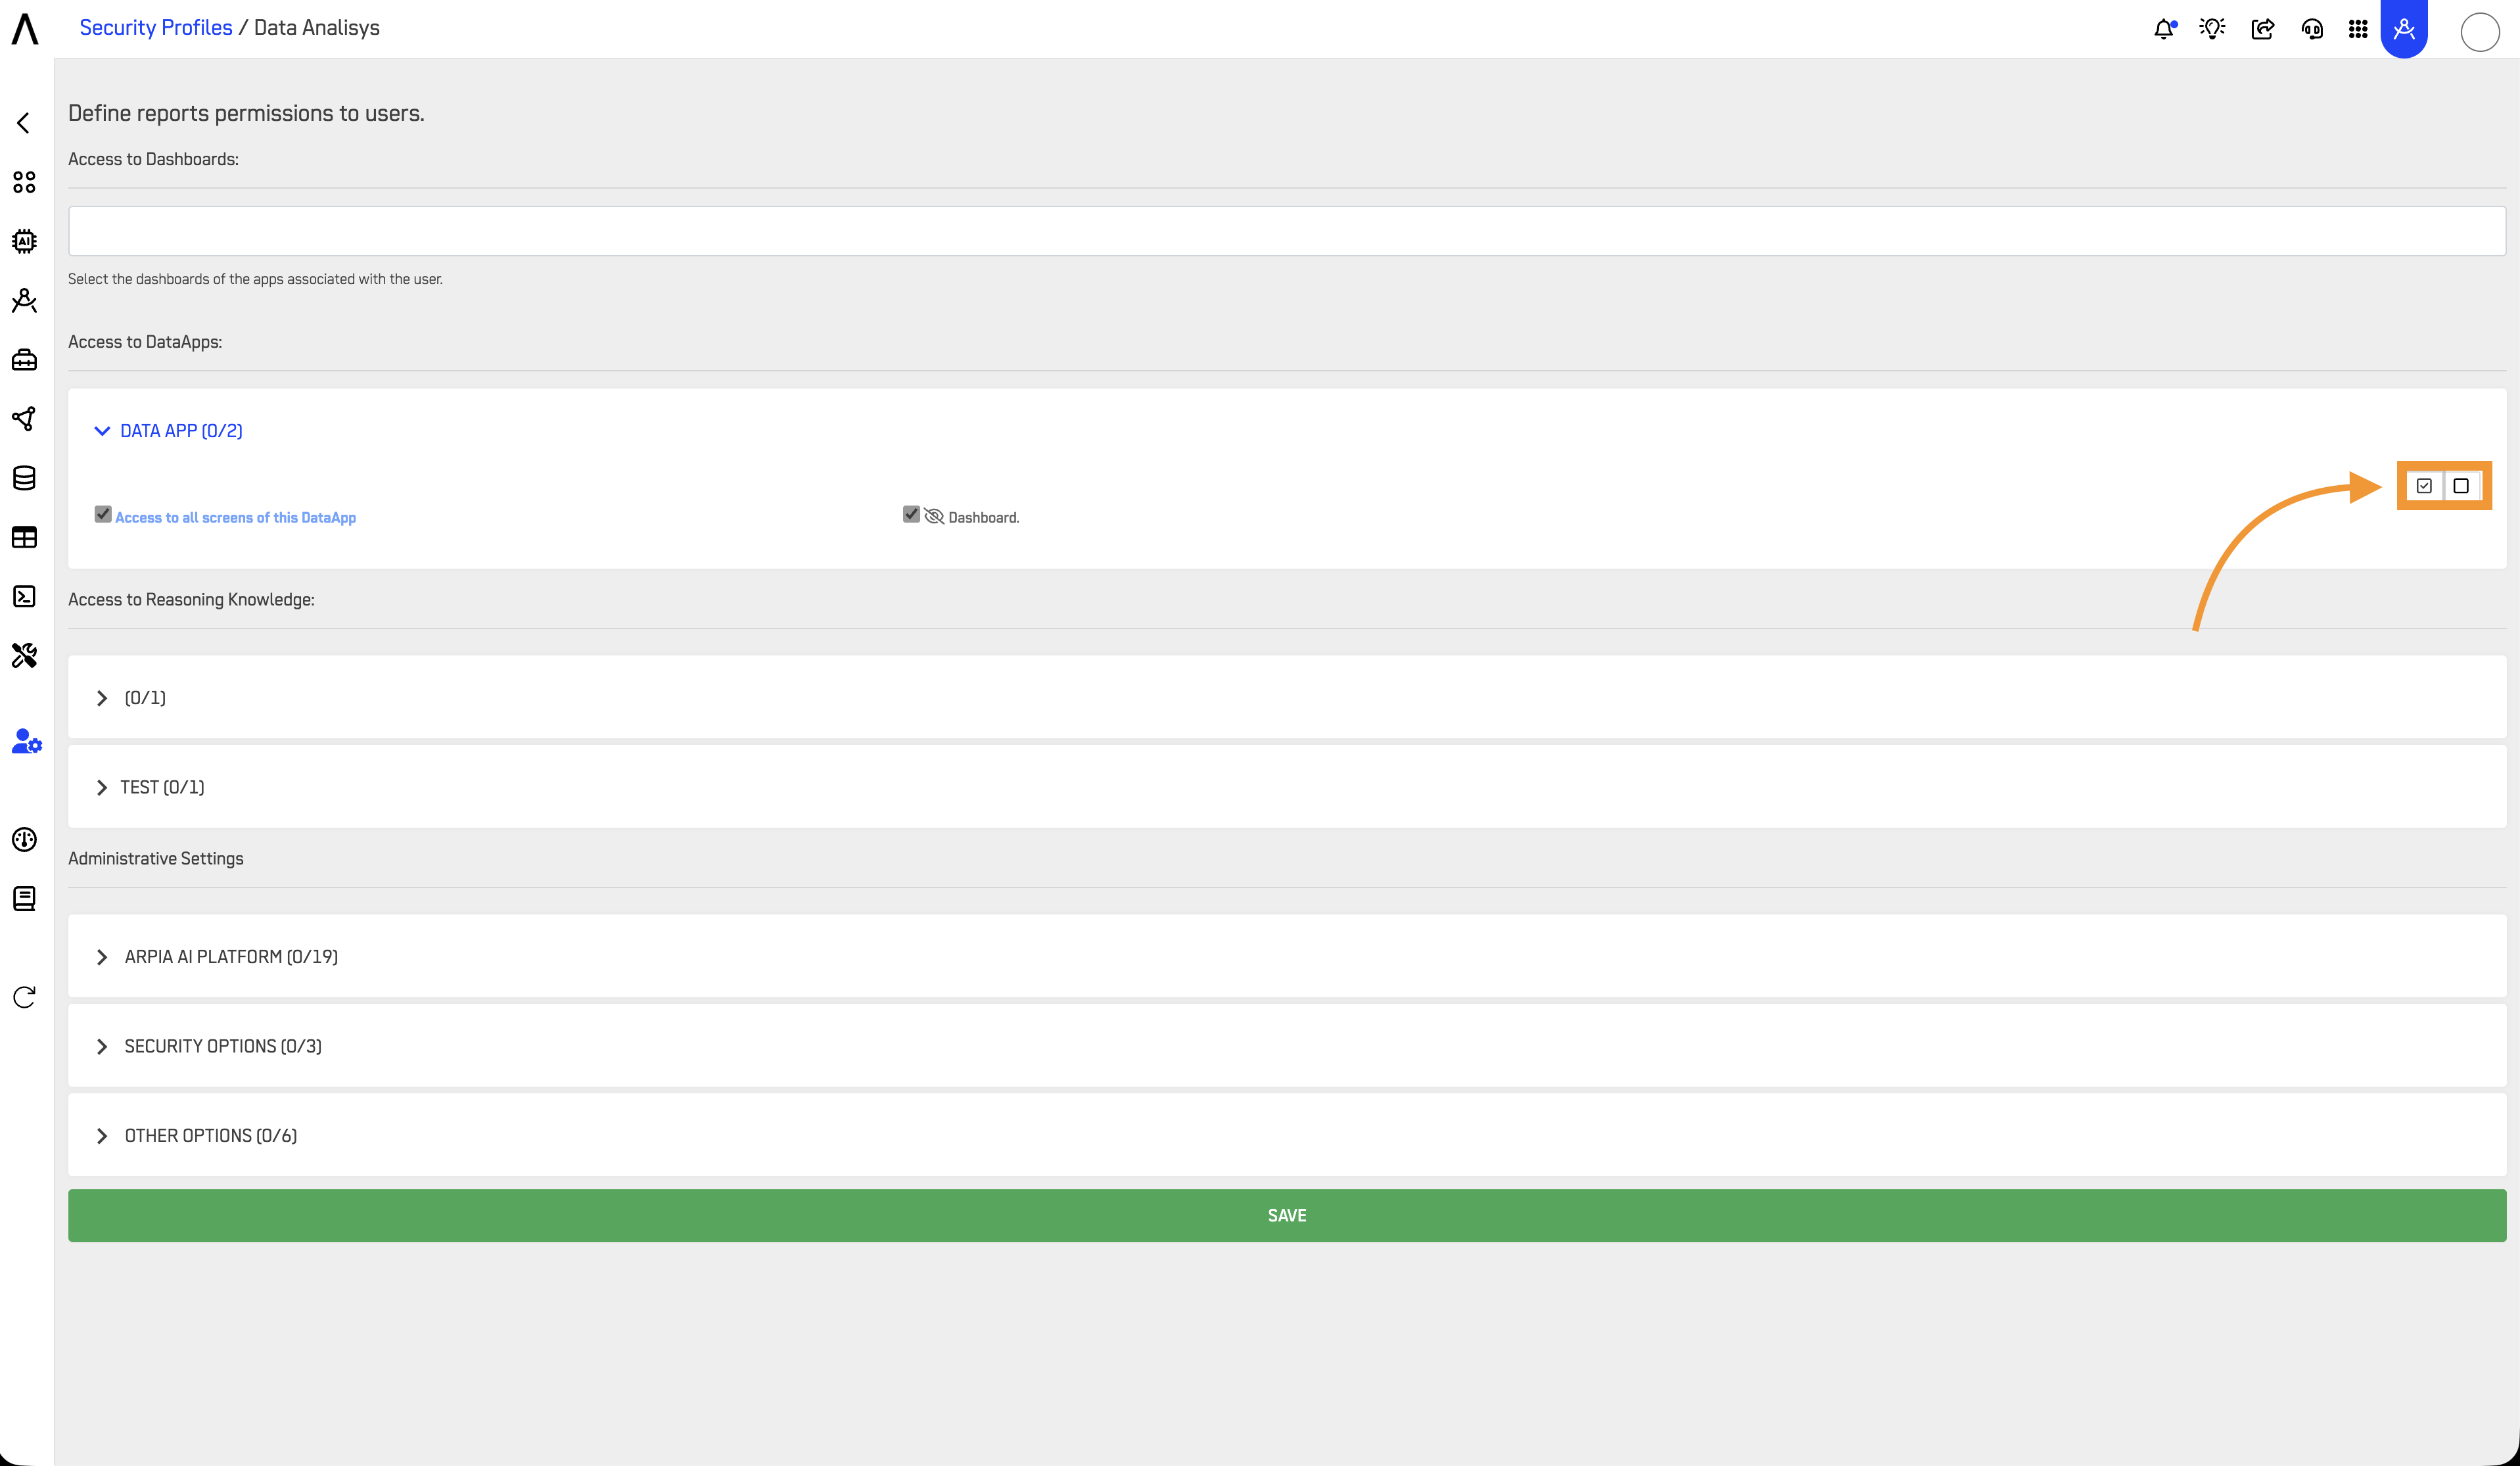
In the Access to DataApps area, select the DataApp, and then select the screens to which you will give the user access and then click SAVE.
Adjust User Administrative setting for the profile
Step 1: Access to the Administrative Settings
Select the permissions for the security profile under the Administrative Settings section. Scroll down within the EDIT PERMISSIONS menu to access this section. After selecting the permissions click SAVE
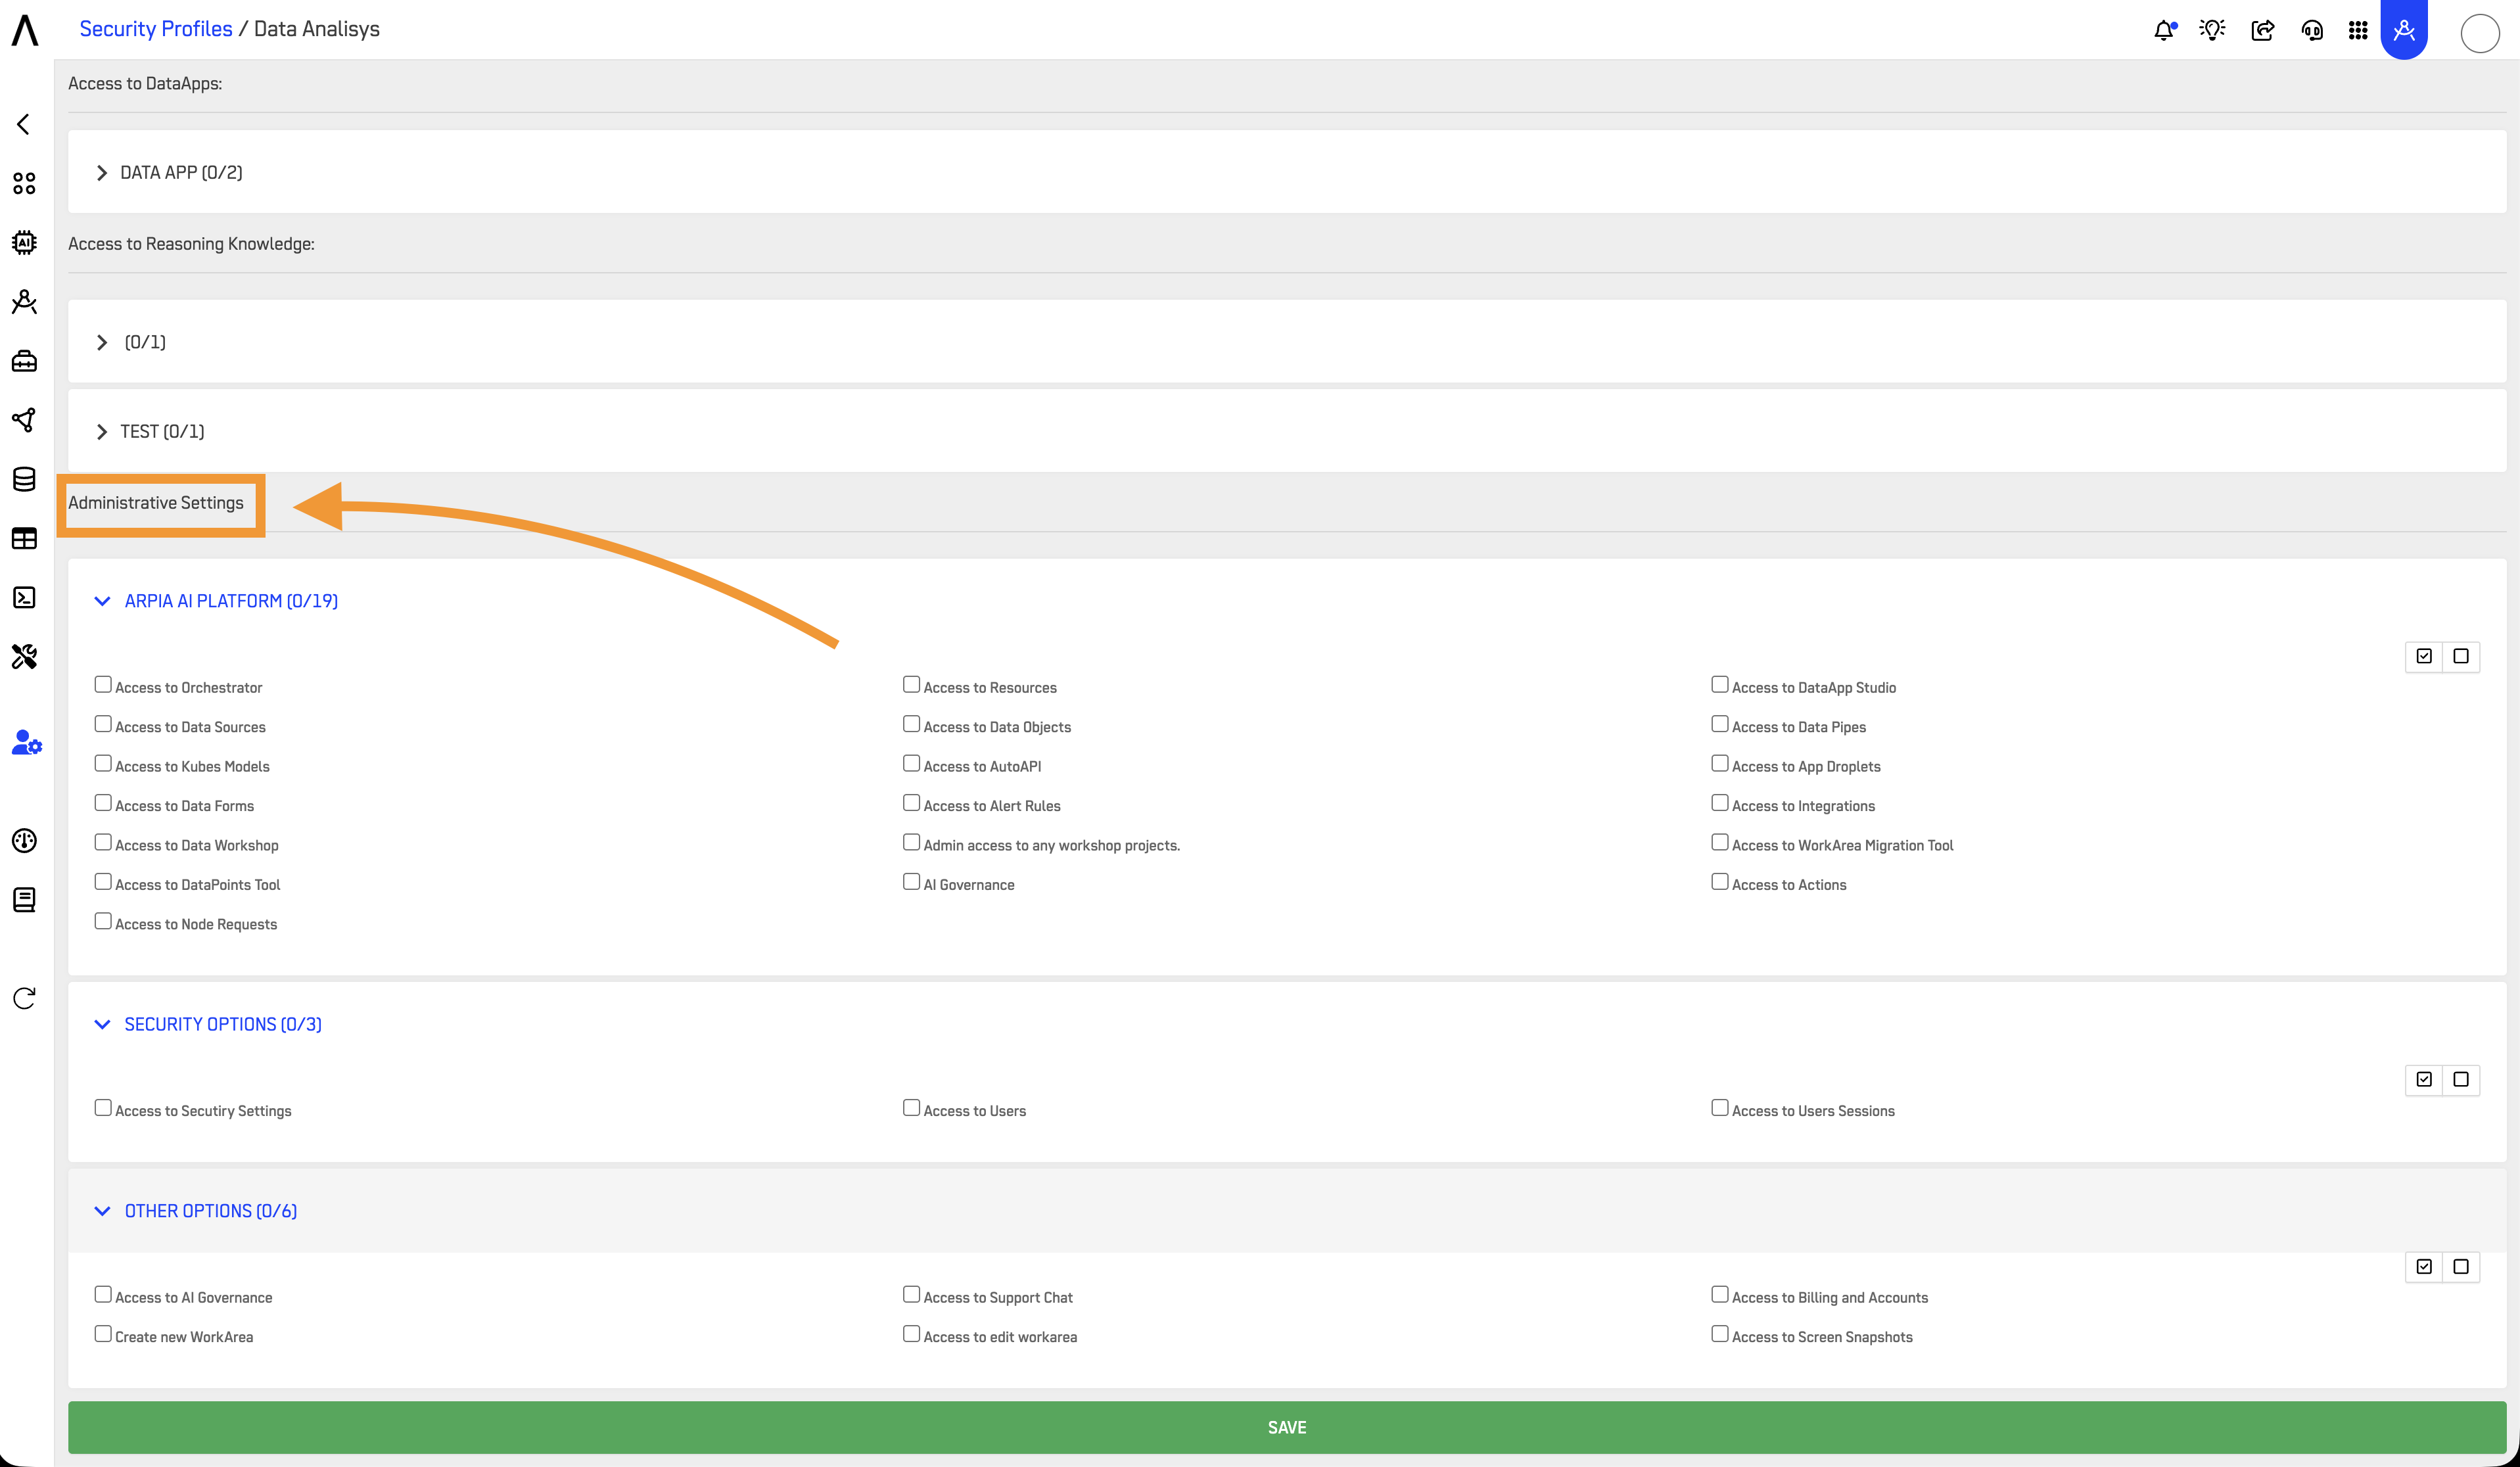
You can also click the button to select all screens to make the process faster.
Adjust User Access to Reasoning Knowledge
Step 1: Access to Reasoning Knowlege
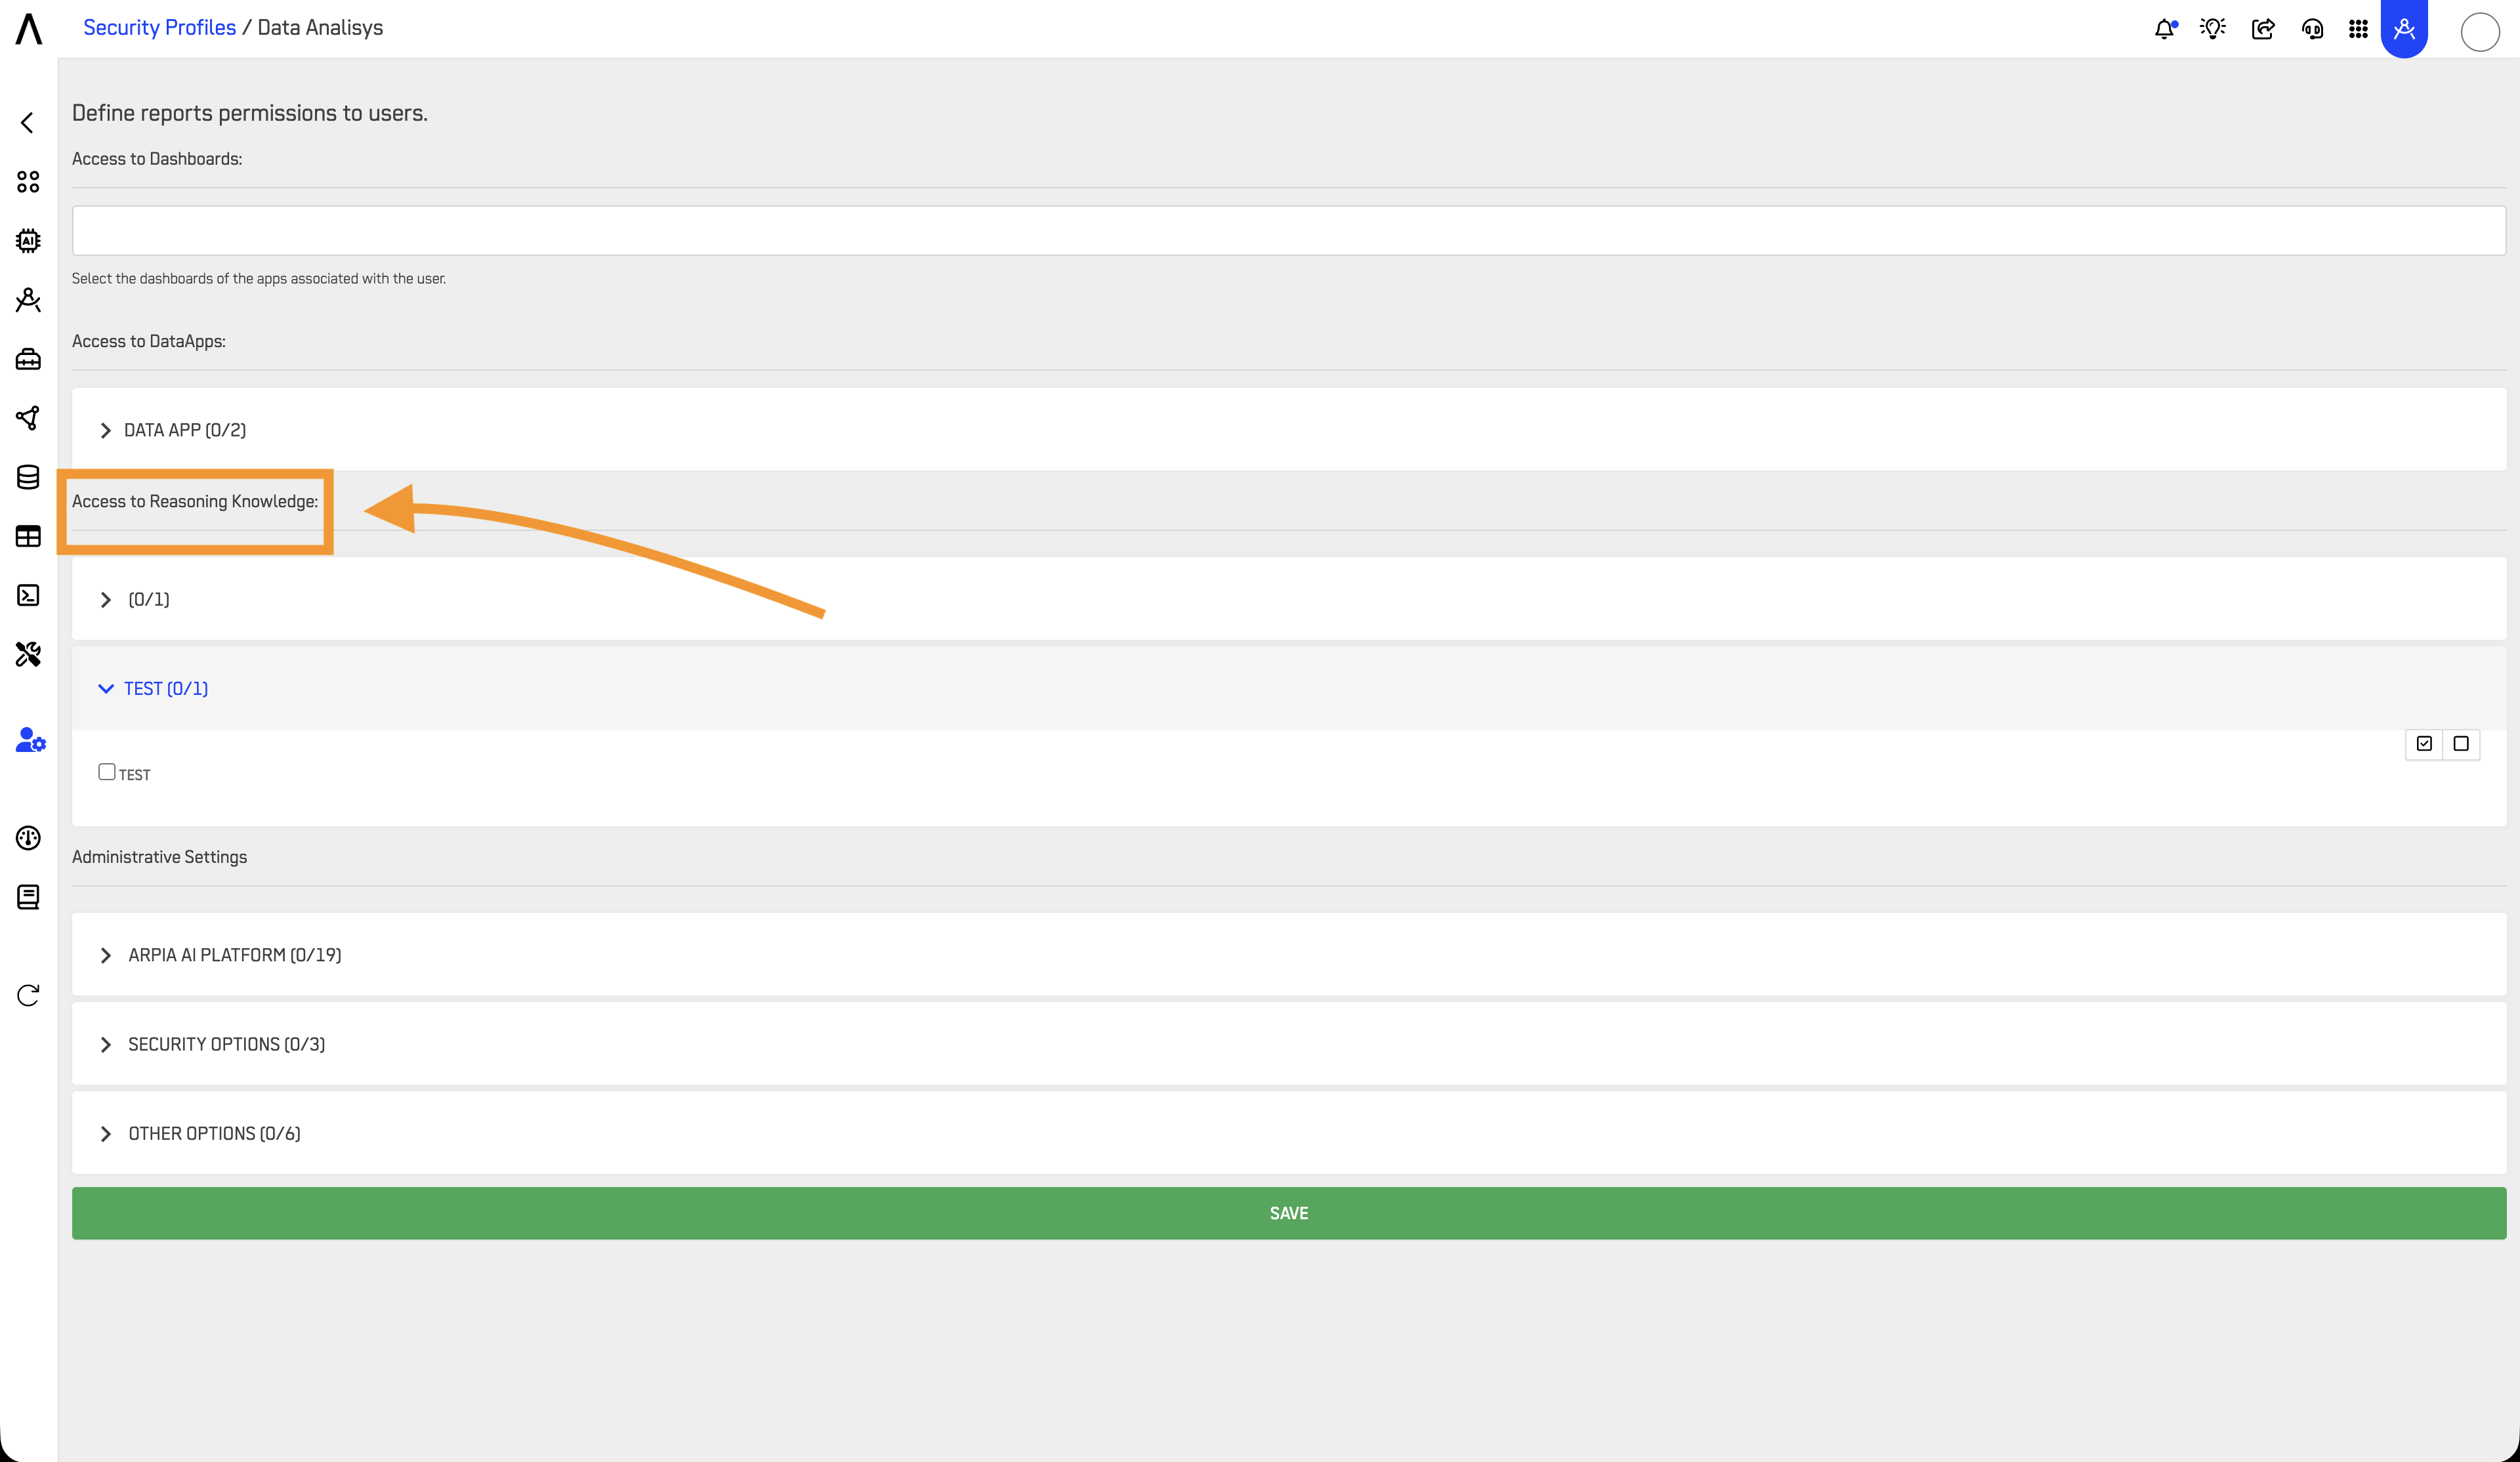
Go to Access to Reasoning Knowledge, select the KnowGraphs to which you will grant access, and then click the SAVE button.
Updated 4 months ago
