
Data Catalog
📊 Knowledge Catalog Overview
The Knowledge Catalog is where you find the data nodes assigned to your user profile by your account administrator. Each node is a curated dataset you can open, explore, and export.
Renamed: This section was previously called Insights, and its items were called KnowGraphs. Both names now refer to the same thing: the Knowledge Catalog and its nodes.
🚀 Quick Start
New to the Knowledge Catalog? Here's the fastest path to your first result, in about 5 minutes.
- Open Knowledge Catalog from the ARPIA left navigation.
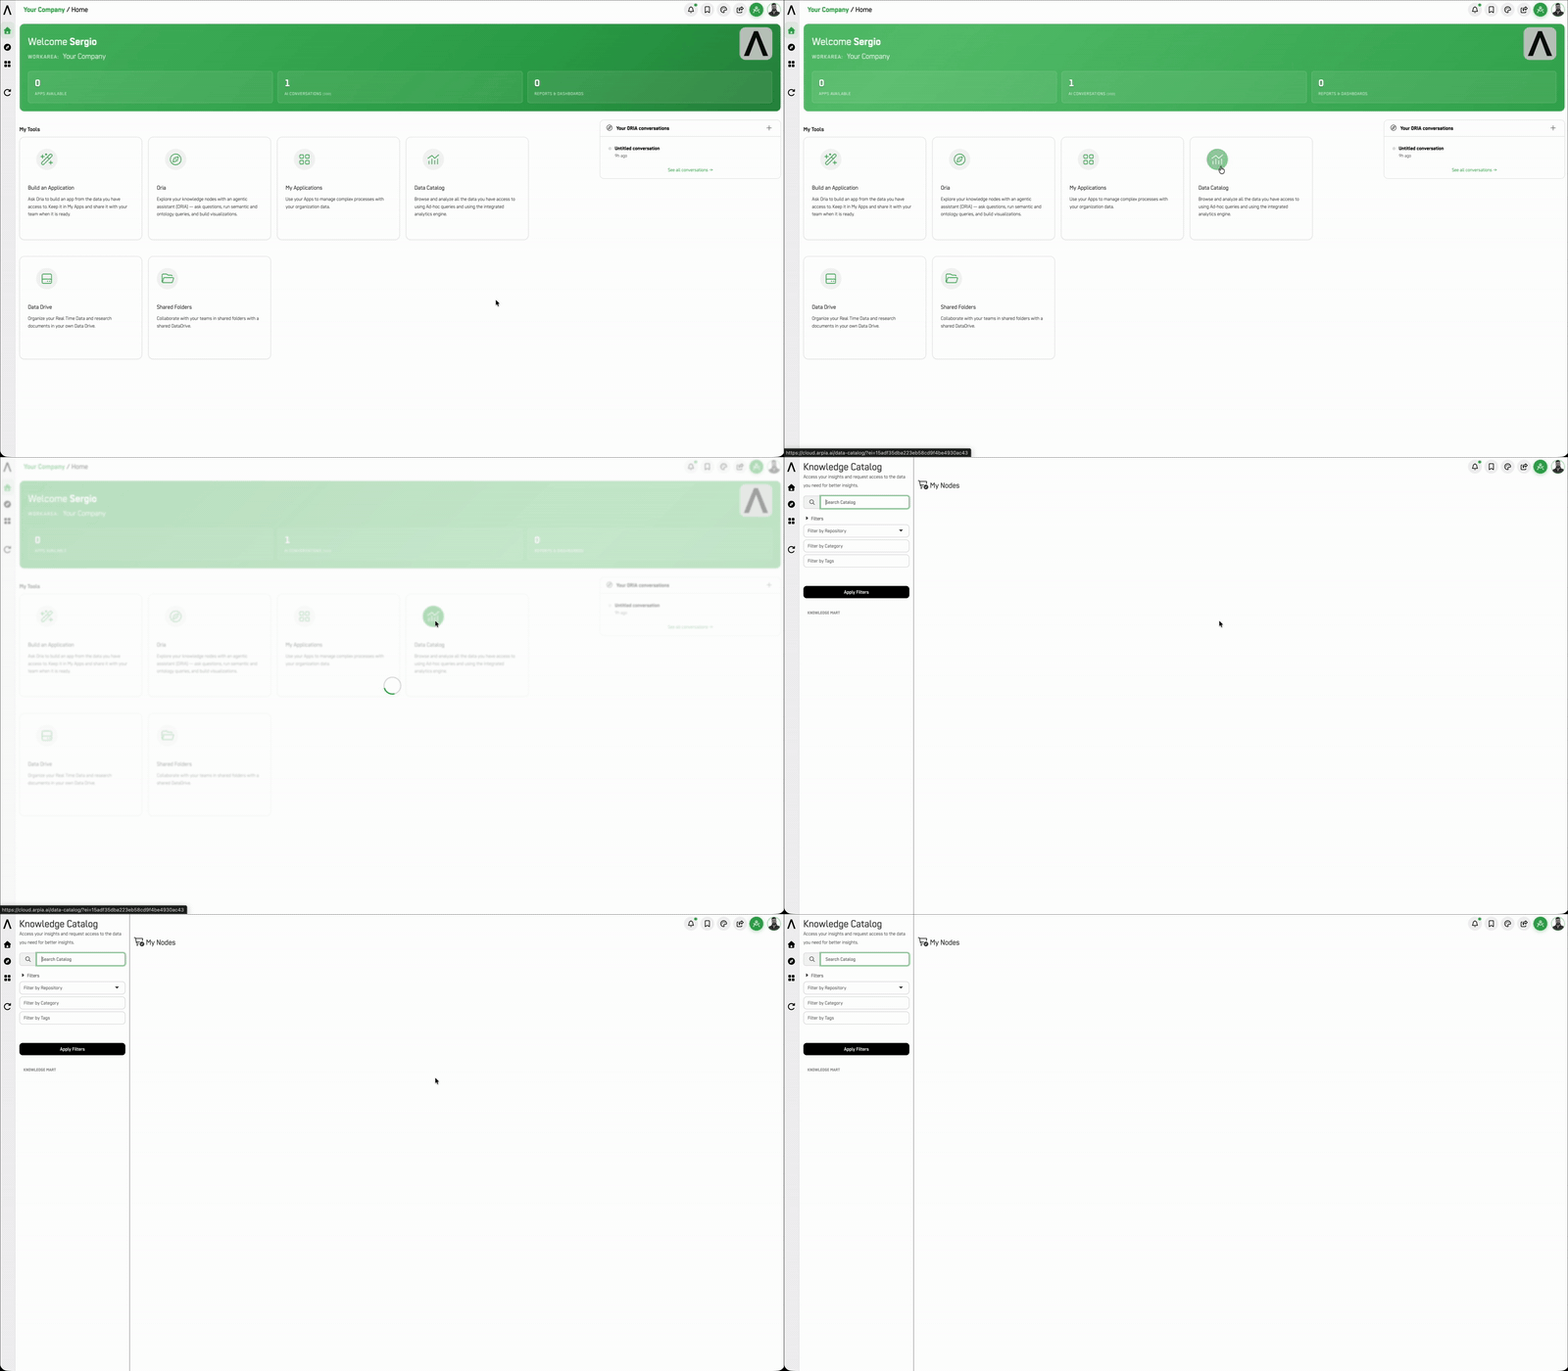
- Find your node in My Nodes (the count in the sidebar shows how many are assigned to you). Use Search Catalog, or narrow the list with Filters (Repository, Category, Tags) and click Apply Filters.
- Click Open on the node card to view its data.
- Apply filters and choose a view to narrow the data to what you need (see Working with Nodes).
- Export the results in the format you need.
If you don't see the node you need, see Access & Assignment.
👥 Who Uses This
The Knowledge Catalog is a consumption surface. It is for people who need to see and act on curated data without building or querying the underlying data model.
- Business analysts & ops teams: Monitoring assigned nodes day to day (sales, inventory, support volume, and so on).
- Executives & managers: Reviewing summarized views for reporting and decisions.
- Security & governance reviewers: Checking status and technical data ahead of committee reviews, audits, or compliance checks.
- CX teams: Segmenting customer or account data (by industry, region, or account tier) to spot patterns.
- Anyone assigned a node by an administrator: Access is scoped and controlled at the admin level, not self-service.
💡 Use Cases
- Recurring monitoring: Open the same node regularly (for example, weekly) to track a metric without rebuilding a report each time.
- Segmentation analysis: Break a node down by a field such as industry or region to see where volume, risk, or opportunity concentrates.
- Executive reporting: Export a chart or summary into a slide deck or report instead of rebuilding it elsewhere.
- Pre-meeting status checks: Confirm current status and technical figures before a governance or security review.
- Single-record lookups: Review one record in detail rather than scanning a whole table.
🗂 My Nodes
My Nodes lists every node assigned to you. Each card shows:
- Name: The node's title (for example, Acreedores, Activos Fijos, Conciliación Bancaria).
- Source tag: The repository the node comes from (for example, IFX POD1 REPORT).
- Icon: A visual marker to help you scan the list quickly.
- Description: A short summary of what each row represents, often including what one row equals (for example, "One row = one account").
- Tags: Keywords for search and filtering. Owner tags also appear here.
- Last run time: How long the node's most recent data load took (for example, 0.0s or 0.3s). A
--means no timing is recorded.
Actions on each card:
- Open: View the node's data.
- Settings: Node configuration. (Settings are managed by the node owner or administrator.)
Finding a node:
- Search Catalog: Type part of a node's name or description.
- Filter by Repository, Category, or Tags: Narrow the list, then click Apply Filters.
Node descriptions may be written in Markdown. If a description shows raw symbols such as
###or**, it was saved without rendering. This does not affect the data itself.
⚙️ Working with Nodes
This section describes the Viewer options from the previous Insights version. Confirm each option against the current Knowledge Catalog before publishing.
Once you open a node, you can change how its data is displayed.
1. Detailed View
Shows all the node's data fields. You can show all fields or select specific ones.
- Column View (default): Standard table layout.
- Group View: Group rows by a field (for example, industry).
- Form View: Shows one record at a time.
2. Grouped View
Groups and summarizes data. For example, group by industry and count records in each group. Up to 4 grouping levels are supported. For deeper analysis, use filters.
3. Graph View
Visualizes data as Line, Area, Bar, Column, Radar, Pie, Pyramid, Funnel, or Donut charts.
- Charts can be exported as PNG, JPG, PDF, SVG, CSV, or XLSX.
- Exporting graphics is not available in the mobile app.
4. Pivot View
Builds a pivot table with rows, columns, and value fields for multi-dimensional analysis.
- Pivot View is available only for nodes connected to ARPIA repositories, to keep performance reliable.
Sorting and Export
- Sorting: Available in Detailed, Grouped, and Graph views.
- Export: Applies all current screen filters, including the date range.
- Detailed, Pivot, Map: Exports the full detailed report.
- Grouped, Graph: Exports a grouped summary in table format.
🔐 Access & Assignment
Nodes are assigned by an account administrator. If you need access to a node that isn't in My Nodes, contact your administrator and ask for the node by name.
❓ Troubleshooting
- Node missing from My Nodes: Ask your administrator to assign it to your profile.
- Timing shows
--: No recent run time is recorded for that node. - Export option missing on mobile: Graph exports are desktop-only. Export from a desktop browser.
Updated about 14 hours ago