
How to create Actions
Step-by-Step Guide
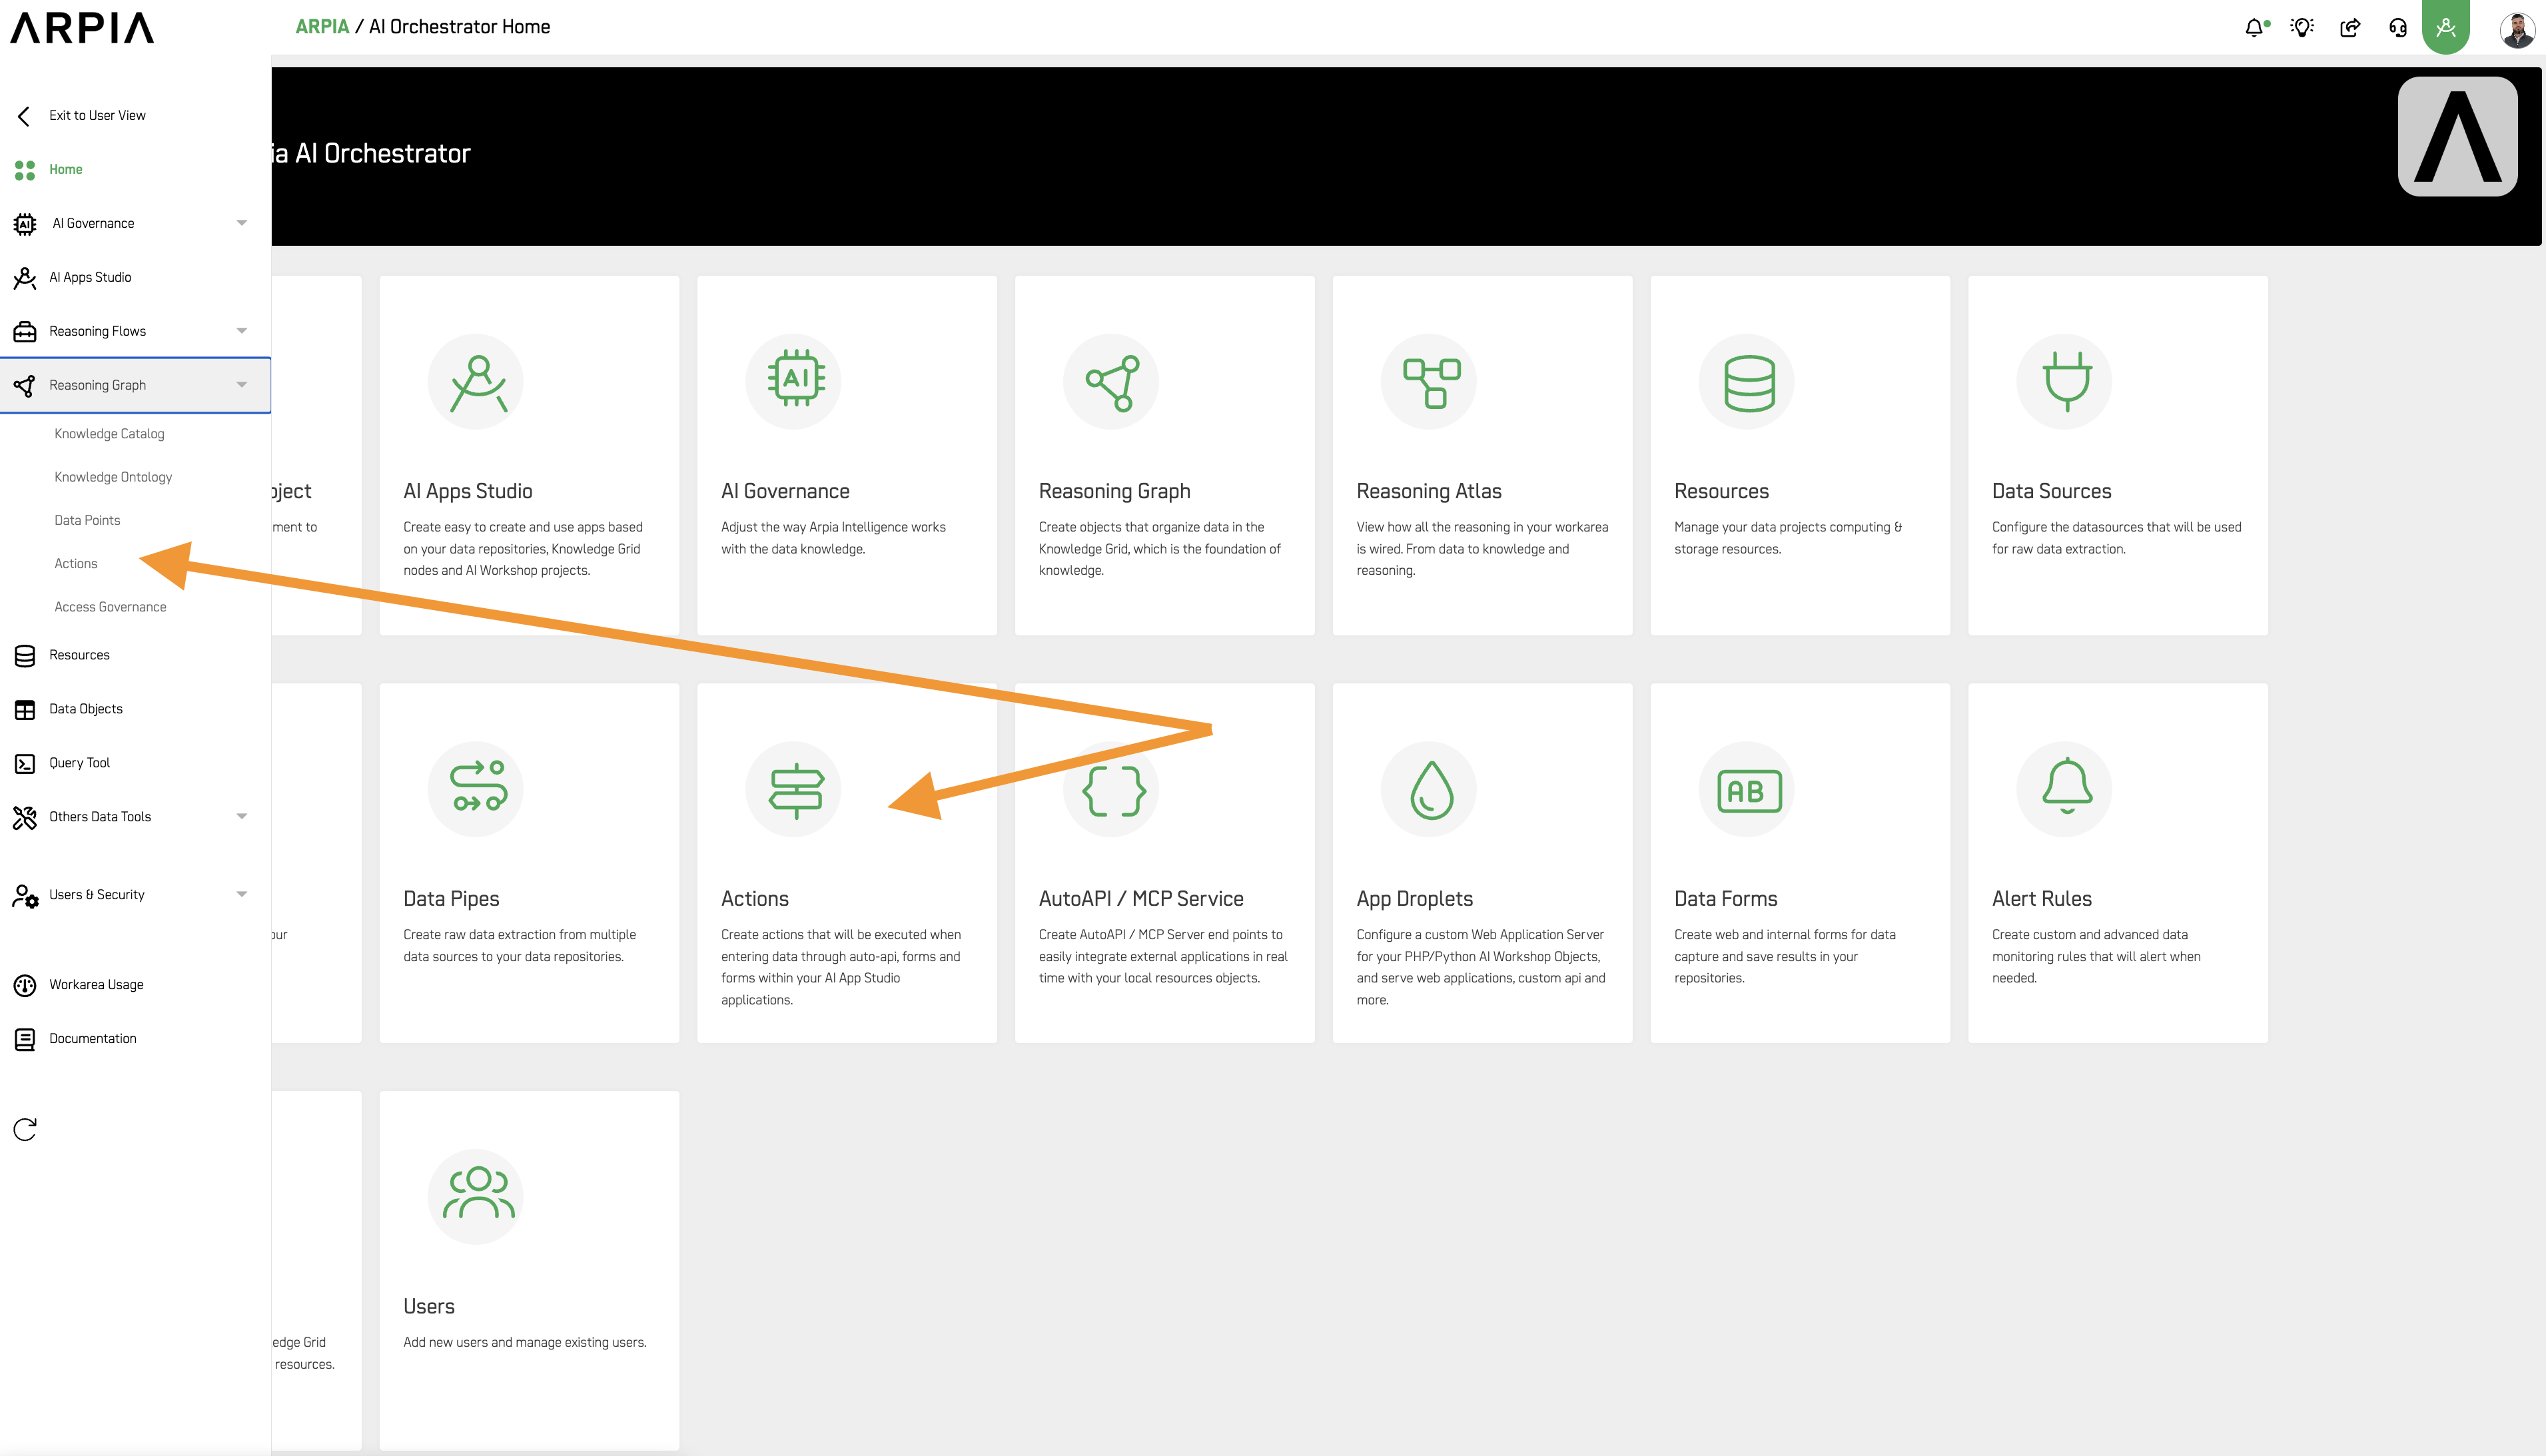
Step 1: Access the Actions Tool
From your Orchestrator's Home page, select the Actions tool. You can choose either of the two options shown in the image below.
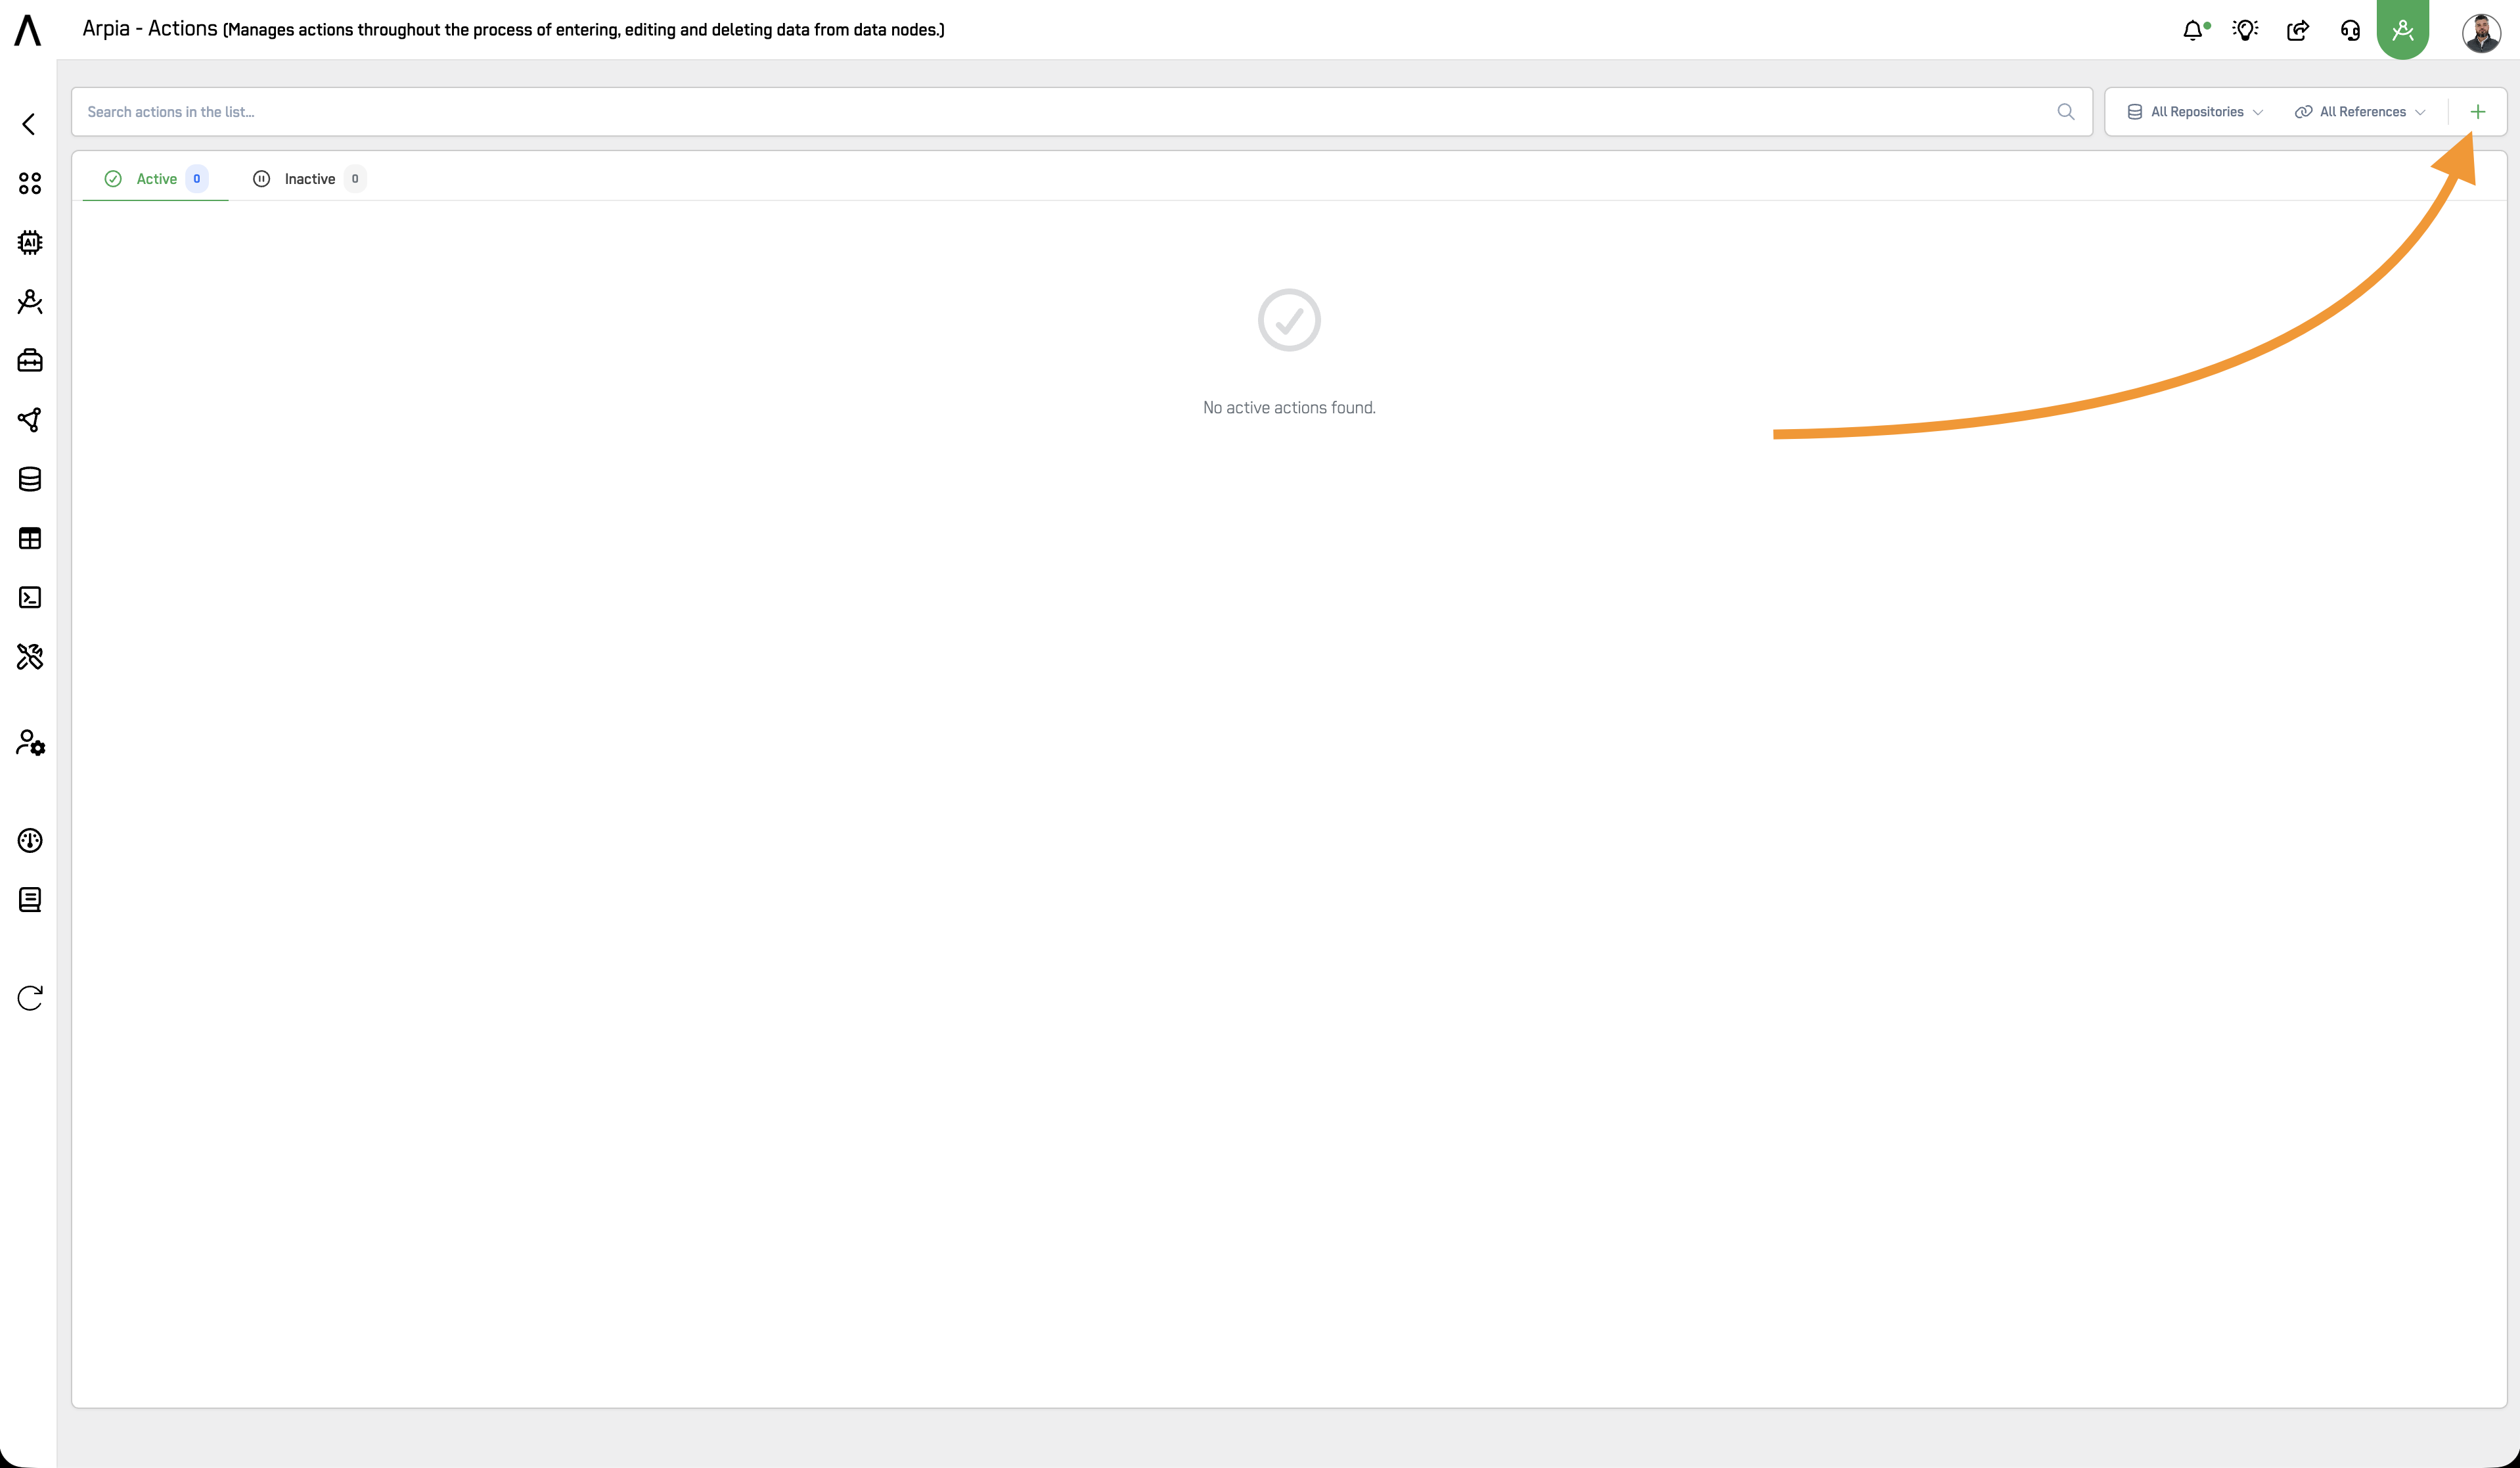
Step 2: Open the Actions Workspace
You will be directed to a new window displaying all the Actions you have created (if any). To create a new Action, click the + button.
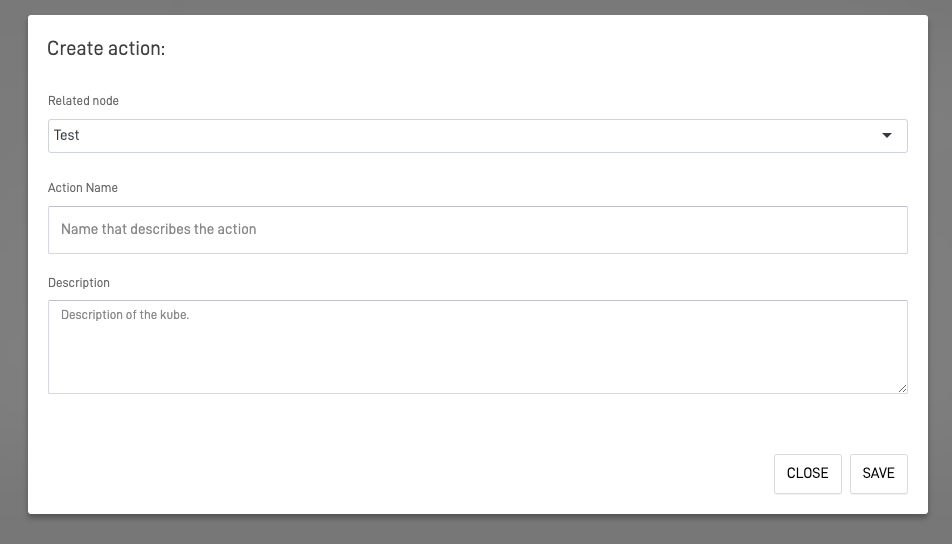
Step 3: Fill Out the Create Action Form
A new screen will open where you can enter general information for the new Action. Select the desired node for which the Action's configuration will take effect, fill in the Action name (preferably one that describes the Action), and optionally provide a description.
Step 4: Save the Configuration
Click the SAVE button to save your settings. You can now configure your Action however you need.
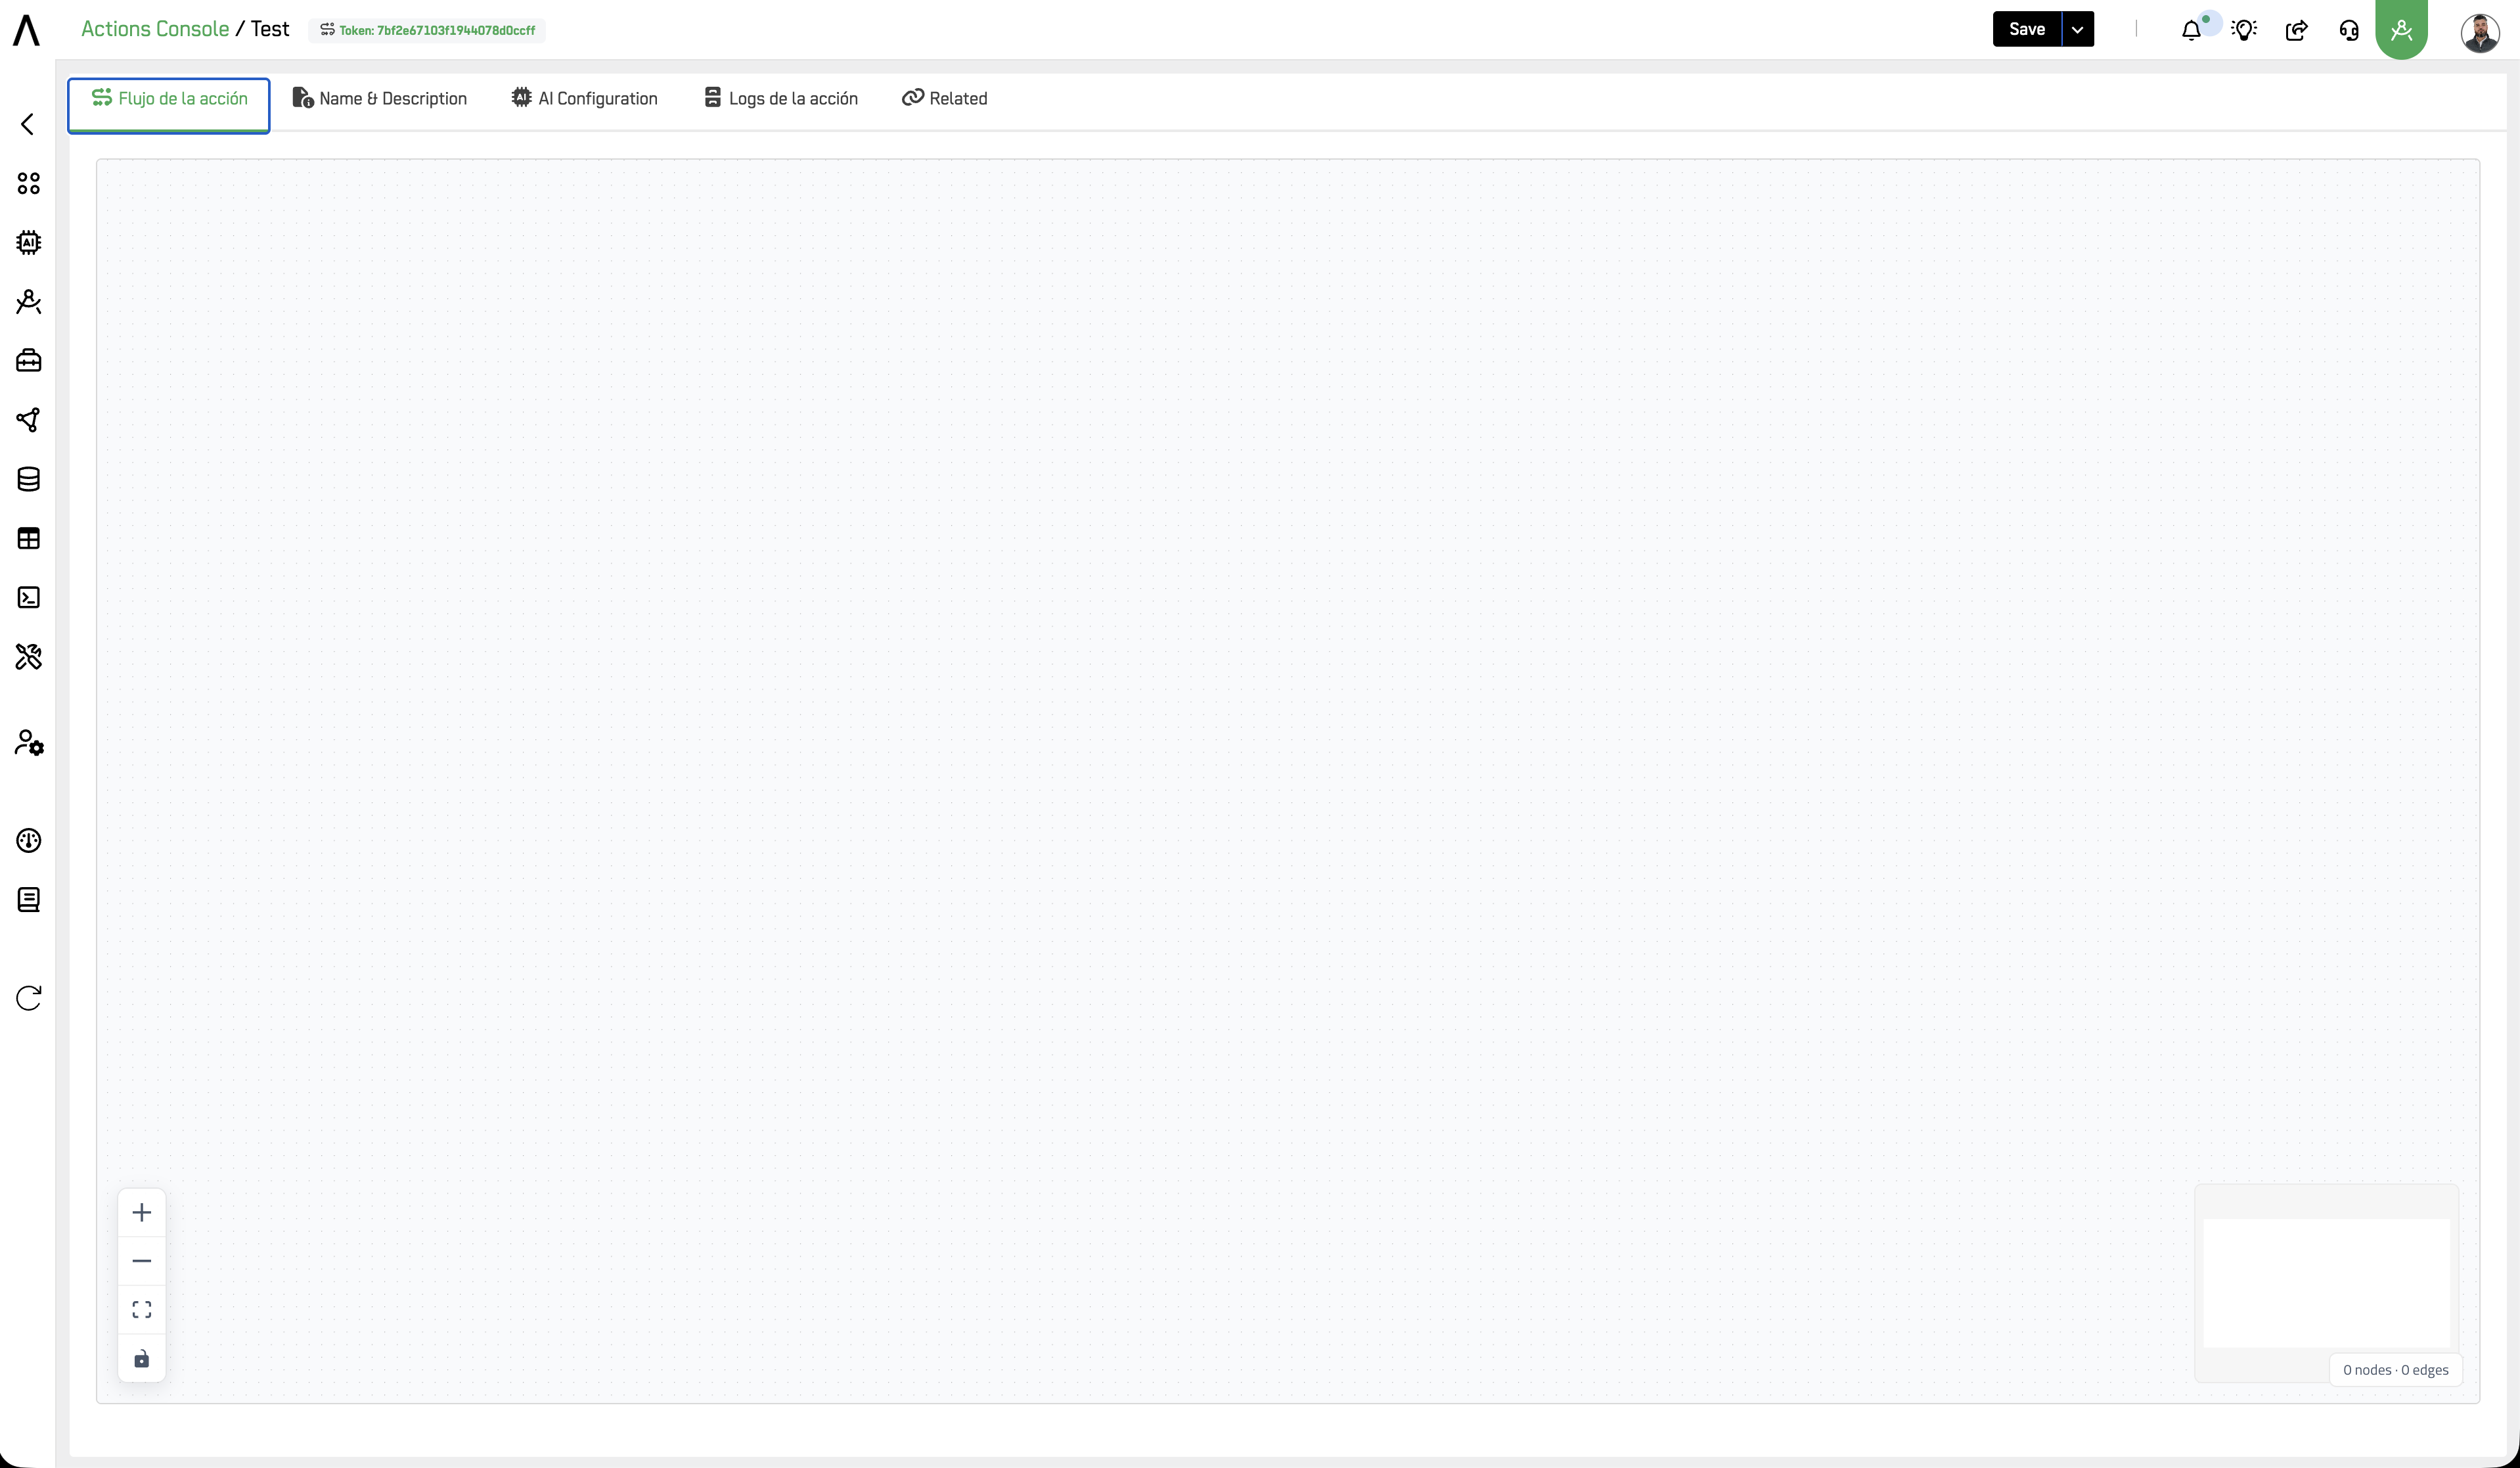
For more information on each action node and the sections of the Action configuration screen, see the Actions documentation article in the WHAT'S NEXT section below.
Updated 2 months ago