
How to use the DataForms Insights Screen?
Step-by-Step Guide: DataForms Insights
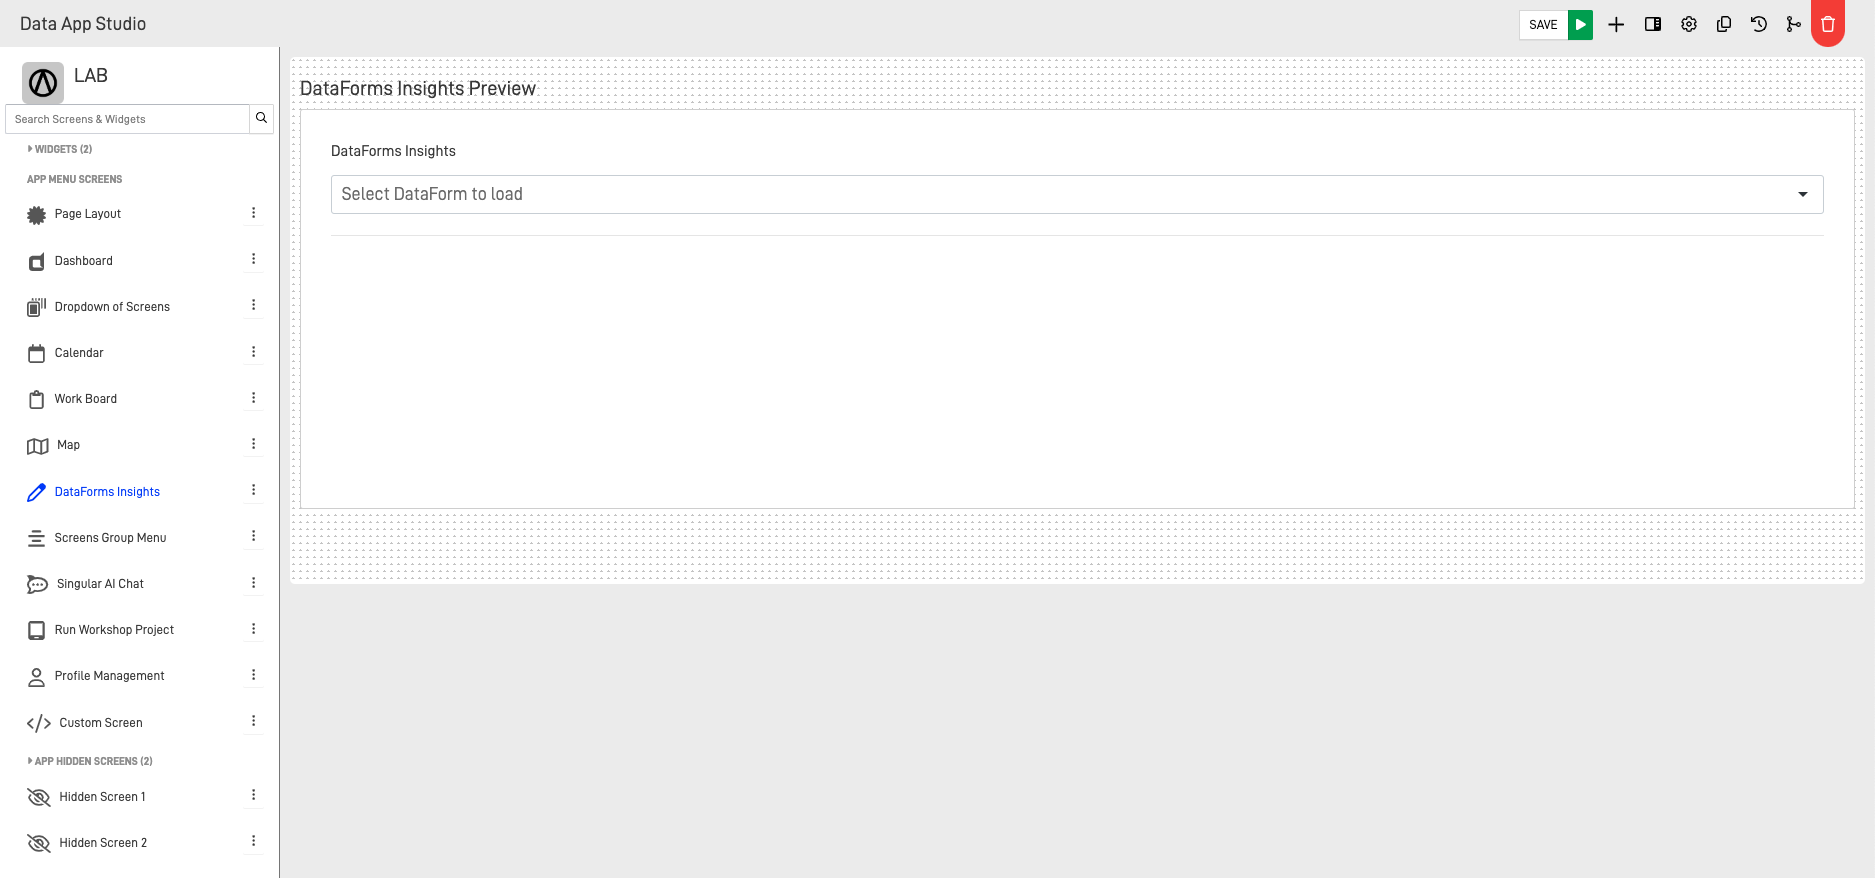
In this guide will be explaining how to use the DataForms Insights screen, where we can take full advantage of our form information and show it to our user. This screen configuration is divide mainly in 3 tabs, these are the "Screen options", "Dataforms in screen" and "Header Options".
Step 1: Configure the "Screen options"
First, we gonna start configuring the "Screen Options" tab, this mainly consist on customizing the Screen title and description. This options are not mandatory but are helpful
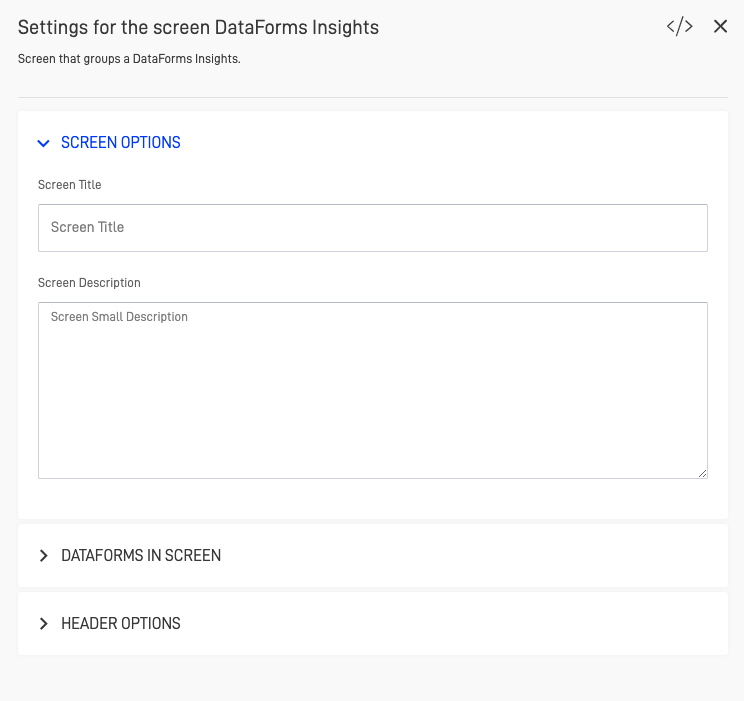
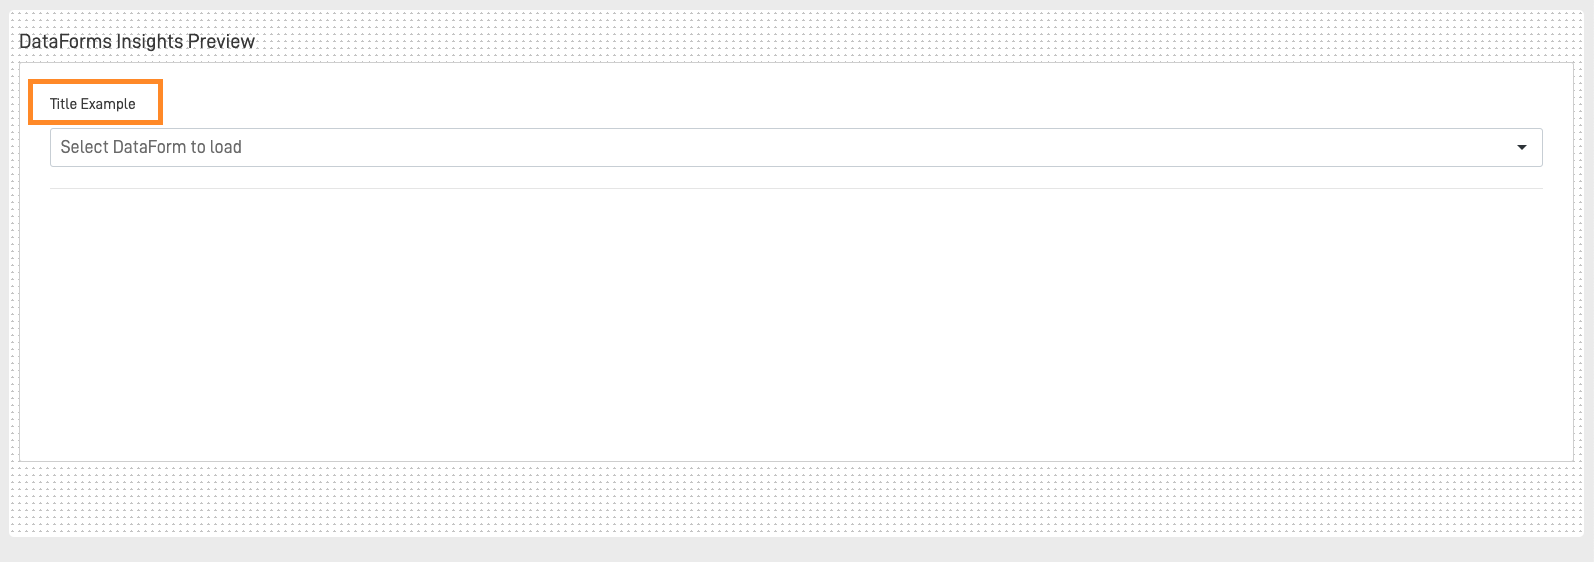
- Screen Title: Customize an optional title for the DataForms Insights.
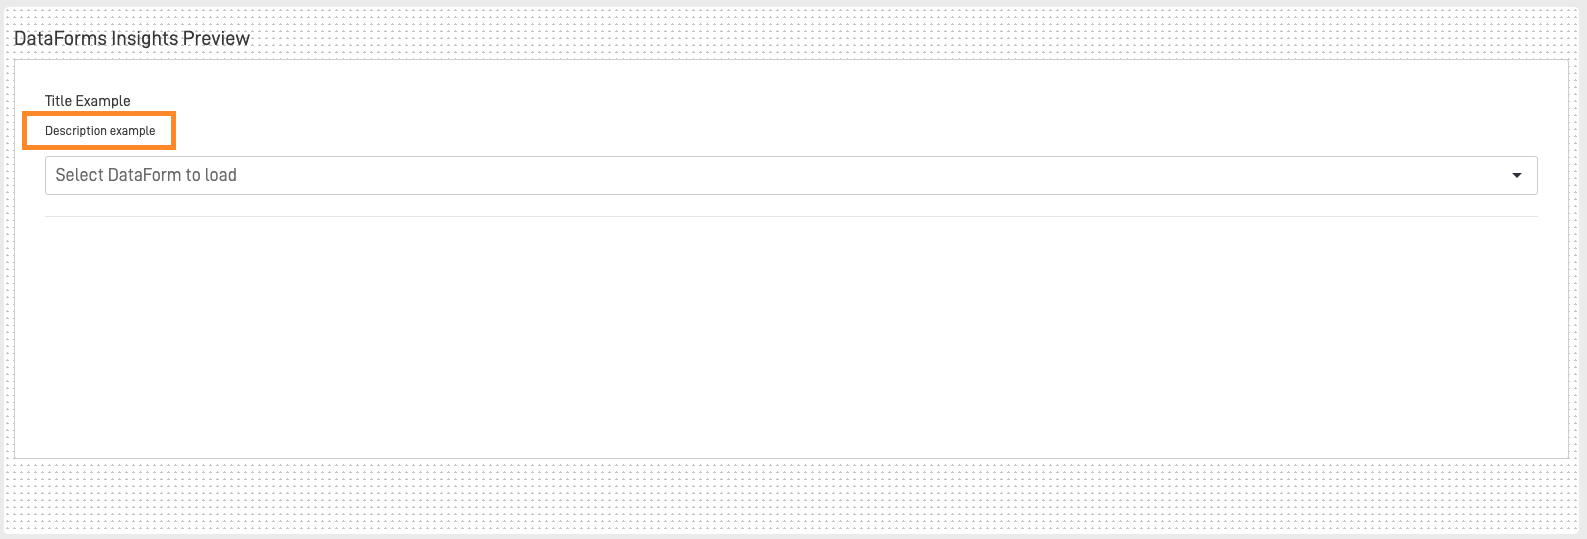
- Screen Description: Customize an optional screen description for the DataForms Insights.
Step 2: Configure the "DataForms in Screen"
Second, we will configure the main tool of the screen, the "DataForms in Screen." This tool allows us to customize which forms from our repository are added to a dropdown menu. Users will then be able to select a form from the dropdown to view its corresponding insights.
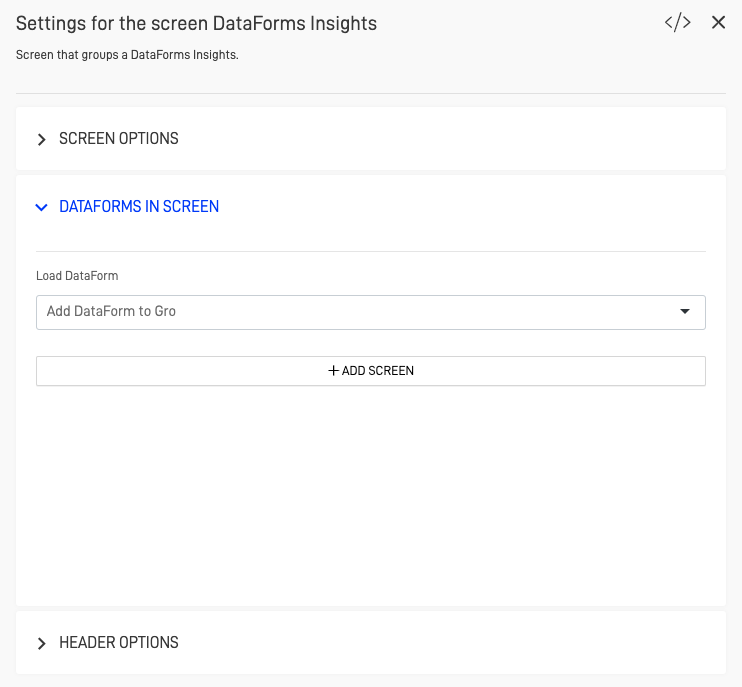
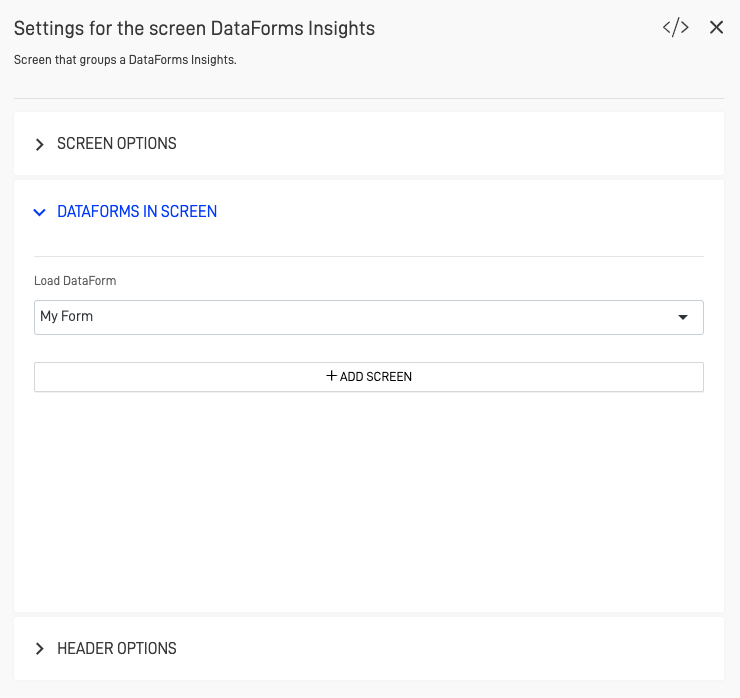
To configure this screen we click on the "Load DataForm" field, this open a dropdown menu with the available forms to add to the screen, we select the desired one.
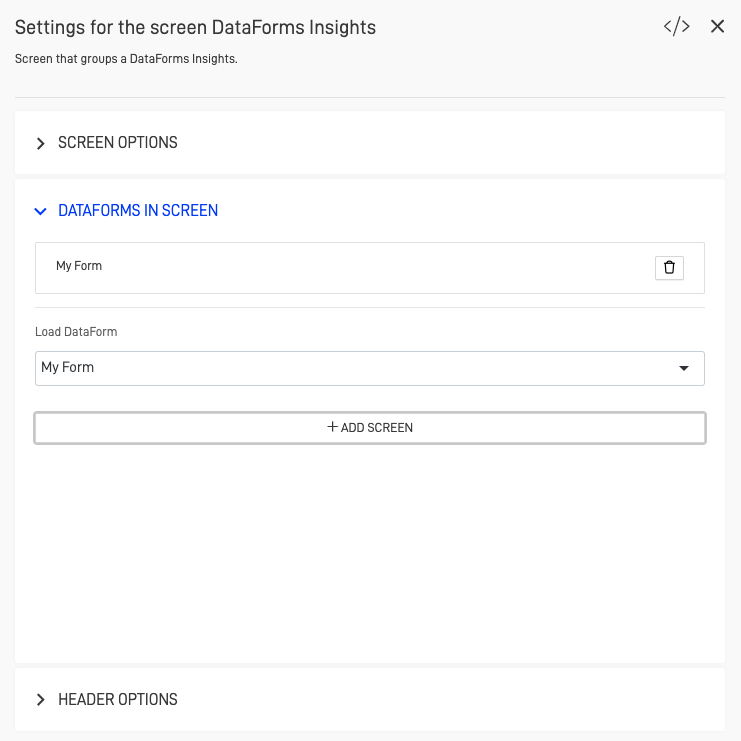
Next, click on the "+ ADD SCREEN" button. This action will load the form onto the screen. You can verify this by seeing the form displayed above the "Load DataForm" section. If needed, you can remove the form from the load list by clicking on the "Delete" icon, which is represented by a trash can icon.
Step 3: Configure the "Header Options"
Next, we will customize the header of the screen. By default, this screen has no header, but we can change this to include one. Within the header, we can add action buttons to guide the user to another screen or an external URL.
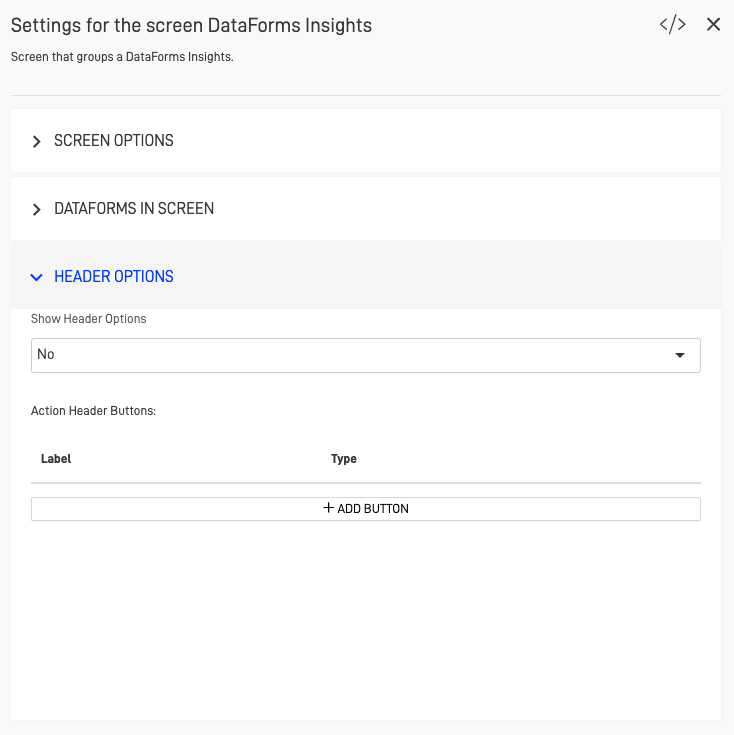
Here we can see these fields:
- Show Header Options: Enable or disable the calendar header.
- + ADD BUTTON: Add an action buttons to the header.
All action buttons created will appear in the "Action Header Buttons" list. Here, we have two available actions:
- Configuration: Represented by the "gear" icon, this option allows you to customize the action button's settings, such as the button name, type, and destination URL or screen.
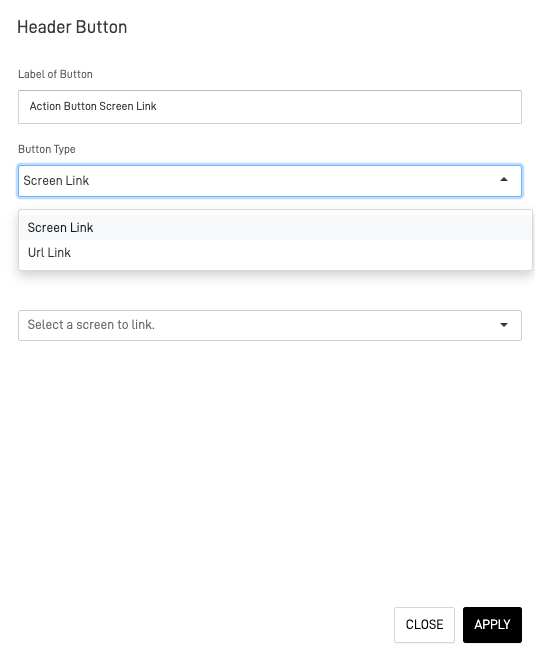
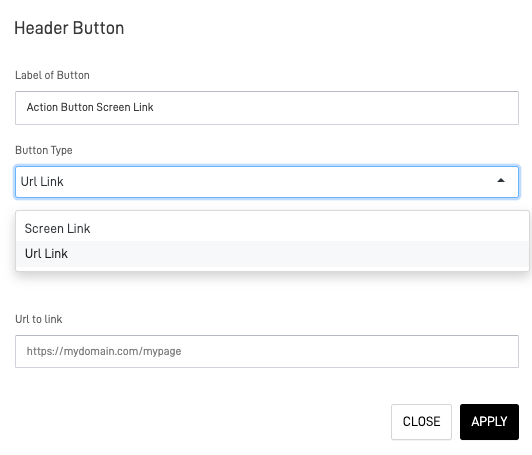
- Delete: Represented by the "X" icon, delete the action button.
Step 4: Preview you form Insights
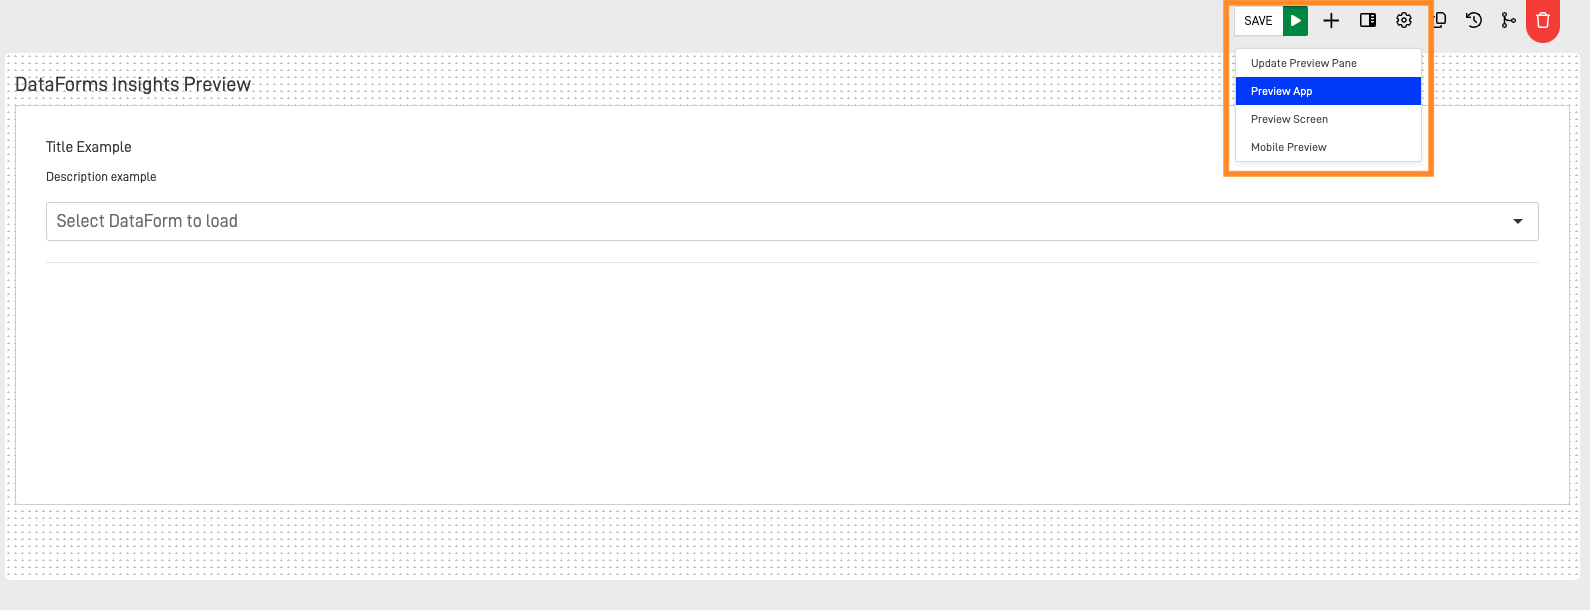
Lastly, preview the form you load to make sure they are working as intendeed, to do this we save our progress by clicking the "SAVE" button on the top right corner and after that we click on the arrow icon next to it, this will prompt a dropdown menu where we select the "Preview App" option.
This open a. new tab in our browser, here we click on the "Select DataForm to load", opening the dropdown menu.
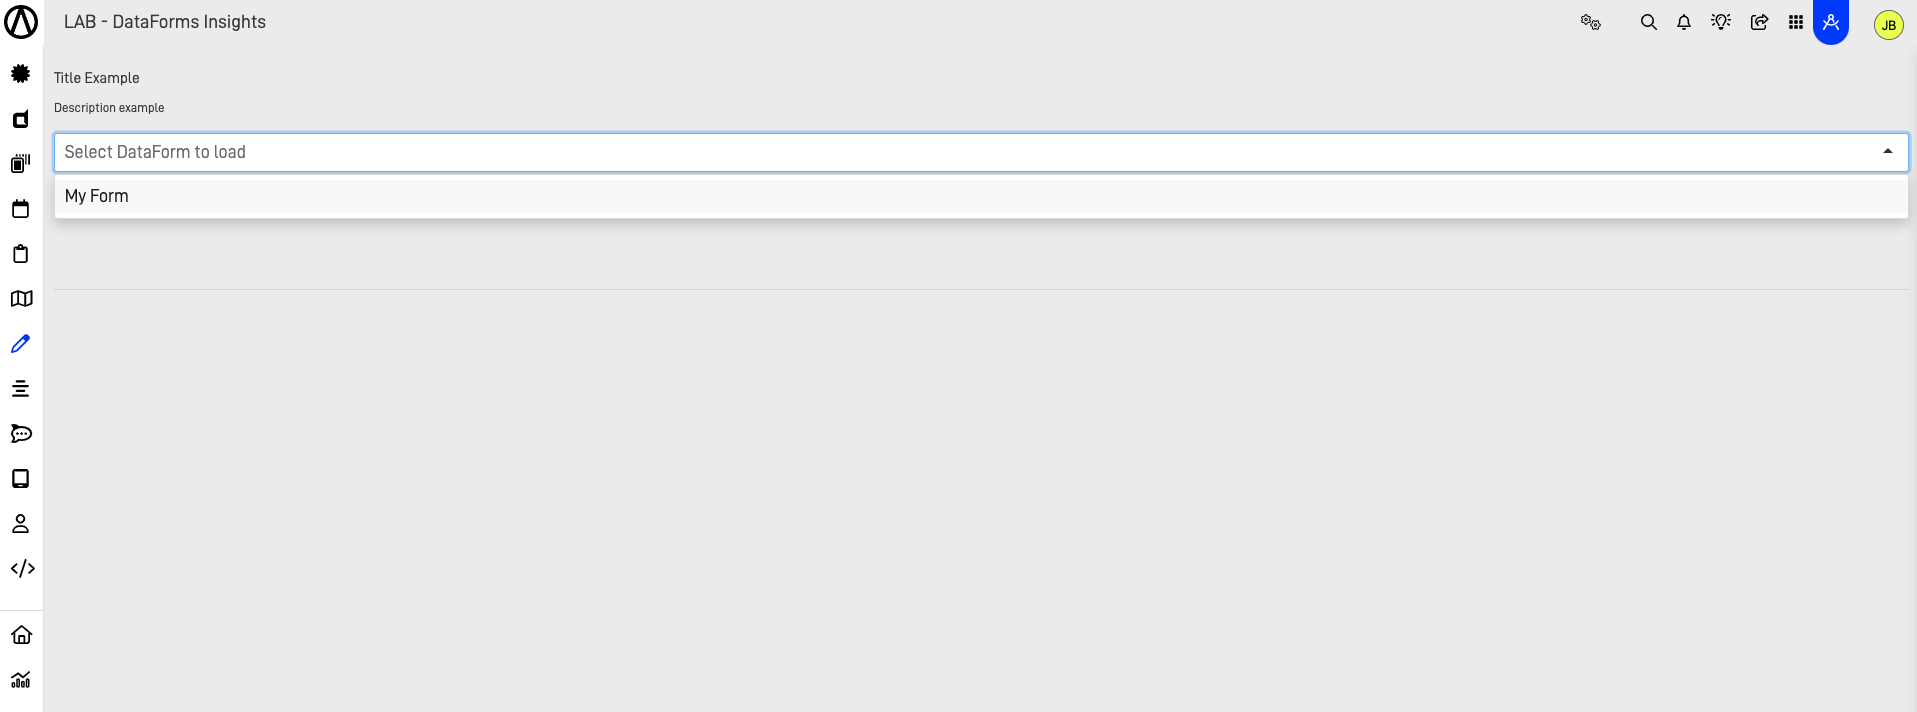
We select the desired form and this will display the Insights information of the Forms for each question in the fields that are possible.
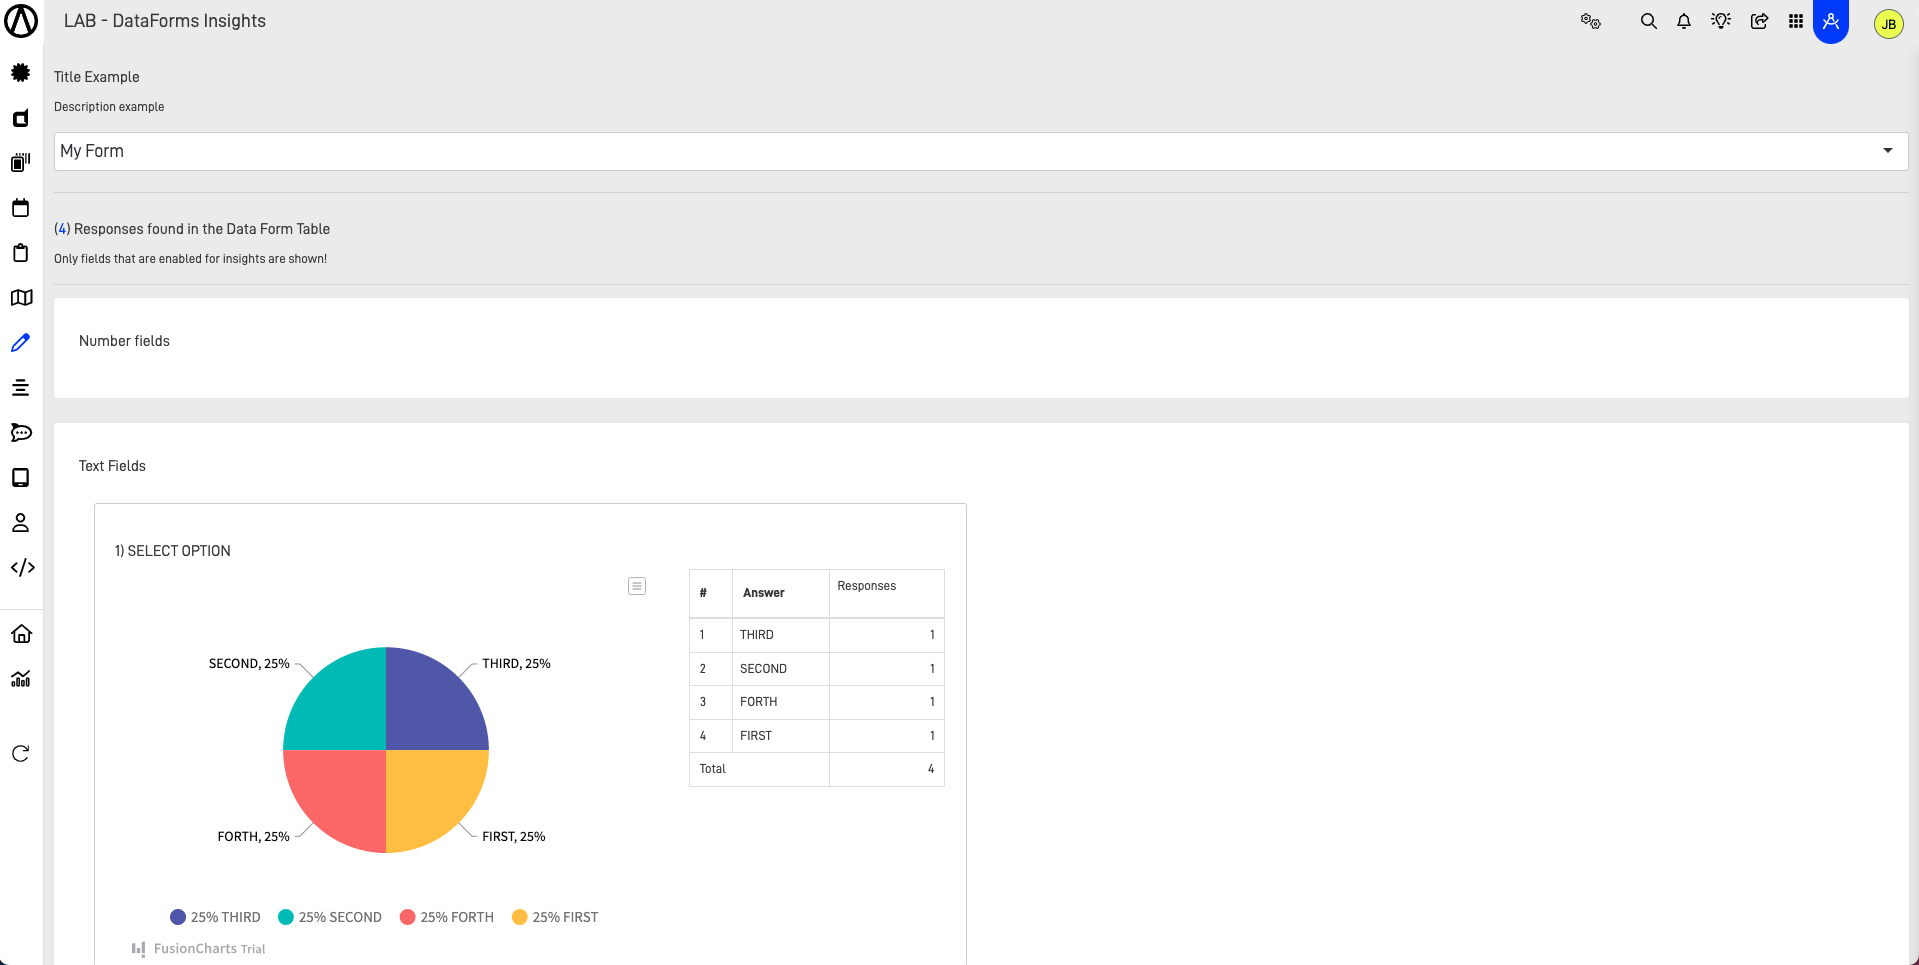
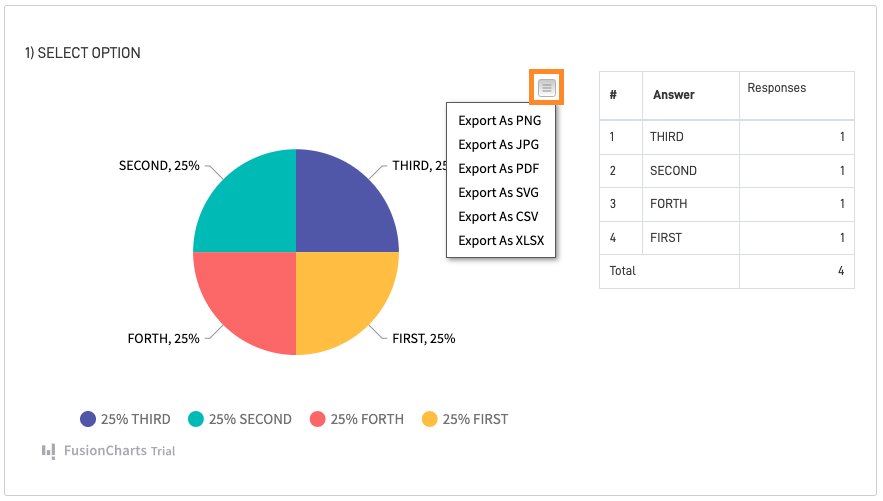
You can view the number of responses received in the Data Form Table. Additionally, Insights about the "Choose an option" question are available, including a graph that represents each answer and a table that shows the answers along with the number of responses for each. You can also download this information by clicking on the horizontal lines icon next to the graph.
Export format
We can export the the information in the following formats: PNG, JPG, PDF, SVG, CSV and XLSX
Updated over 1 year ago