
How to create a Trigger
Step-by-Step Guide
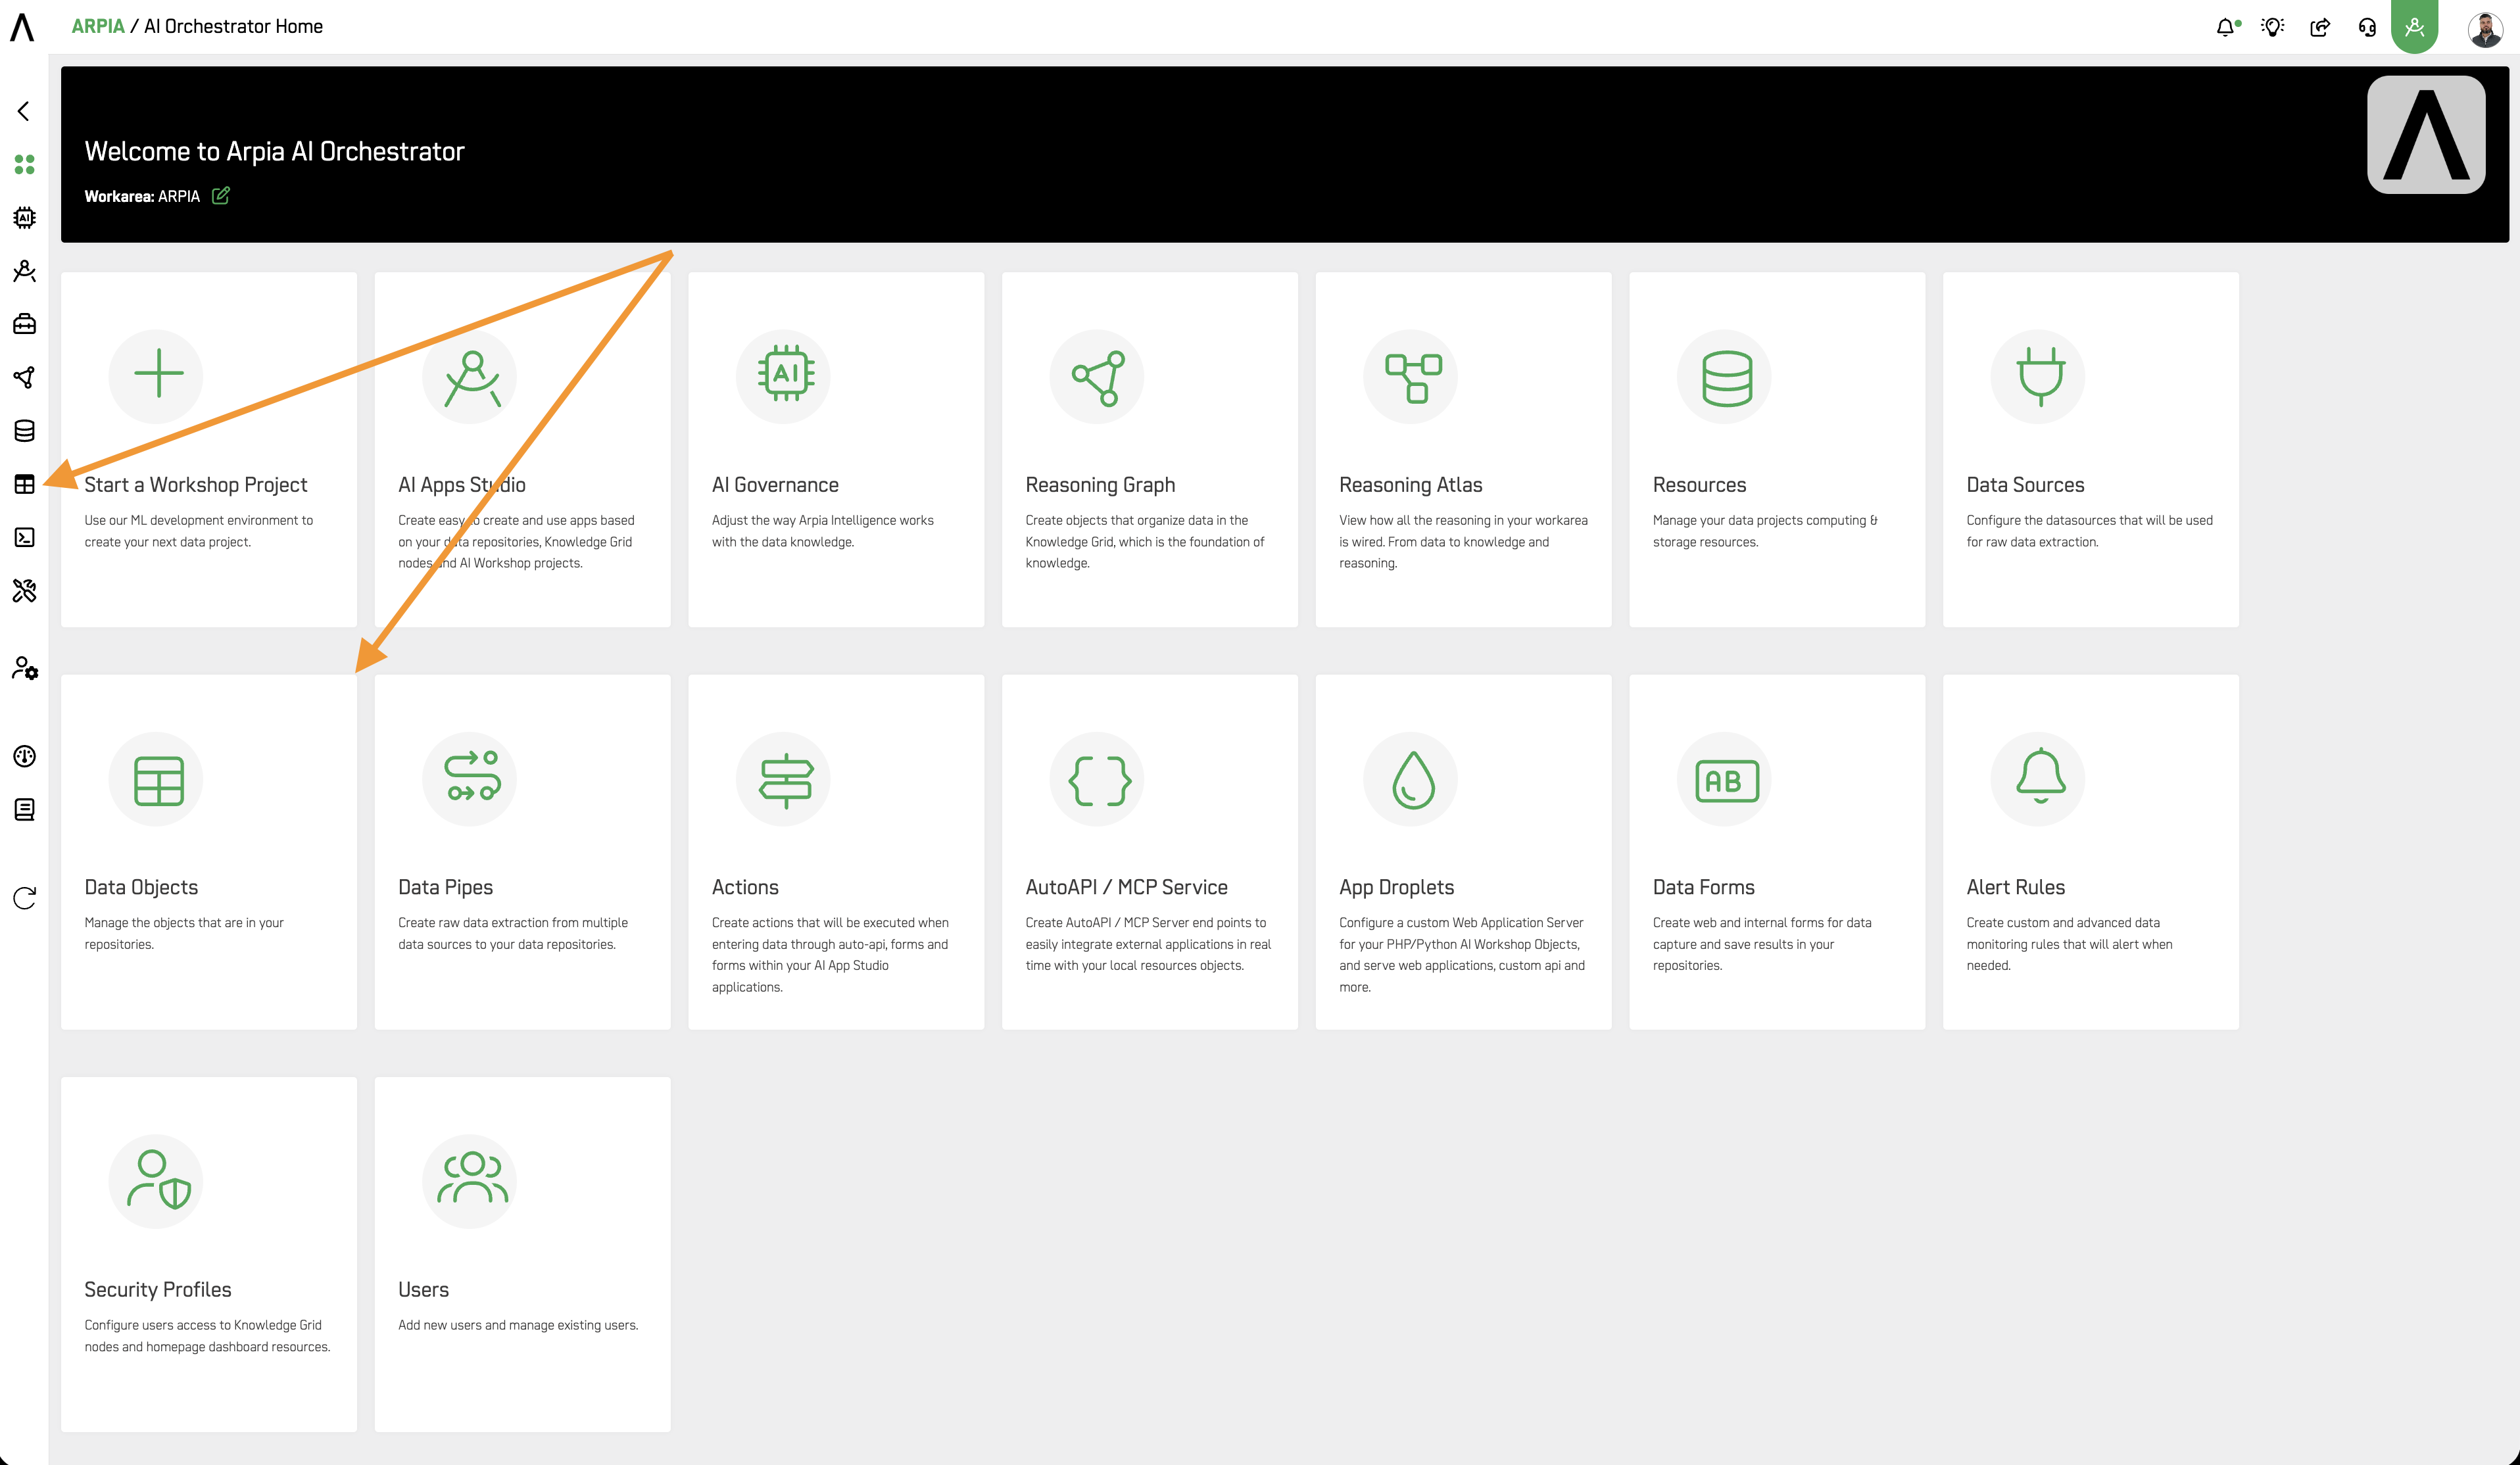
Step 1: Access the Data Objects Section
Navigate to the Data Object section in your Orchestrator toolbar.
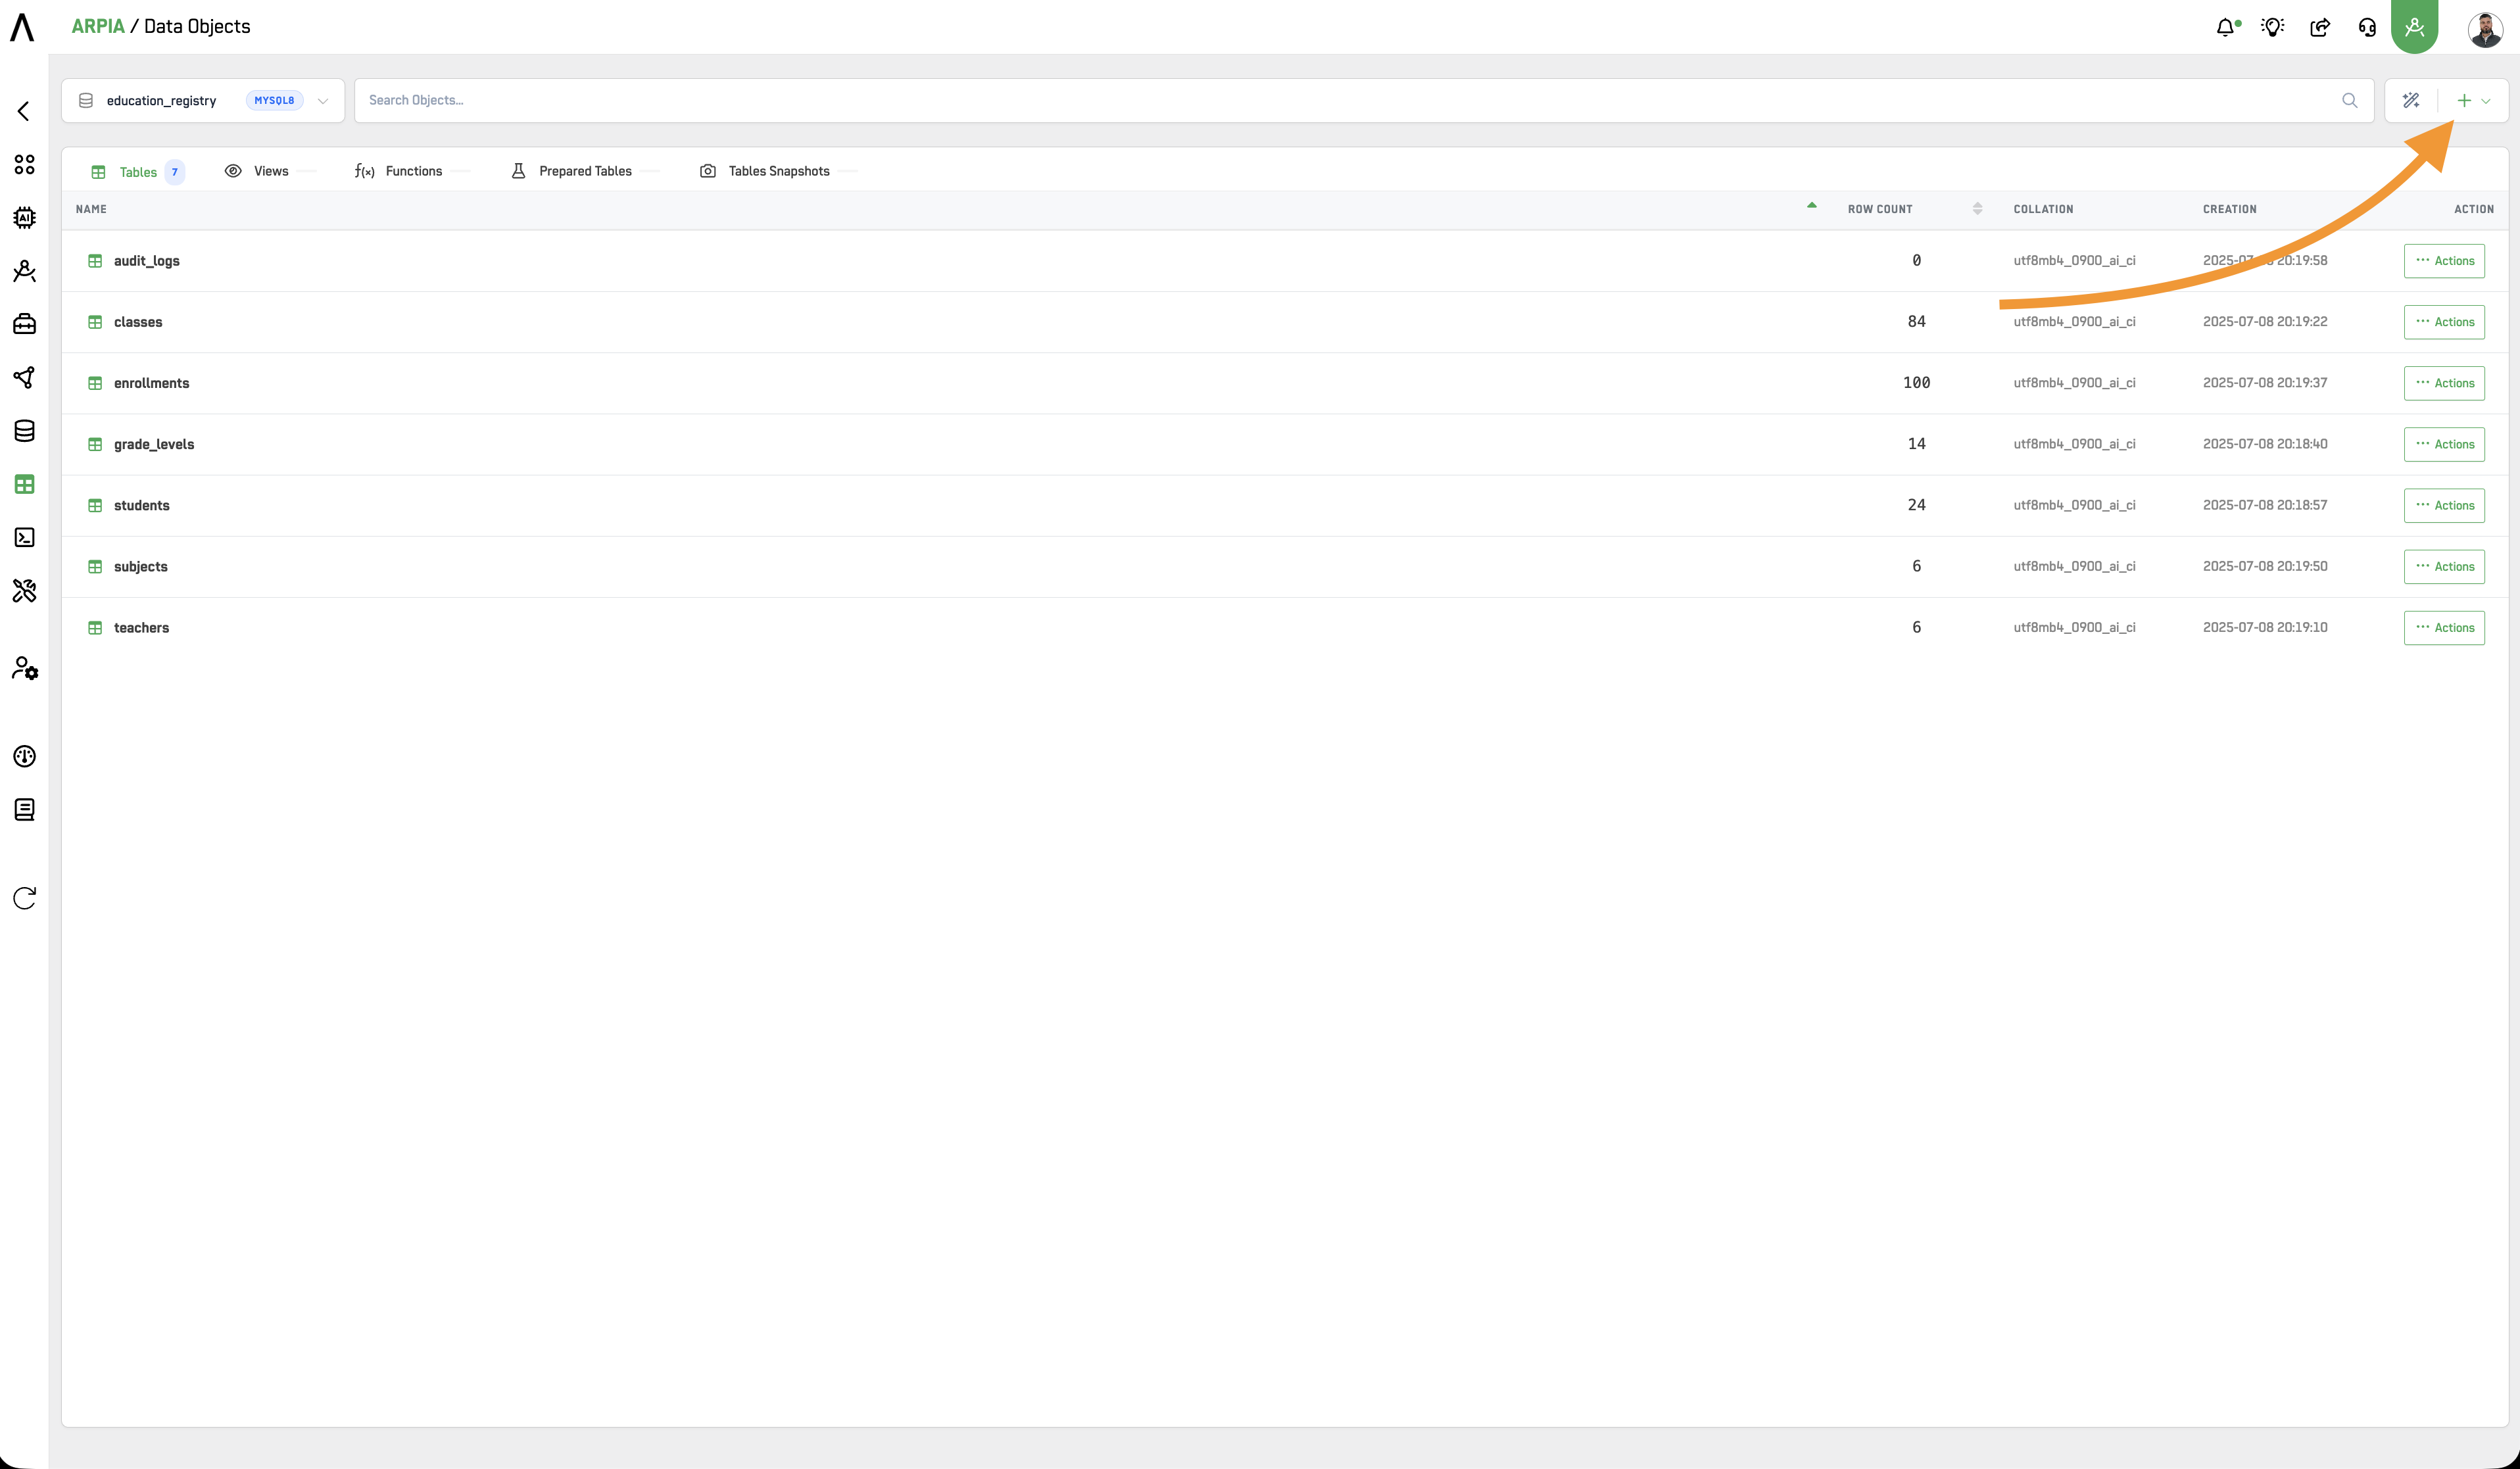
Step 2: Create a New Trigger Data Object
There are two ways to create a Trigger: (1) click the Trigger button directly on the Data Object screen, or (2) select the ACTIONS button on the table where you want to add the trigger. The second method is explained further in the How to use Data Object Actions documentation.
Step 3: Fill Out the "Add Trigger" Form
After clicking the button, you will see the following screen. Fill out the form to create your trigger: choose the table that the trigger will work with, enter a trigger name, and select a trigger type.
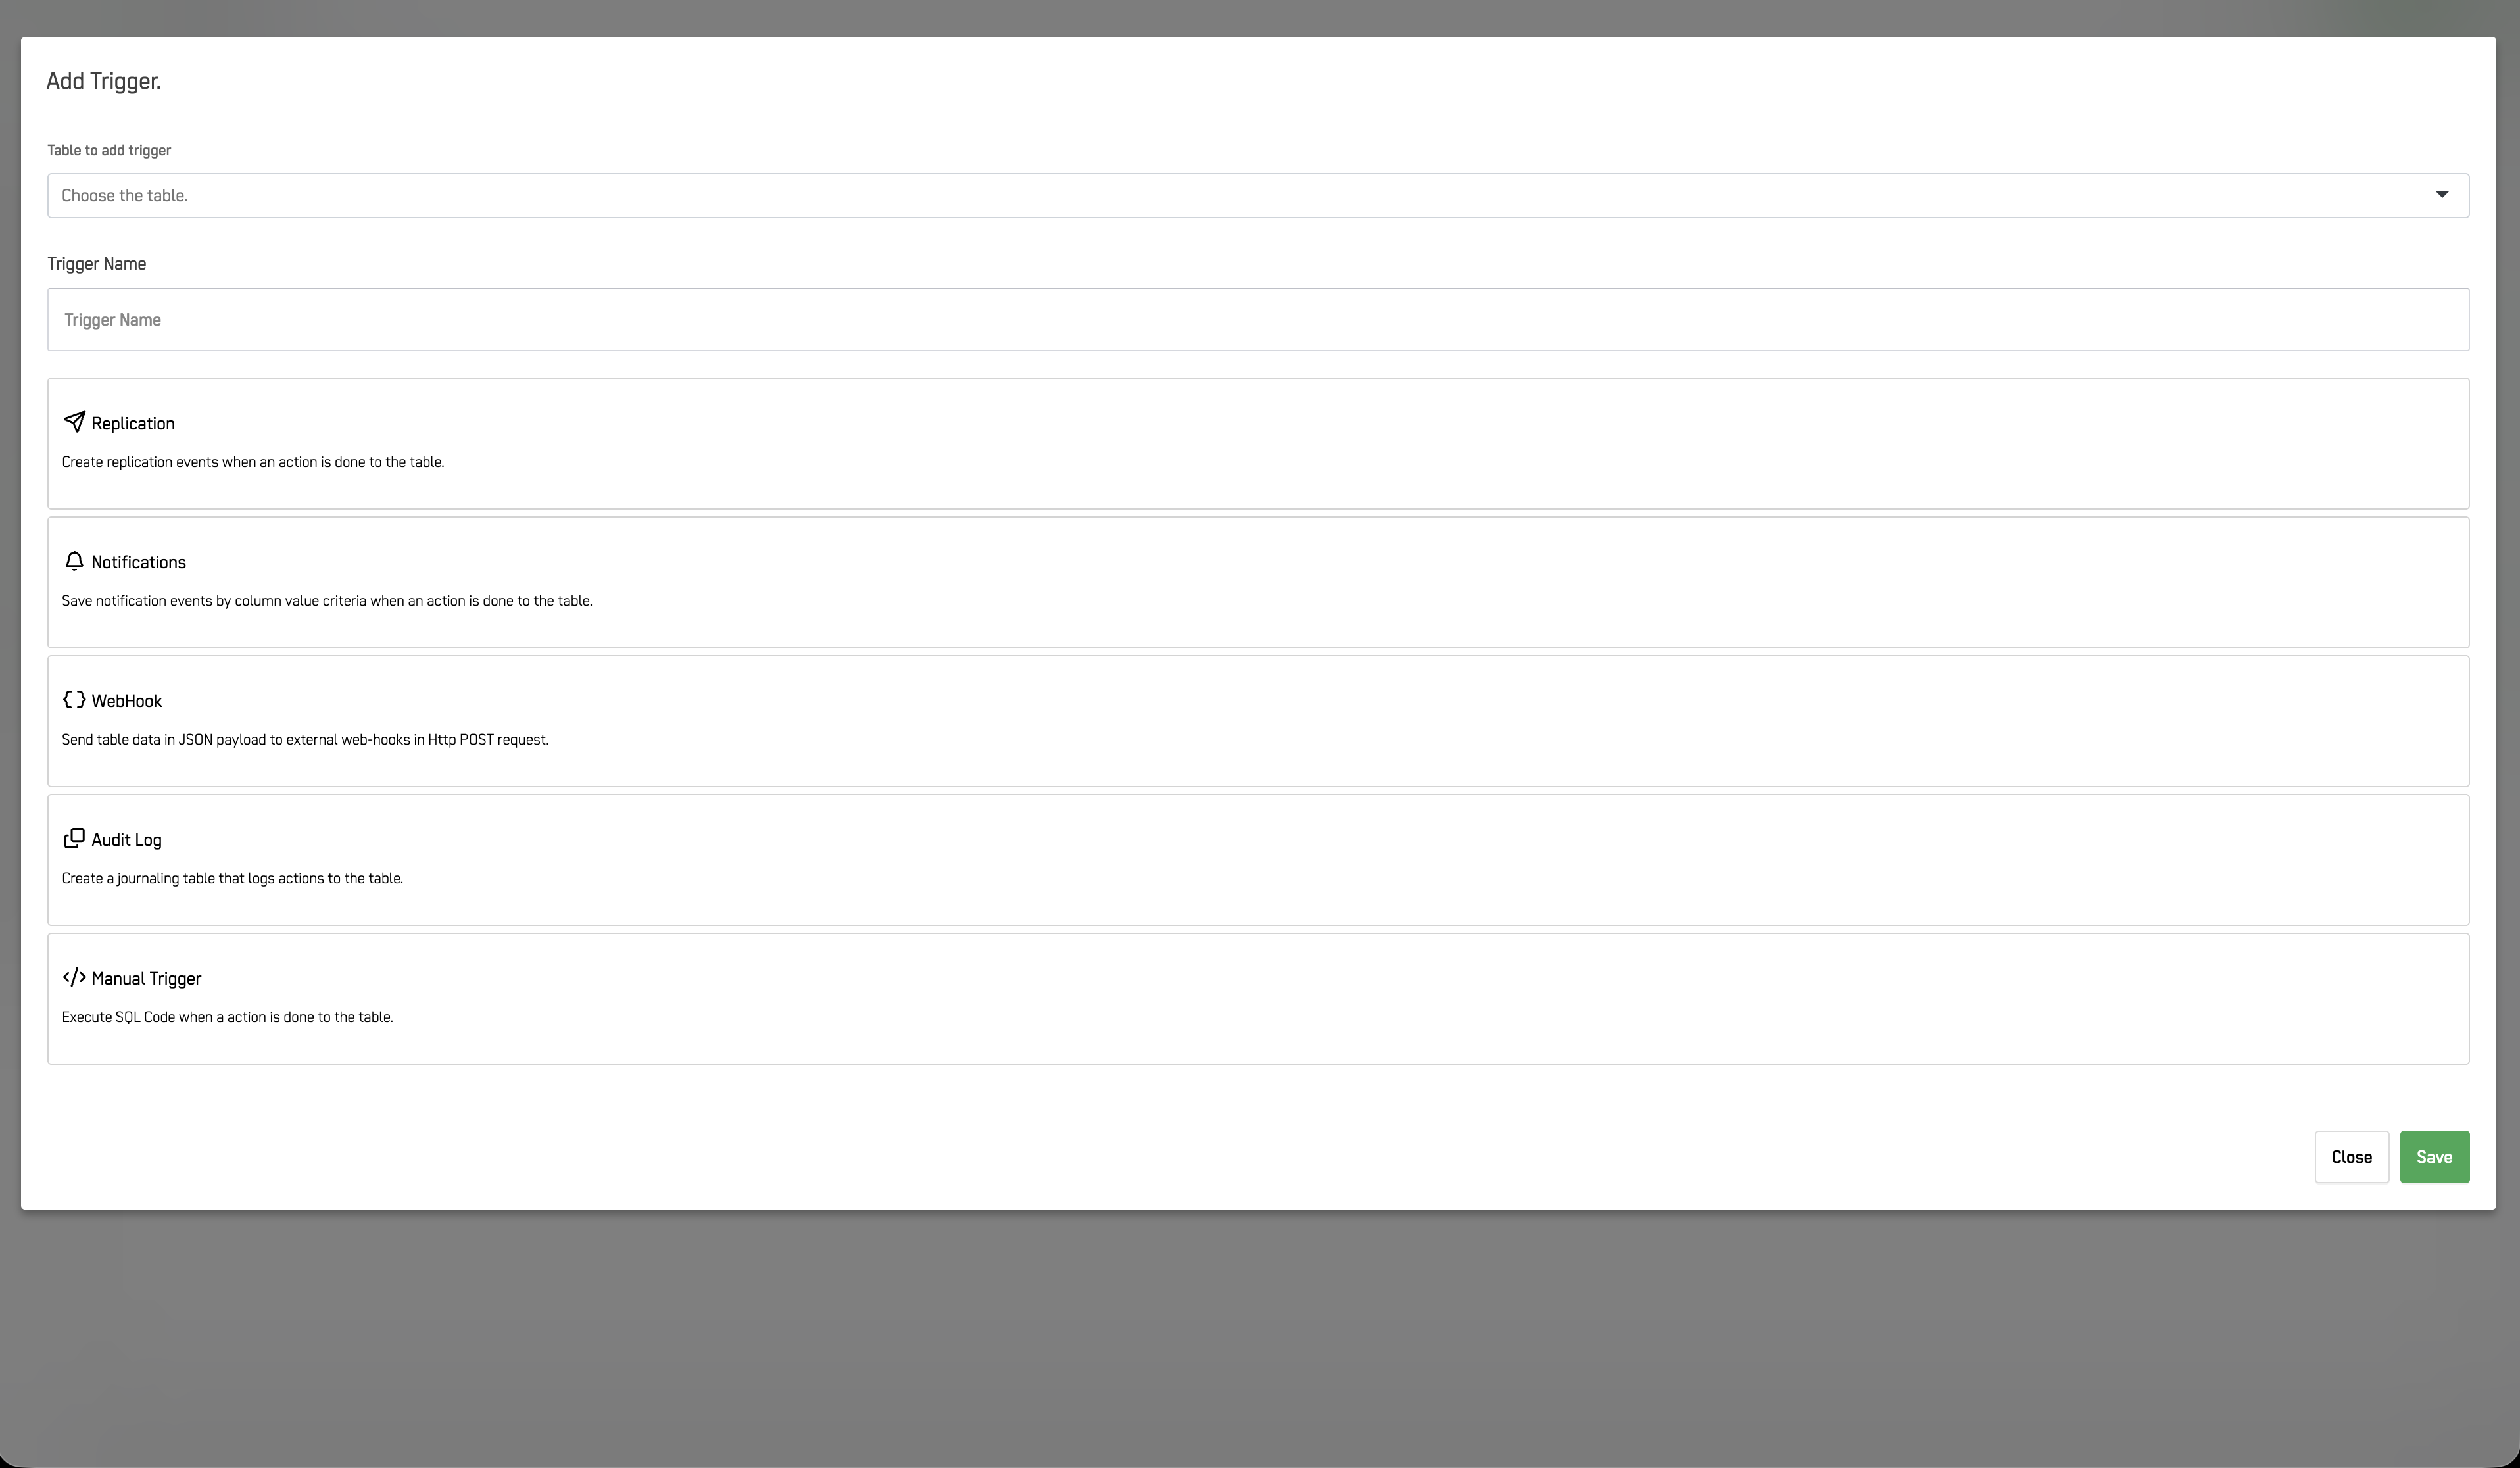
The following table explains each trigger type:
| Type | Purpose |
|---|---|
| Replication | Record changes made in a database. Triggers can be configured for INSERT, UPDATE, and DELETE statements, specific columns, or rows. |
| Notification | Send specific notifications to users and trigger workflows based on data changes. For example, notify the sales team when a new product is added. |
| WebHook | Send data from a table in a JSON payload to external webhooks via HTTP POST requests. For example, send order data to an e-commerce platform when a new order is placed. |
| Audit Log | Record all changes made to a table, such as INSERT, DELETE, and UPDATE statements. Useful for auditing changes or troubleshooting issues. |
| Manual Trigger | Create custom triggers for specific table actions. Write custom SQL code to execute when the trigger is activated. |
Prepared tables created by Triggers
Using the prepared tables created by the Replication, Notification, and WebHook triggers requires a Data Workshop Object to enable processes that utilize them for their specific purposes.
Step 4: Fill Out the Specific Trigger Form
Replication Trigger
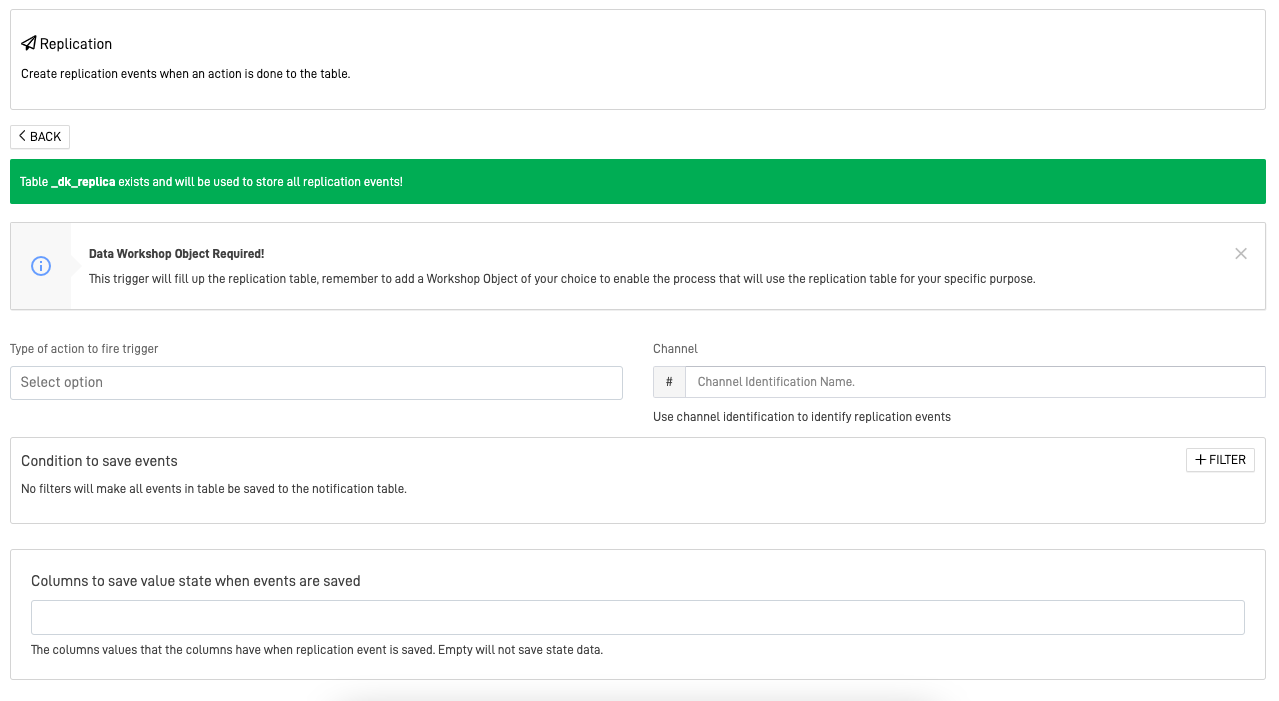
A prepared table called dk_replica will be created to store the information of the replication events.
-
Type of action to fire trigger: Identifies the type of action that fires the trigger. The action can be:
- INSERT: If information is inserted into the table, the trigger fires.
- UPDATE: If information is updated in the table, the trigger fires.
- DELETE: If information is deleted from the table, the trigger fires.
-
Channel: The channel name identifies the replication events created by this trigger. It is normally used in the Data Workshop.
-
Condition to save events: You can create conditions using filters to further customize the action that fires the trigger. These can be normal filters, multiple values, field-to-field filters that compare the values between two fields, or customized SQL filters.
No Conditions
If you do not add any filters, all events that follow the type of action to fire the trigger will be saved in the "replica" table of the trigger.
- Columns to save value state when events are saved: This allows you to specify which column values you want to save when the replication event is triggered. If empty, no state data will be saved.
Notification Trigger
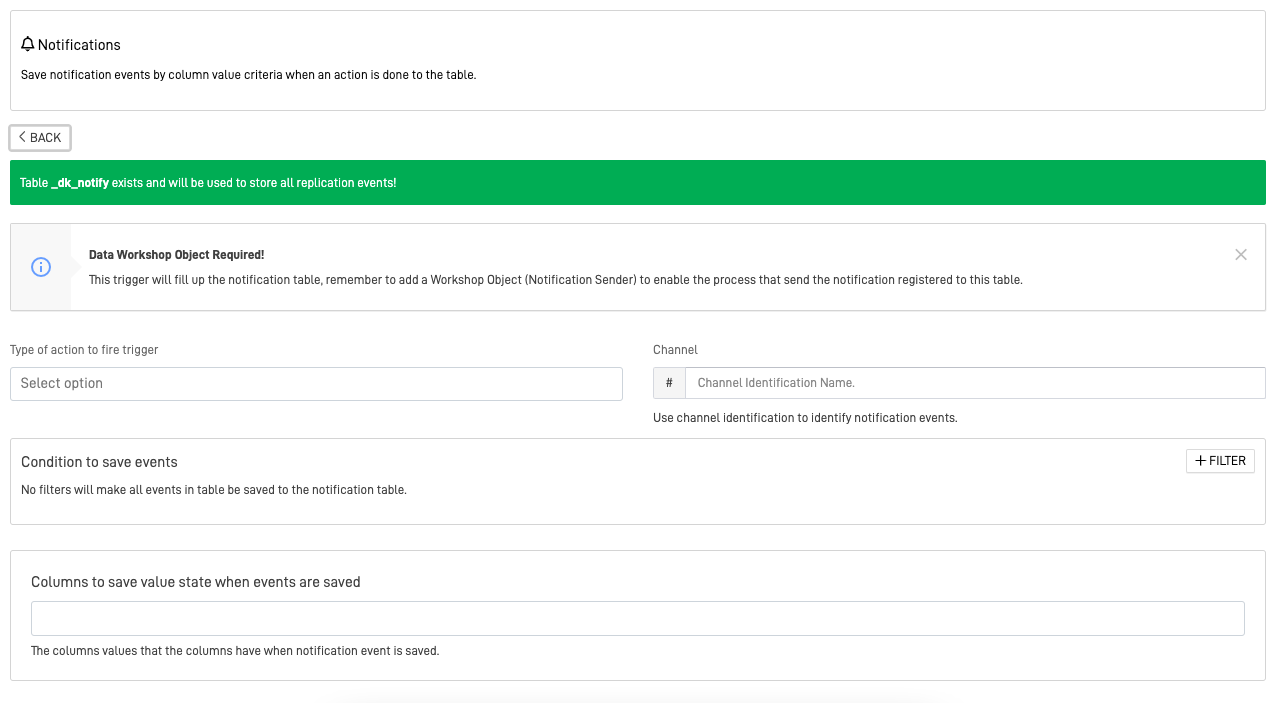
A prepared table called dk_notify will be created to store the information of the notification events.
-
Type of action to fire trigger: Identifies the type of action that fires the trigger. The action can be:
- INSERT: If information is inserted into the table, the trigger fires.
- UPDATE: If information is updated in the table, the trigger fires.
- DELETE: If information is deleted from the table, the trigger fires.
-
Channel: The channel name identifies the notification events created by this trigger. It is normally used in the Data Workshop.
-
Condition to save events: You can create conditions using filters to further customize the action that fires the trigger. These can be normal filters, multiple values, field-to-field filters that compare the values between two fields, or customized SQL filters.
No Conditions
If you do not add any filters, all events that follow the type of action to fire the trigger will be saved in the "notify" table of the trigger.
- Columns to save value state when events are saved: This allows you to specify which column values you want to save when the notification event is triggered. If you do not specify any columns, no information will be sent.
WebHook Trigger
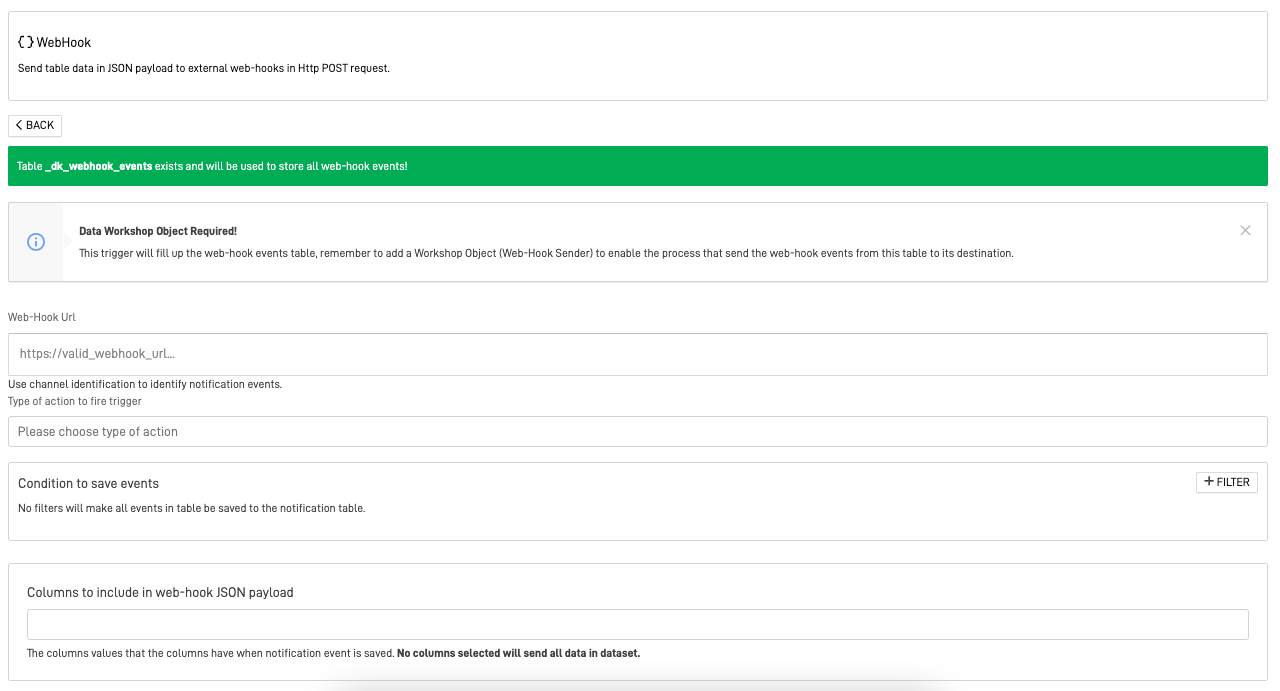
A prepared table called dk_webhook_events will be created to store the information of the WebHook events.
-
Web-Hook URL: Enter the URL of the external endpoint that will receive the HTTP POST request from this trigger. (The UI label uses the hyphenated spelling "Web-Hook.")
-
Type of action to fire trigger: Identifies the type of action that fires the trigger. The action can be:
- INSERT: If information is inserted into the table, the trigger fires.
- UPDATE: If information is updated in the table, the trigger fires.
- DELETE: If information is deleted from the table, the trigger fires.
-
Condition to save events: You can create conditions using filters to customize actions that trigger events. These can be normal filters, multiple values, field-to-field filters that compare values between two fields, or customized SQL filters.
No Conditions
If you do not add any filters, all events that follow the type of action to fire the trigger will be saved in the "webhook_events" table of the trigger.
- Columns to include in the JSON payload: This option allows you to specify which column values to save and send to the WebHook via a JSON payload. If no columns are selected, all data in the table will be sent.
Audit Log Trigger
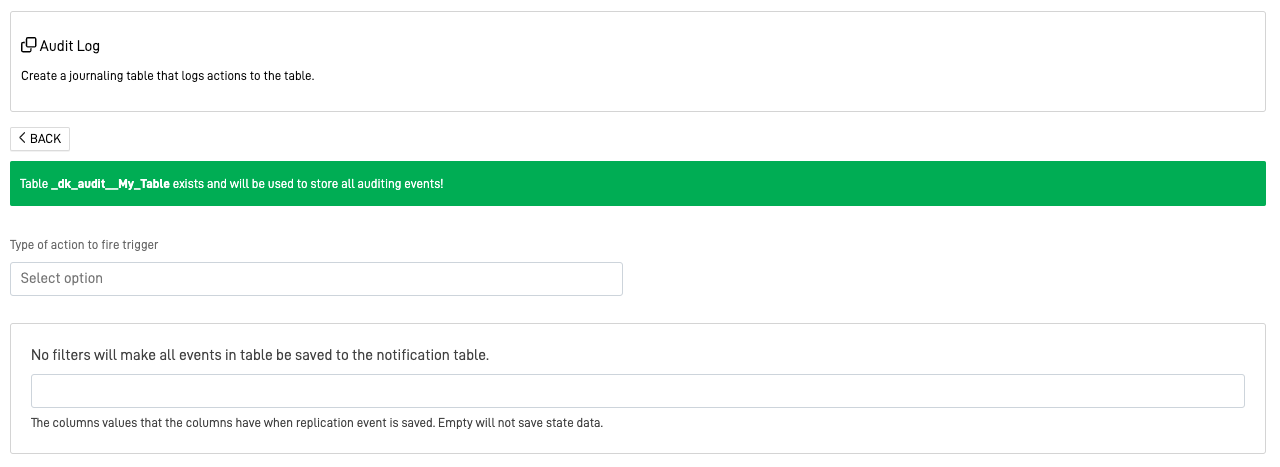
A prepared table called dkaudit__tablename will be created to store the information of the audit log events. The *tablename* portion of the name is replaced with the name of the table the trigger is attached to.
-
Type of action to fire trigger: Identifies the type of action that fires the trigger. The action can be:
- INSERT: If information is inserted into the table, the trigger fires.
- UPDATE: If information is updated in the table, the trigger fires.
- DELETE: If information is deleted from the table, the trigger fires.
-
Columns to save value state when events are saved: Specify which column values you want to save when the audit log event is recorded. Leaving this field empty will exclude state data from being saved.
Manual Trigger
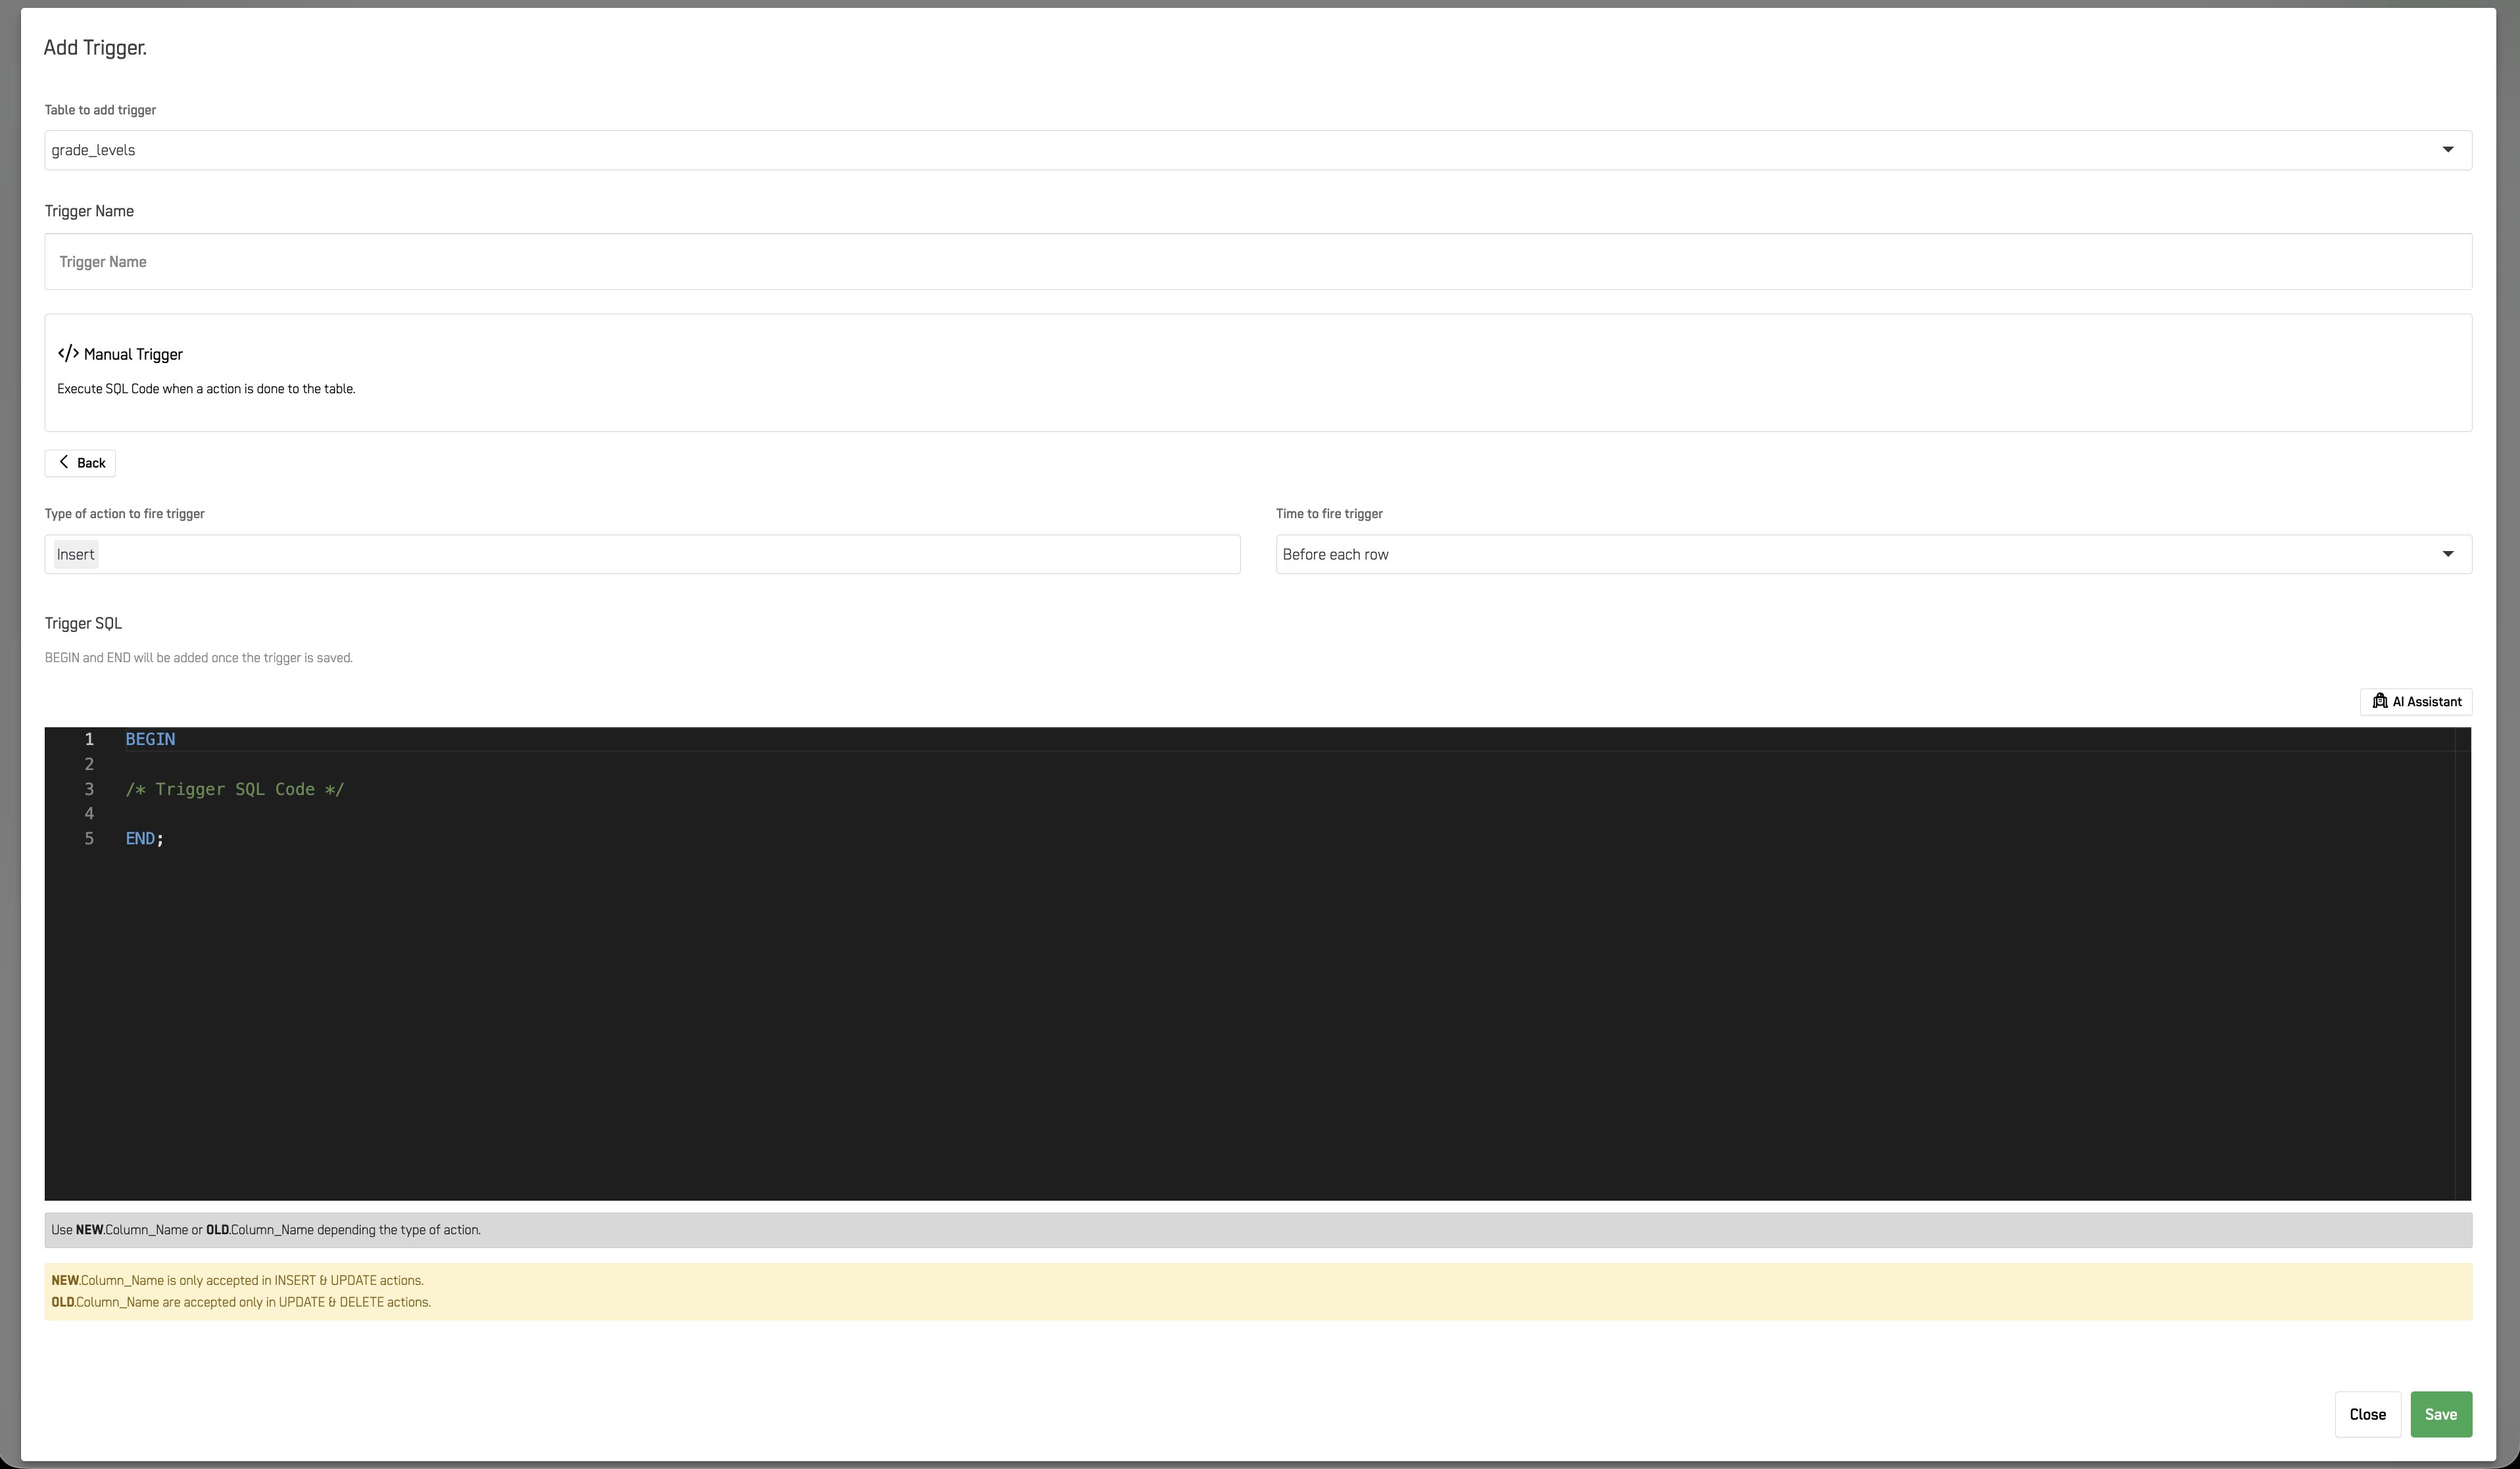
This trigger does not create any prepared tables.
-
Type of action to fire trigger: Identifies the type of action that fires the trigger. The action can be:
- INSERT: If information is inserted into the table, the trigger fires.
- UPDATE: If information is updated in the table, the trigger fires.
- DELETE: If information is deleted from the table, the trigger fires.
-
Time to fire trigger: Determines when the trigger executes relative to the table operation:
- Before each row: Executes the trigger action before each row is inserted, updated, or deleted in the table.
- After each row: Executes the trigger action after each row is inserted, updated, or deleted in the table.
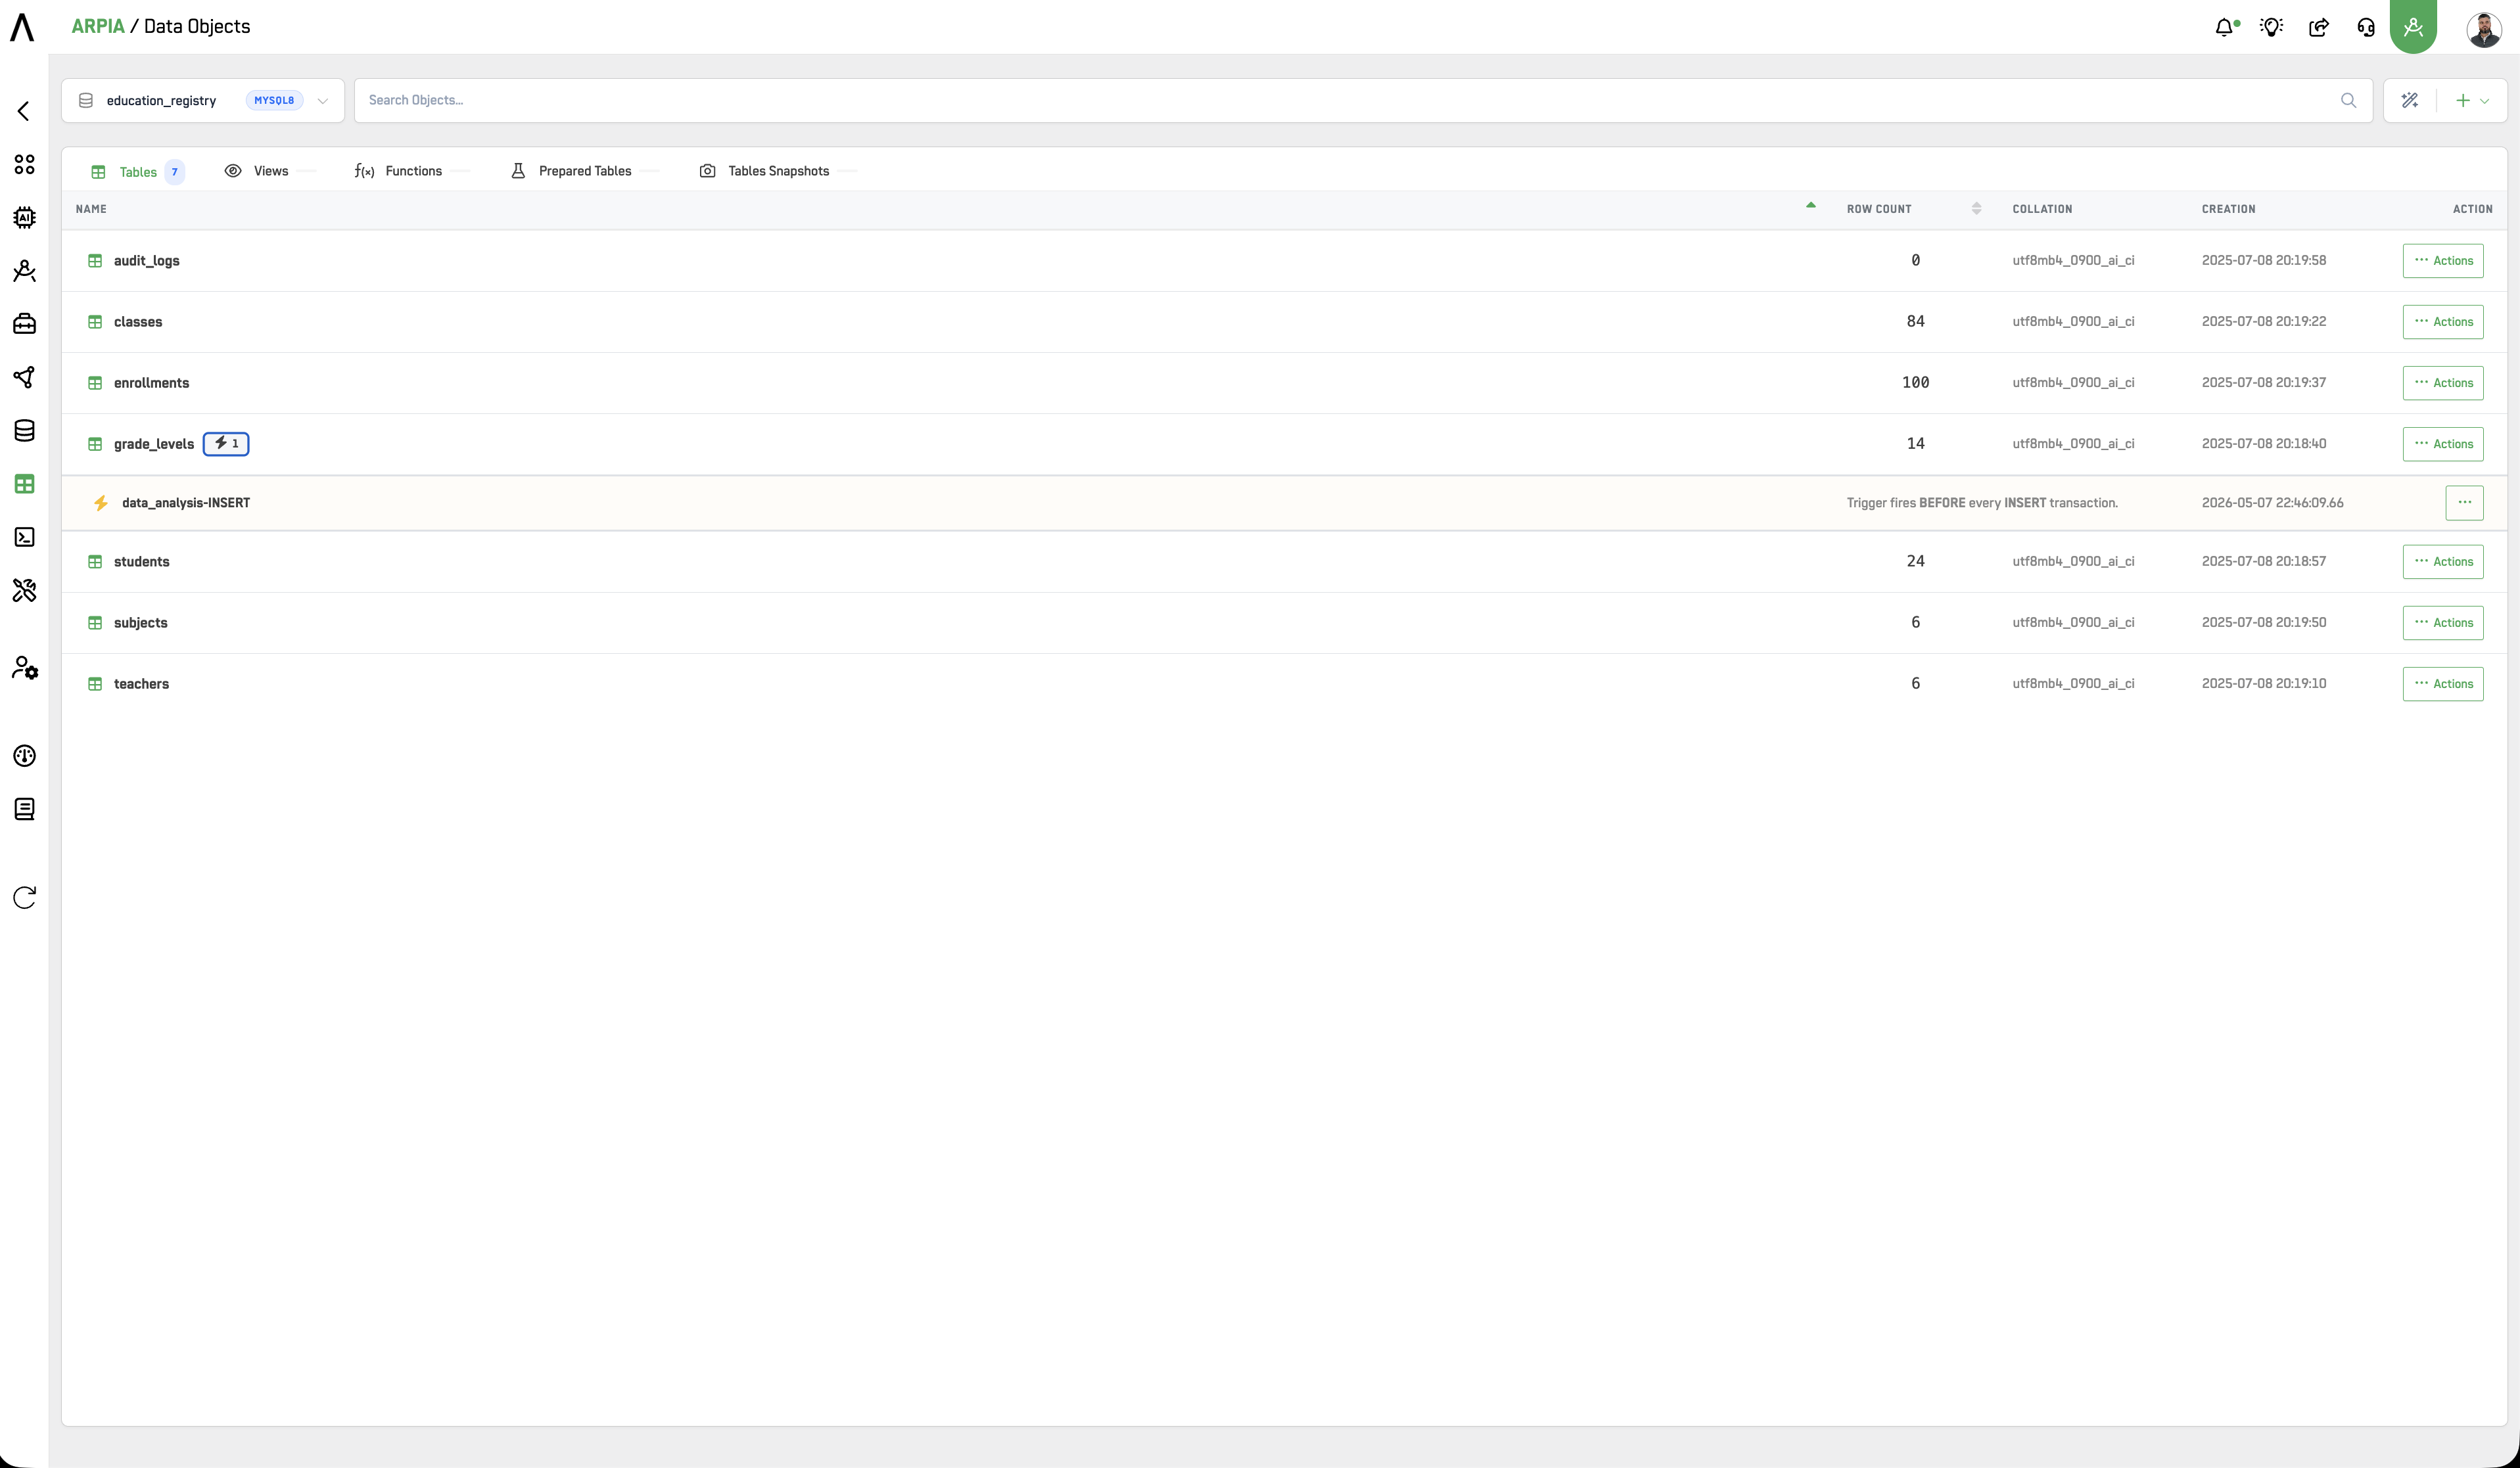
Step 5: Check Your Created Trigger
After selecting the type and filling out the required information, you can check your trigger in the selected table. Click the lightning icon to display a dropdown list of every trigger linked to the table.
Updated 3 months ago