How to create a Data Form
Step-by-Step Guide
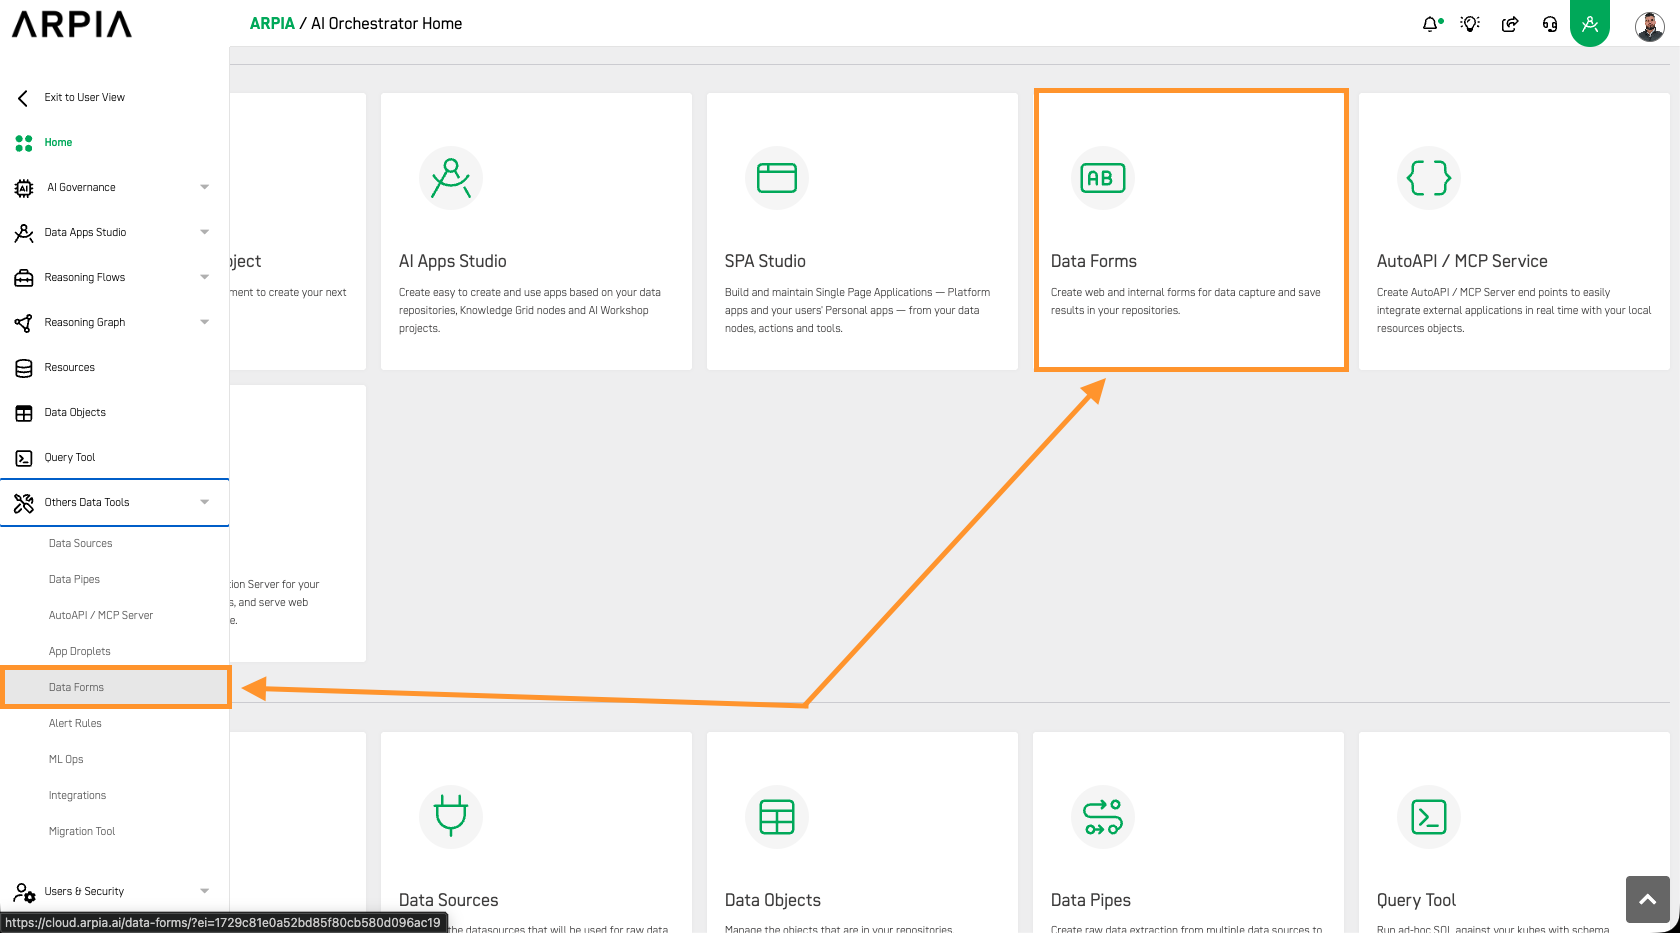
Step 1: Open Data Forms
From the AI Orchestrator Home screen, select Data Forms.
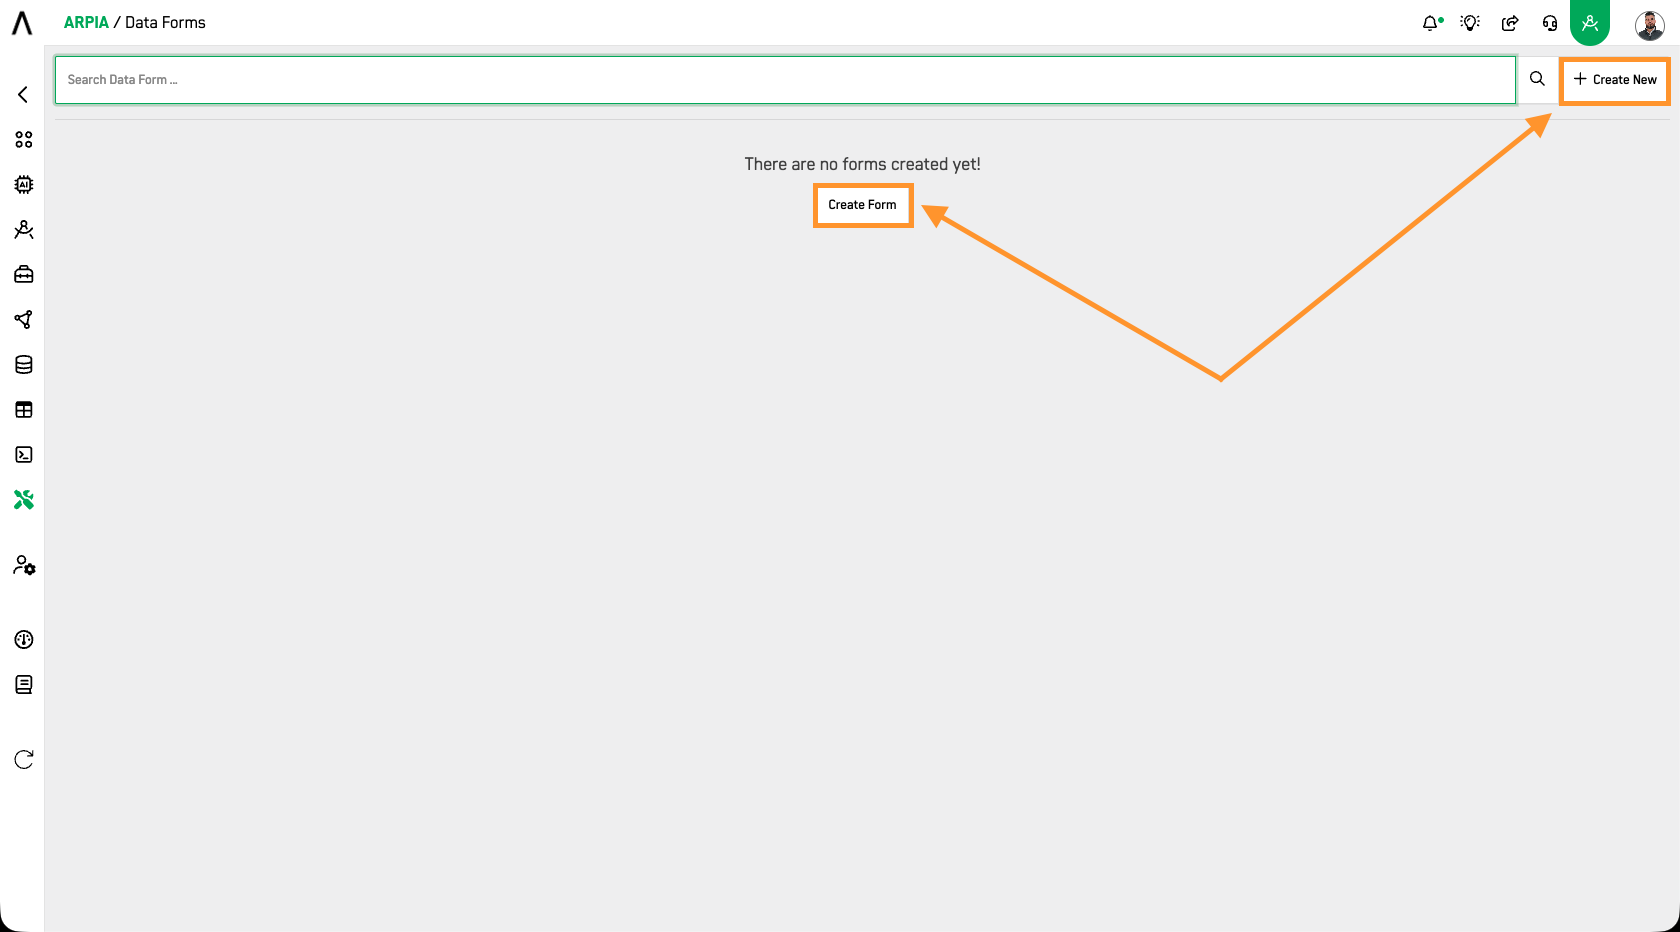
Step 2: Create a new form
Your saved Data Forms appear here, grouped by category. Click CREATE NEW.
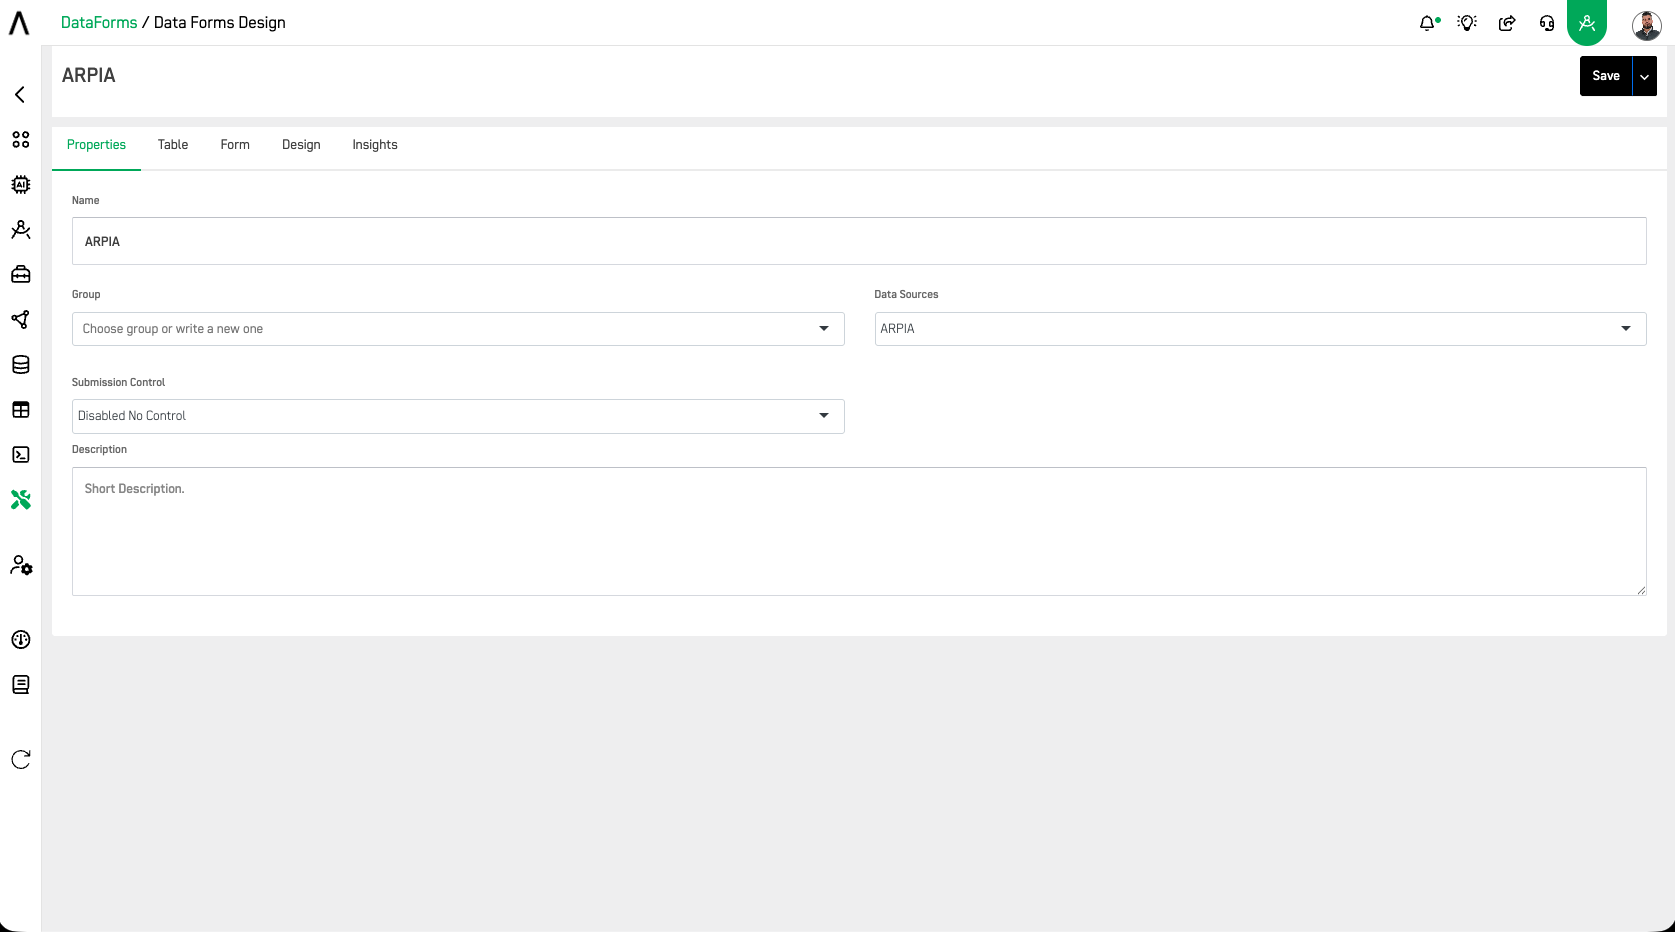
Step 3: Set up the form
Enter the form name, pick the repository where data is saved, and choose a group. Add an optional description. Click CREATE.

Step 4: Review the form
The form opens on the Properties screen, showing the setup from the previous step.
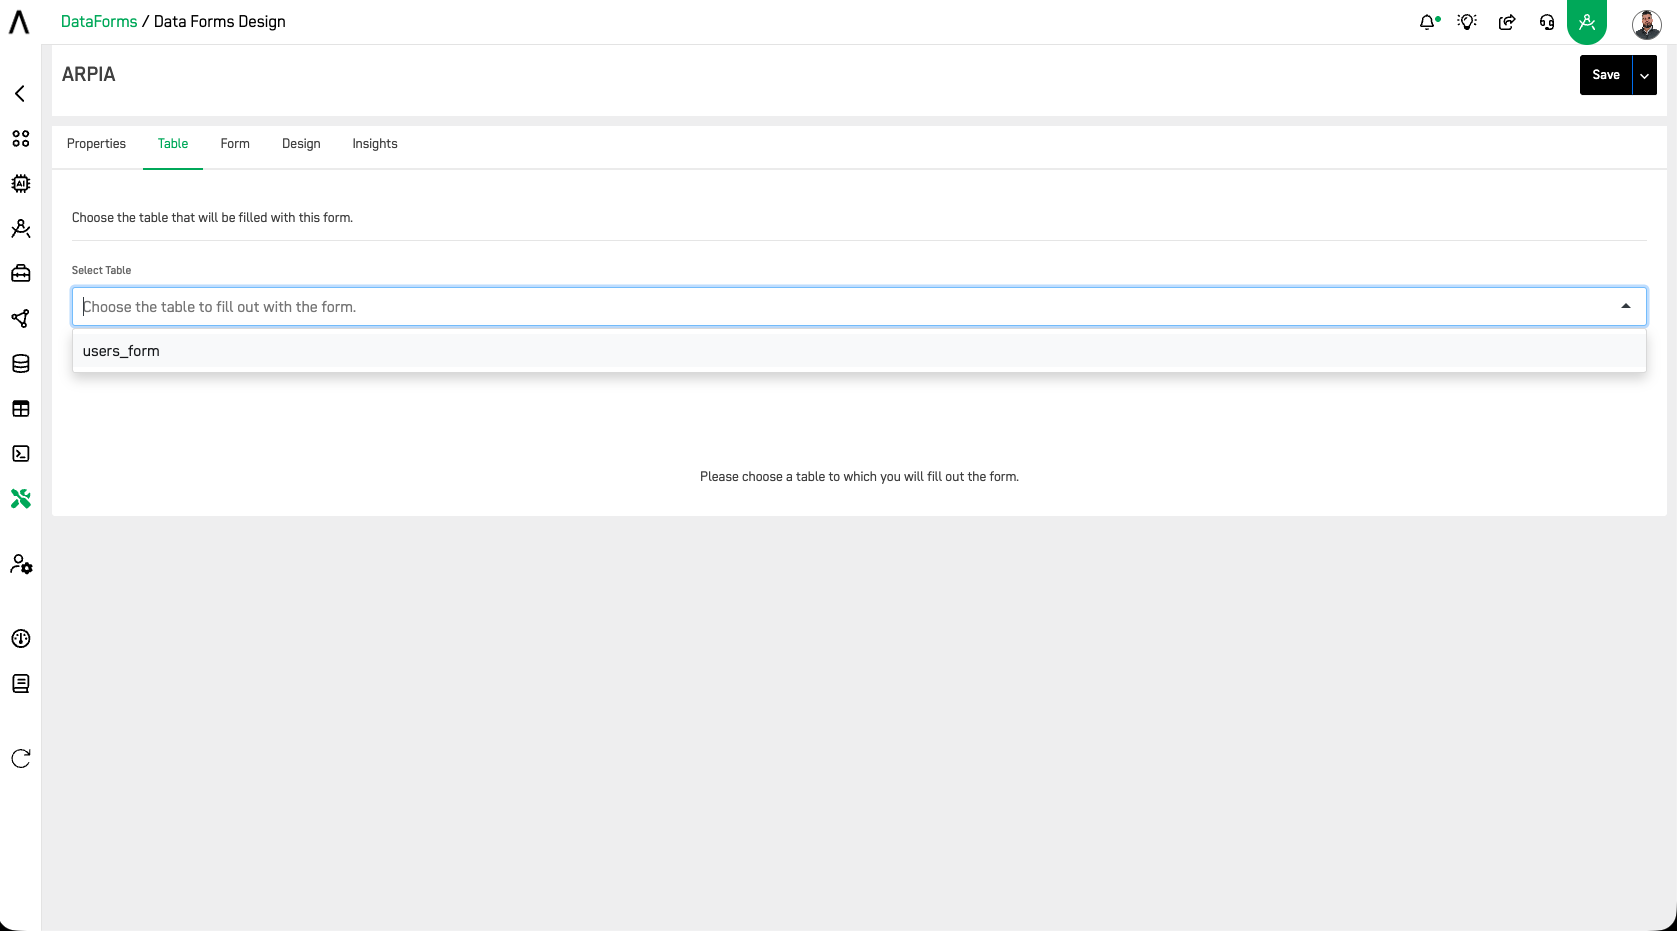
Step 5: Link a table
Open the Table tab and choose the table where form data will be saved.
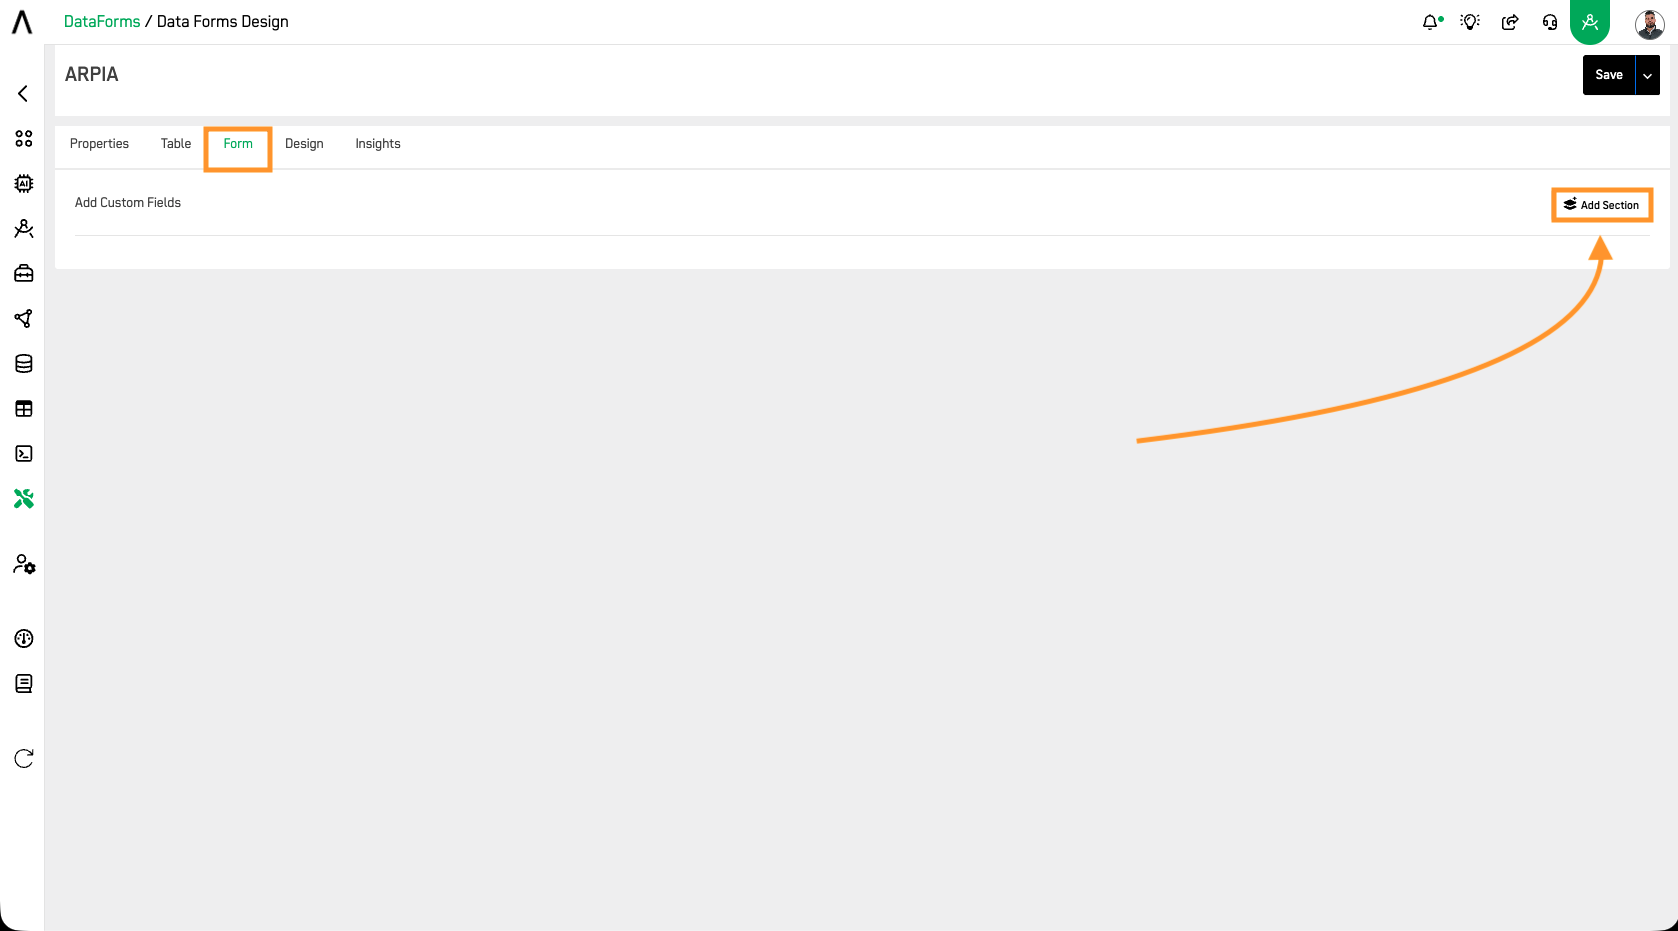
Step 6: Add a section
Open the Form tab and click ADD SECTION.
Form Sections
You can divide forms into sections to help users understand that each part of the form collects different data.
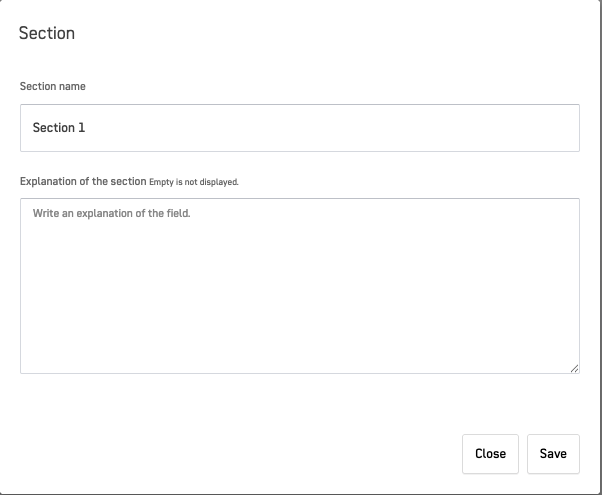
Step 7: Name the section
Enter a section name and an optional description. Click SAVE.
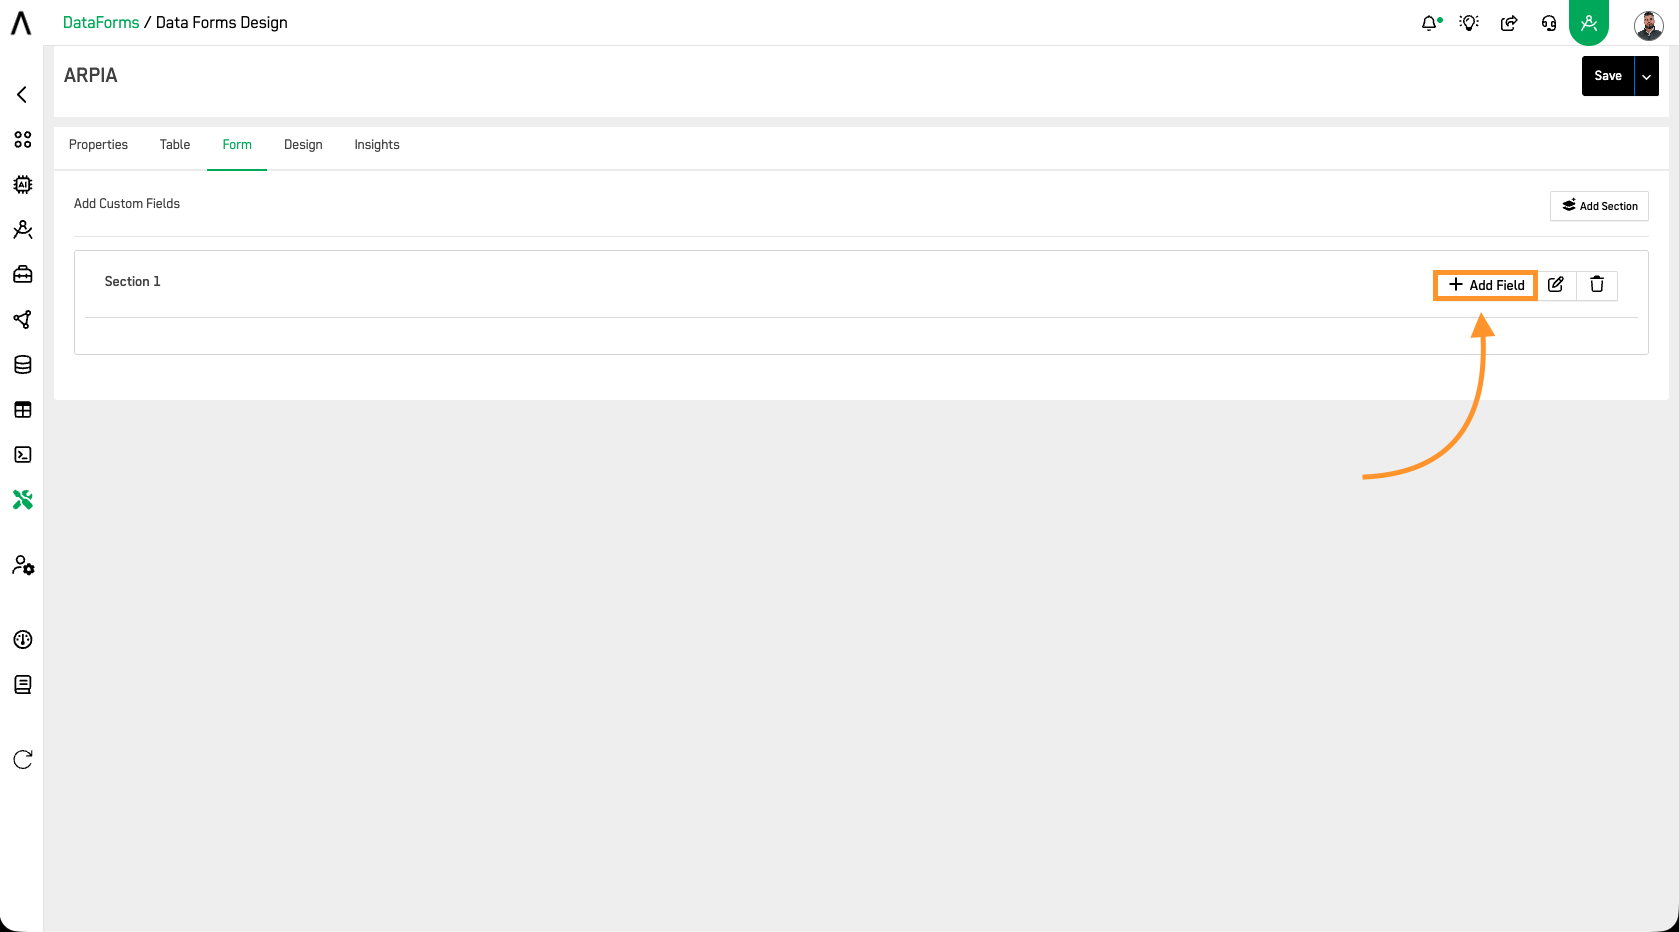
Step 8: Add a field
In the section, click + ADD FIELD.
Step 9: Configure the field
Set the table field, field type, name, description, alignment, and whether it is required.
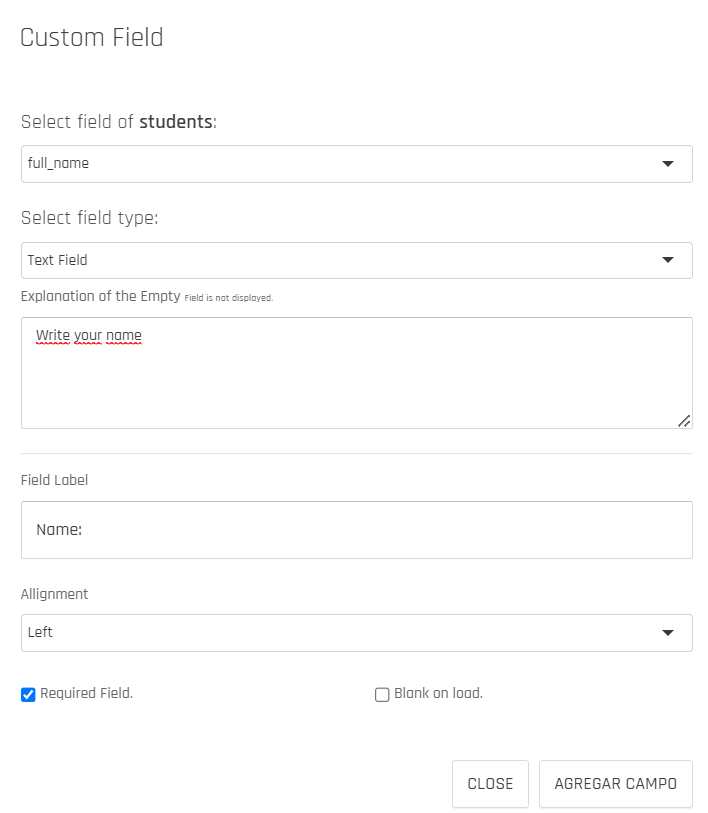
The table below explains each field type:
| Field Type | Description |
|---|---|
| Text Field | A simple text field. |
| Text Area | A multiline text field. |
| Chooser of an Option | A dropdown list of options, allowing the user to select one. |
| Multiple Choice Selector | A list of options, allowing the user to choose one or more. Result will be saved as JSON in the destination table. |
| Create Multiple Options | Allows the user to add multiple options on demand. Result will be saved as JSON in the destination table. |
| Date Field | A field with a date and time picker. |
| Field Selection of an SQL | Generates a list of selectable options based on data retrieved from an SQL query in the repository. Also supports dynamically generating a modal selector linked to the user's session for a more personalized experience. |
| Integer Incremental Field | Simulates an auto-incrementable field in the form. |
| Hash Key | Enables a primary key using a hash string to prevent duplicates and maintain a unique primary key for the record. |
| TimeStamp Field | Enables a timestamp field to capture the date and time of the data record obtained by the form. |
| Email Field | Allows entering email addresses. |
| Password Field | Allows adding passwords without revealing the entered password. |
| Phone Field | Allows entering phone numbers. |
| Image Upload Field | Allows uploading images from the camera or gallery. |
| Video Upload Field | Allows uploading videos. |
| File Upload Field | Allows uploading documents. |
| Map Geo Point Field | Automatically captures the geographic point. |
| Map Select Geo Point Field | Allows selecting a point on a map. |
| Signature Field | Allows entering signatures. |
| Default Value | Allows providing a fixed value whenever the form is filled. |
| ARPIA User Session | Saves the user's email who registered in the application automatically. |
| DataApps Session Variable | Fills it with data already set in the DataApp configuration. |
| DataApp Global Variable | Fills it with data already set in the DataApp configuration. |
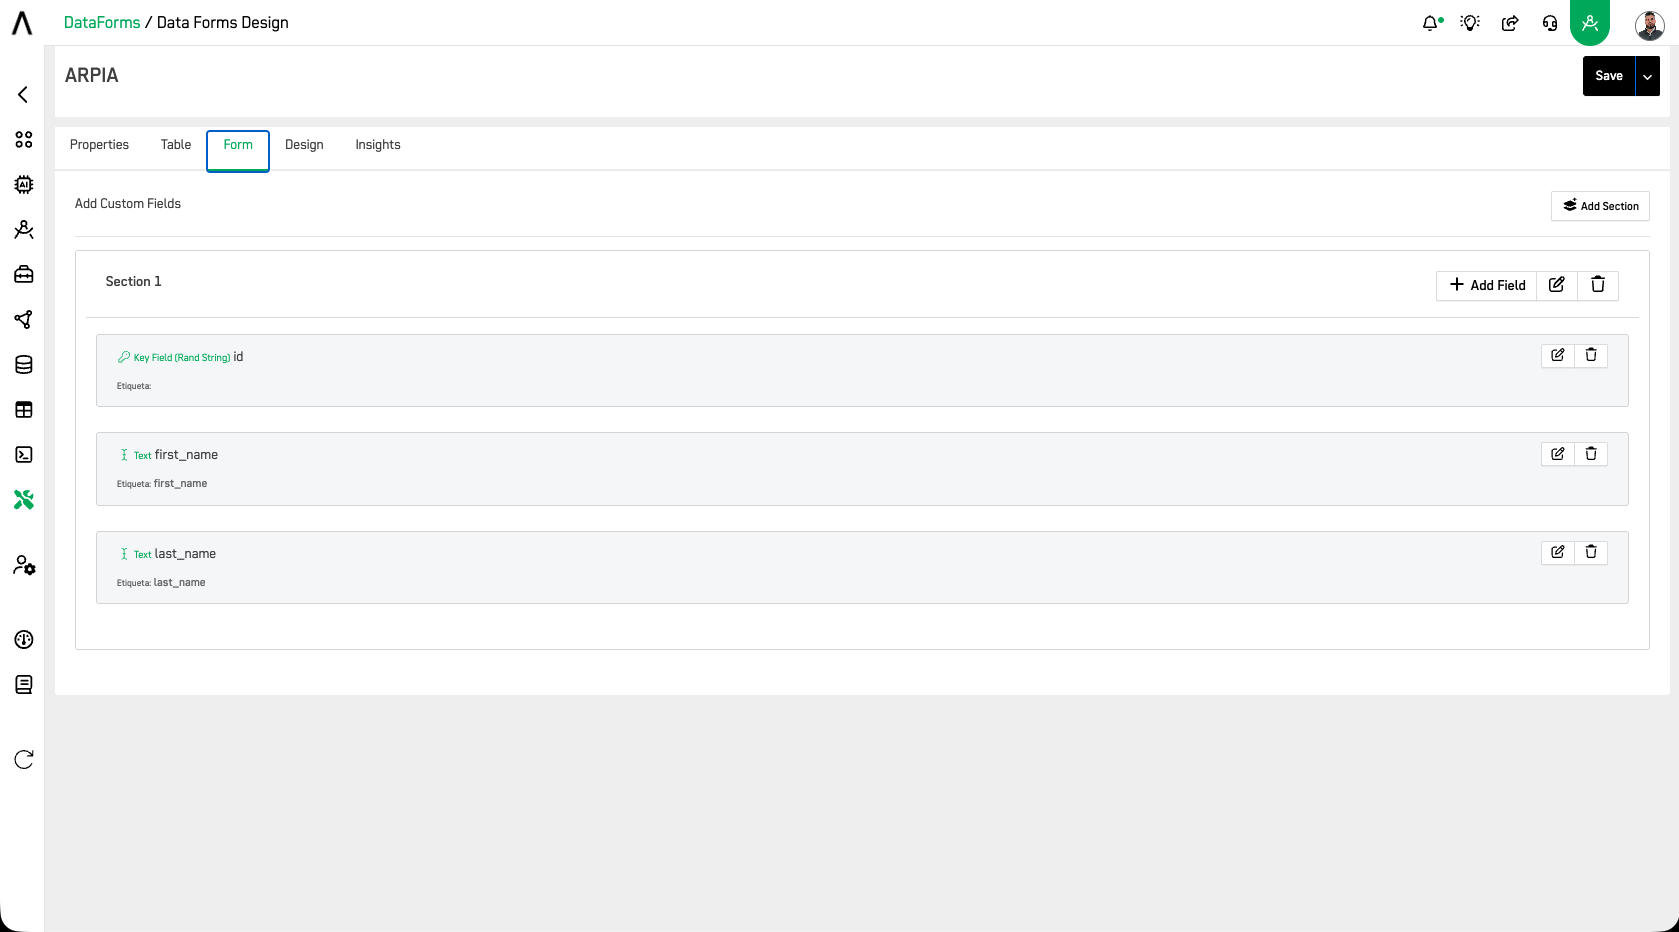
Step 10: Save the field
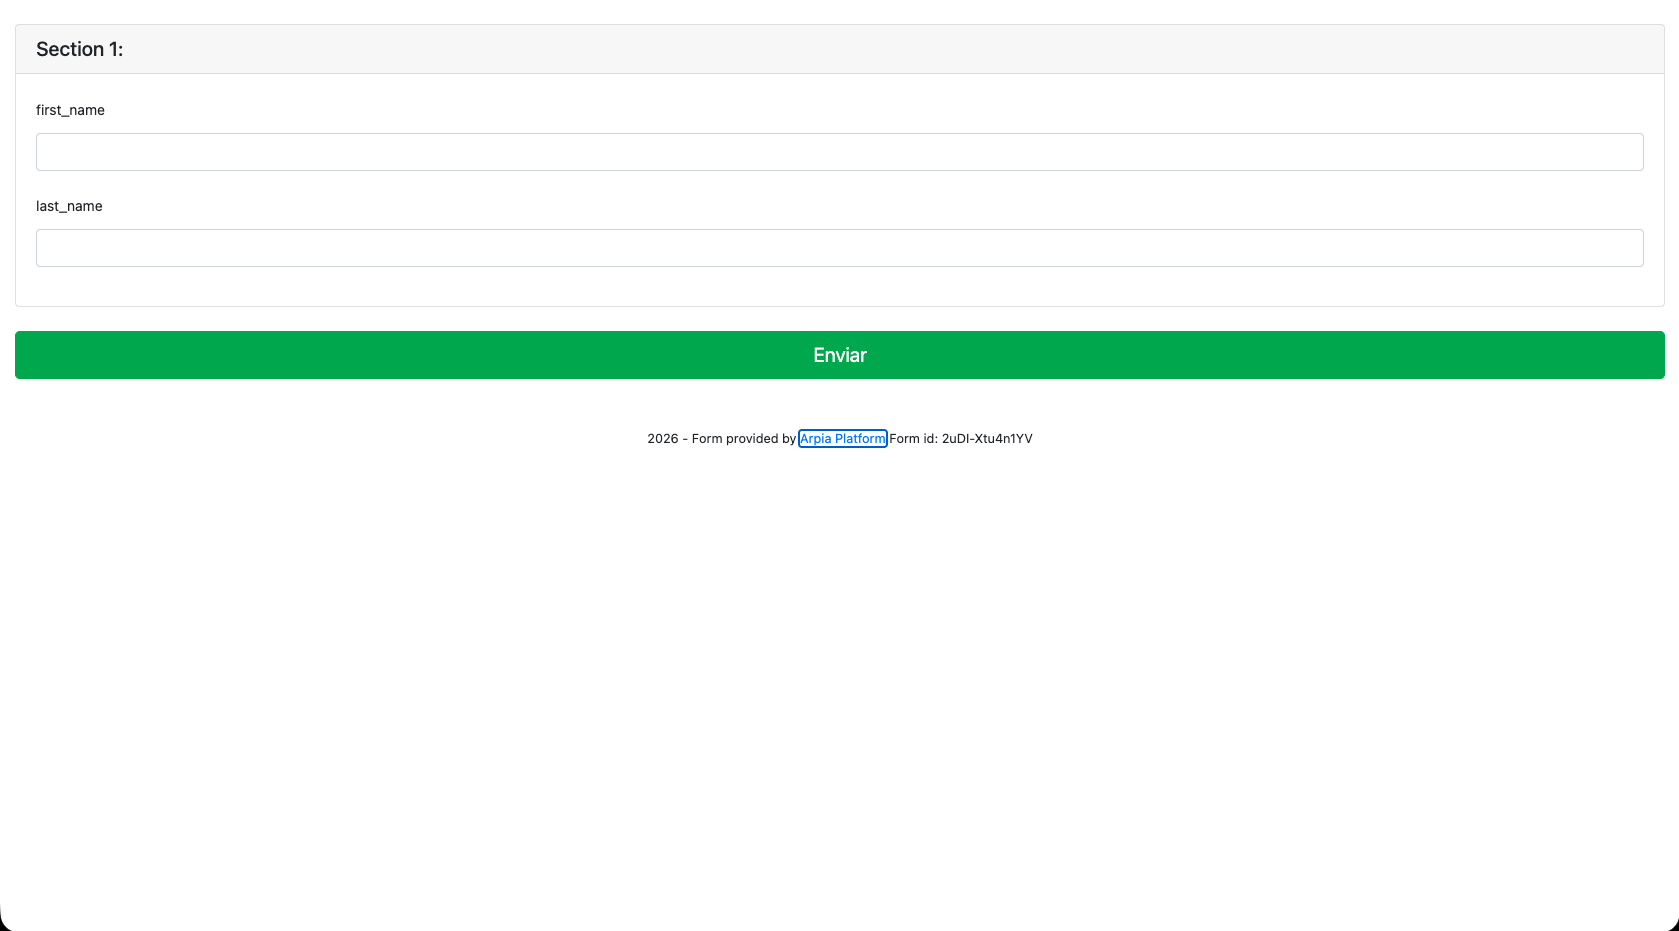
Click Add Field to add it to the section. Repeat for each field you need. The example below shows two fields, first_name and last_name.
Field Duplication
Only one field from the destination table is allowed per form. Duplicate fields are not permitted.
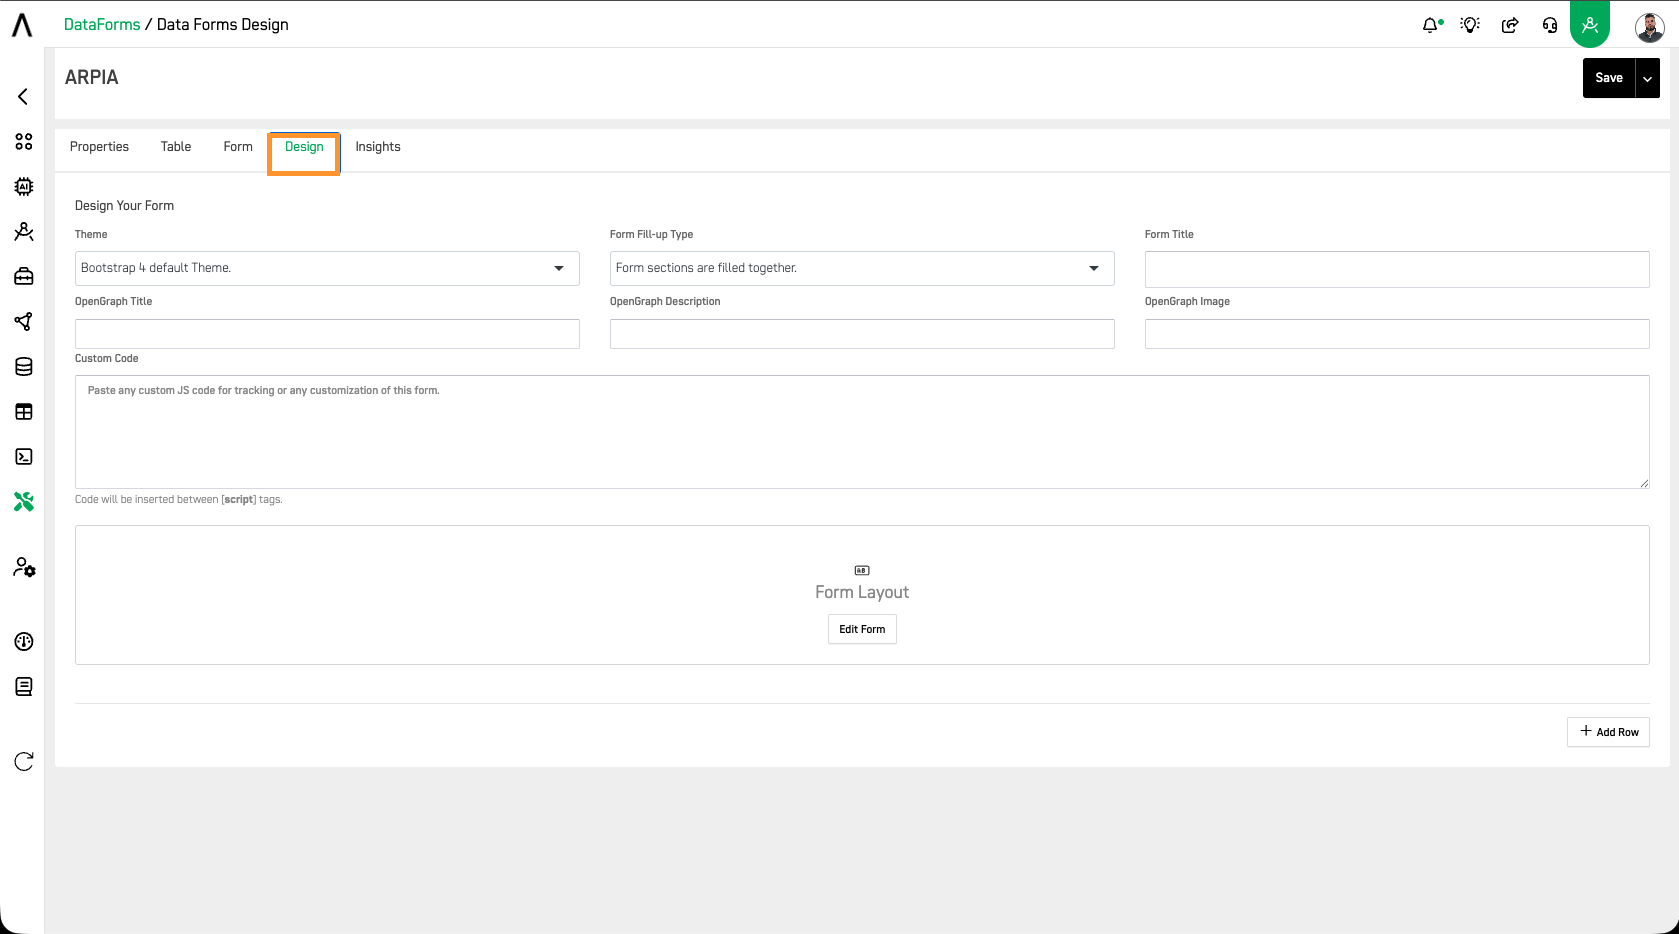
Step 11: Design the form
Open the Design tab to set the theme, form fill-up type, form title, OpenGraph title, OpenGraph description, OpenGraph image, and any custom code.
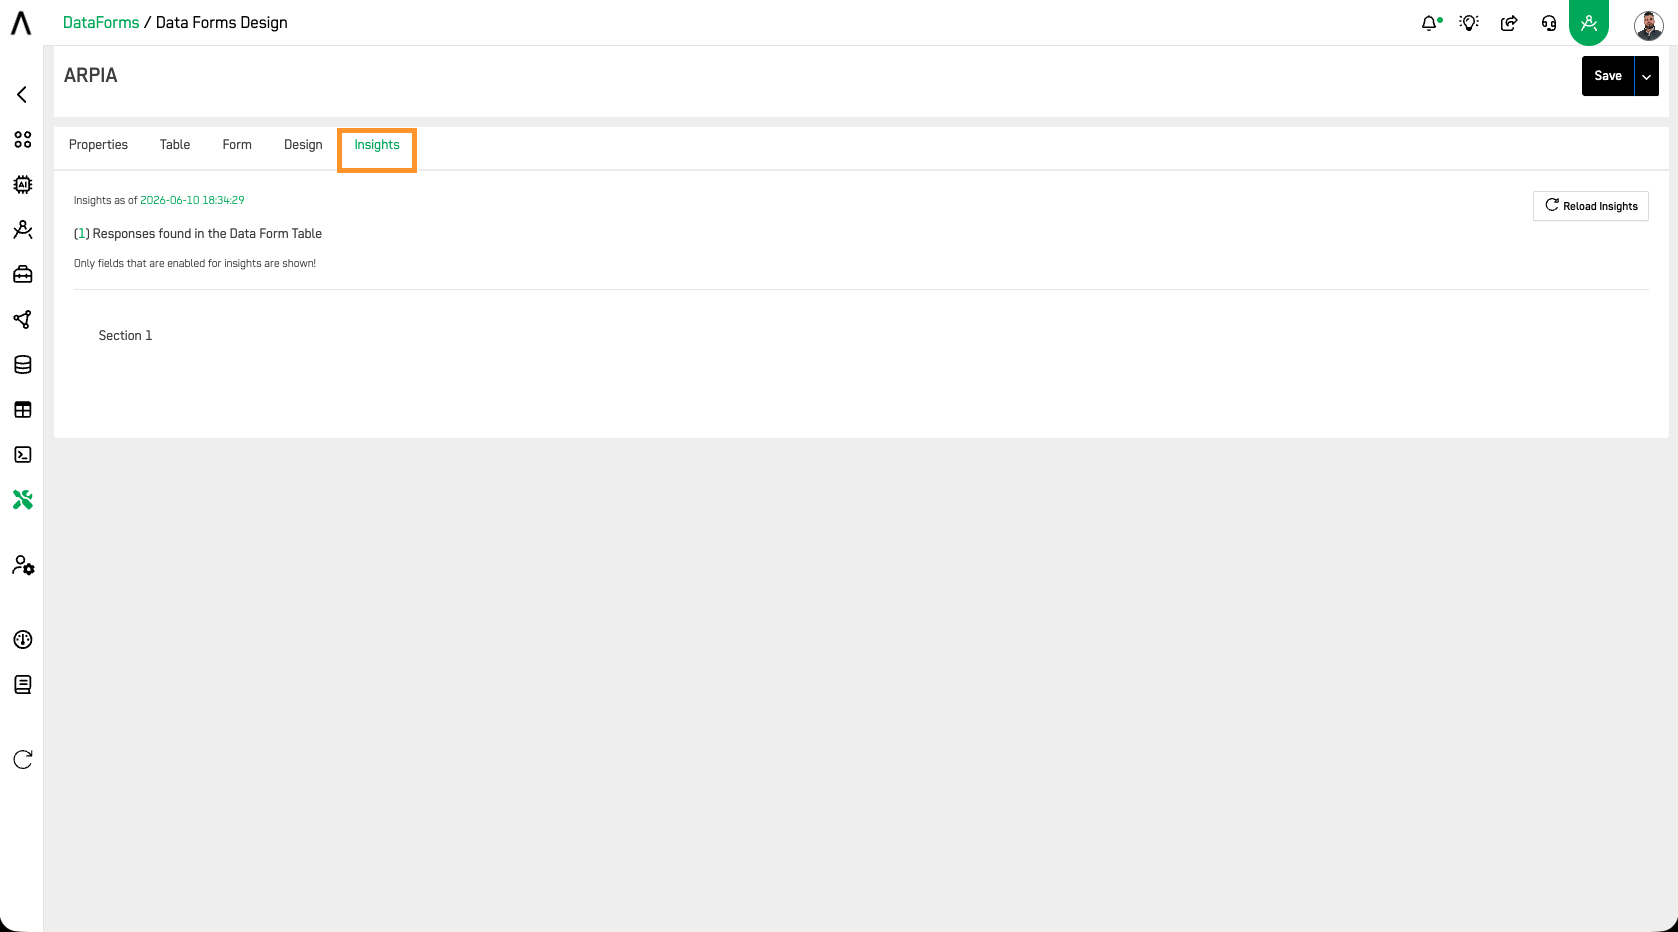
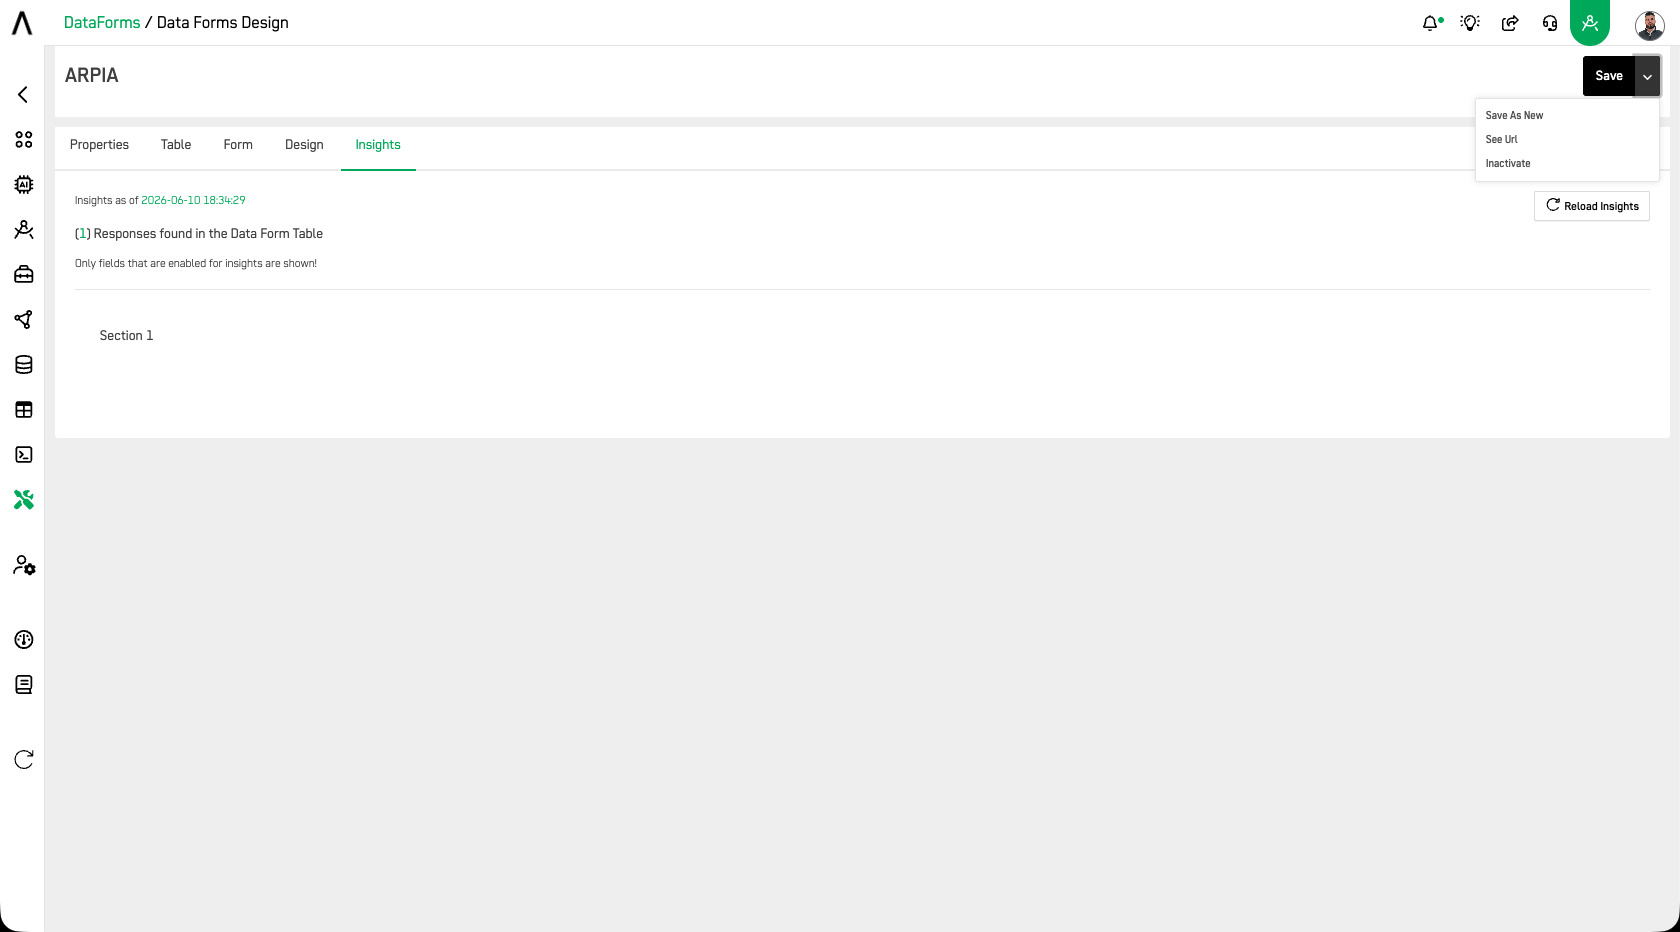
Step 12: View results
Open the Insights tab to see form responses.
Step 13: Get the form URL
Click SAVE. Then click the arrow next to SAVE and select SEE URL.
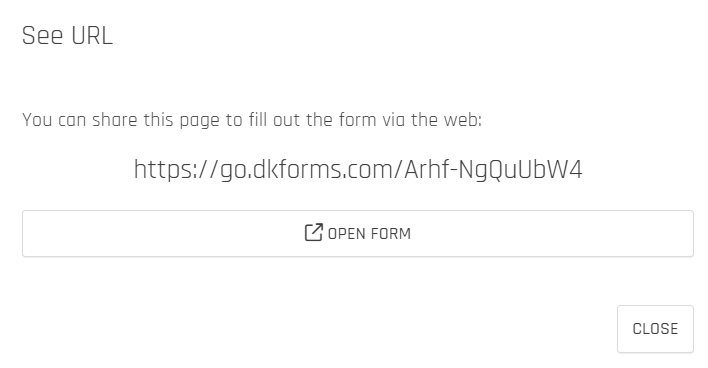
Step 14: Open the form
Copy the link, or click OPEN FORM.
Step 15: Use the form
Your Data Form is ready.
Congratulations — you've created your first Data Form. Use forms to build data-capture screens that support or analyze processes across your organization.