
How to use the Profile Management Screen?
Step-by-Step Guide: Profile Management Screen
In this article, we provide a comprehensive step-by-step guide on how to utilize the profile management feature. This functionality enables you to create and manage different profiles, specifically designed for handling Data Apps permissions related to screen usage. The profile management screen is intuitively designed, eliminating the need for intricate configurations, making the process simple and straightforward to implement.
By following this guide, you will gain a thorough understanding of how to efficiently set up and manage profiles, ensuring that appropriate permissions are assigned and maintained across your Data Apps. This enhances the overall security and usability of your applications, providing a seamless experience for both administrators and end-users.
Error in the Profile Management Screen
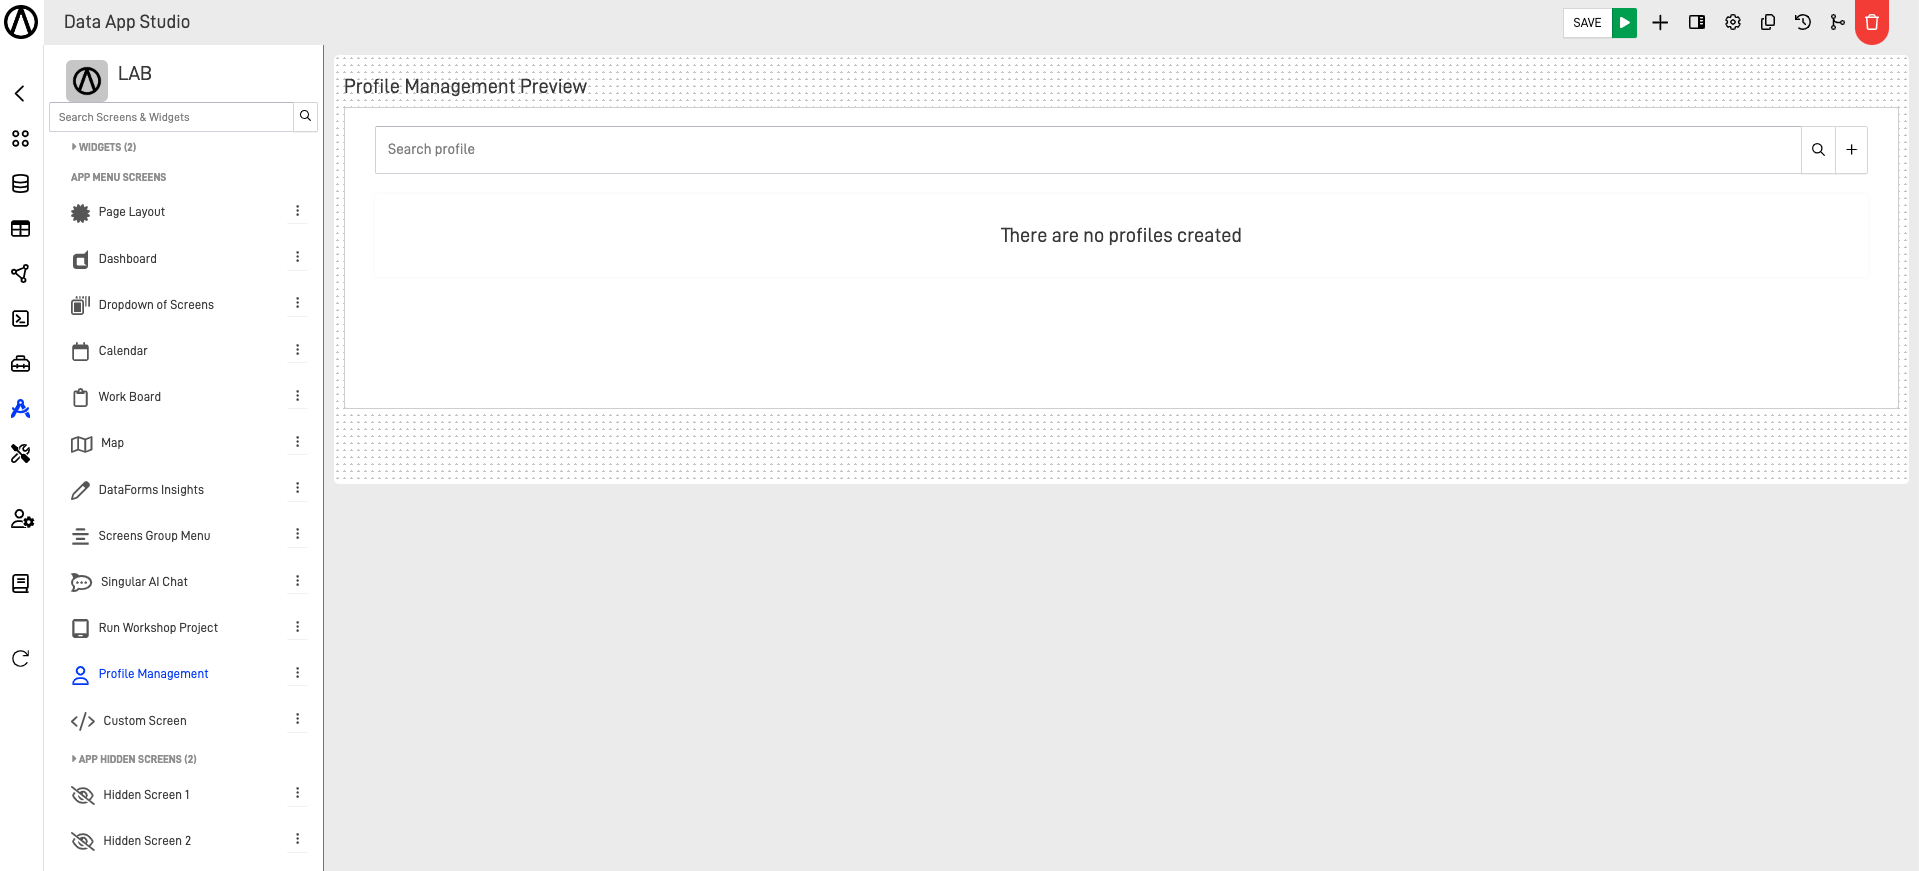
If a security profile table has not been created, an error will appear in the preview screen when you create the "Profile Management" screen. The following steps include instructions on how to create the necessary table.
Step 1: Configure the Profile Table
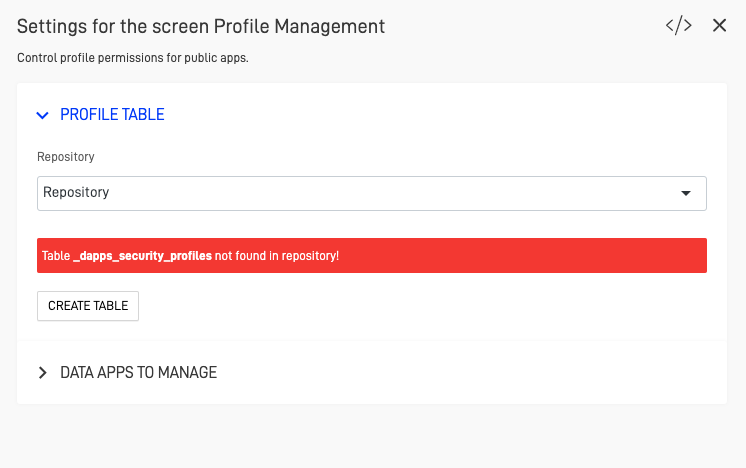
The first step is to configure the "Profile Table" tab. Here, you can select the prepared table to use for profile management. If a suitable table is not available or doesn't meet the required criteria, a warning error will appear on the settings screen.
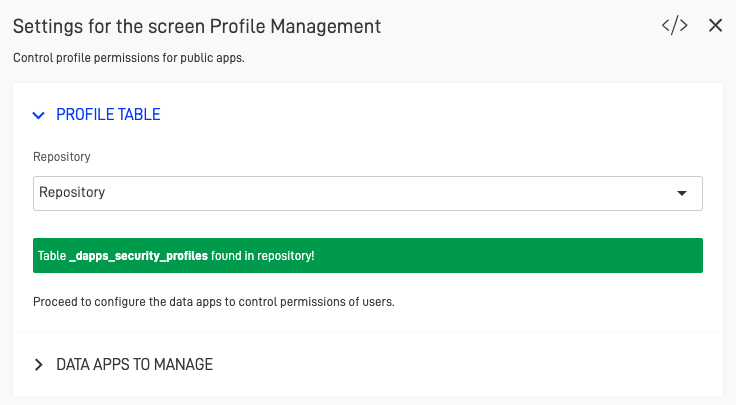
To create the necessary table, click on the "Create Table" button. This action will automatically create the table in your current repository, and a success message in green will appear to confirm that the table has been successfully created.
Step 2: Configure "Data Apps to Manage"
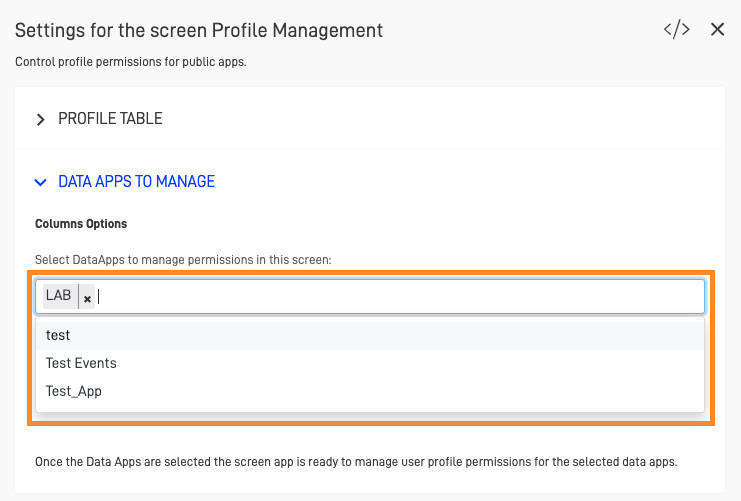
The next step is to configure the range of Data Apps that the profile will affect. By default, the "Columns Options" field will display the current lab, which, for the purposes of this guide, is called "LAB".
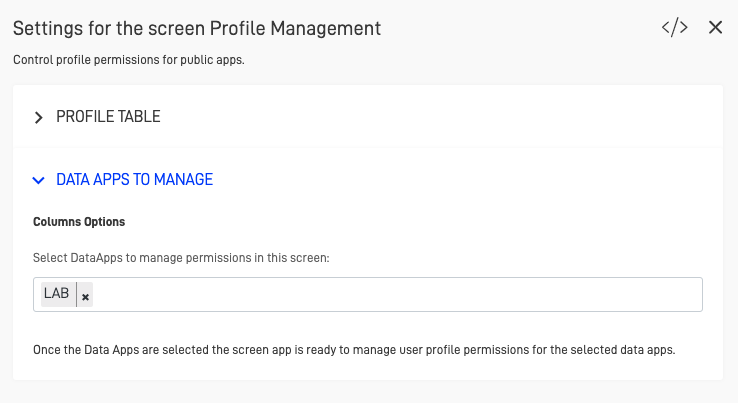
To add additional Data Apps, click on the "Column options" field. This will open a dropdown menu with all the available Data Apps in your Repository.
Step 3: Configure the Needed Profiles
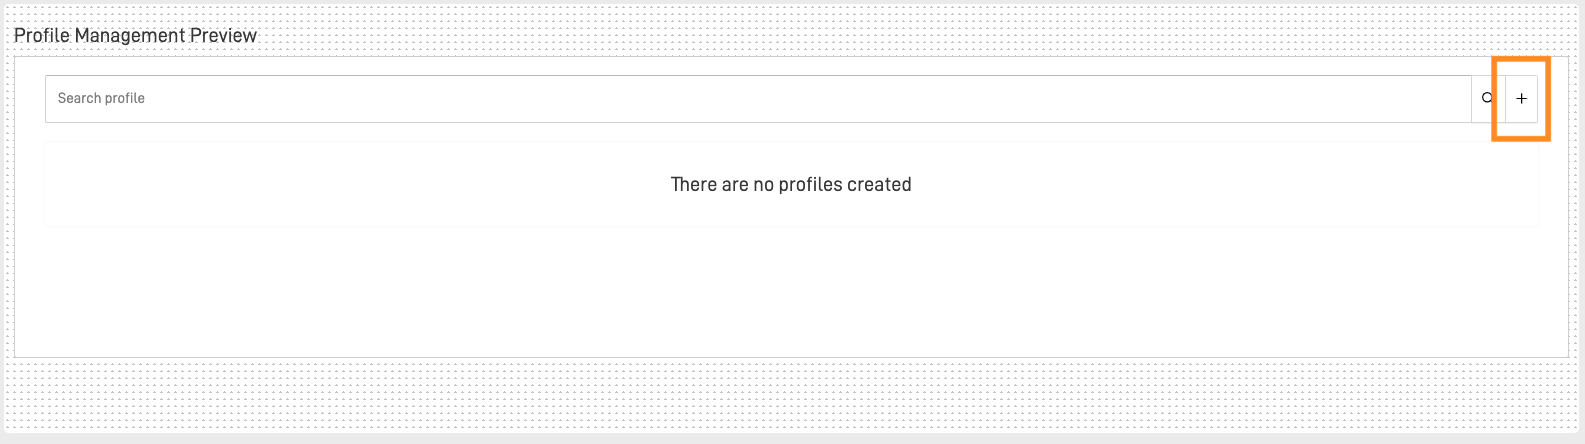
Now you can start creating and editing the permissions of your profiles, either from the preview screen or directly in the app. To create a profile, click on the "+" button on the right side of the profile search bar.
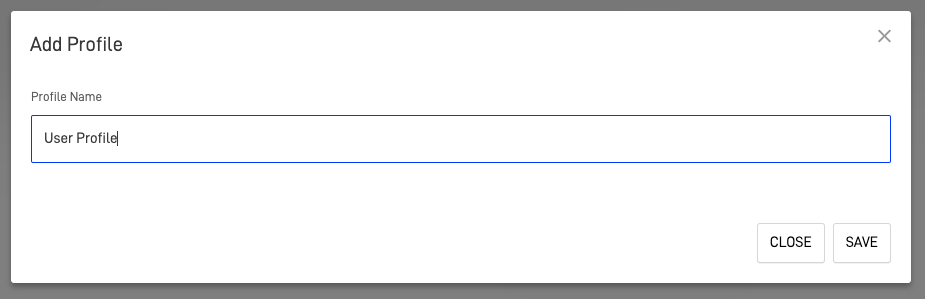
This action will prompt the "Add Profile" form where you can customize the profile name. After entering the desired name in the name field, click the "SAVE" button to complete the creation process. If you leave the name field blank, the auto-generated ID will be used as the profile name.
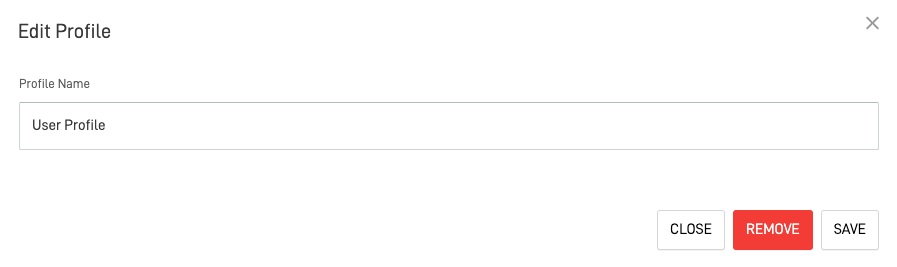
After creating the profile, it will be listed on the profile management screen. Here you have two available actions for the profiles:
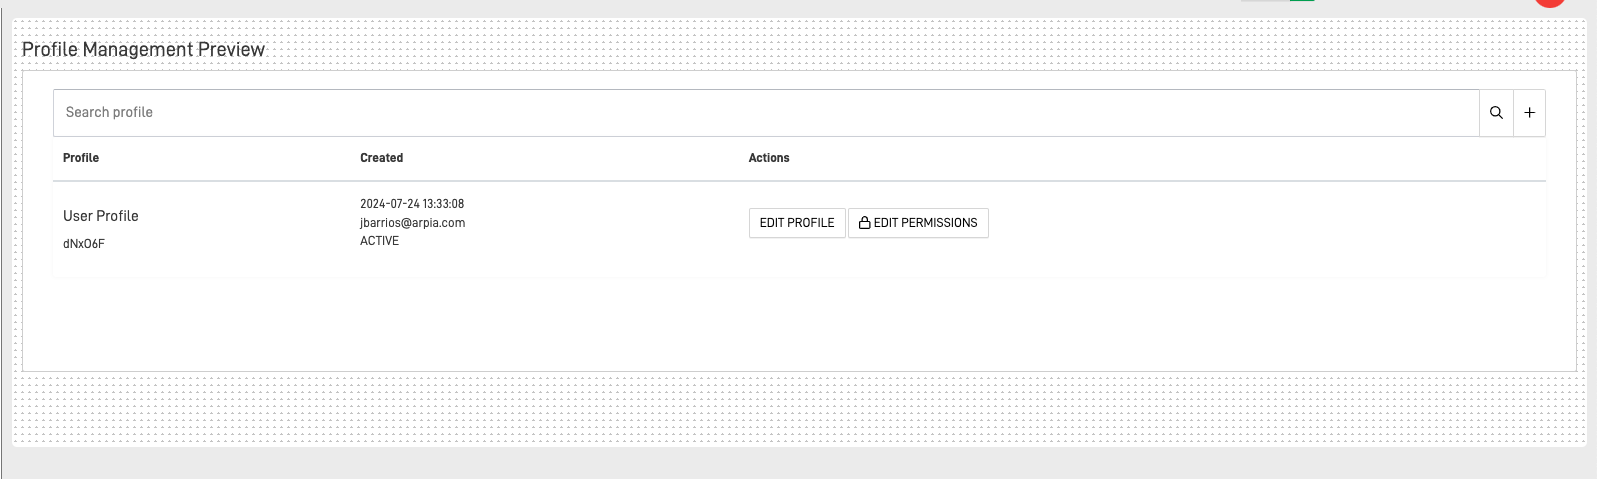
- Edit Profile: Allows you to customize the profile name and delete the profile if needed by using the "Remove" button.
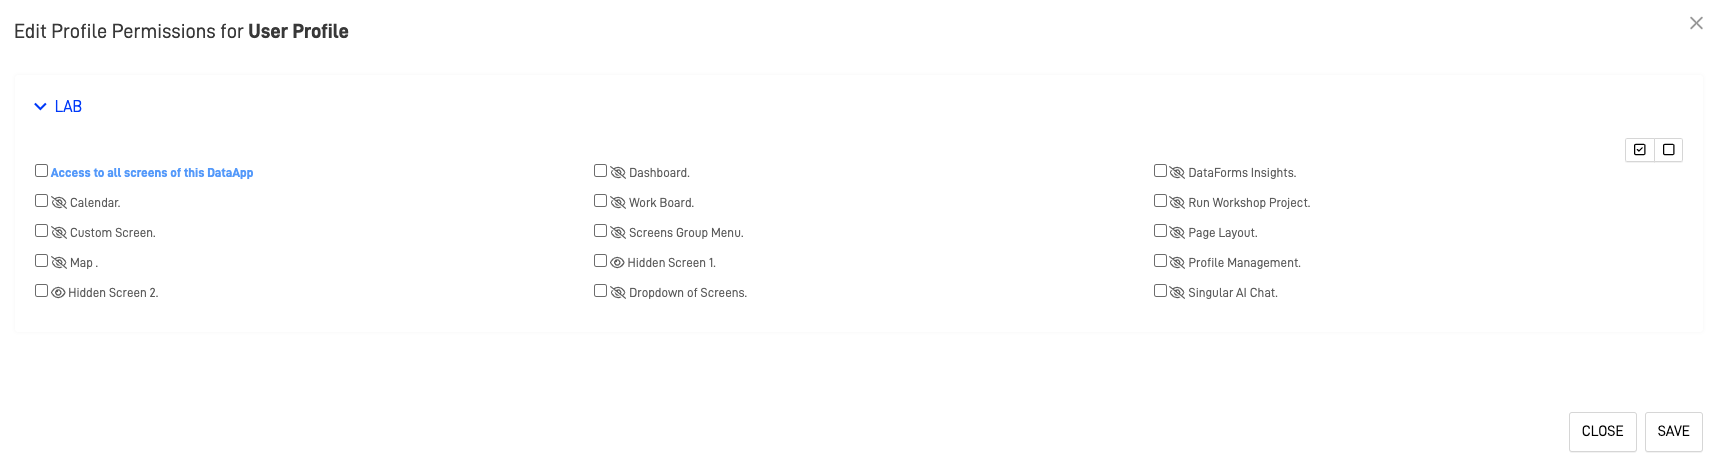
- Edit Permissions: Customize the access of the screen for the Data App.
By following these steps, you will be able to effectively manage profiles and their permissions, ensuring a secure and user-friendly experience for all users of your Data Apps.