
How to use the Query Tool
Step-by-Step Guide
This guide walks through running your first query in the Query Tool, from selecting a repository to reviewing results. For a full reference of features, limitations, and security model, see the Query Tool overview.
Prerequisites
Before you begin, make sure your assigned Security Profile grants you access to the Query Tool and to at least one repository. If you cannot access the Query Tool or a specific repository, contact your workspace administrator or follow the node access request flow.
To open the Query Tool, navigate to ARPIA → Query Tool.
Step 1: Select a Repository
Use the repository selector at the top of the side panel to choose the repository you want to query. The dropdown lists every repository available to your account, along with its size allocation (for example, ARPIA_DEMO_REPO_BETA - 1G).
Selecting a repository loads its tables and columns into the panel below the selector. Each column displays its data type as a badge (varchar, decimal, date, enum, etc.) for quick reference while writing queries.
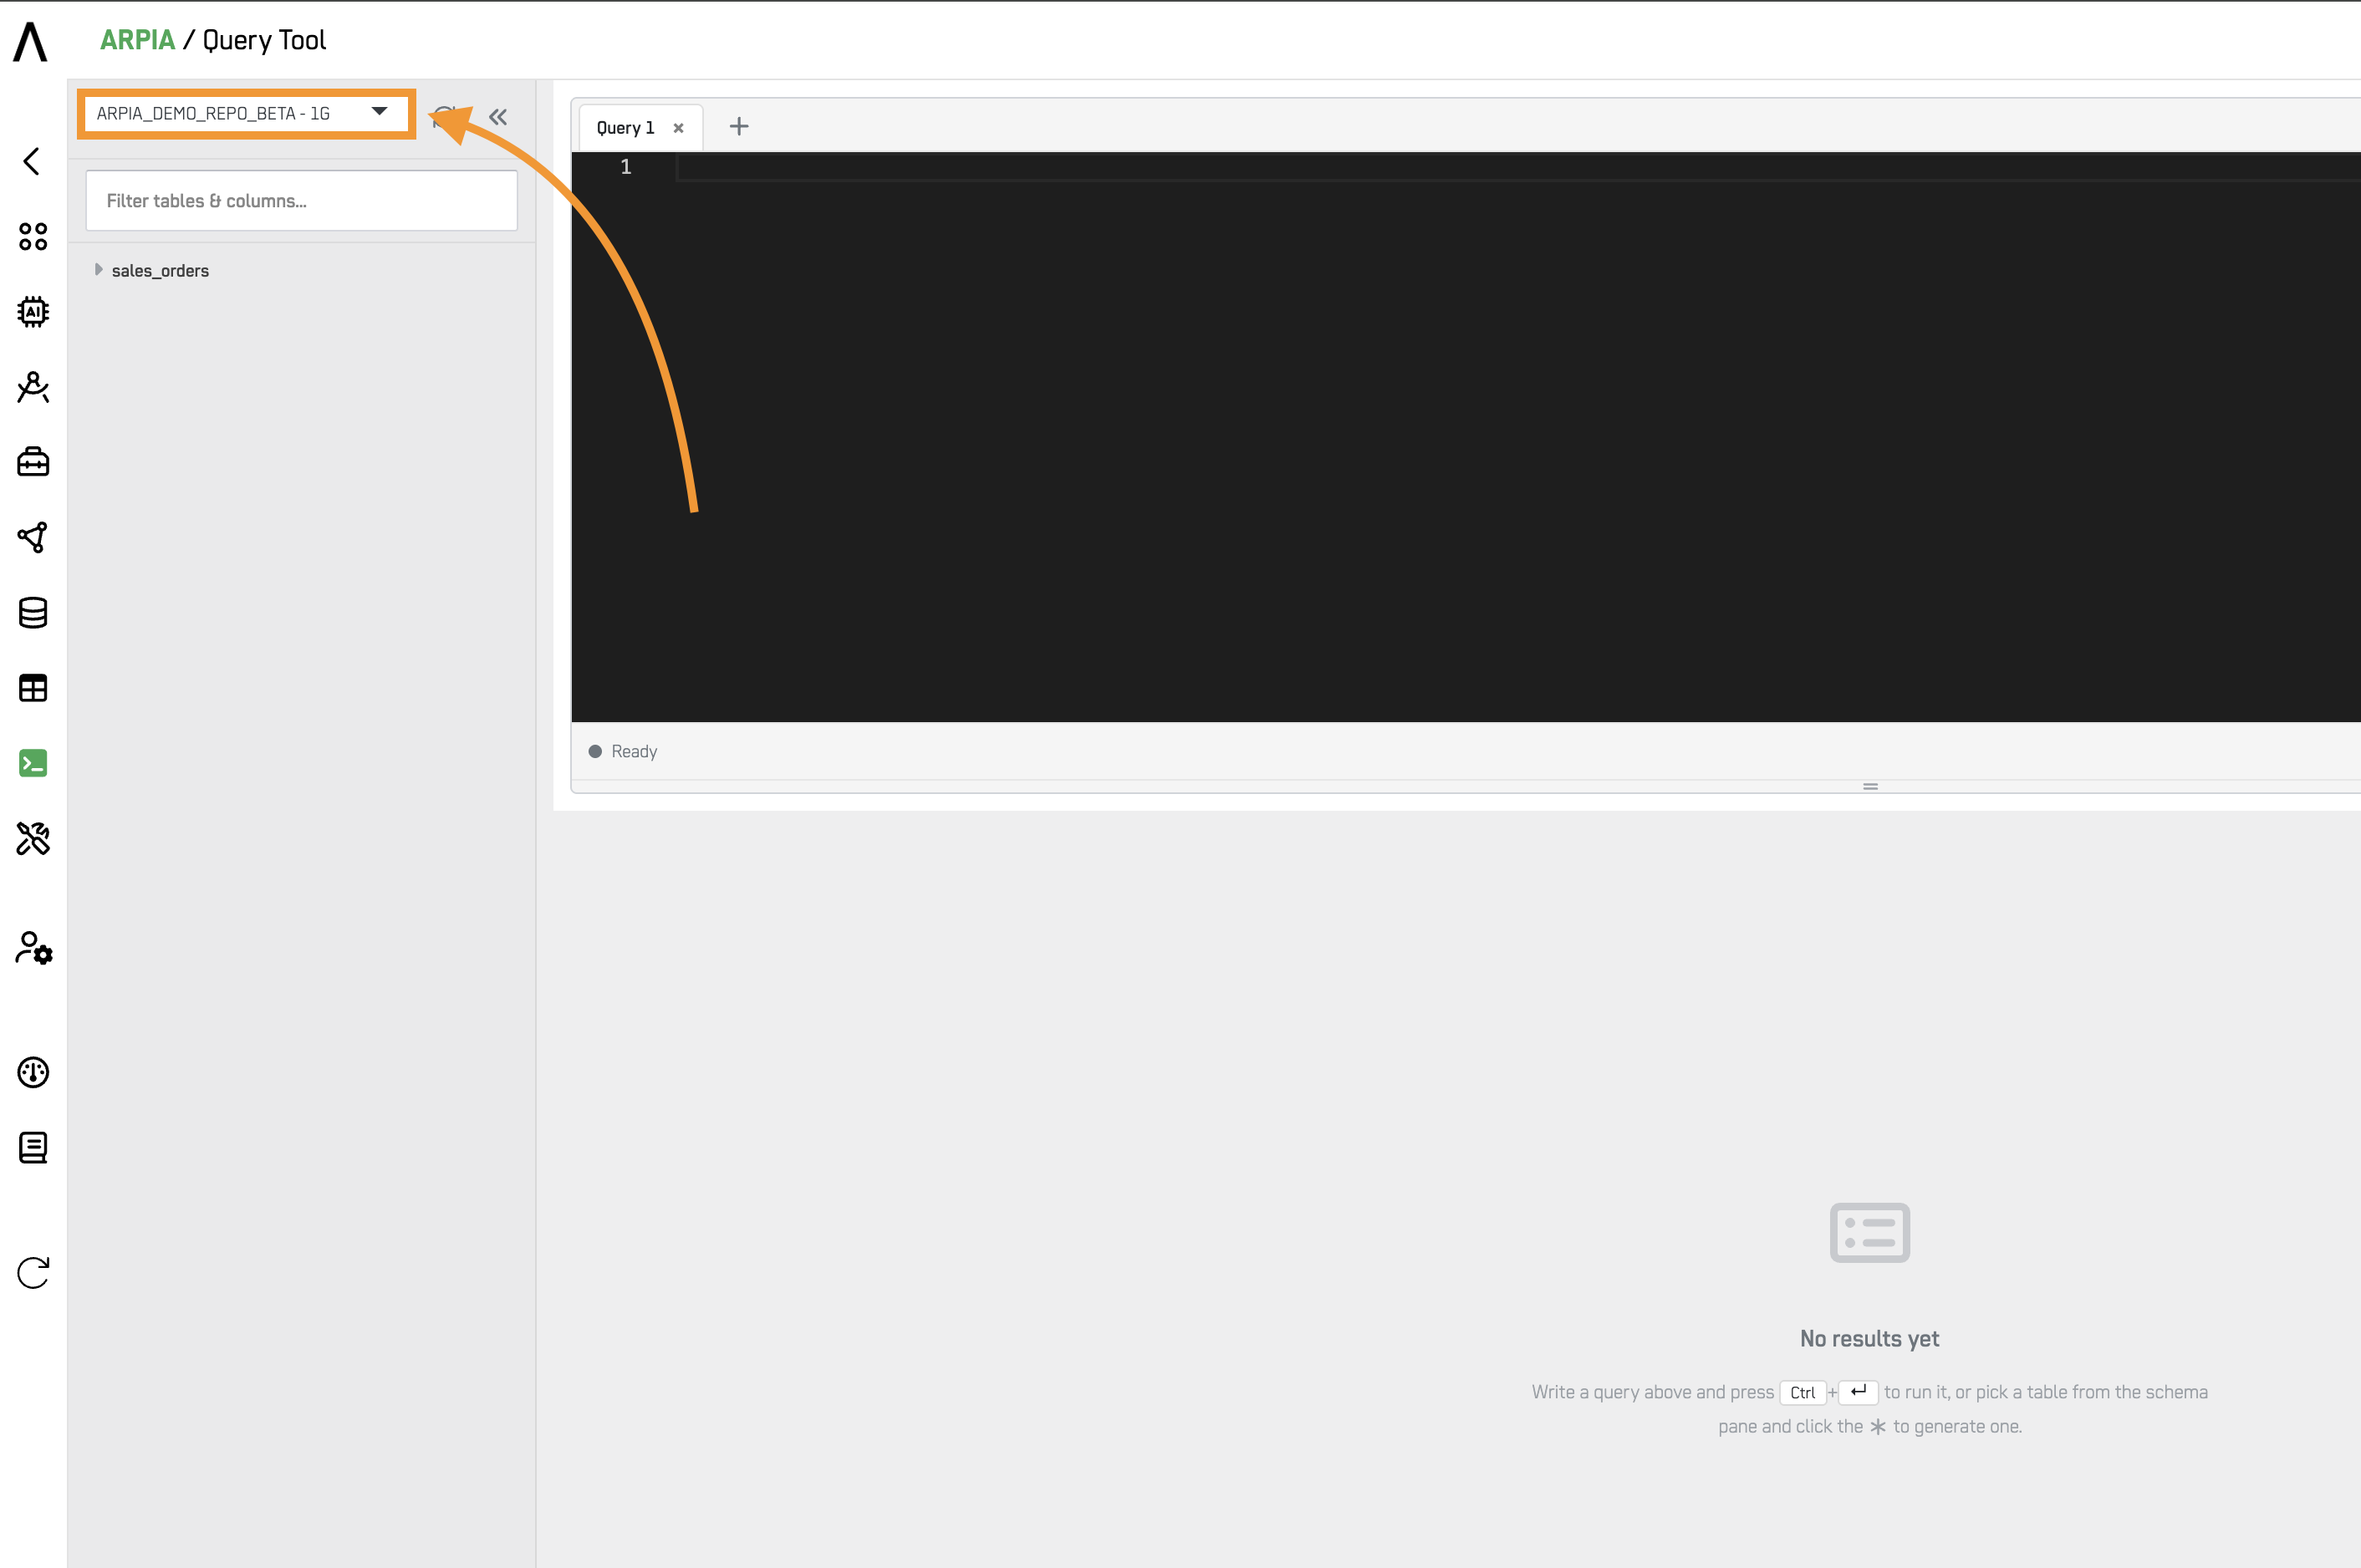
Select a repository to load its tables and columns into the schema panel.
Tip: If new or modified tables don't appear after a repository update, click Reload schema (circular-arrow icon) above the table panel to refresh the view.
Step 2: Write your SQL
Place the SQL code you want to execute in the editor. The Query Tool supports ANSI SQL and provides:
- Syntax highlighting for SQL keywords, identifiers, and literals
- Auto-complete and query suggestions for table names and columns
- Query tabs — work on multiple queries in parallel by clicking the
+button to open a new tab - Format (
Ctrl + Shift + F) — reformats the active query for readability
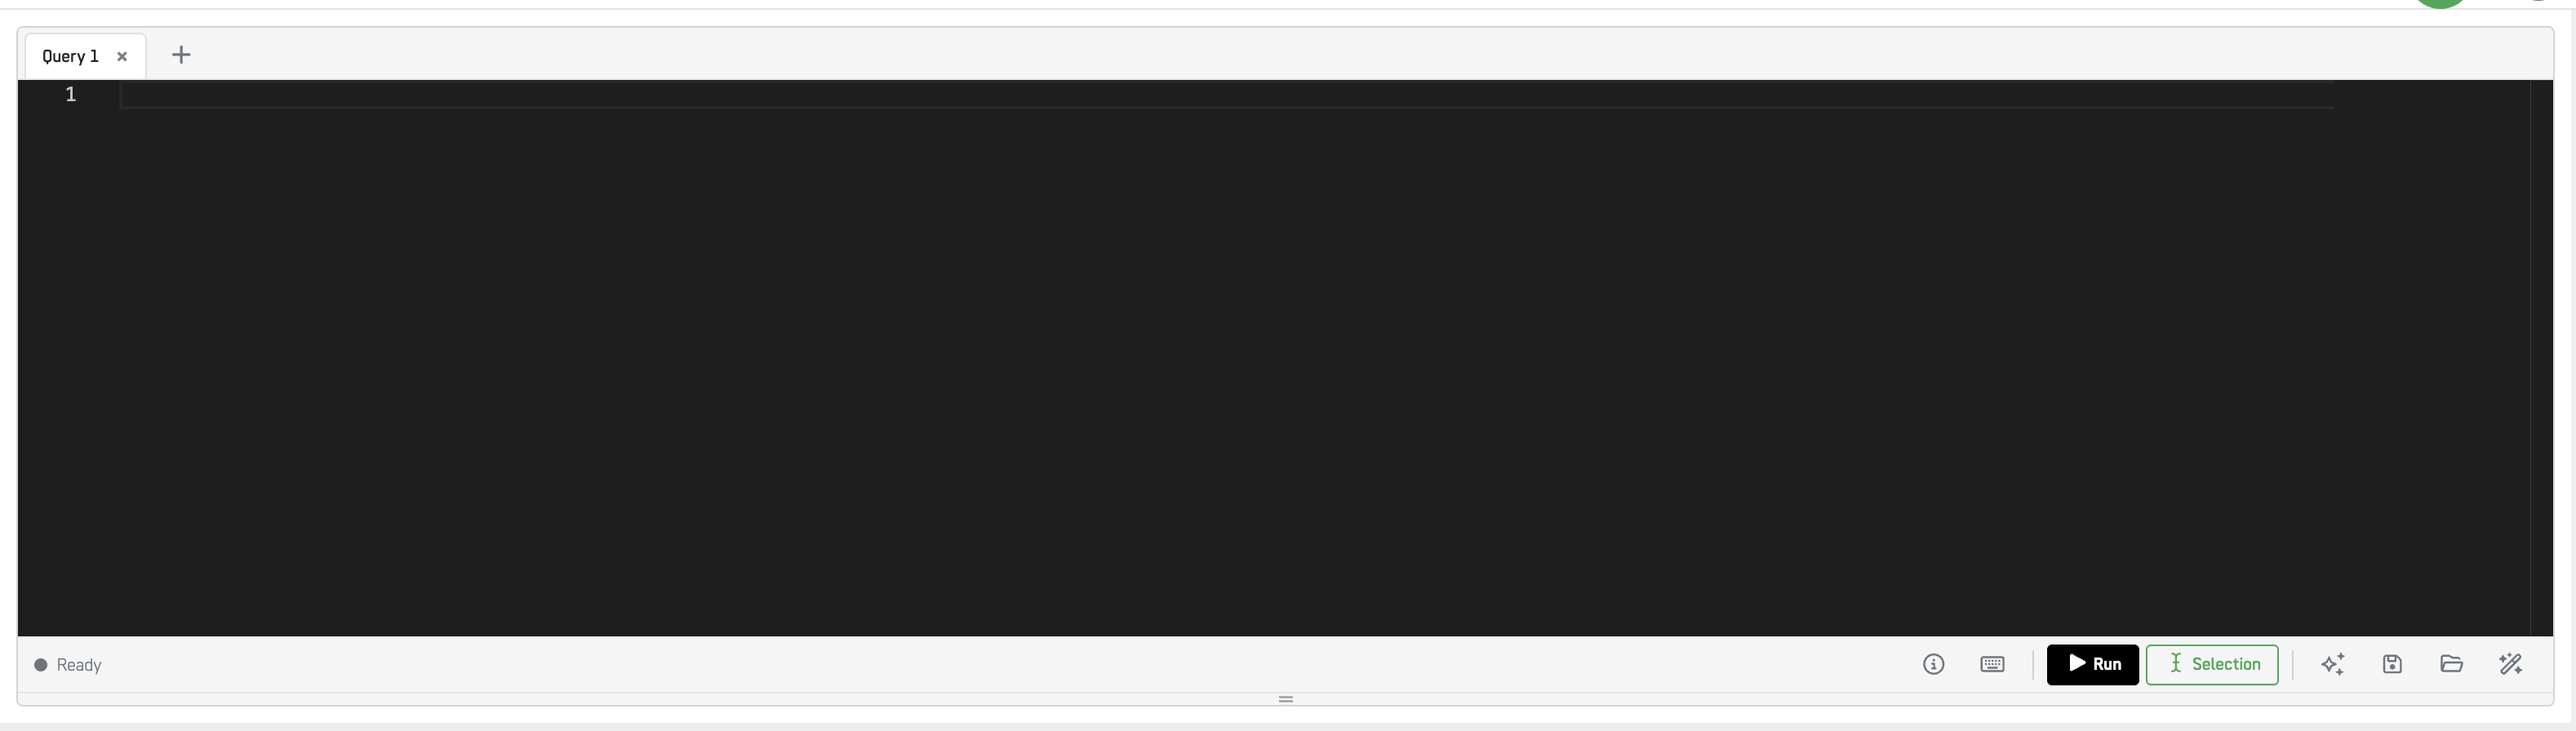
Write your SQL in the editor.
Step 3: Execute your SQL query
To execute your code, press the ▶ Run button or use a keyboard shortcut:
| Action | Button | Shortcut |
|---|---|---|
| Run the entire query | ▶ Run | Ctrl + Enter |
| Run only the highlighted selection | Selection | Ctrl + Shift + Enter |
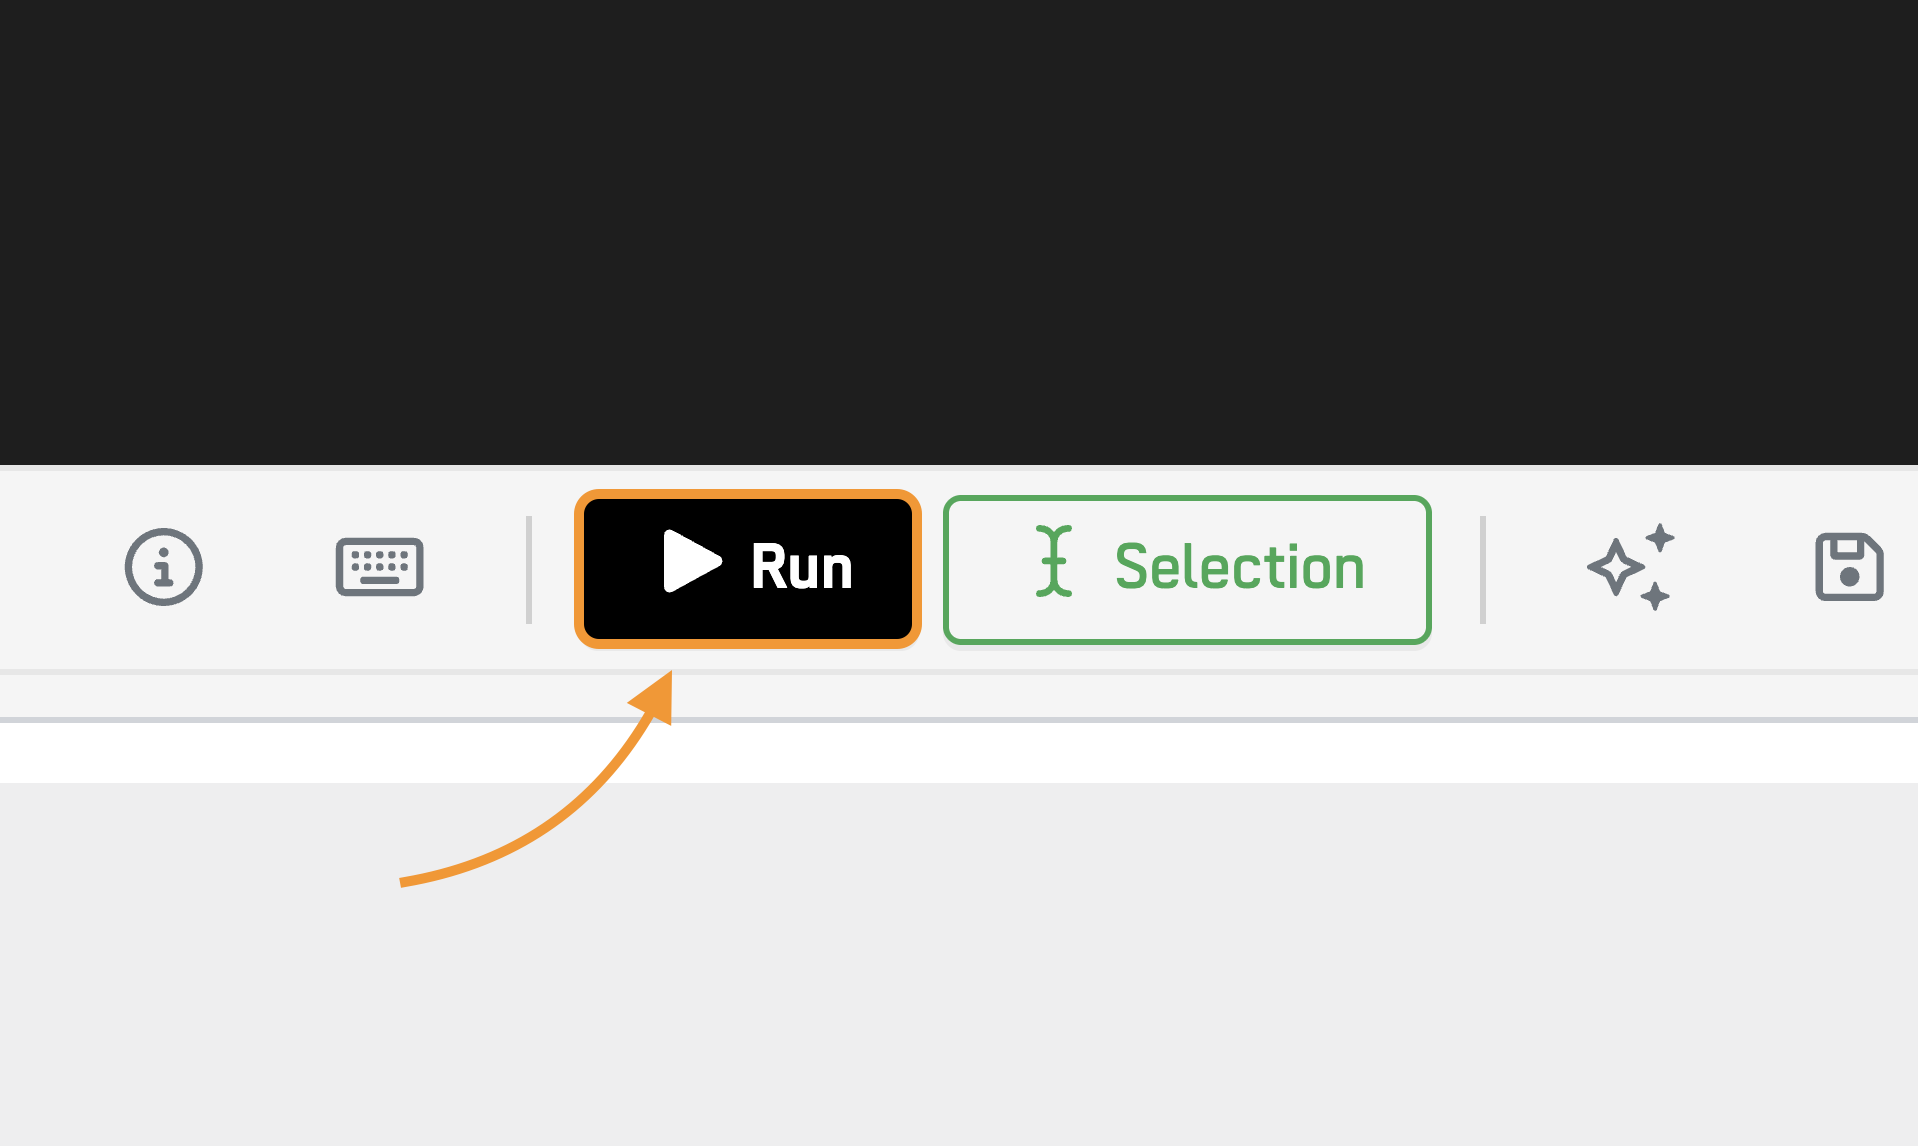
The Run button executes the entire query; Selection runs only the highlighted text.
The status bar below the editor shows the current execution state (for example, ● Ready).
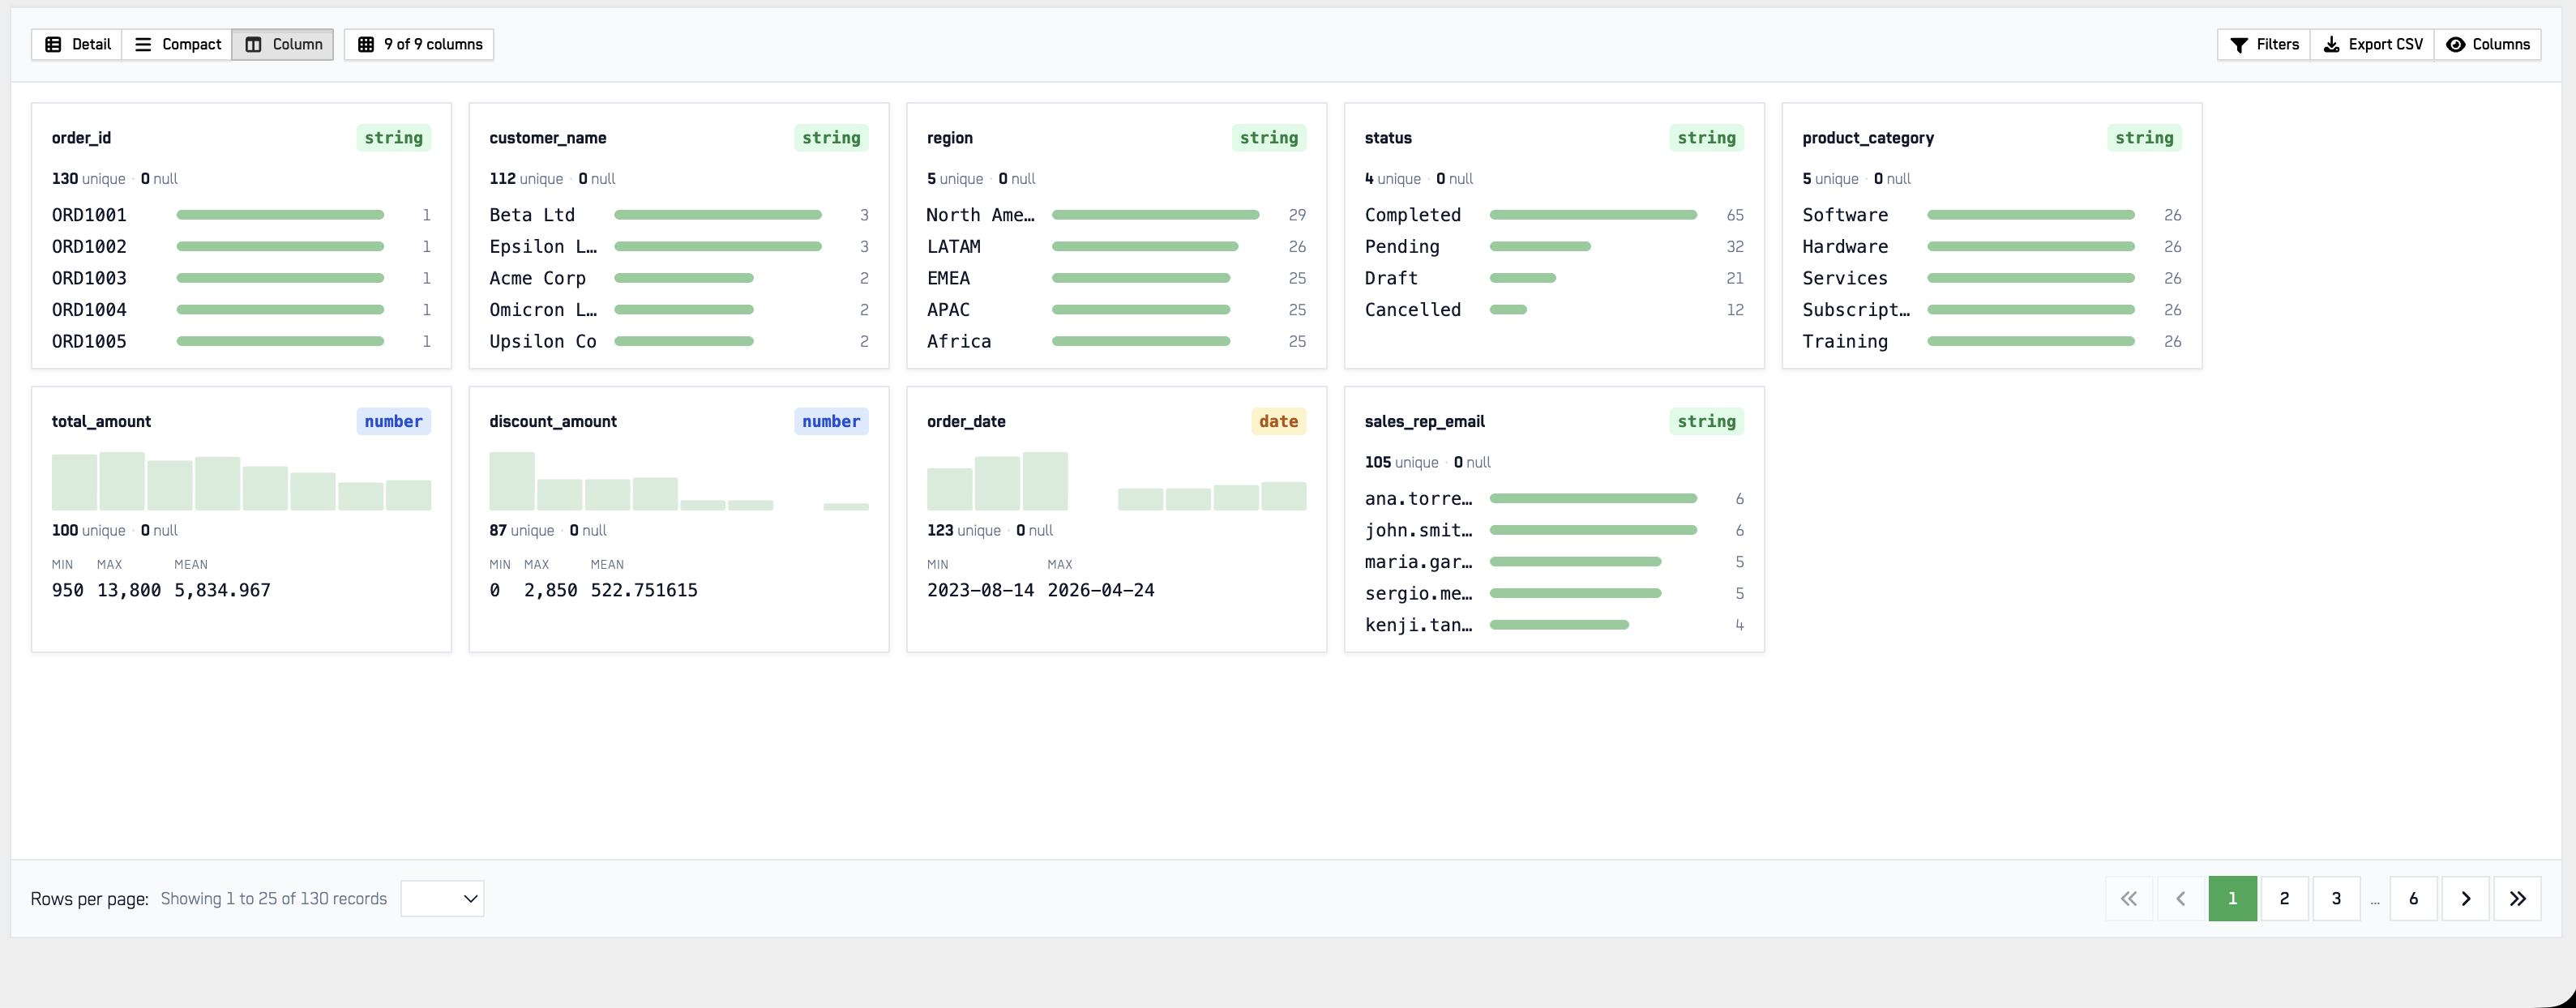
Step 4: Check the Results
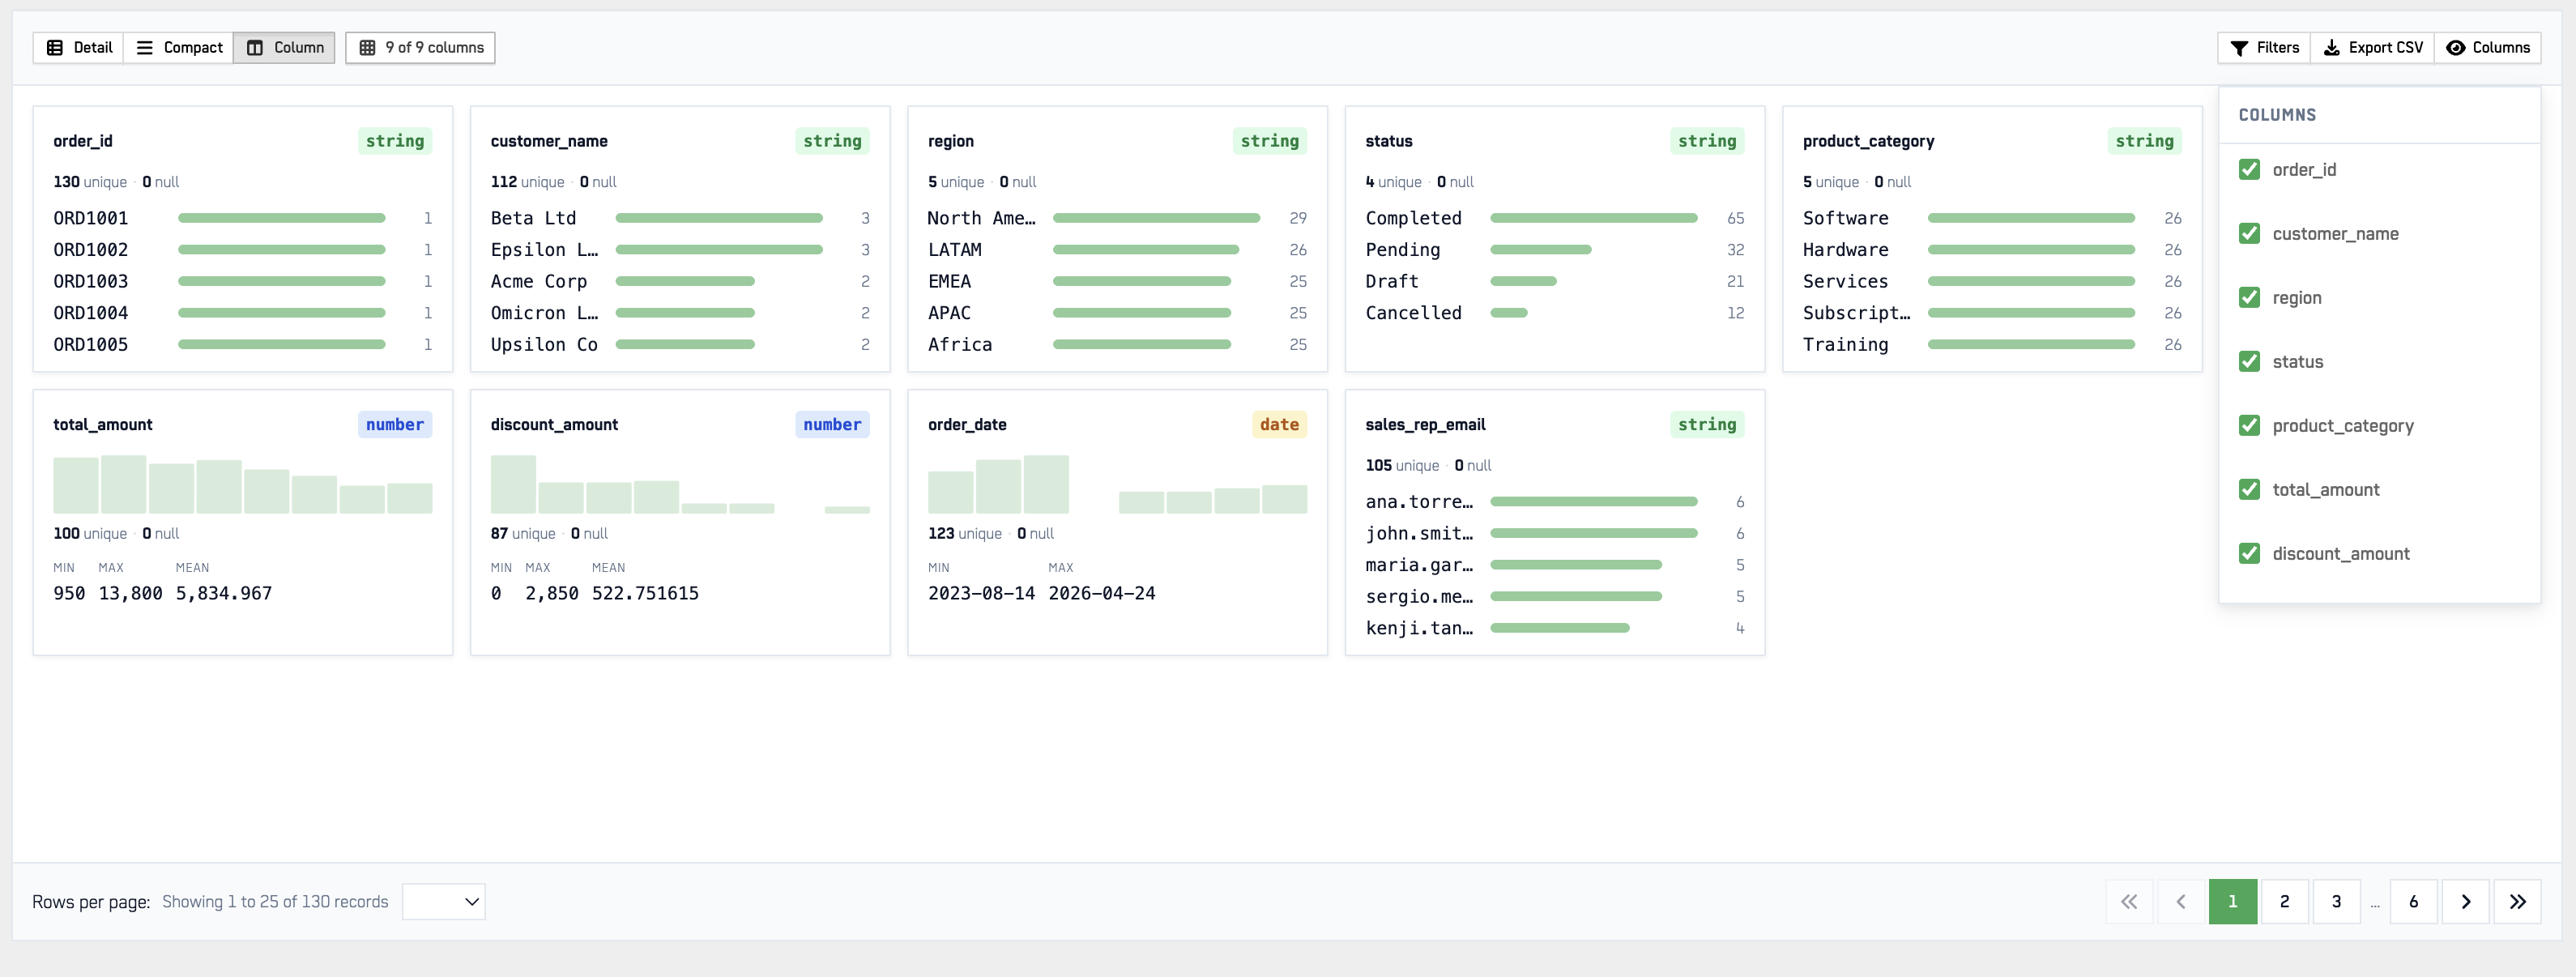
The results section displays your query output in a tabular format with sortable columns. You can:
- Sort any column by clicking its header
- Copy the result set to the clipboard
- Download CSV for offline analysis
Result row caps
- 1,000 rows for standard queries
- 5,000 rows for read-only queries
If you need a larger result set, narrow your query with
WHEREclauses or export in batches.
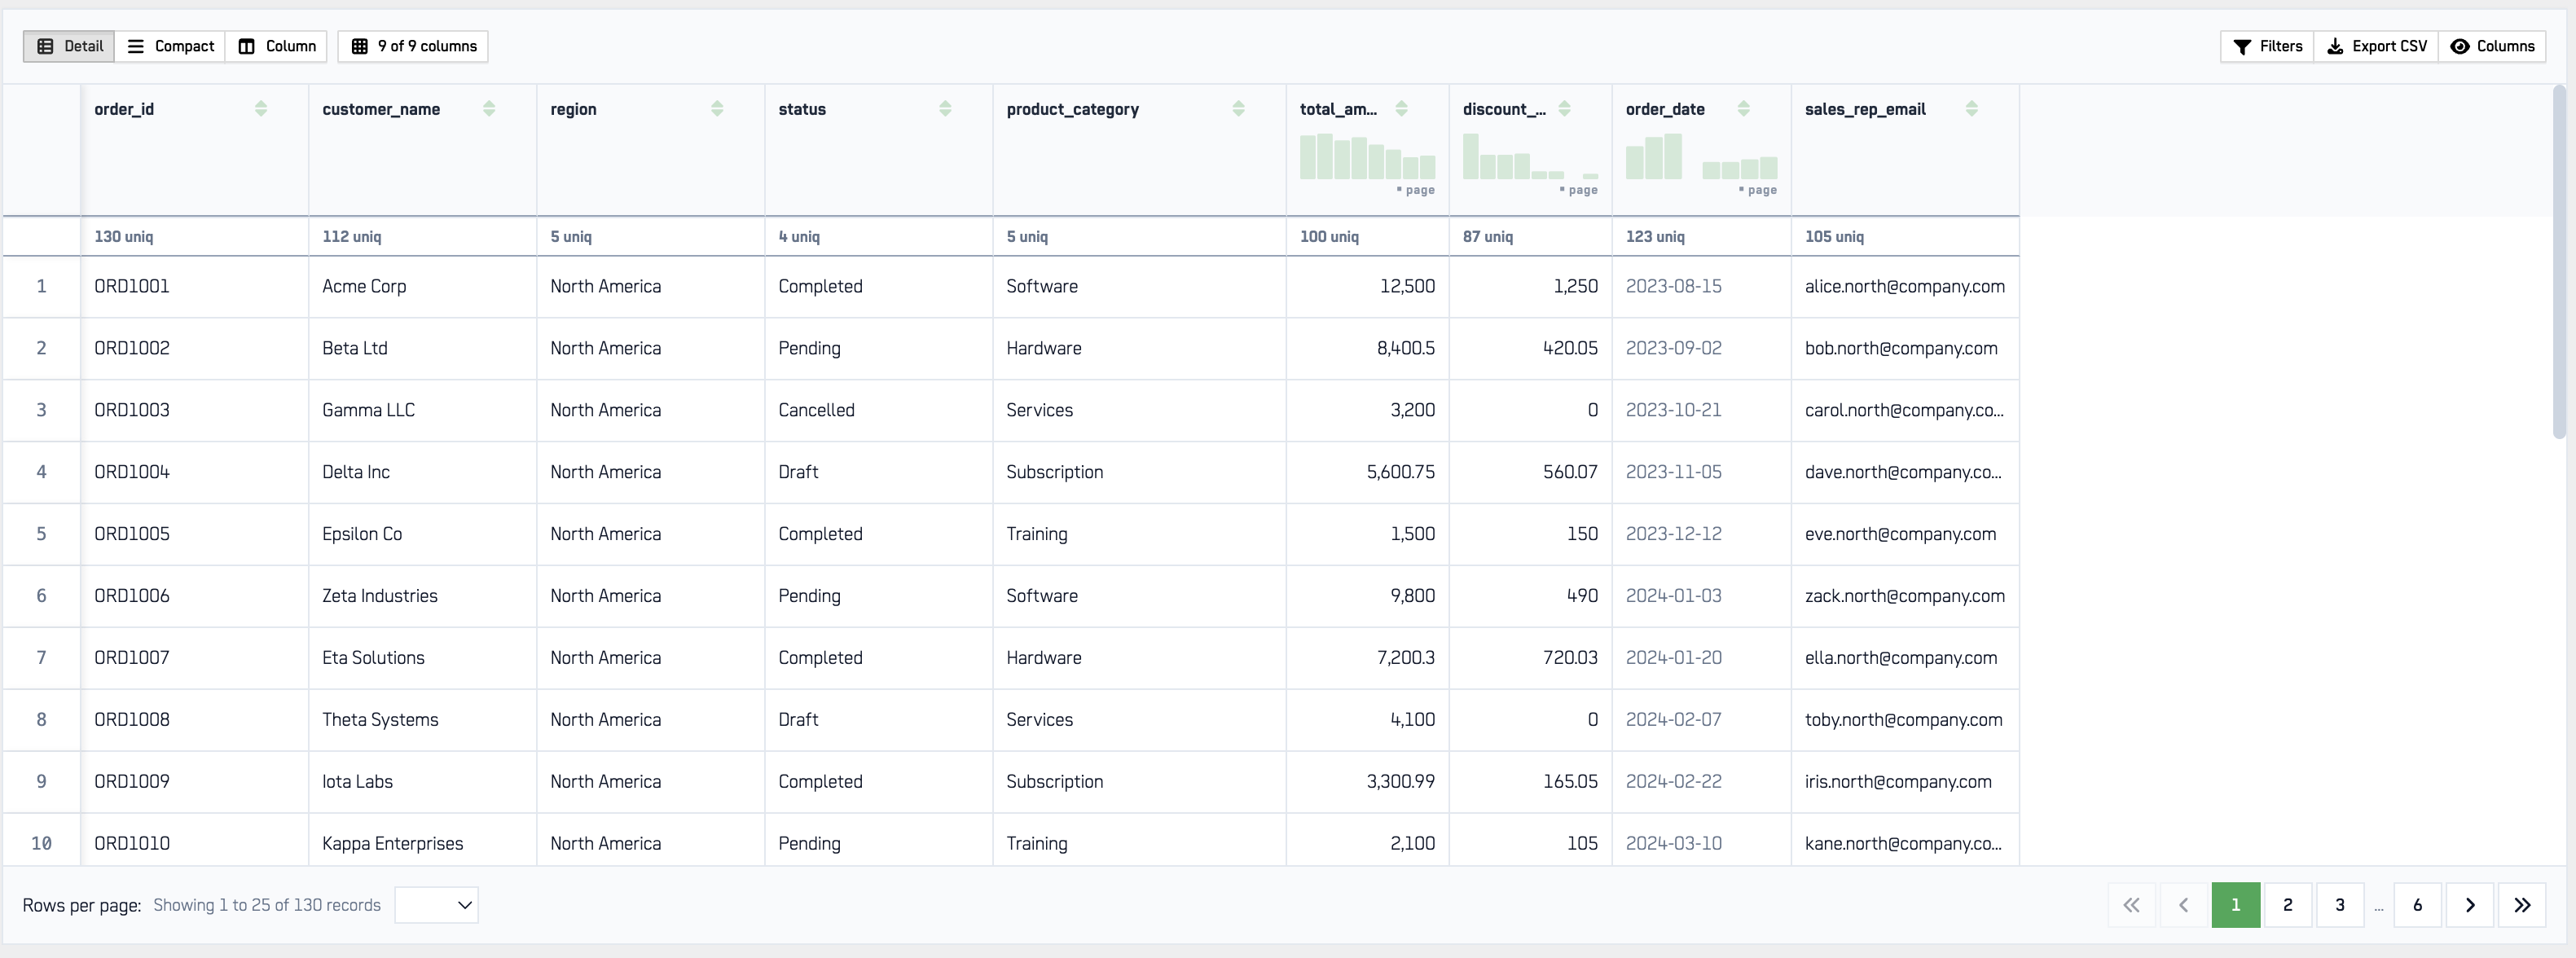
Query results render in a sortable tabular view.
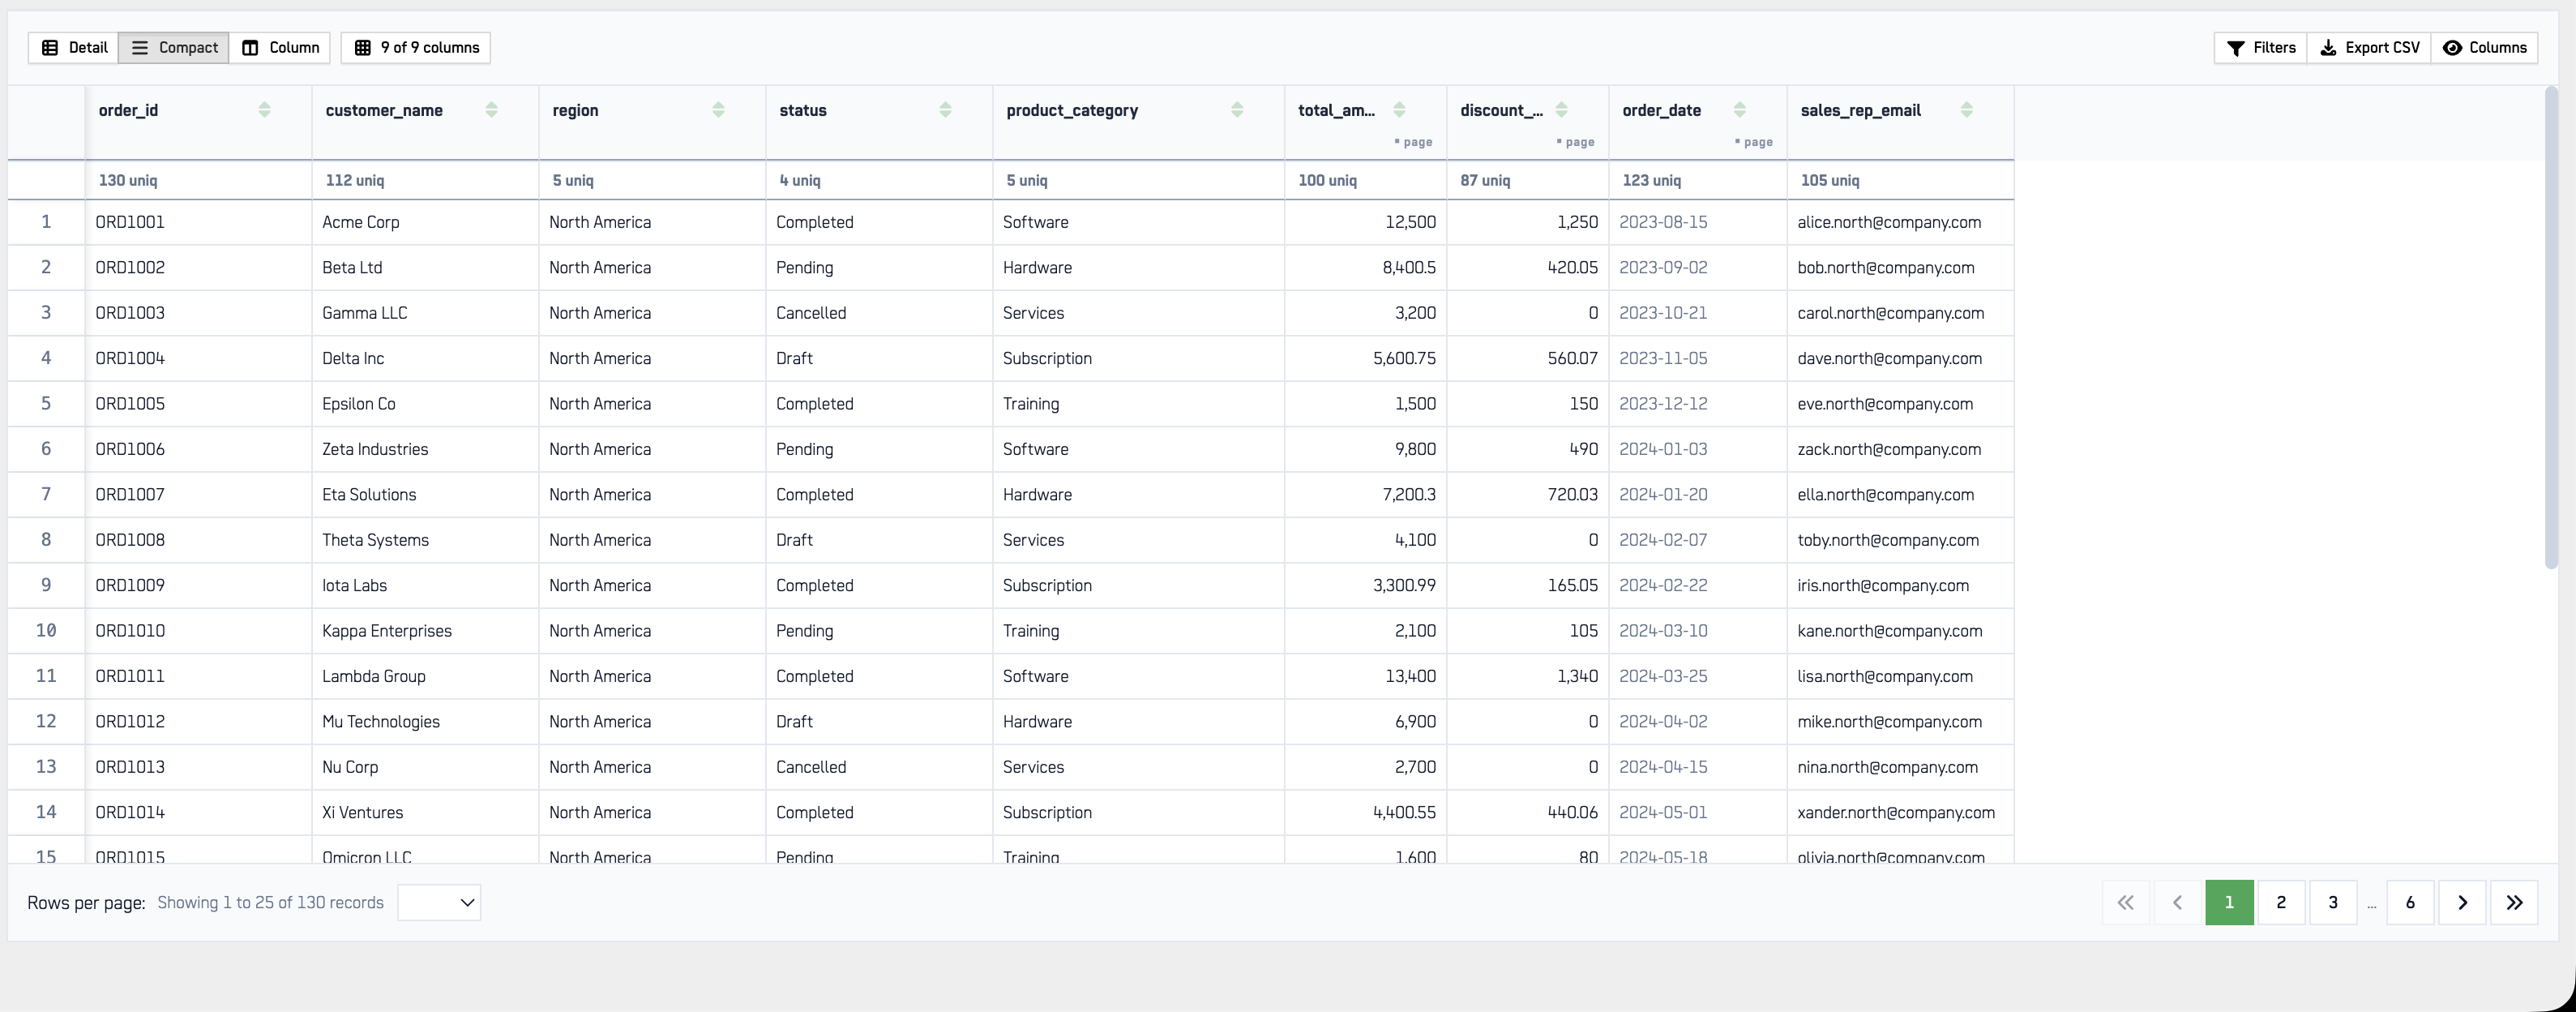
Click any column header to sort by that column.
Copy the result set to the clipboard for quick reuse.
Download the result set as a CSV file for offline analysis.
Step 5: Save and Load Queries (Optional)
You can save queries and reload them at any time across sessions.
To save a query:
- Click the 💾 Save Query button in the editor toolbar.
- Enter a name in the Label for Query field.
- Click Save.
To load or delete a saved query:
- Click the 📂 Load Query button in the editor toolbar.
- Select a query from the Query to load dropdown.
- Click Load Query to load it into the active tab, or Delete to remove it.

Tip: The Delete button removes the selected saved query immediately. Re-save the query if you remove it by mistake.
Step 6: Use the Arpia Codex Assistant (Optional)
Generate SQL from natural language or get insights on a selected query using the 🪄 AI Assistant button in the editor toolbar.

- Click the 🪄 AI Assistant button to open the Arpia Codex Assistant dialog.
- Describe the code you want generated, or the question you want answered about your selected code.
- (Optional) Check Include selected code. to send the currently highlighted SQL to the assistant for context.
- Click ▶ Ask Codex to submit.
For more on the assistant, see Arpia Codex Assistant.
Updated 3 months ago