How to create a new WorkArea
You may create any amount of workarea's in Arpia Platform. This is very powerful way to organize your projects, organizations resources and work.
To create a new workarea you need first access to the Arpia Platform. Once in go to the following section in your header menu:
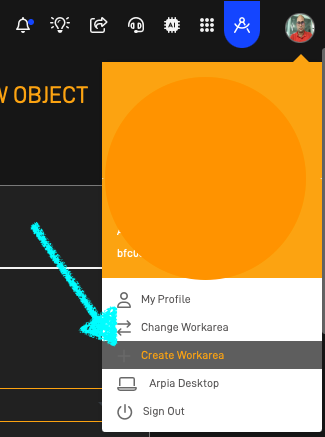
This will open the create workarea form:
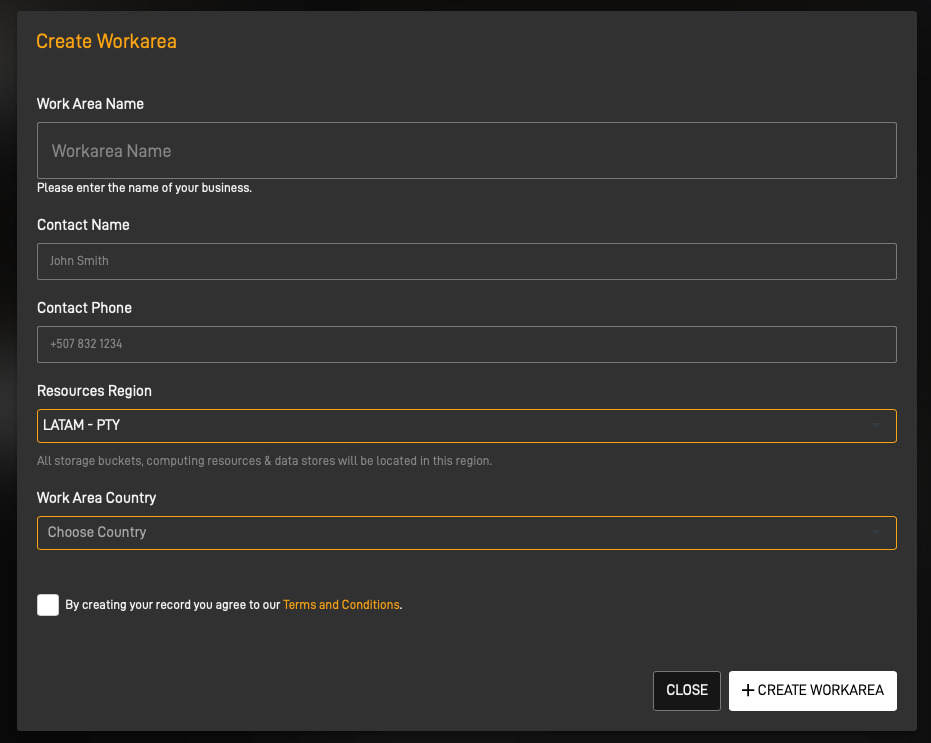
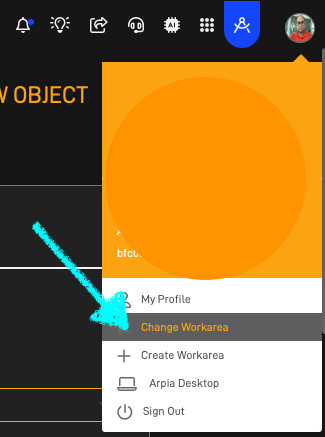
Fill the form and accept the Terms and Conditions. Once ready press + CREATE WORKAREA. Once the workarea is created you may change workareas using the header option:
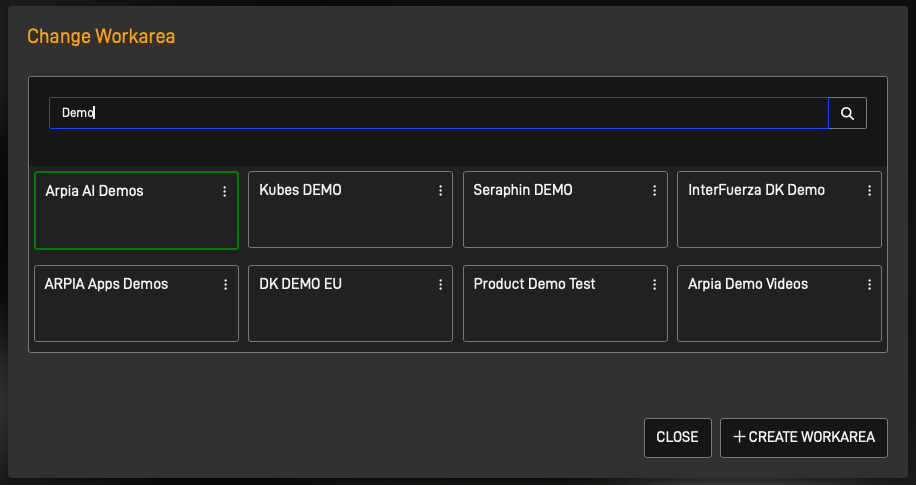
Where you can change to any workarea your user is invited or owner:
User Types (Owner / Invited)
When listing the users related to your workarea you will notice the Type of User column as shown in the following screen:
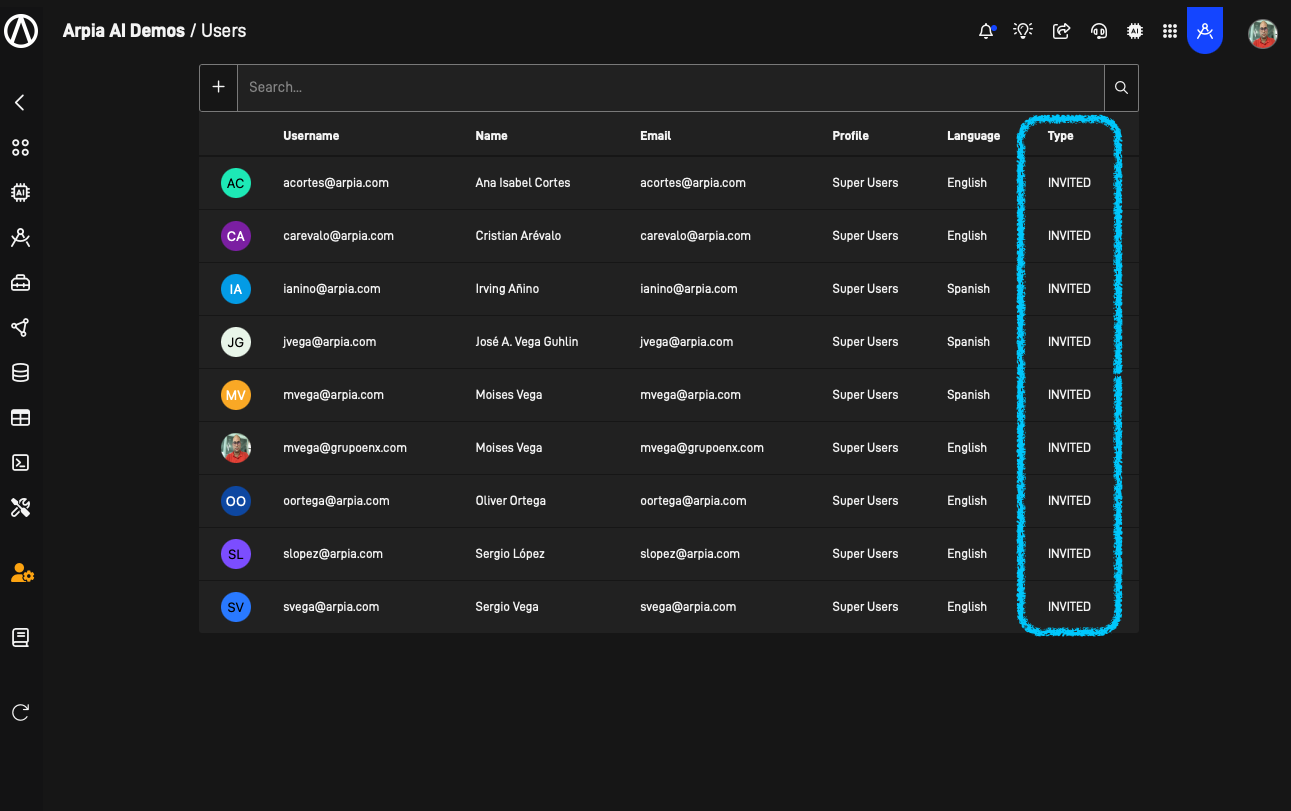
Where you may have 2 types of user:
OWNER
The owner user is a user that is owned by the main workarea, this counts on user seats and if removed from the main workarea the user es deleted from all sessions and workarea where he has been Invited.
Deleting Owner Users
Remember that deleting owner users will delete all sessions for that user and removed from all workareas where this user is as Owner & Invited.
INVITED
The Invited user is the user that has been invited to your workarea, but is owned by other workarea. The difference is that this user is not counted as a user seat in the billing of this workarea. This avoids doble billing of a user. You may delete this user from the workarea removing the invitation relationship but the user will not be deleted from other workareas or the main workarea where he is owner.
Updated 11 months ago
