Actions
⚙️ Understanding the Operation of Actions in ARPIA
🎯 Objective
The Actions module in ARPIA is designed to optimize data processing by following predefined workflows tailored for specific purposes. This document details how the platform filters, processes, sends, and analyzes information efficiently.
📝 Action Listing Section
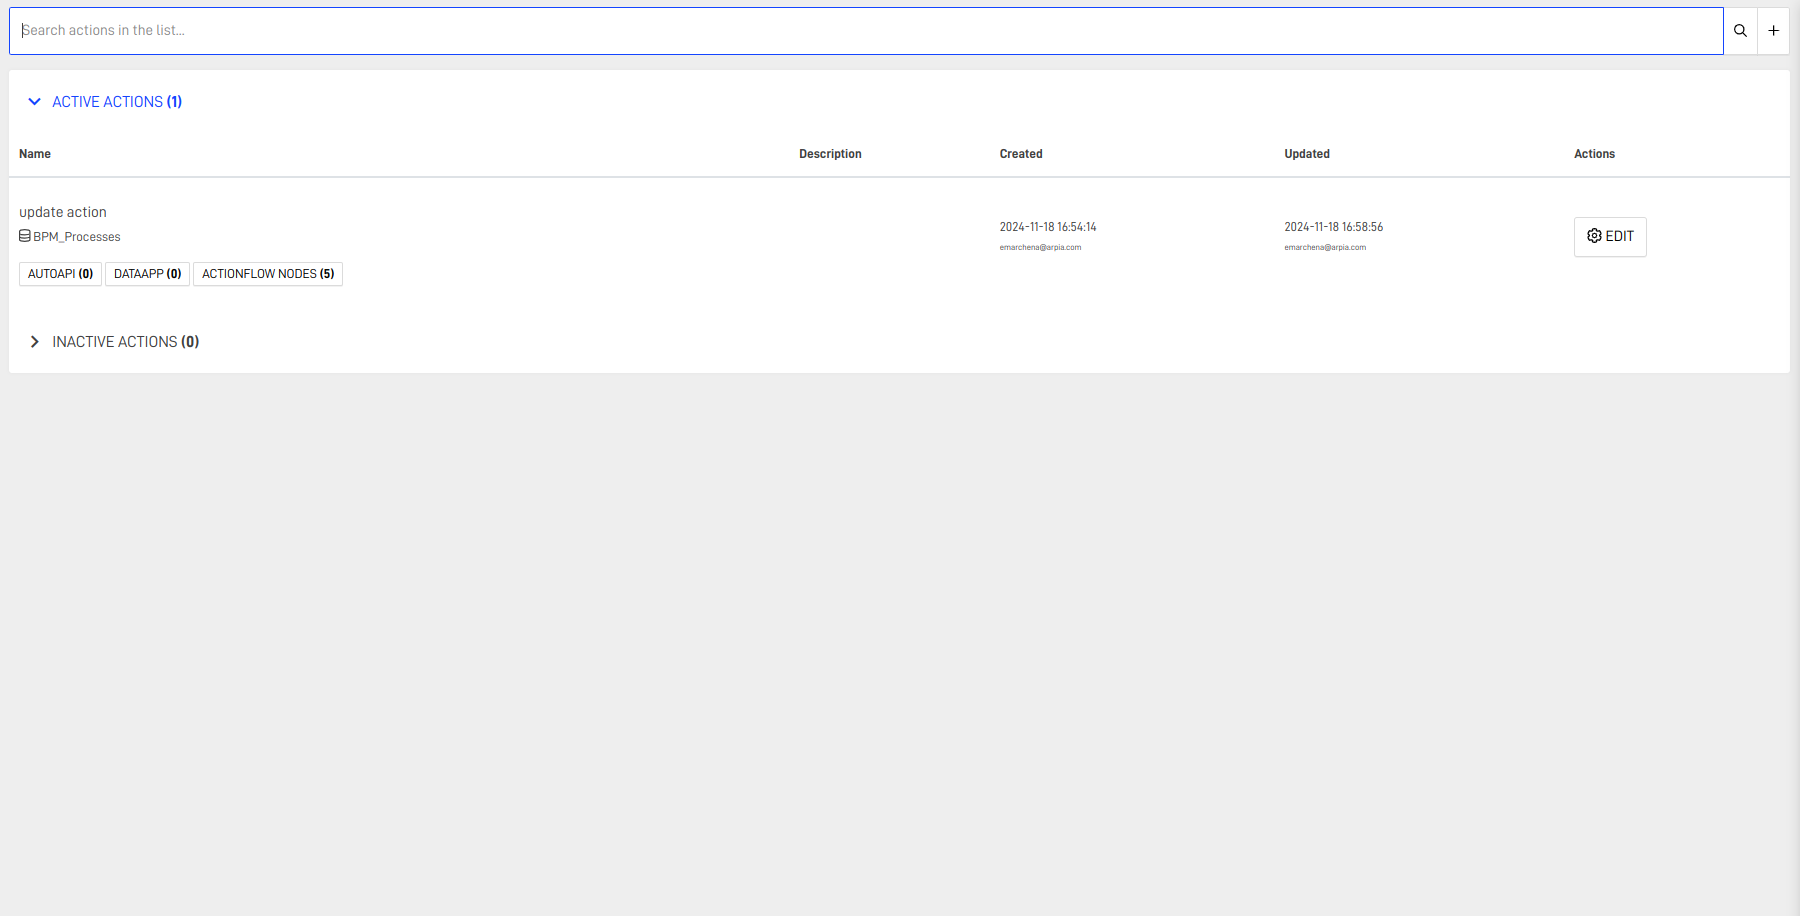
This section displays a comprehensive list of all actions associated with the current repository. Key details include:
- Action Names
- Associated Nodes
- Statuses: Active, Paused, or Inactive
Each node can support multiple actions, catering to diverse operational needs.
🔍 Action Details
Actions are broken down into three key subsections, offering granular insights into their workflows.
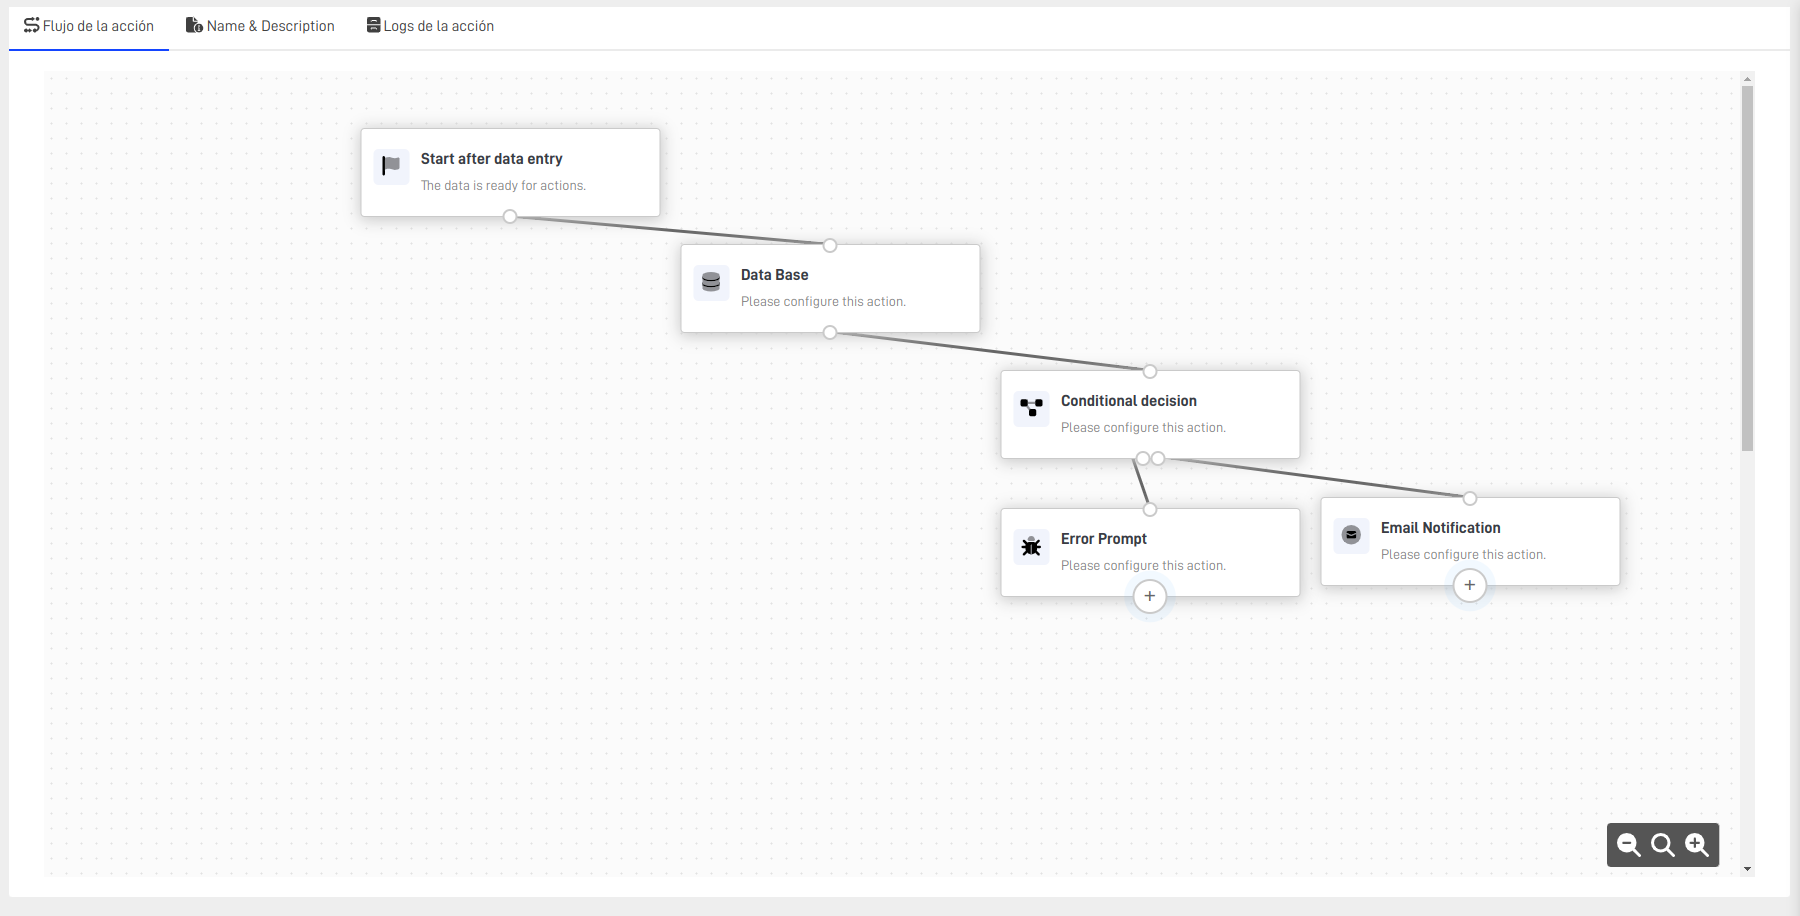
🔄 Action Flow Section
This section provides a visual representation of how the action processes incoming data. Users can incorporate conditionals and alerts for specific scenarios.
🧩 Condition Node
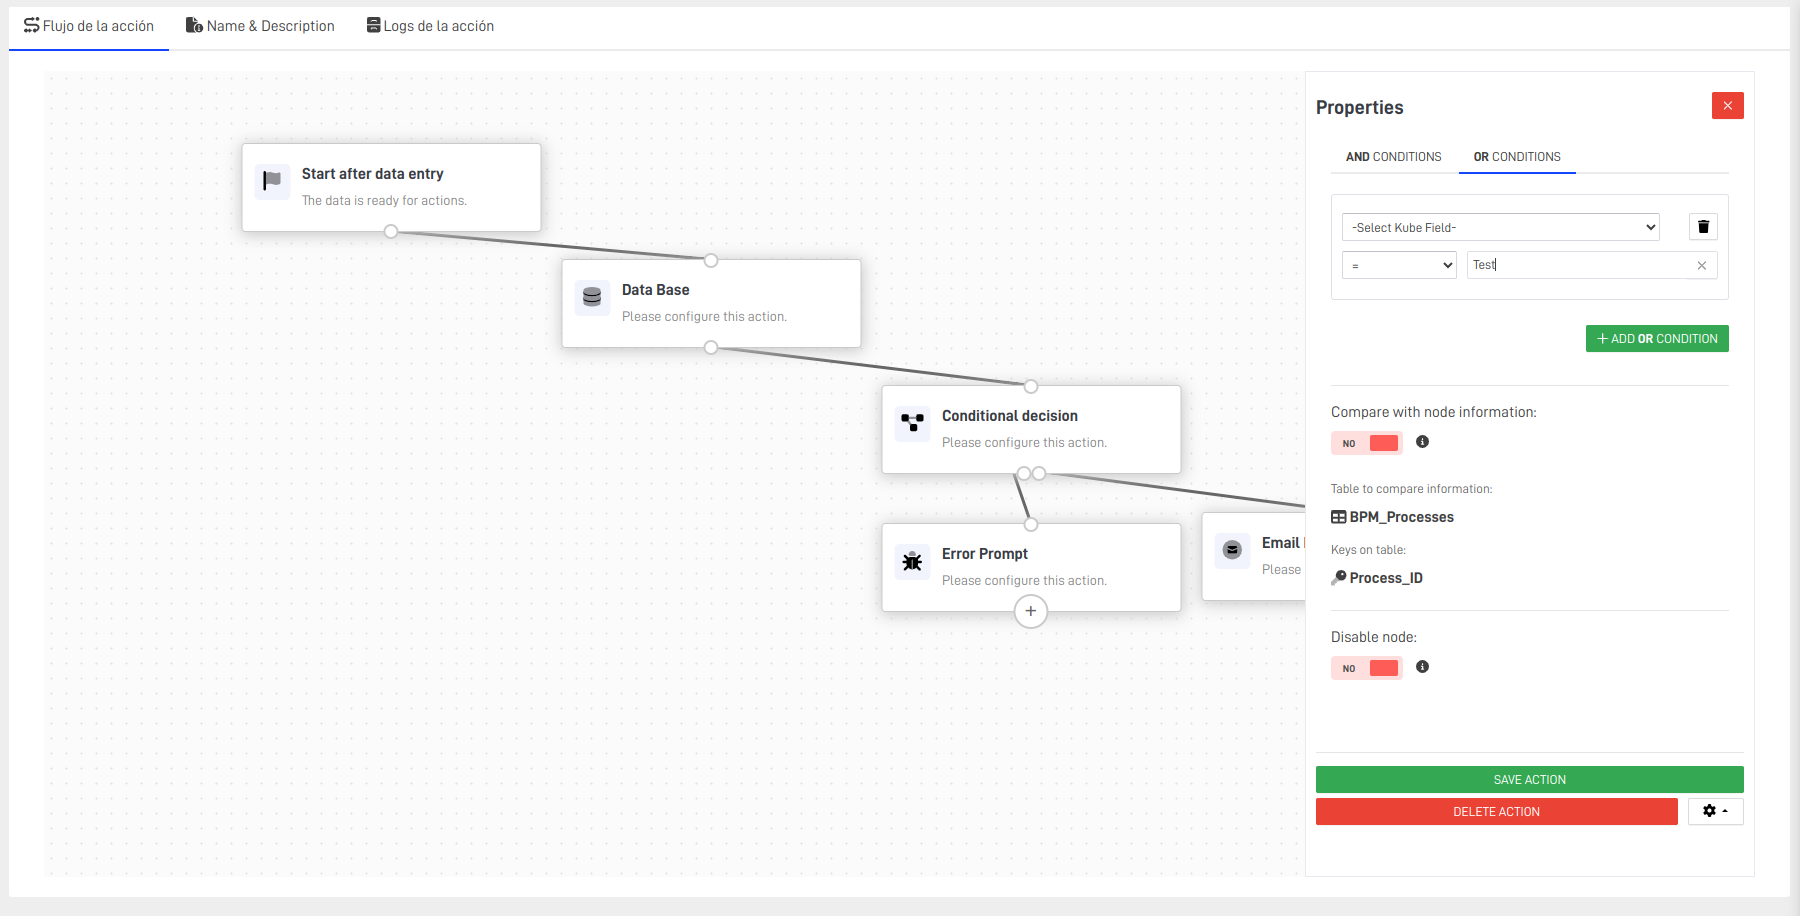
The Condition Node directs data flow based on predefined conditions. It splits the workflow into affirmative or negative branches and can be inserted at any point in the action flow.
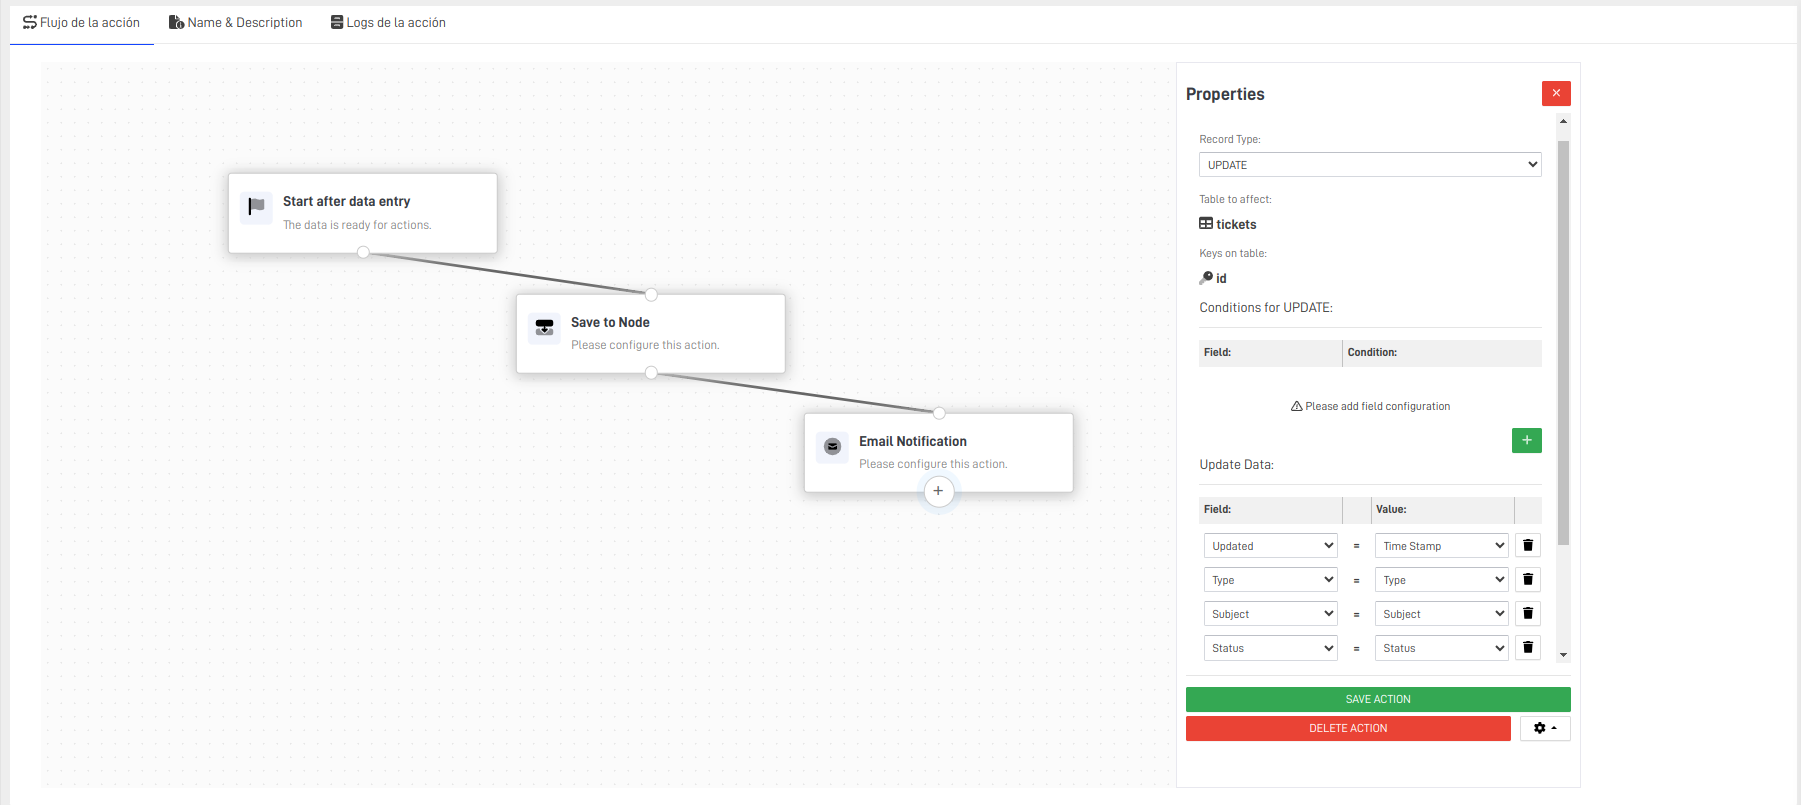
📚 Knowledge Node Modification
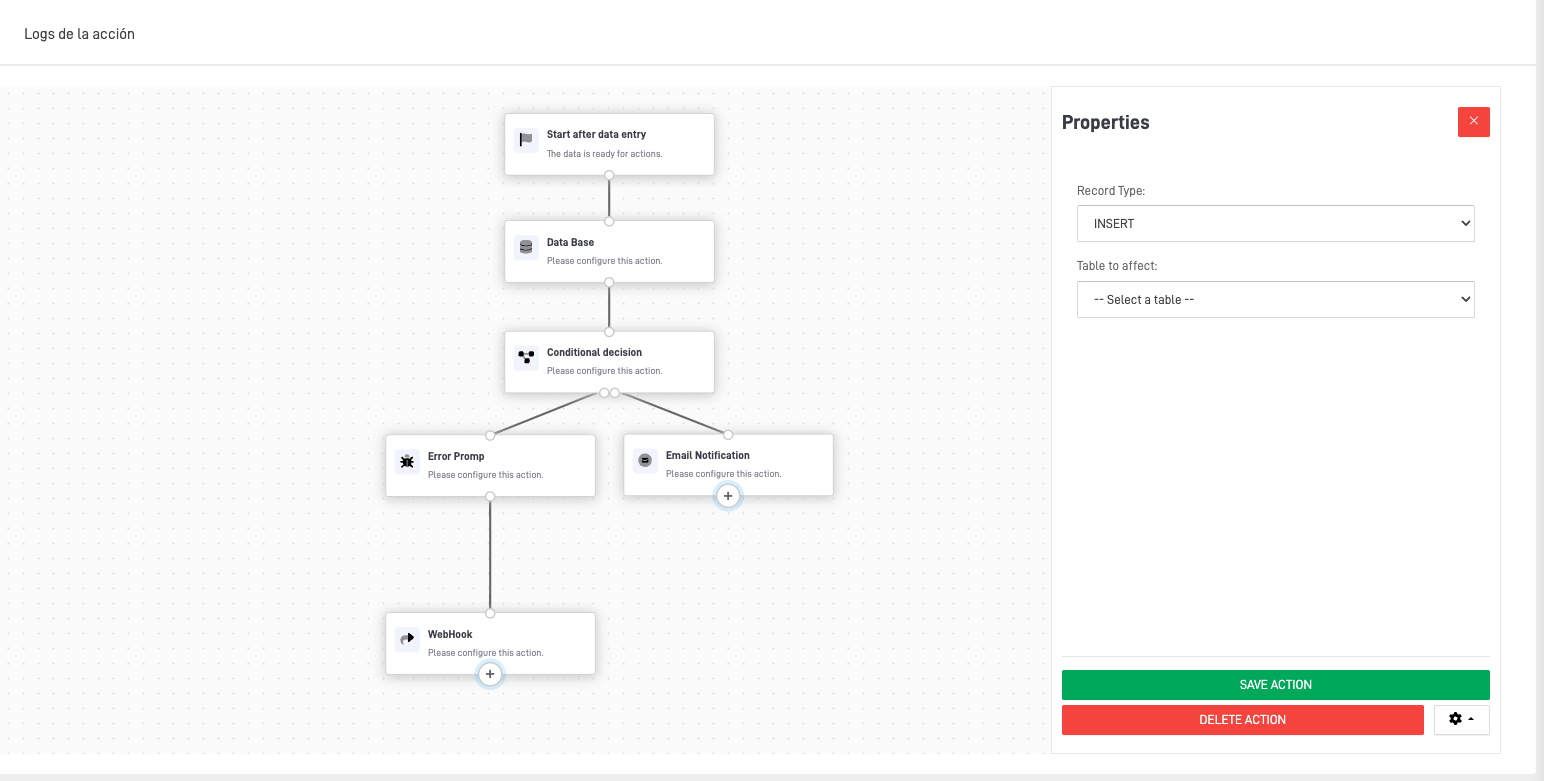
This node enables the insertion, updating, or deletion of data in the knowledge node linked to the action. It ensures seamless mapping of incoming data to the related database table.
📊 Related Knowledge Node Modification
When data points connect multiple knowledge nodes, this node allows detailed additions or updates. It is particularly useful for:
- Managing complex form configurations
- Adding detailed information to primary records
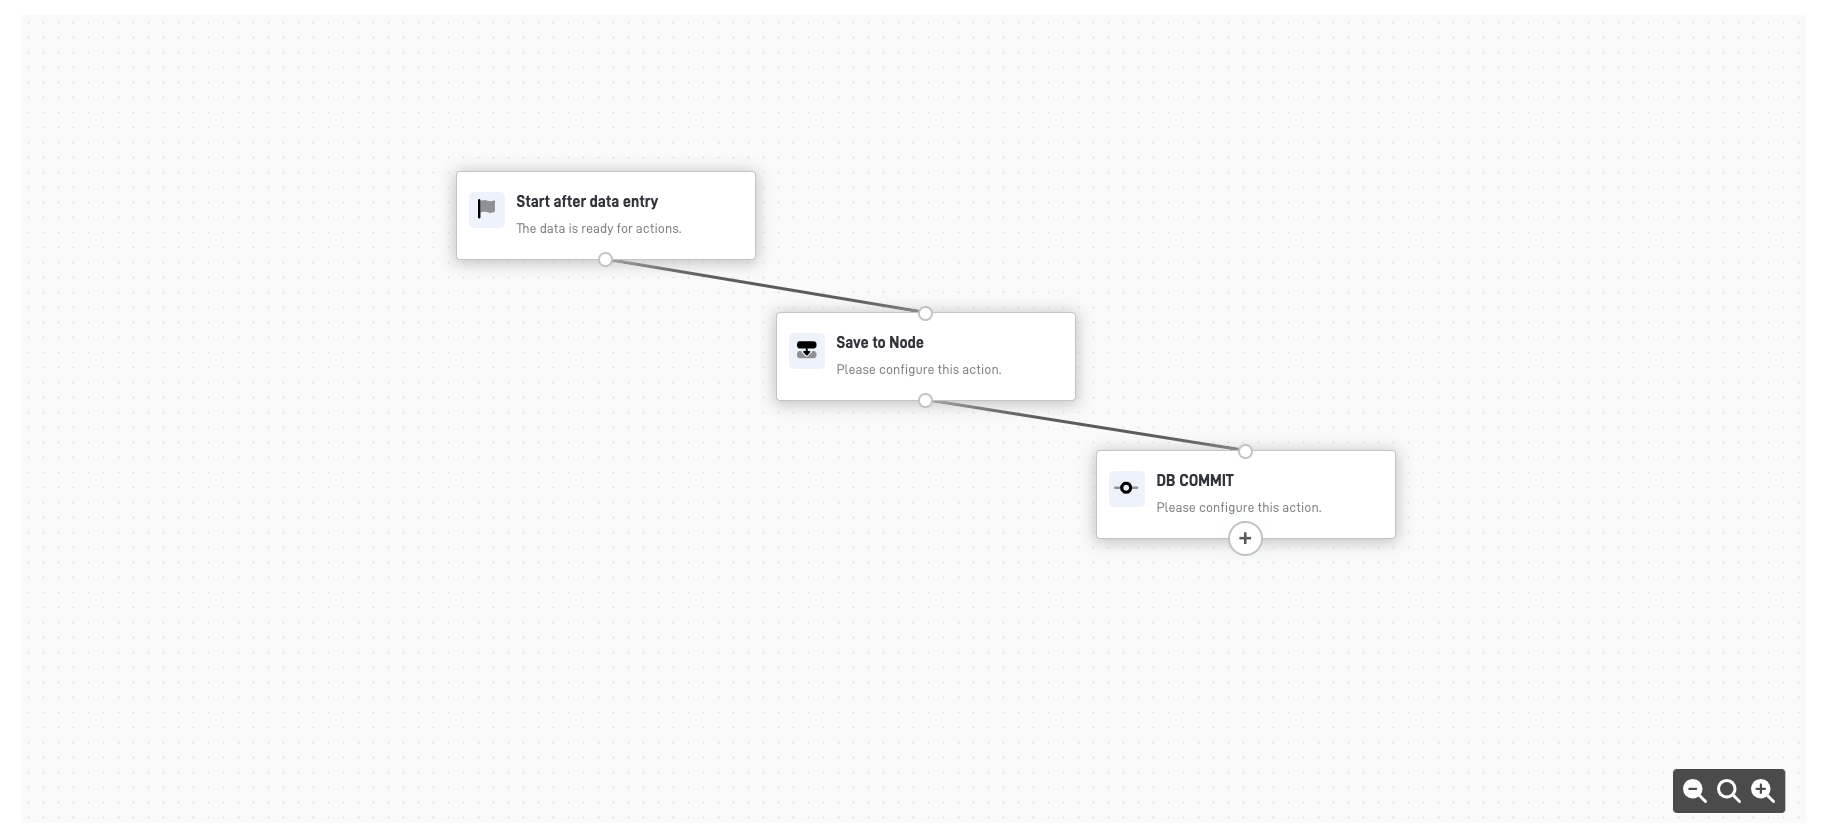
💾 DB Commit Node
The DB Commit Node facilitates partial commits of data up to a specified workflow stage, ensuring consistency and reliability.
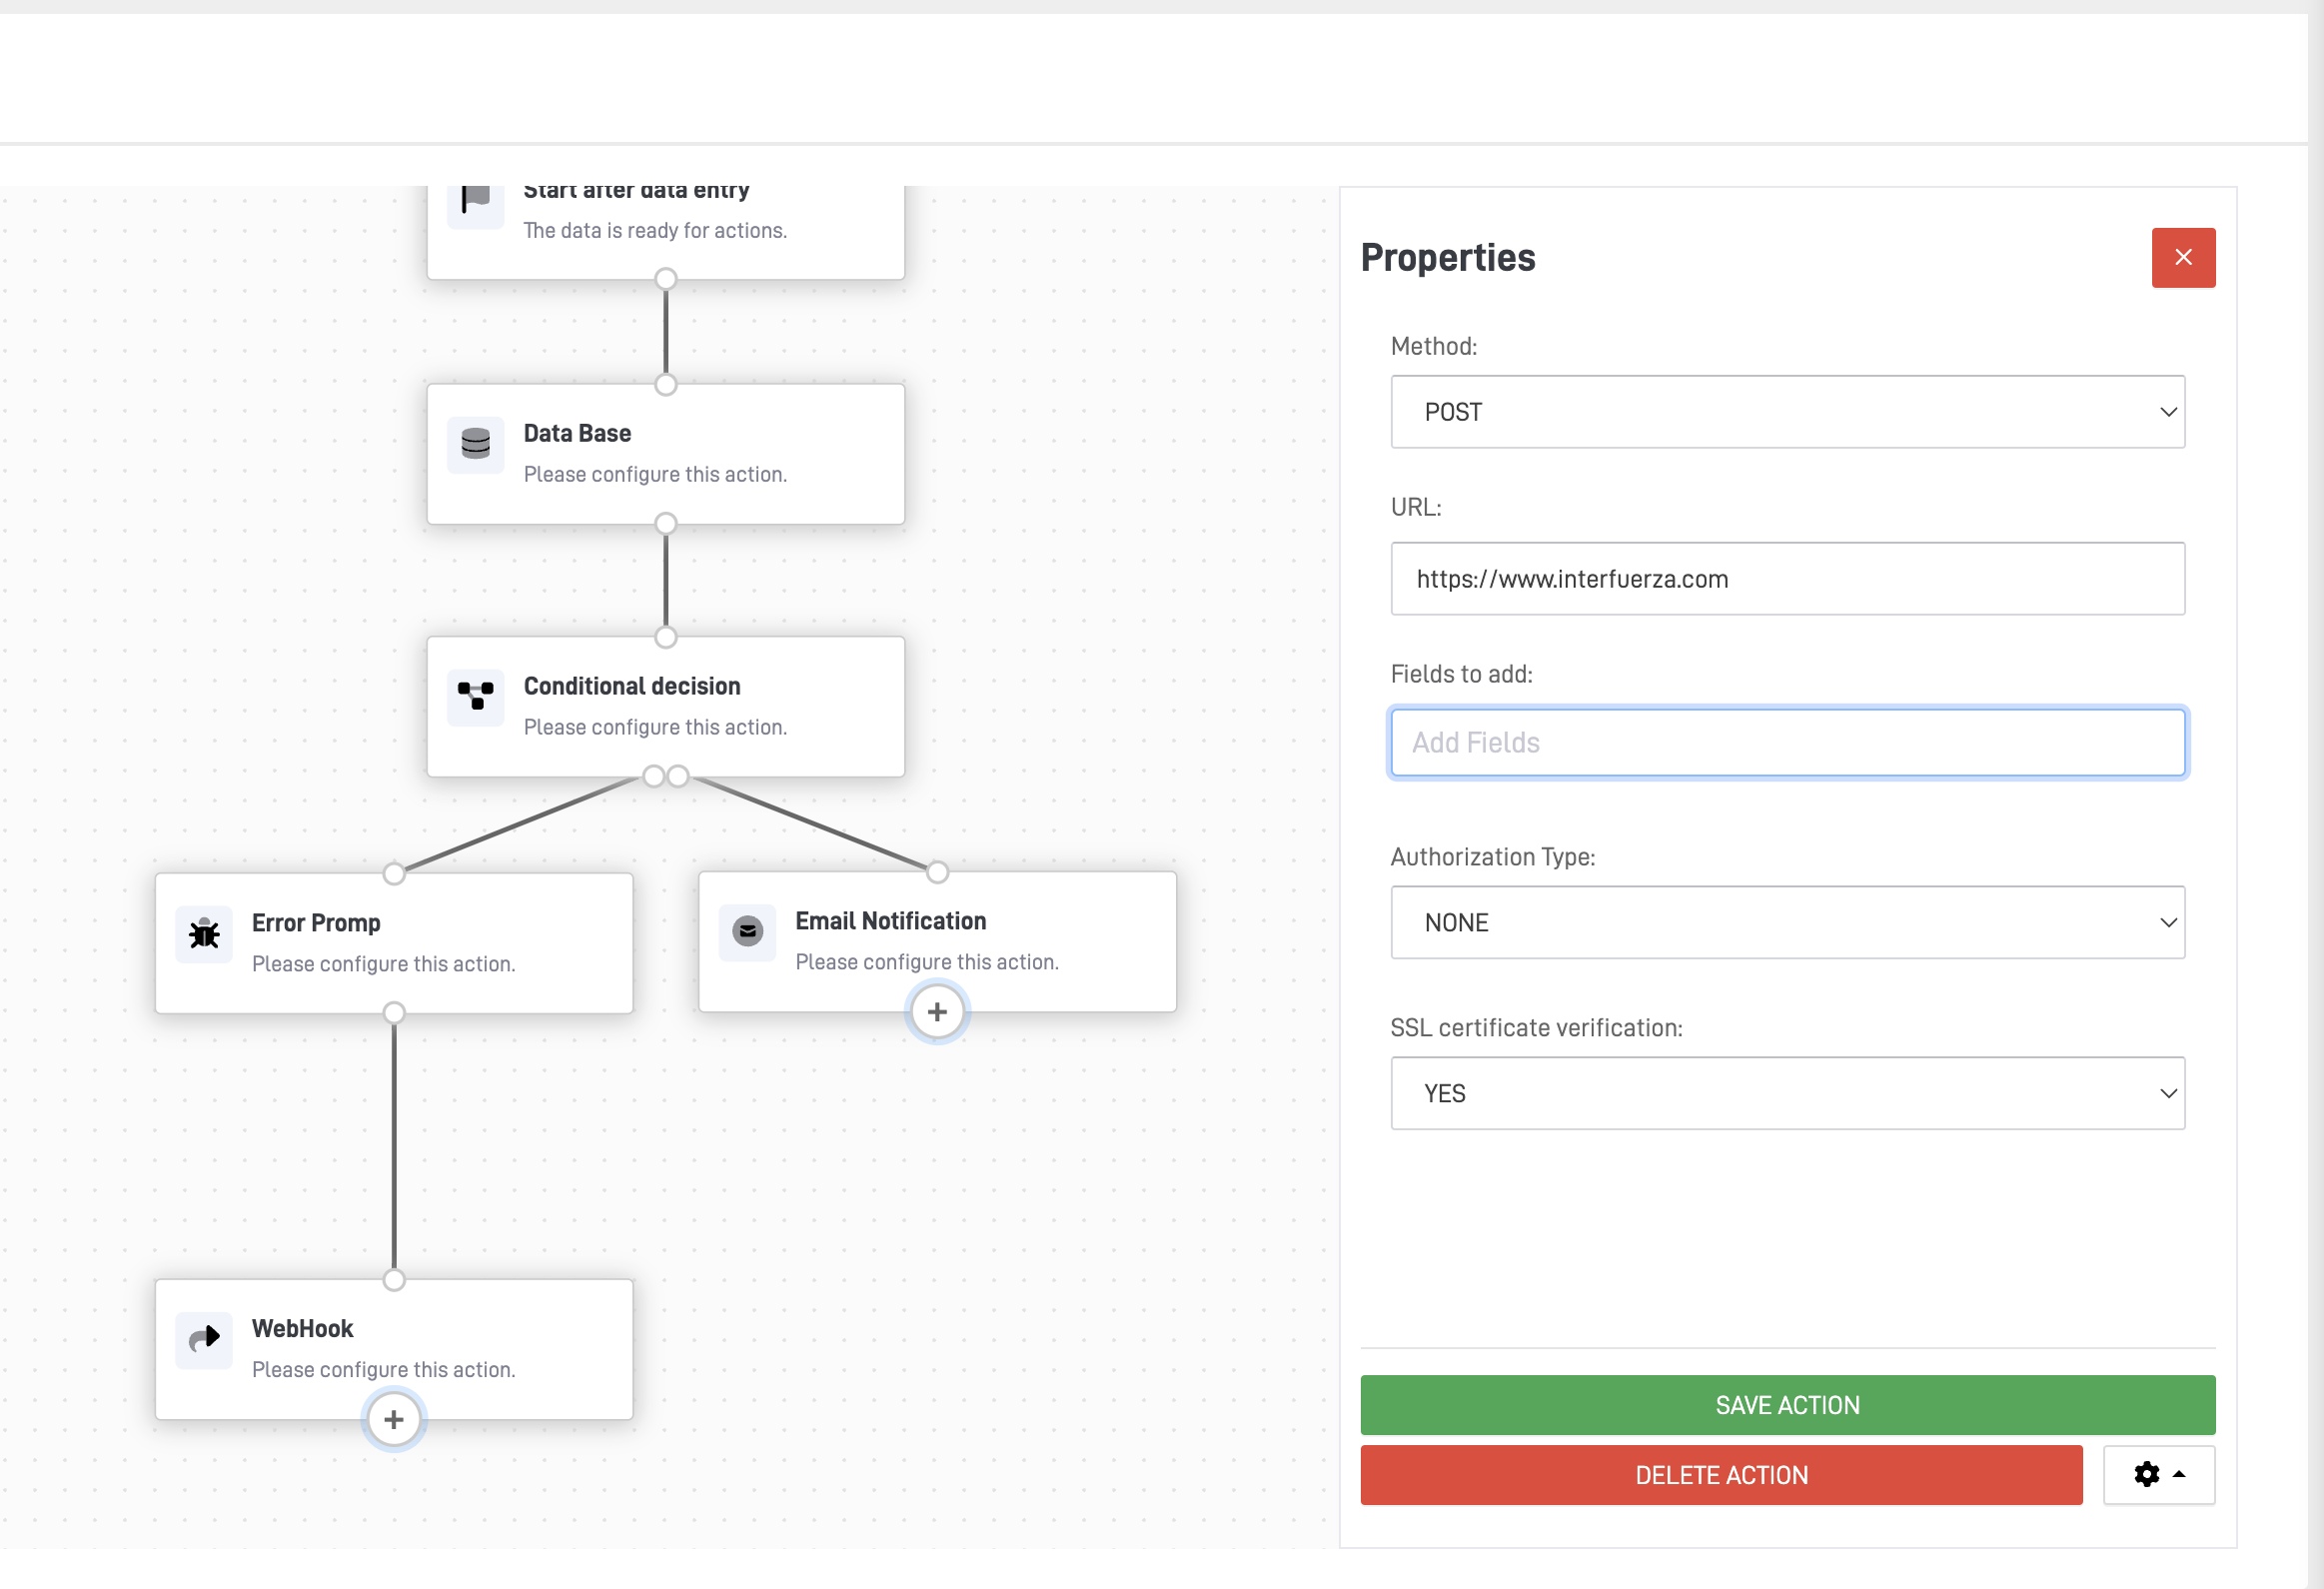
🌐 WebHooks Node
The WebHooks Node sends all fields and values of a record to external platforms via a WebHook. It requires a specific URL for the data transfer.
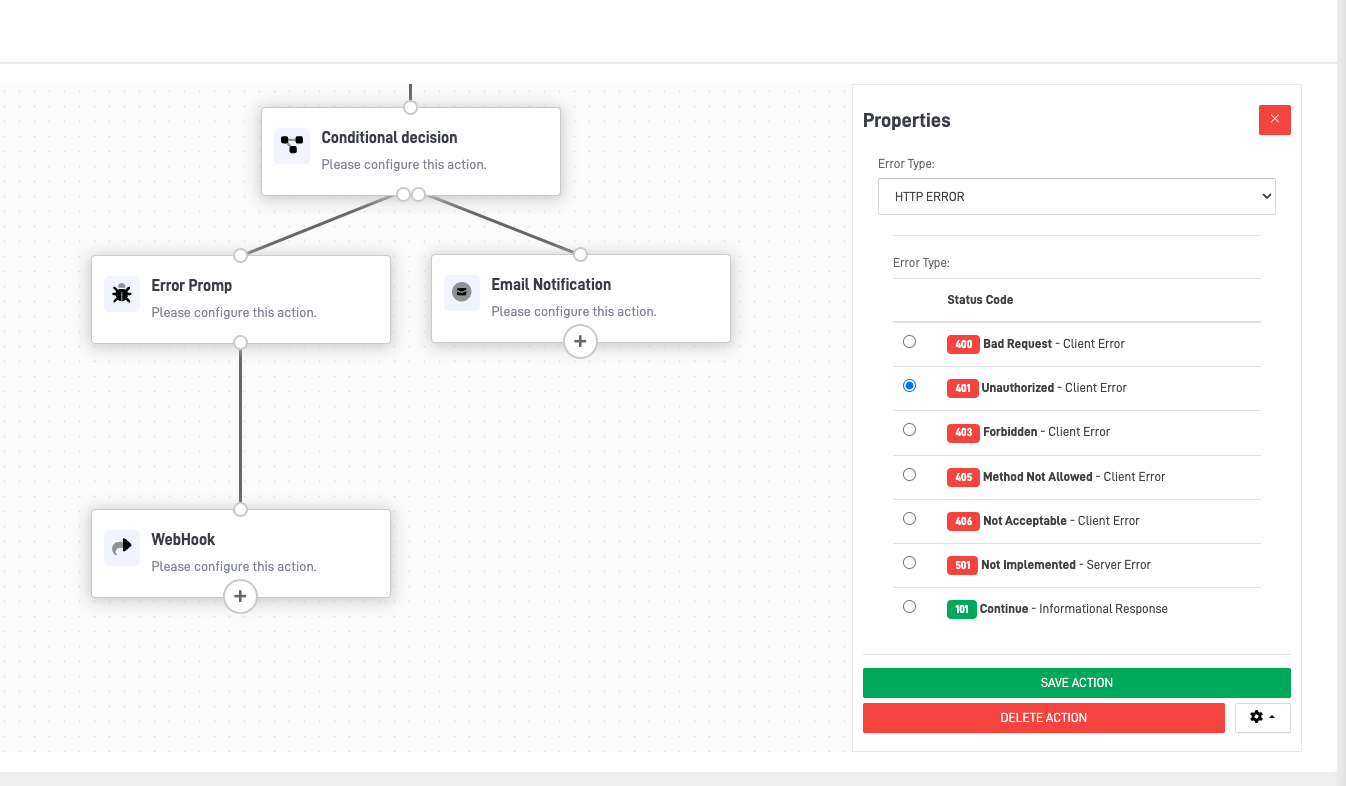
⚠️ HTTP Error Code Node
This node allows users to configure and return an HTTP error code when issues arise. It helps with troubleshooting and logs errors for analysis.
🔔 ARPIA Alerts Node
The Alerts Node generates platform-wide notifications for designated users, providing key insights related to specific records.
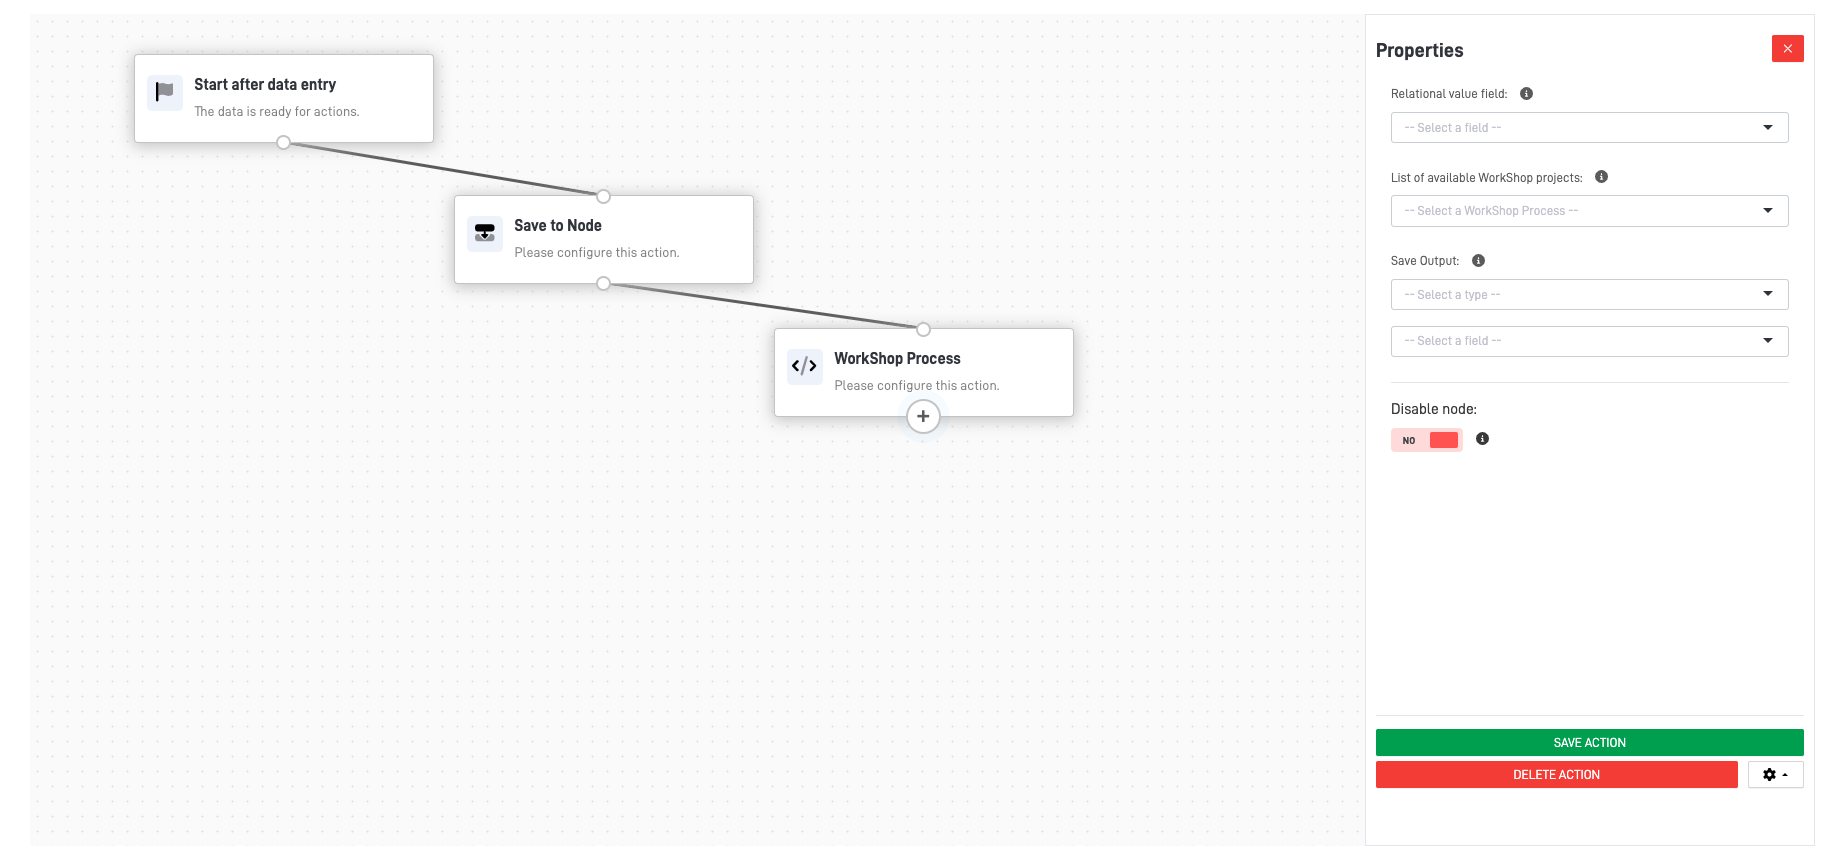
⚙️ Workshop Process Node
This node executes an API workshop project directly within the action flow.
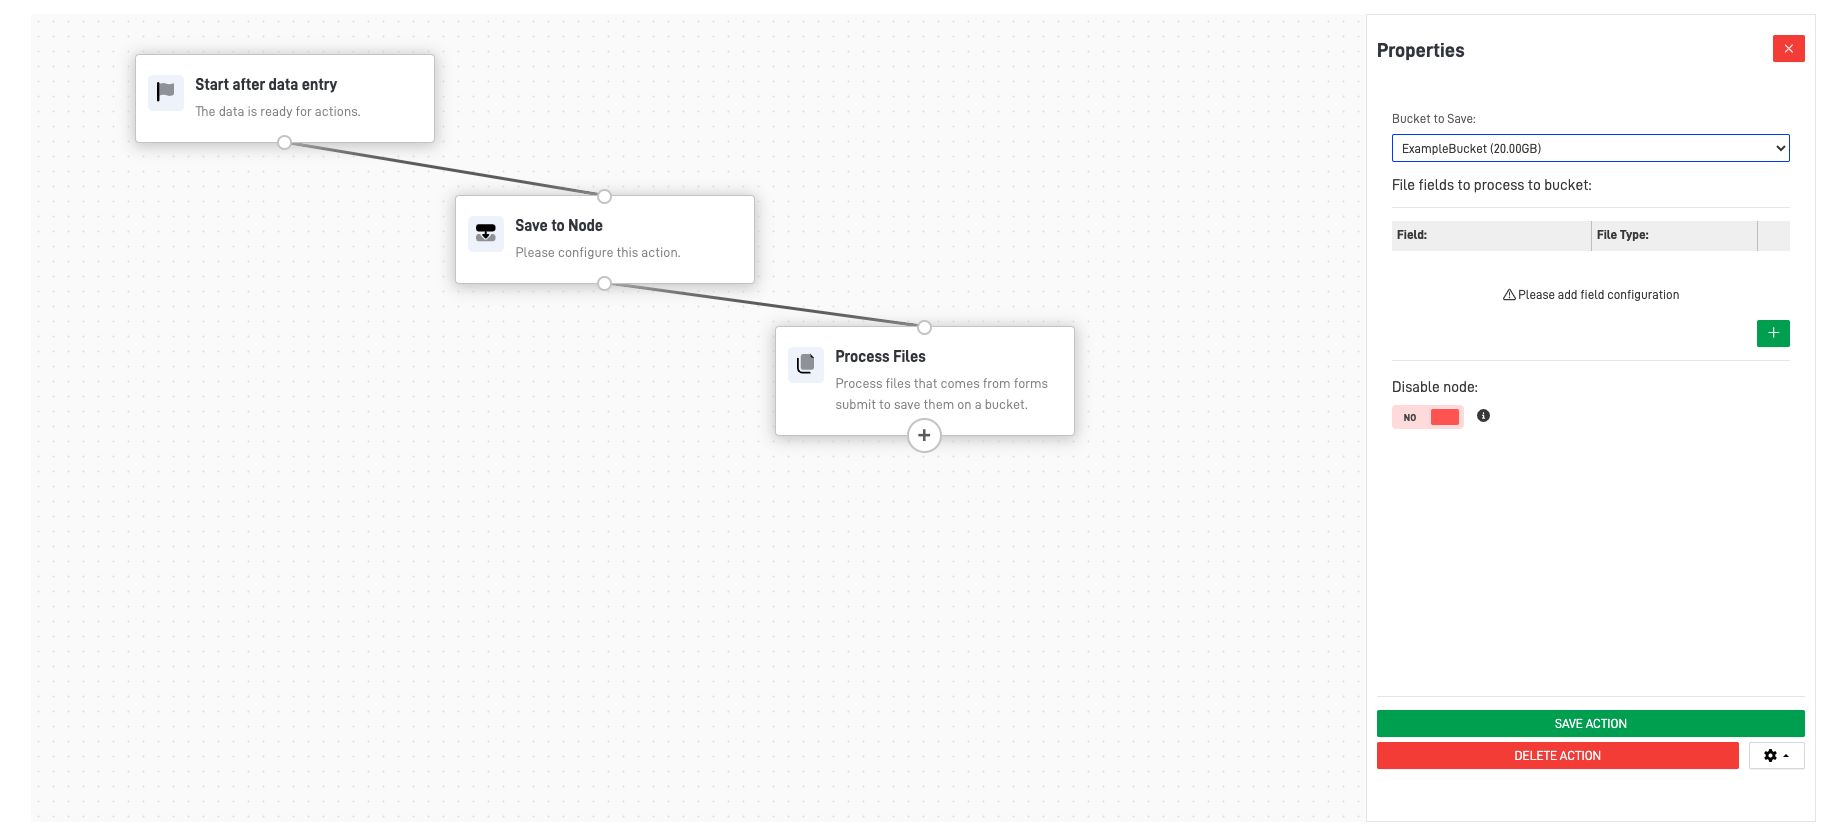
📁 Process Files Node
The Process Files Node handles file uploads from forms, storing them in a designated bucket in drop zone or base64 formats.
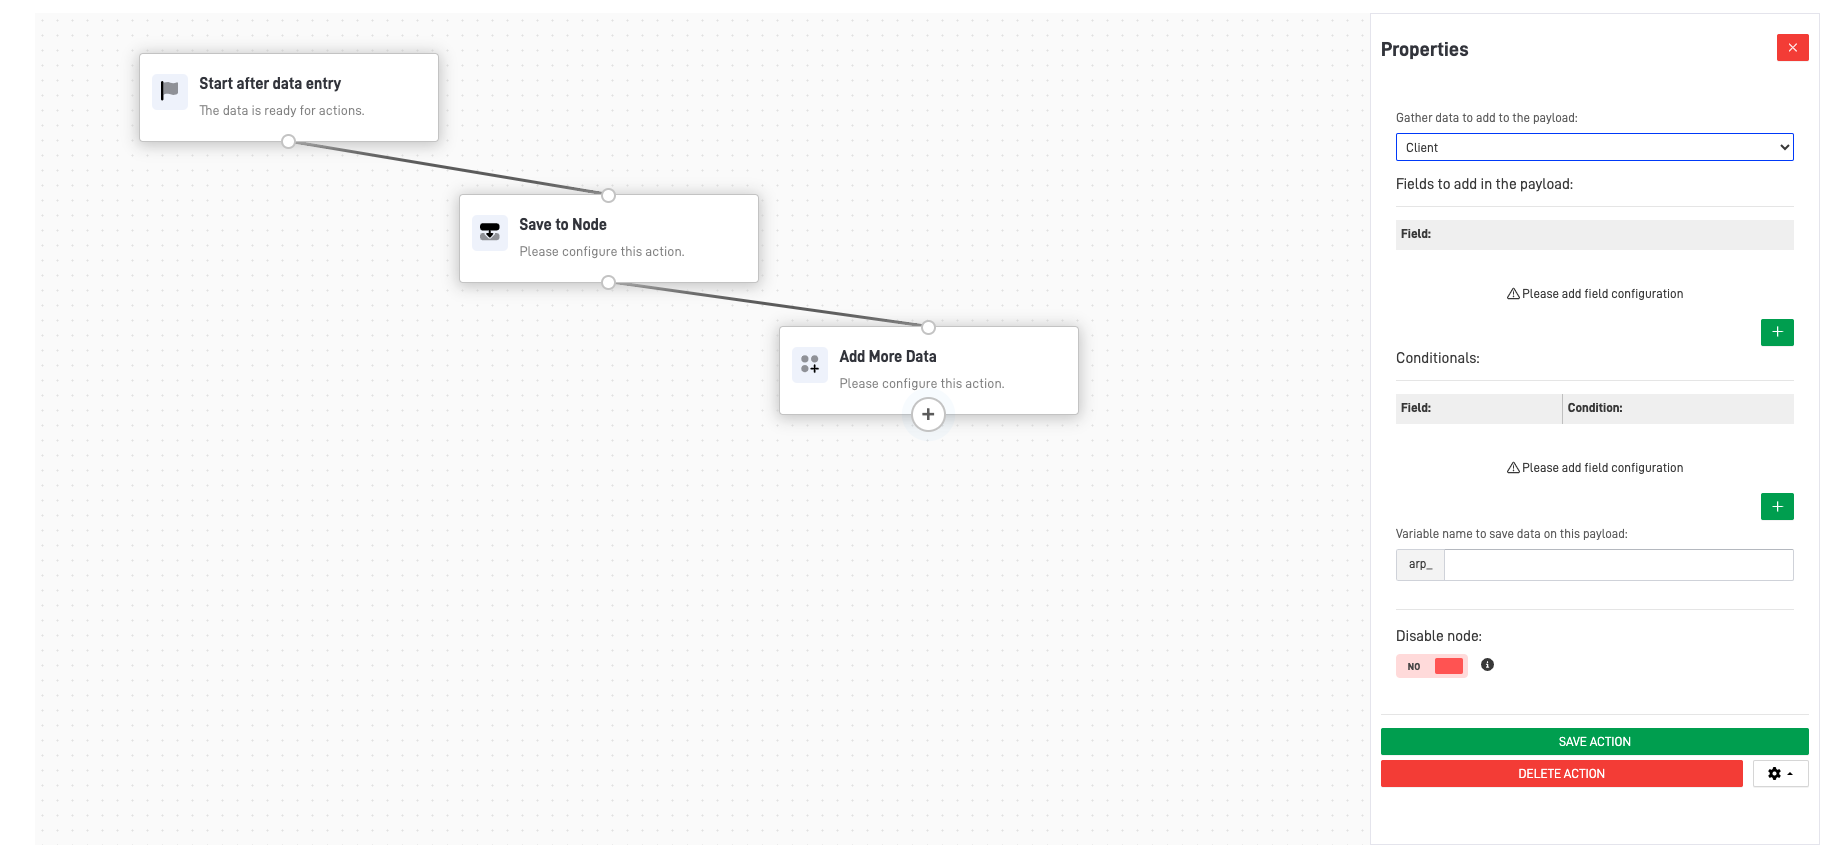
➕ Add More Data Node
This node allows the addition of extra data to the action payload. The output is stored in a variable for use in subsequent nodes.
✏️ Editing Actions
The Action Edit Section provides functionality to rename actions and update their descriptions. These details improve searchability and provide clarity on their purpose.

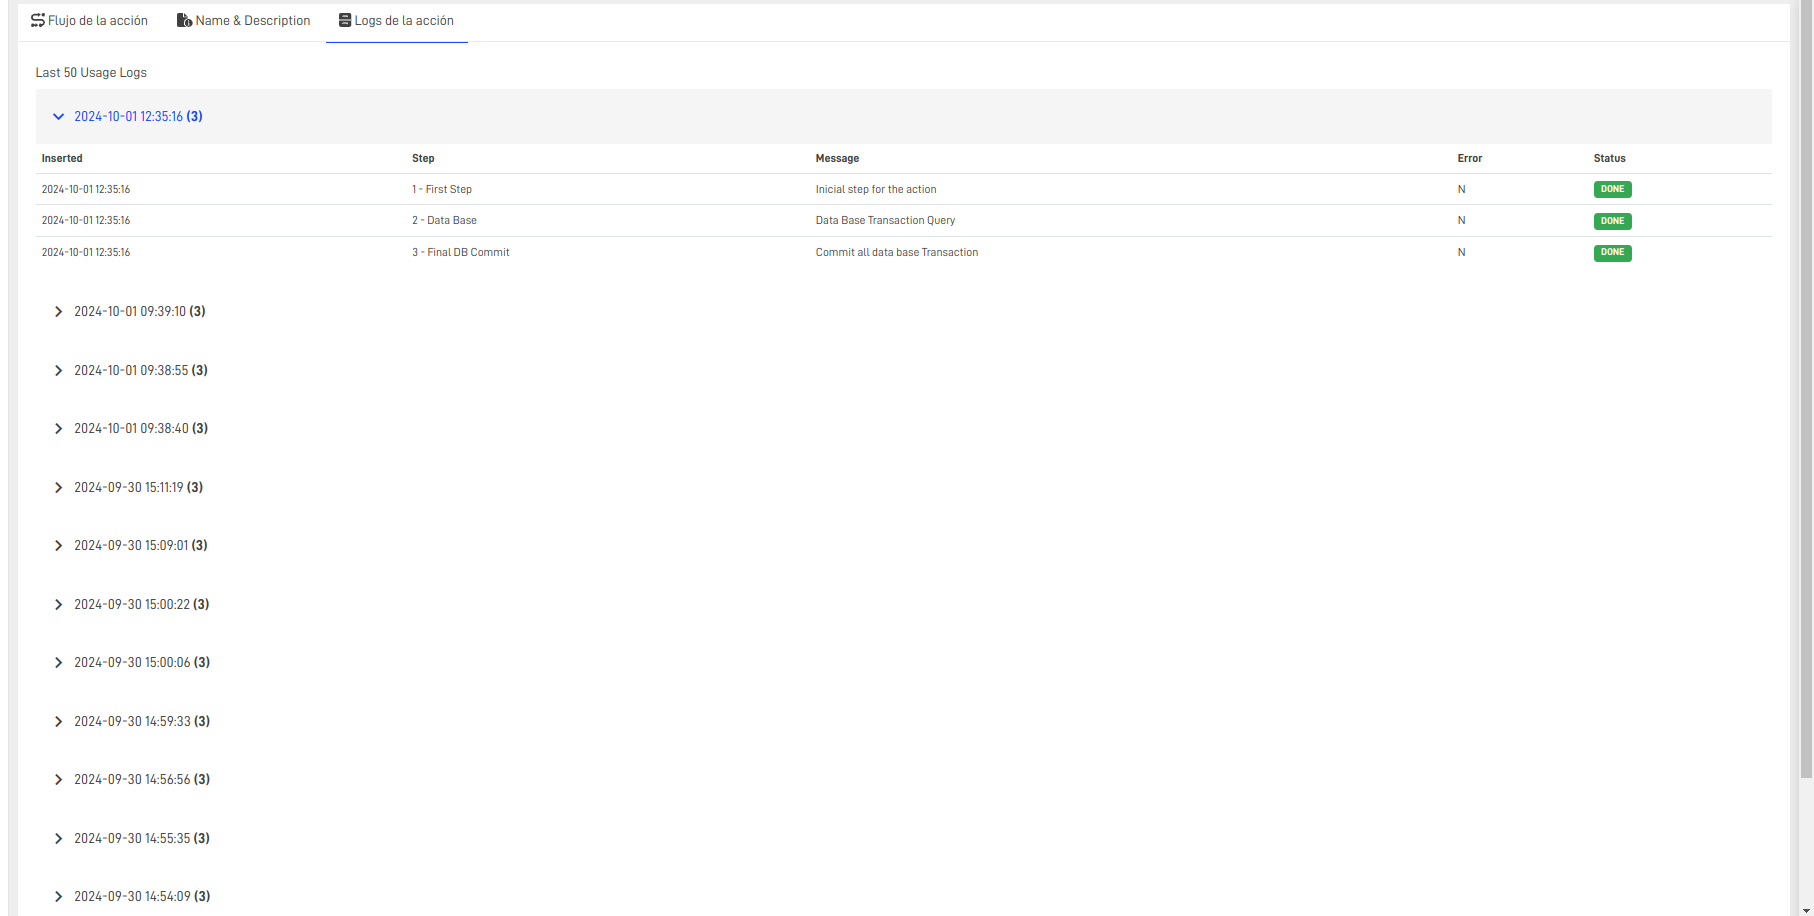
📜 Logs Section
The Logs Section documents every transaction within the action flow, offering details about:
- Errors
- Successes
- Performance Insights
This feature simplifies tracking and troubleshooting.
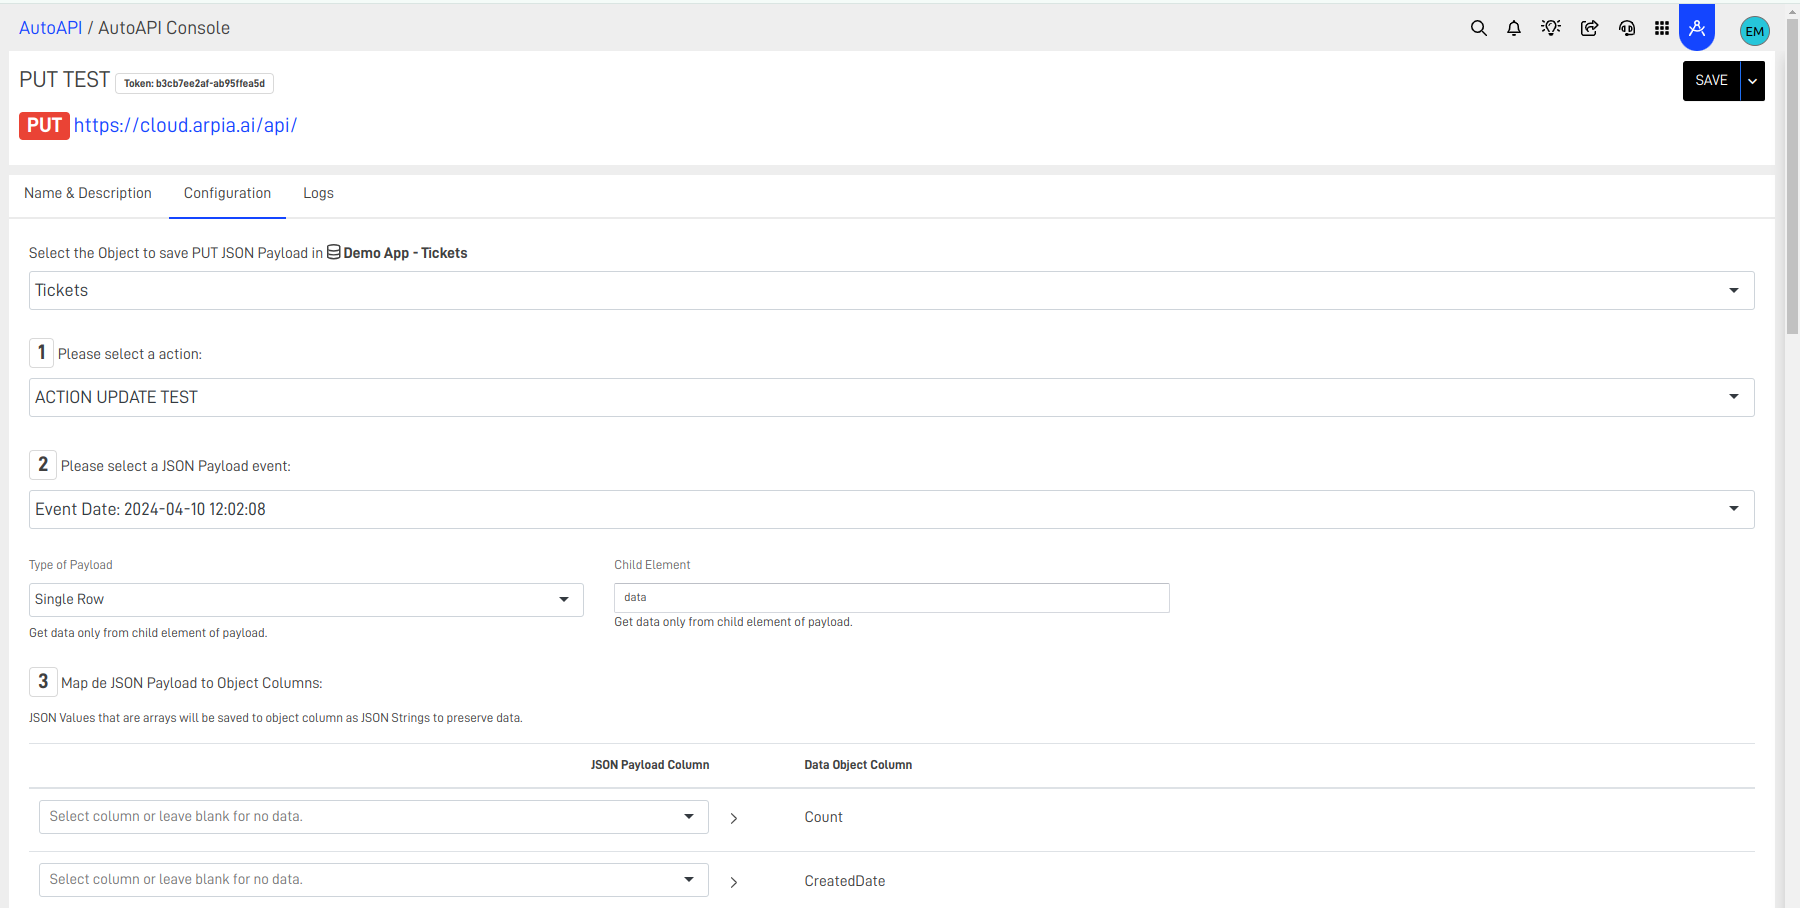
🔄 Actions in the Auto API Module
Actions can be configured using the PUT method in the Auto API module. Key steps include:
- Selecting the repository.
- Assigning the desired node and action.
- Verifying data mapping using tools like Postman.
- Reviewing results in the Logs Section.
📝 Actions in the Data App Studio Module
The Actions Module also supports form processes within Data App Studio. Configure forms by:
- Selecting the Node object type.
- Choosing an action for data processing.
- Testing via the Logs Section.
Note: For update actions, the ID is configured as a DataApp Global Variable instead of being included in the form directly.
Updated 3 months ago
