
How to create an AutoApi
Step-by-Step Guide
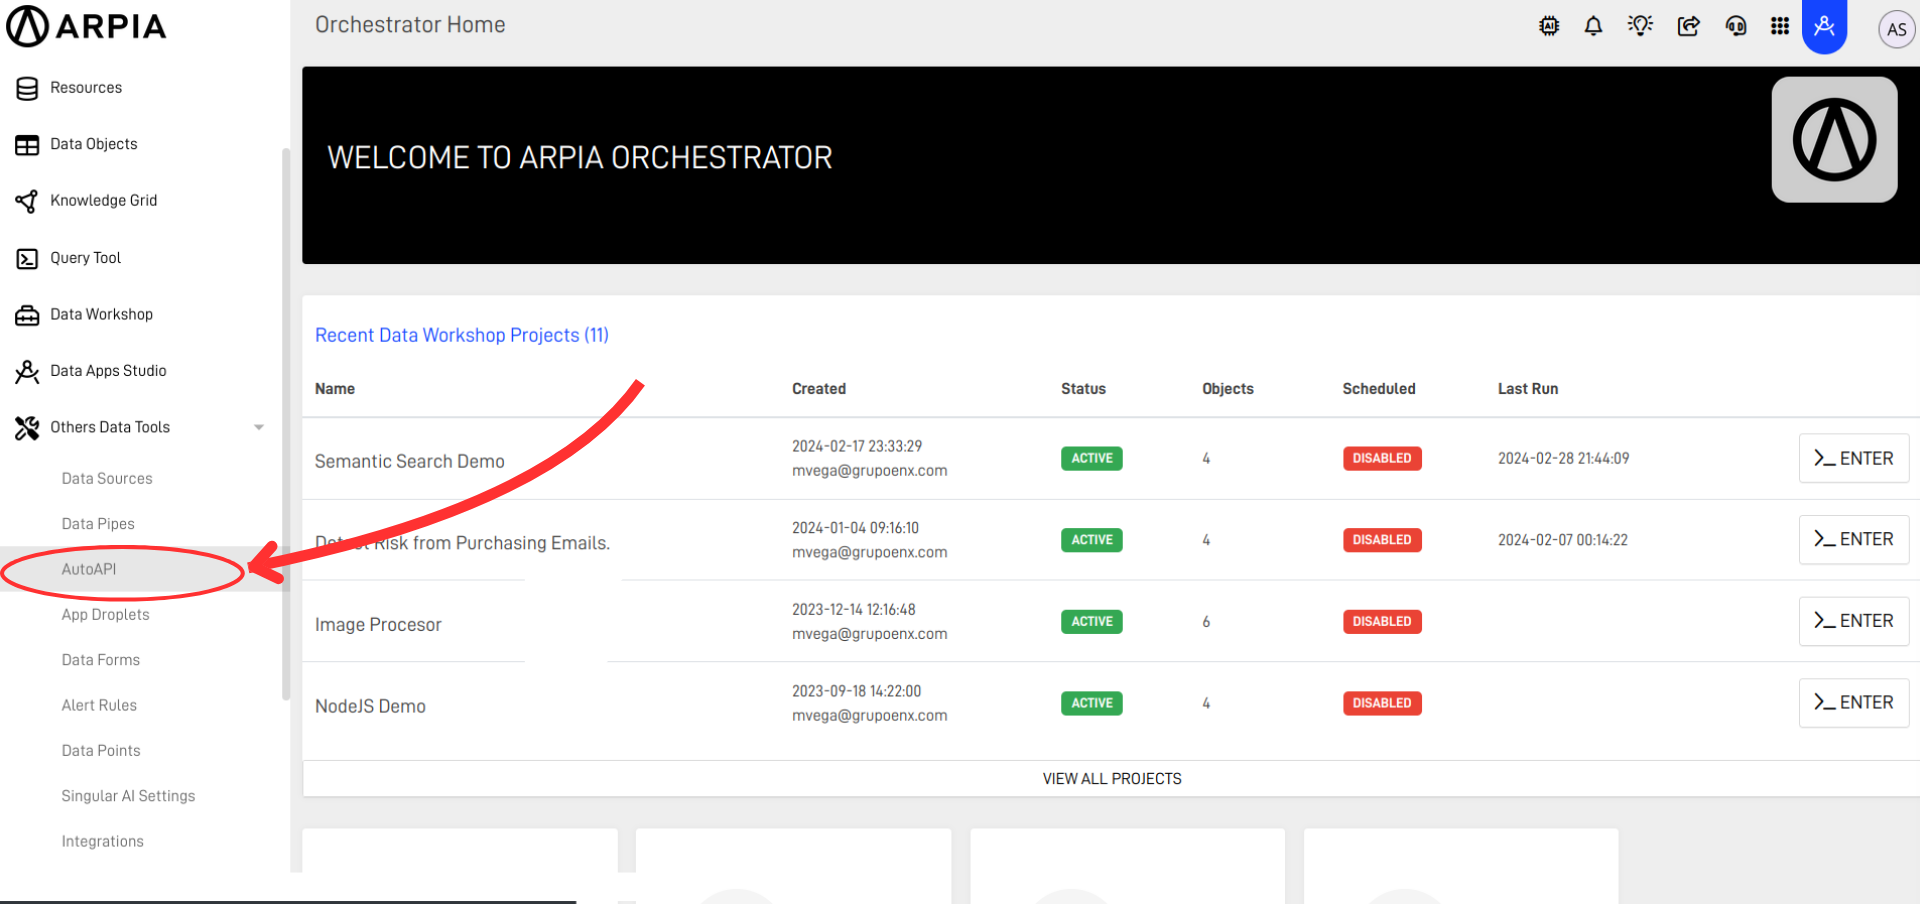
Step 1: Go to the screen to create the AutoAPI.
Navigate to the AutoAPI section in your Orchestrator toolbar.
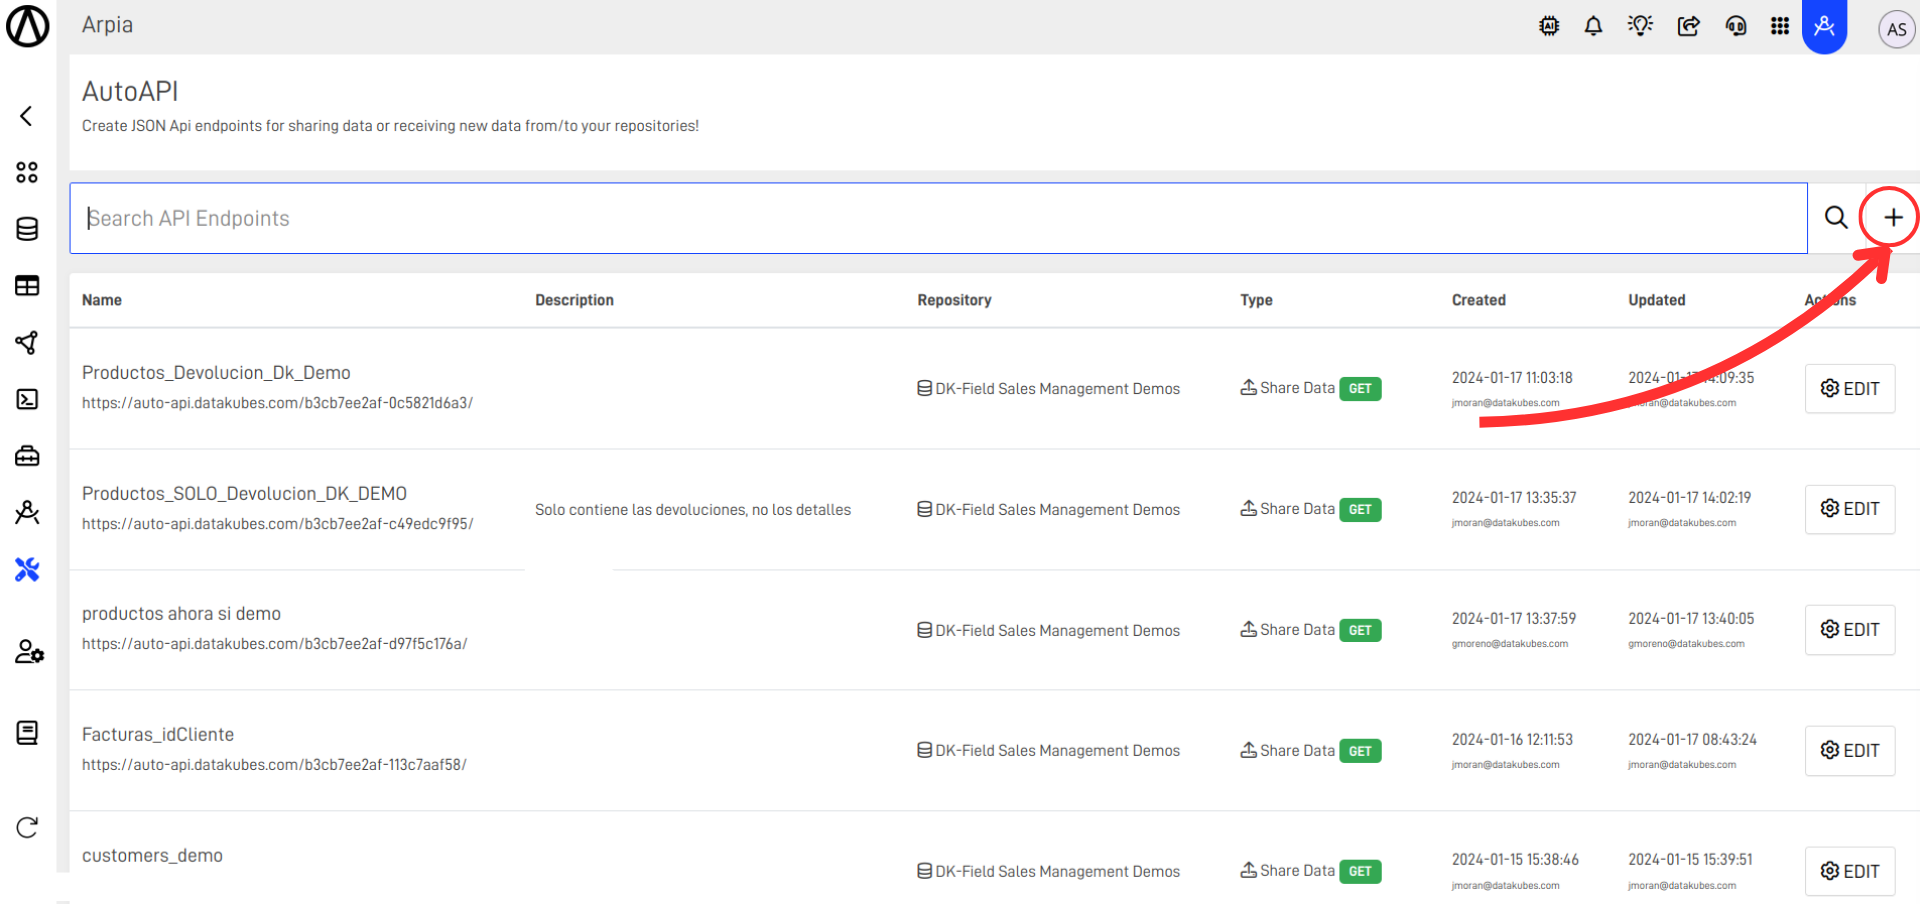
Step 2: Create the AutoAPI.
You will be directed to a new window displaying all the AutoAPI you have created. To create a new AutoAPI, click the + button.
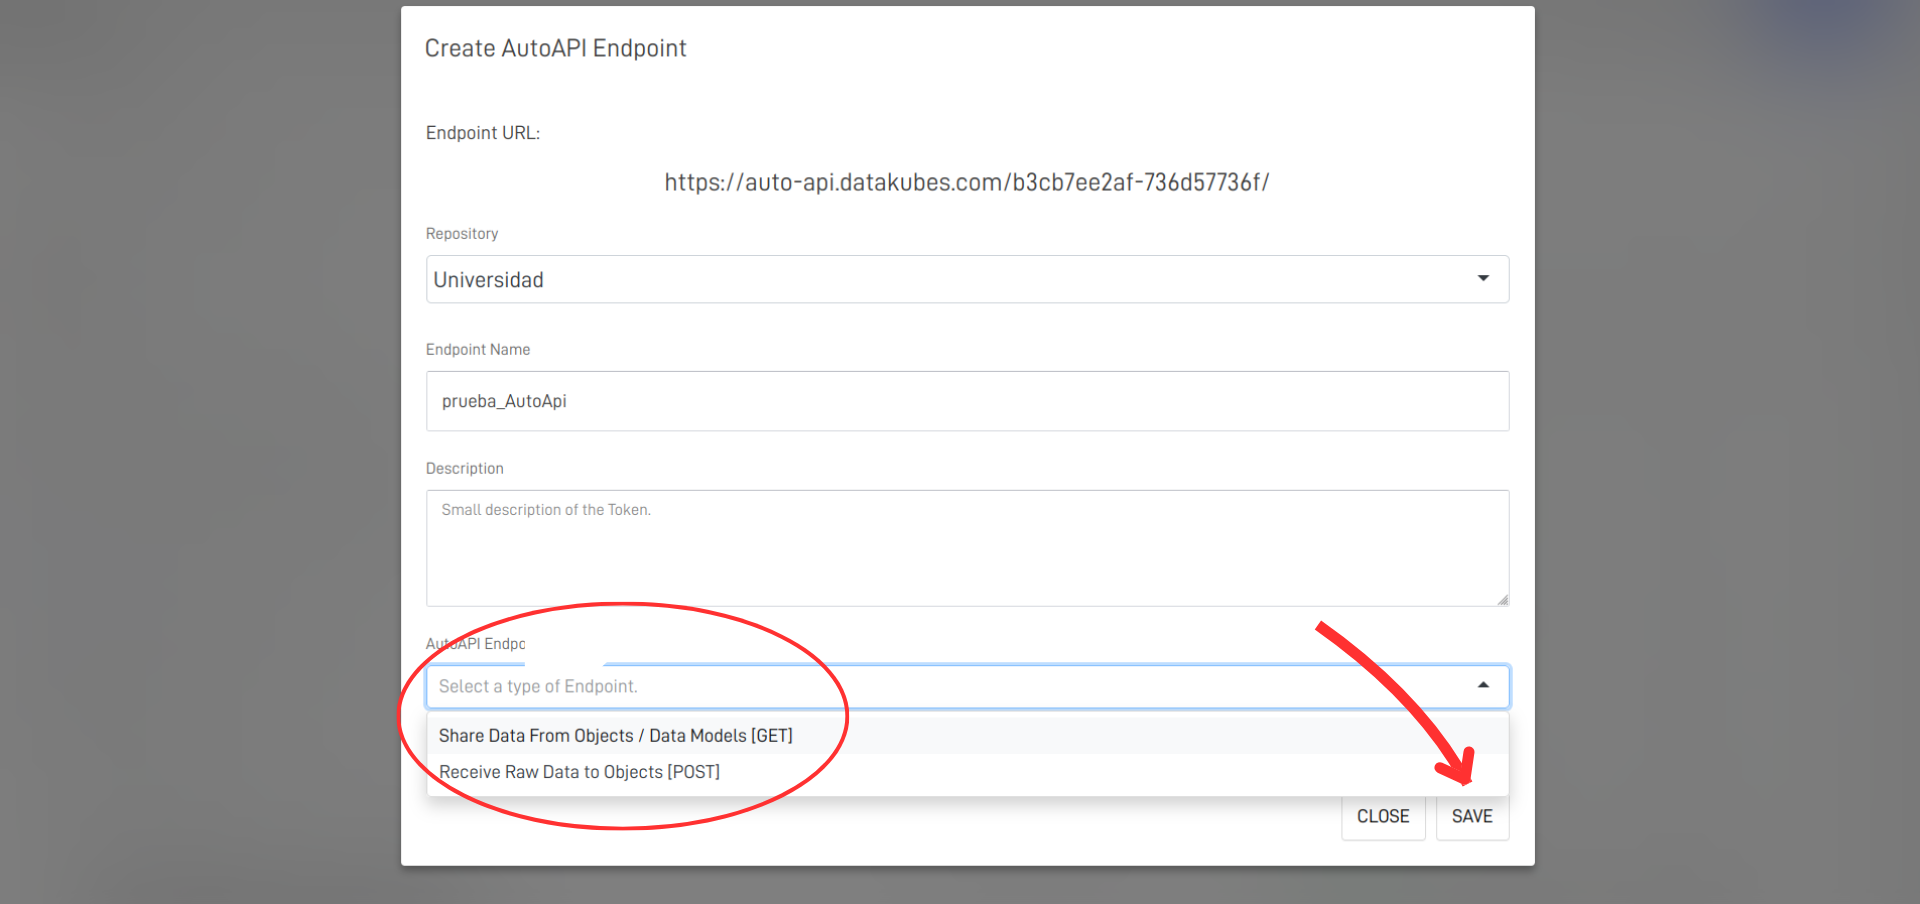
Step 3: Fill the Create AutoAPI Endpoint Form
Add the necessary information for your AutoAPI and select a method (Endpoint).
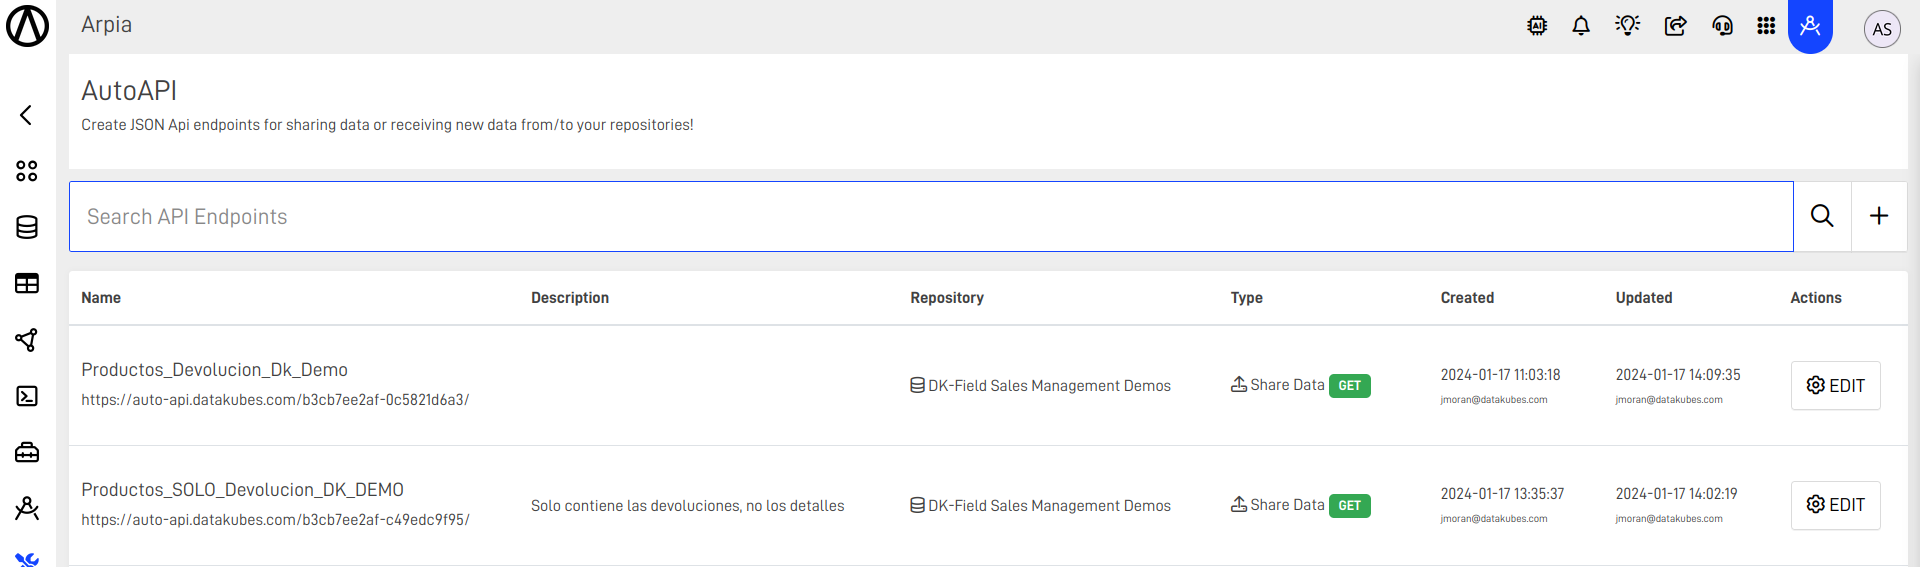
Step 4: Edit the AutoAPI settings
Select EDIT on your AutoAPI to access the settings.
Step 5: GET AutoAPI
Enter settings in the case of making a GET AutoAPI.
- Select one or more tables or a cube (Kubes) to provide and update information.
- Select your columns to share in your AutoAPI.
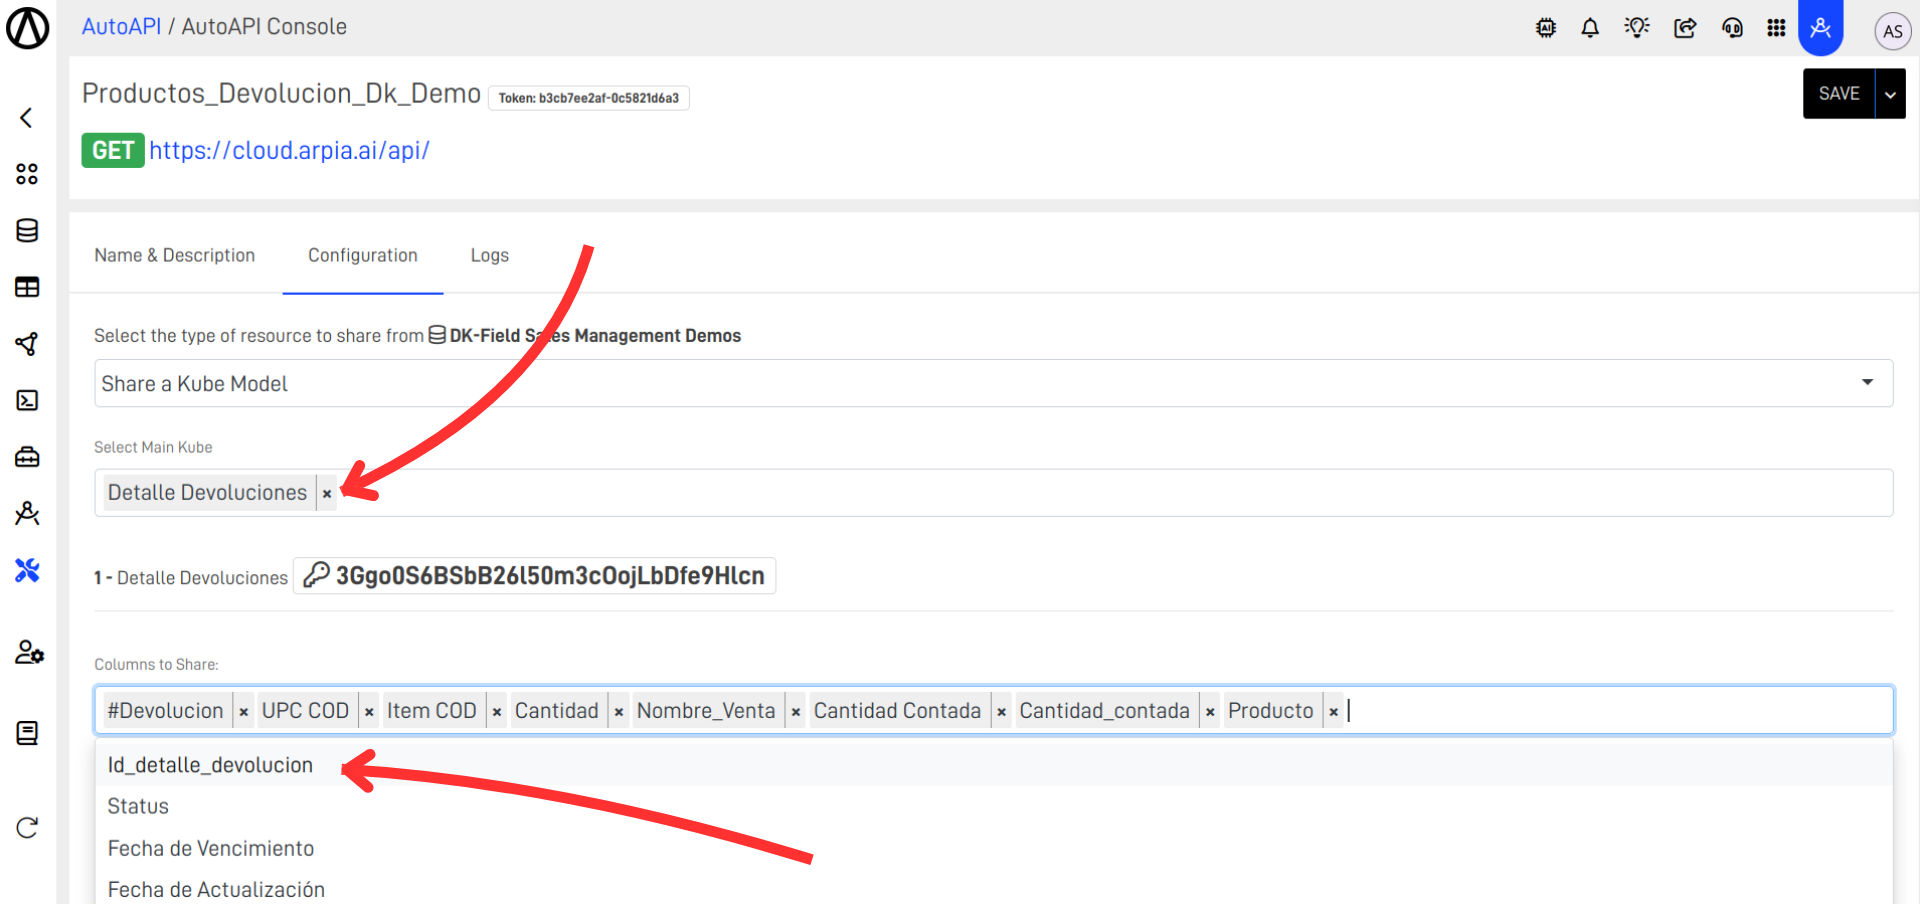
Save the changes to use your AutoAPI!
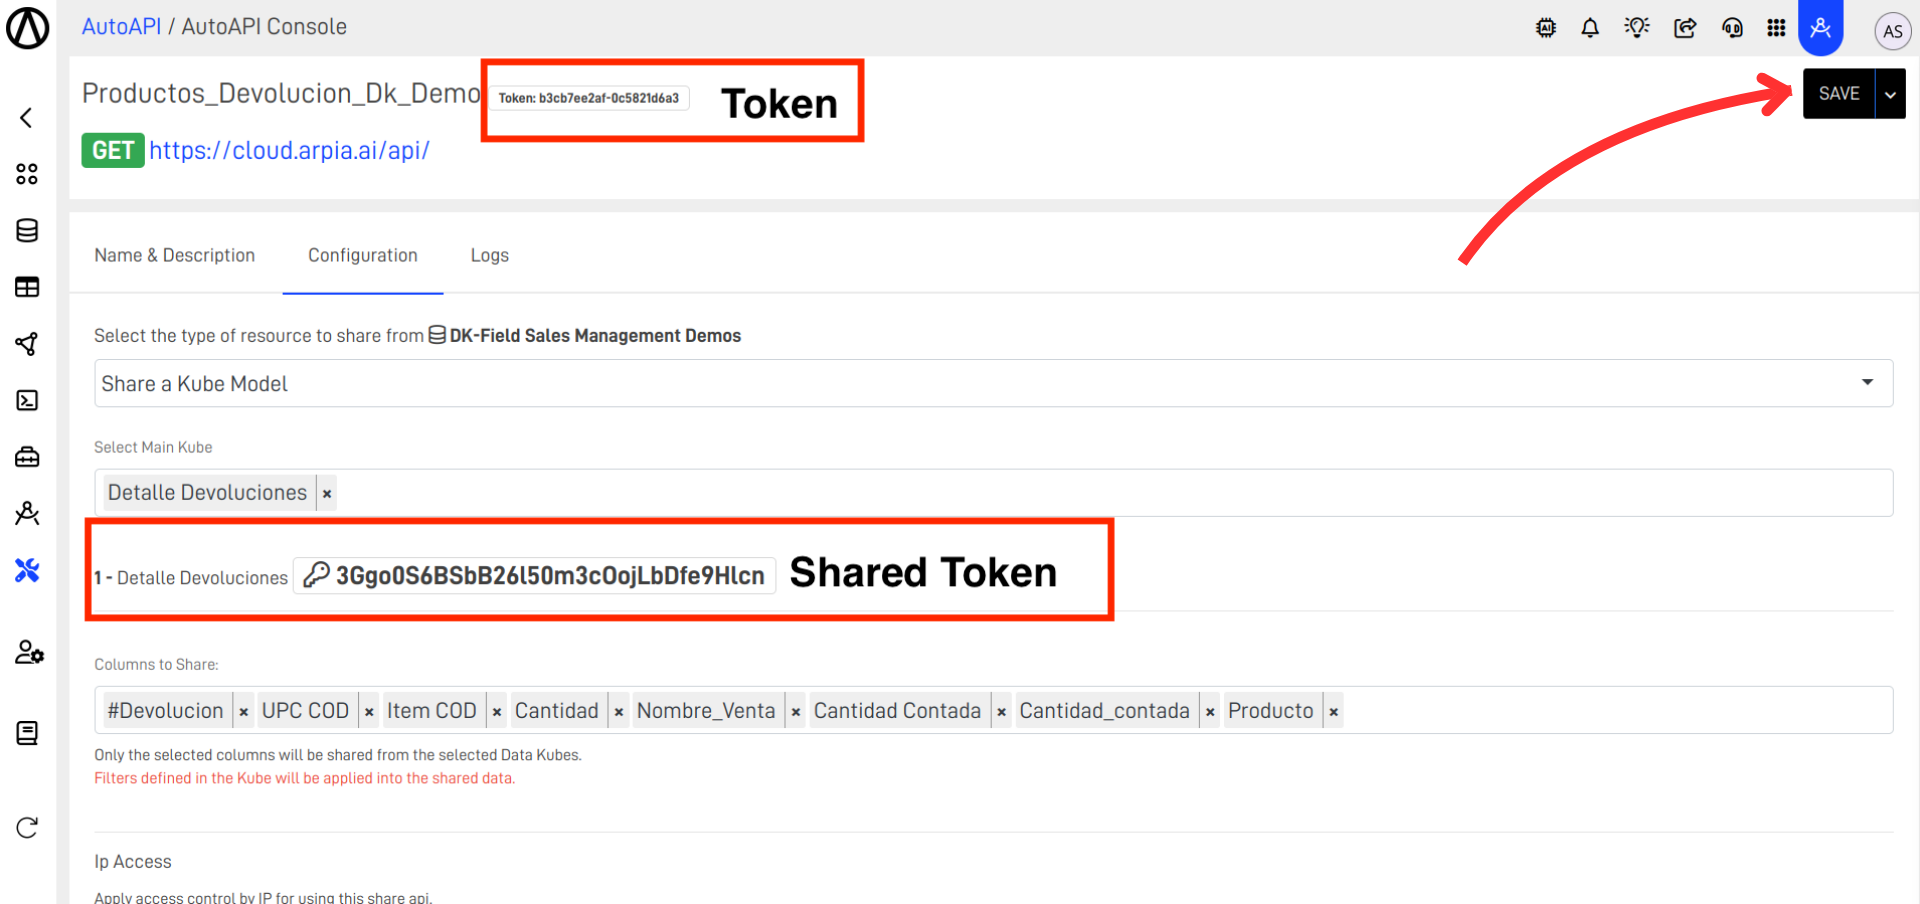
Step 6: Buckets in AutoAPI
Buckets are an integral part of the AutoAPI system, used to store and manage files, resources, or data payloads. You can:
- Integrate Buckets for file storage directly into your AutoAPI workflows.
- Use AutoAPI to retrieve data from or send data to Buckets via API calls.
- Manage Buckets resources using GET, PUT, and POST methods in the AutoAPI interface.
For more details on how Buckets are utilized, refer to the S3 Buckets API Documentation.
Updated over 1 year ago
Did this page help you?